All images by Paul Sanders
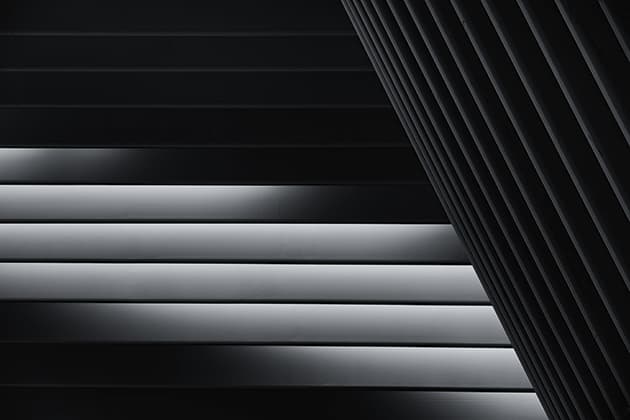
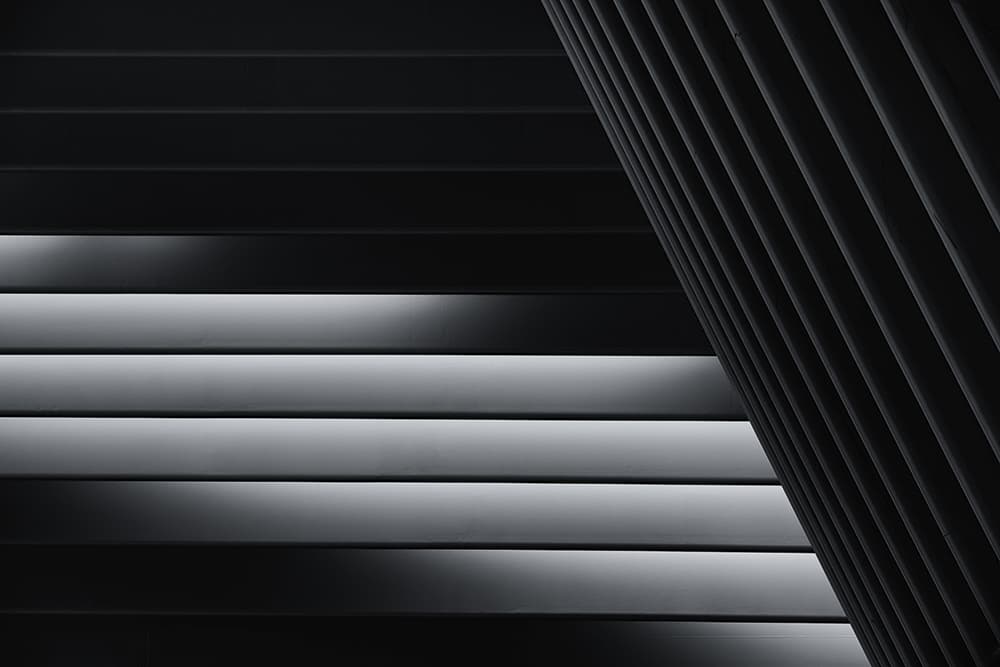
Abstract – or non-objective, conceptual photography – concentrates on line, form, colour, texture and shape. Often the viewer will be left wondering what the original object was. Abstract photography is not about the literal view; it will introduce the viewer to the emotional link that the photographer had with an object or subject.
When you look at or engage with abstract photography, you are meant to enjoy the way the image makes you feel. Indeed, it is more about emotionally connecting with the image than recognising the original subject. Shooting abstract images should tap into your imagination and get you seeing things in a new light.
Unfettered by rules
Children are particularly good at creating abstract images. They are unfettered by the rules that we apply to our own photography. Often as adults we neglect to truly look into a subject, only recognising the ‘bigger picture’.
On the flip side, shooting abstract images is not about blindly taking lots of close-up shots hoping that one turns out OK. It is really about looking into the subject, searching for something different that catches your eye that perhaps reveals the essence of something else within the object. ‘Shoot less, see more’ is the golden rule here.
Abstract photography takes on different forms for each individual, so no two photographers will see an object in the same way if they are truly faithful to their own creative spirit. Therefore, there’s no point in Googling ‘abstract photography in my home town’, for instance, to see what others have done. It is important to be driven by your own way of ‘seeing’.
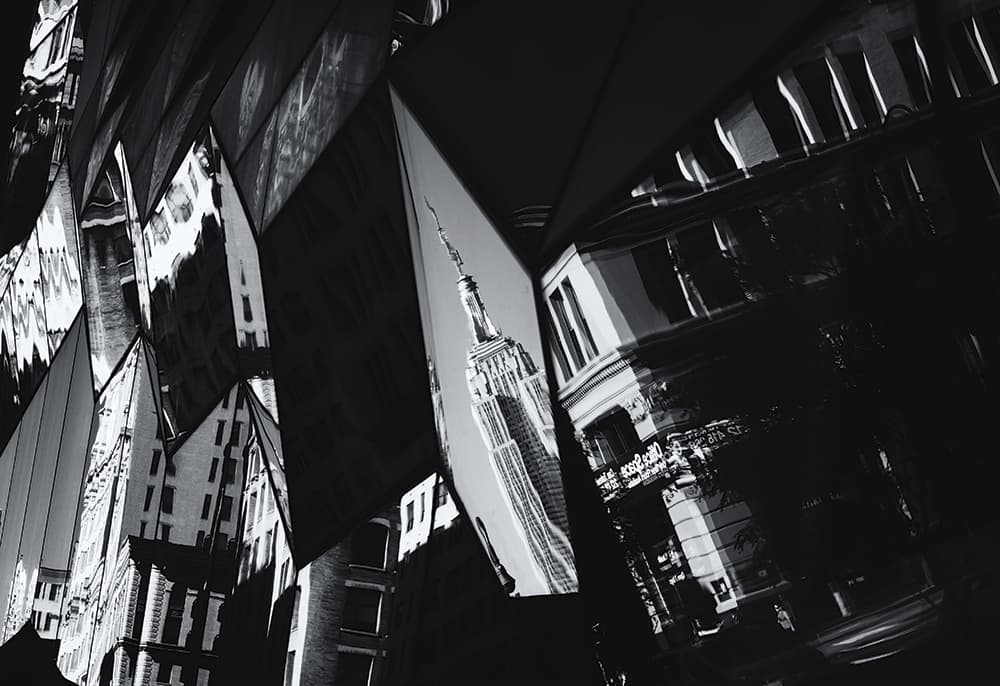
Don’t be afraid to experiment with reflections to distort parts of the image
Themes
Shooting in an abstract manner involves adopting one or a combination of these themes: patterns, textures, angles, shapes, lines, tone variation, colour variation, perspective, distance from subject, depth of field, symmetry, geometry, reflections, shadows, contrast, movement (see panel on next page), length of exposure, blur (subject and bokeh), multiple exposure (both in-camera and post-processing) and cropping (ideally in-camera).
I use this photography genre to open my eyes, especially if I have reached a plateau with my usual style of image making.
Getting started
Starting with the ‘less is more’ theory, let’s look at equipment. I only ever take one body – my Fujifilm X-Pro2 – and two lenses with me (a 56mm and 14mm), which are both primes.
I choose primes over zooms usually because zoom lenses make me a little lazy. Rather than exploring a potential subject by looking around and moving, I will just zoom in or out and not always walk around my subject – this happens a lot if I am feeling uninspired with my normal work.
Don’t be restricted
Leave your tripod at home – seriously. A tripod can restrict you and get in the way of your shooting, especially in city centres. However, you can use a tripod for some forms of abstract work, such as long exposure or intentional camera movement. I usually decide on what I am thinking of shooting before I leave home.
Speaking of leaving the tripod at home, you can actually start at home – one of the joys of shooting like this is that you can start in your own house or garden.
Work your subject hard, try shooting at different angles and with or against the light, watch how the textures and shadows change as you move, and observe how the light coming from behind gives a completely different feel to frontal light. Don’t be afraid to push your highlights right up or use your exposure to darken the shadows down until they almost fill in. Extreme high or low-key rendering can really make the mundane stand out.
Finally, as photographers we are governed by rules about focus, exposure, composition and depth of field. At times, these conspire against us ‘seeing’ what’s happening. Where possible, try to forget the rules – see them as guidelines, and don’t get freaked out when you like something that you’ve shot that does not have real sharpness or that fails to follow the rule of thirds. Be free to create!
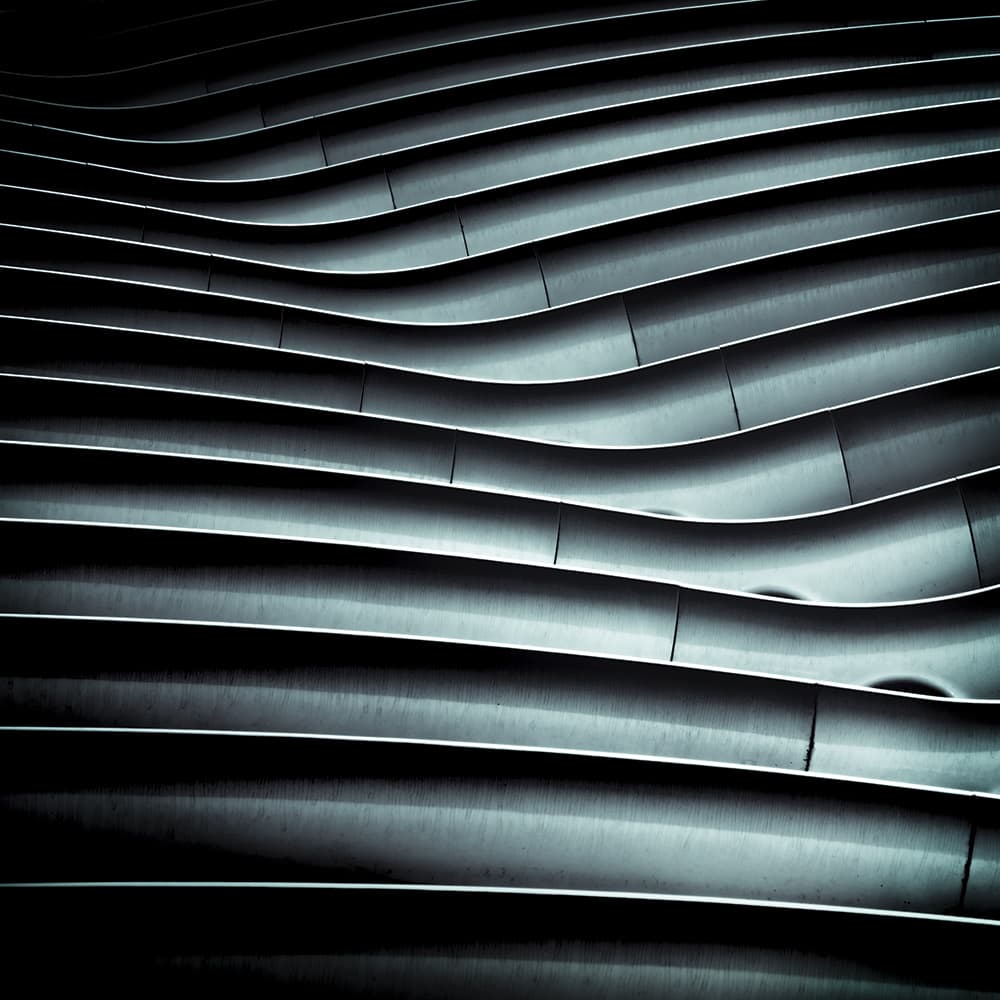
Watch how textures and shadows move around and what shapes are created
Post-processing
Be bold! Notice how a colour subject renders when you apply a blue, red or yellow filter to it in Adobe Photoshop Lightroom. Don’t be afraid to increase clarity and saturation – use radial brushes to add effects on certain areas. Experiment with the filters offered by some of the processing software.
What to look for
Light
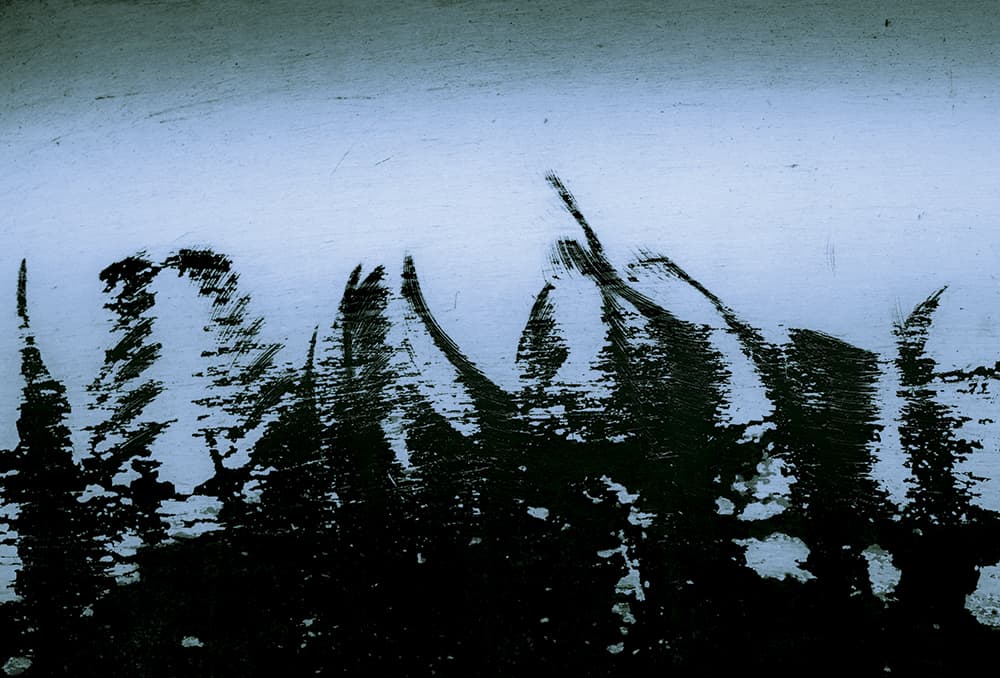
As with most forms of photography, light is your friend. However, you don’t need the ‘golden hour’; just watch how the light works over your subject, how it emphasises areas, adds texture and gives the form life. Work with the light available, as well as against it.
Lines and curves
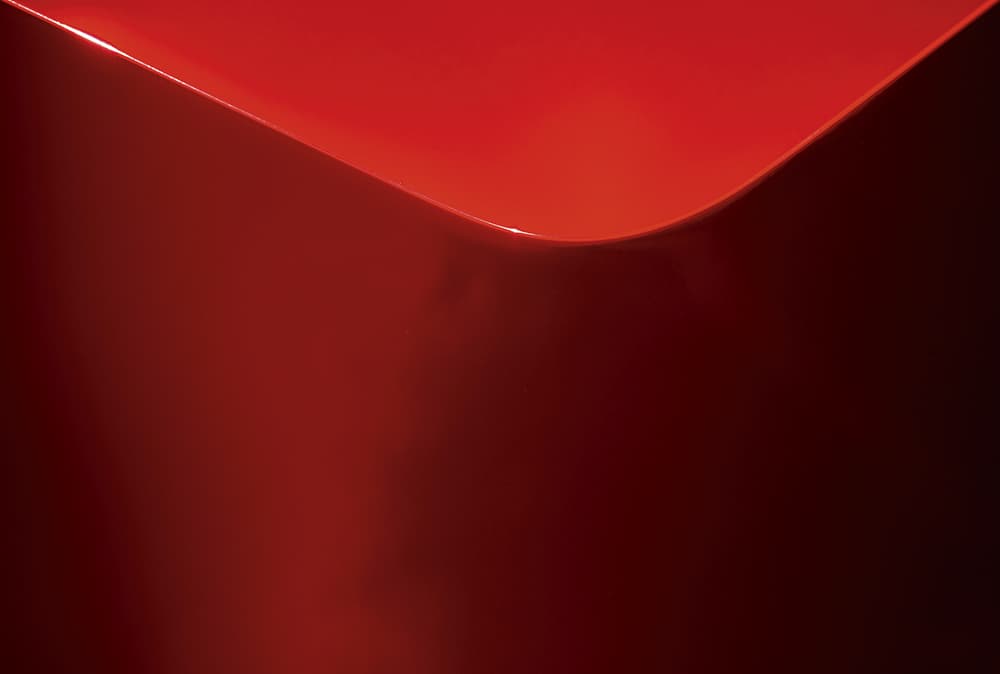 Lines and curves lead your viewer around the image. You have that power in your hands, but pay attention to composition when shooting lines and curves. Be aware of the distances between the lines, pay attention to the details, and give lines and curves a purpose.
Colour
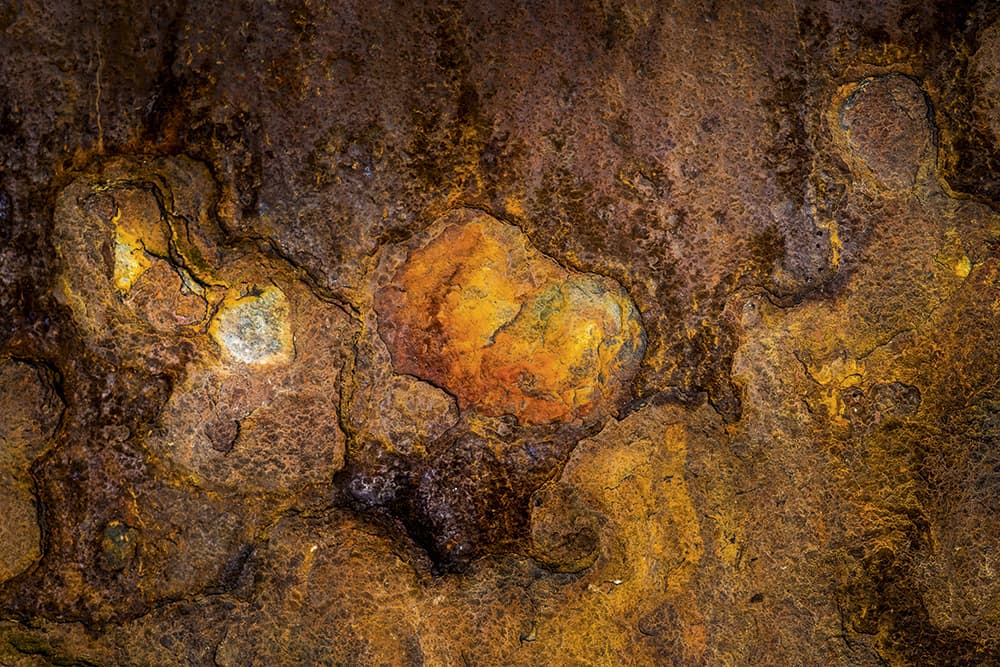
Look for variations in colour: tonal colour changes are beautiful, whereas contrasting colours can be breathtaking. Also, think how the colours might translate in black & white. Try to envisage the final image as you shoot. Saturated colours will grab a viewer’s attention.
Patterns and textures
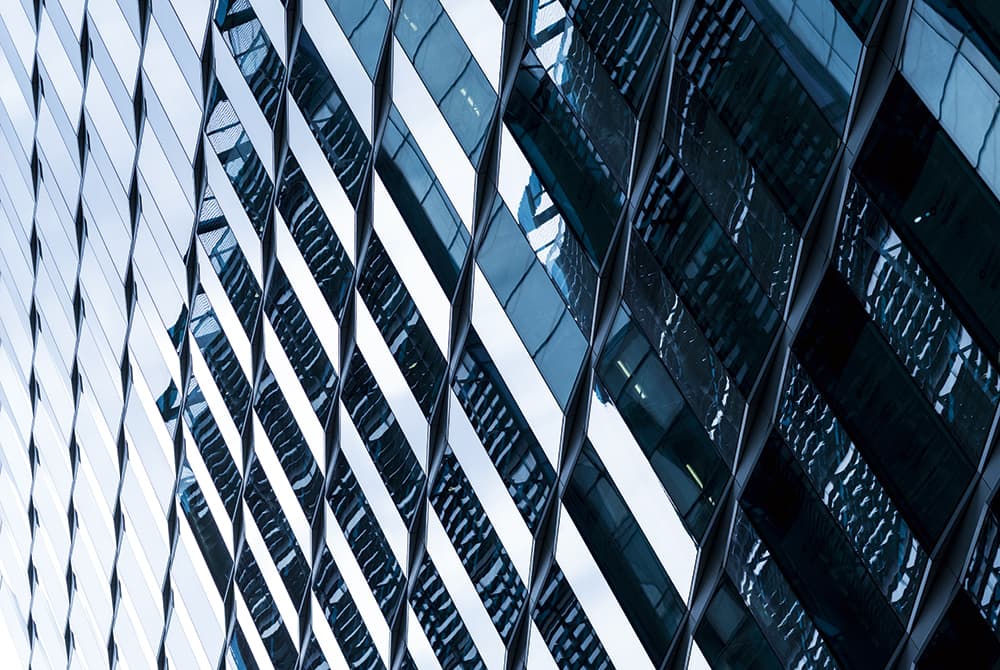
Patterns and textures can be great fun and they can be found everywhere, from the jeans you are wearing to a skyscraper with hundreds of windows. You can see them everywhere. Just use the repetition of pattern to lead your eye in a certain direction.
Shadows
 Shadows create abstract shapes and patterns in themselves. Watch for how a pattern and a shadow work together – the area may only be small, but remember small is beautiful, and in the final image no one will have any idea about how big the subject is.
Movement
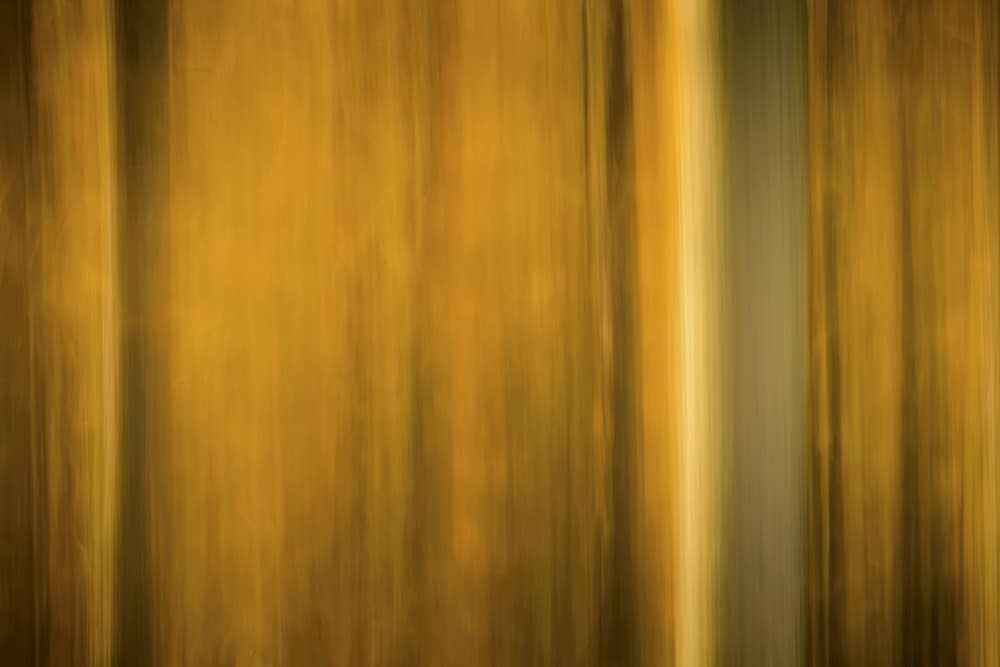 One of the most effective ways of creating abstract images is the use of intentional camera movement (ICM). Look for subjects with strong lines or colours and follow their direction by panning your camera. You may need a tripod.
Using neutral density filters
Neutral density (ND) filters are also an asset when shooting abstract work. Be it at the coast or in the city, being able to slow your shutter speed down to allow the elements to move and emphasise one or more solid objects is a wonderful ability.
ND filters will give your work that minimal style, with an infinite sense of space and calm. A tripod is usually essential for the long-exposure work, although I have seen some fun long exposures done by hand by holding a camera and running through a street!
You won’t always have your equipment handy, so don’t be afraid to use your smartphone to try ideas. I always carry a set of headphones and a small smartphone tripod in my pocket, just in case. The headphones trigger the camera in most devices.
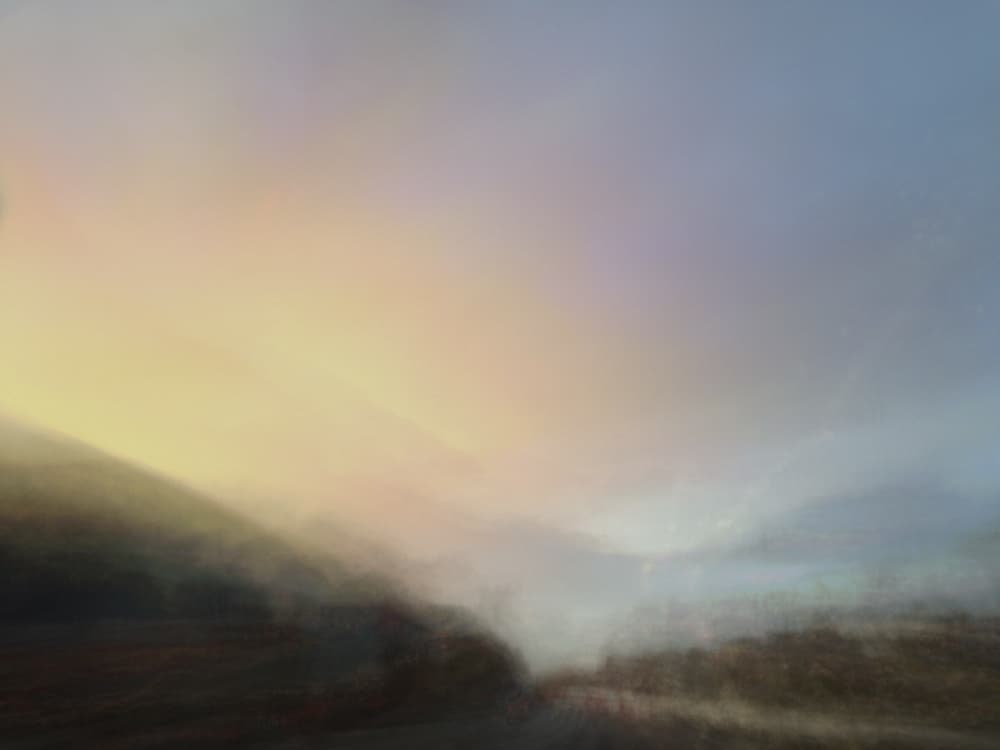
ND filters can be an asset when shooting abstracts
Five steps to successful ICM images
Learn how to shoot intentional camera movement (ICM) images
1. Subject
Find a subject with strong horizontal, vertical or diagonal lines.
2. Choose your lens
In my opinion, a longer lens works best for this style, as you don’t get the distortion at the edges of the frame that you may see with some wideangles. Don’t let that stop you from experimenting, though!
3. Movement
With your camera mounted on a tripod, practise the amount and speed of movement you need to create for the effect you want. Your tripod will help minimise camera shake and moving off line if you are looking to create parallel lines.
4. Shutter speed
Find a shutter speed that maximises the abstract nature of the images you are creating.
5. Experiment
Experiment either by putting a little flash into the image to add definition, or by using multiple exposures. For inspiration, look at the works of others, such as Doug Chinnery or Valda Bailey.
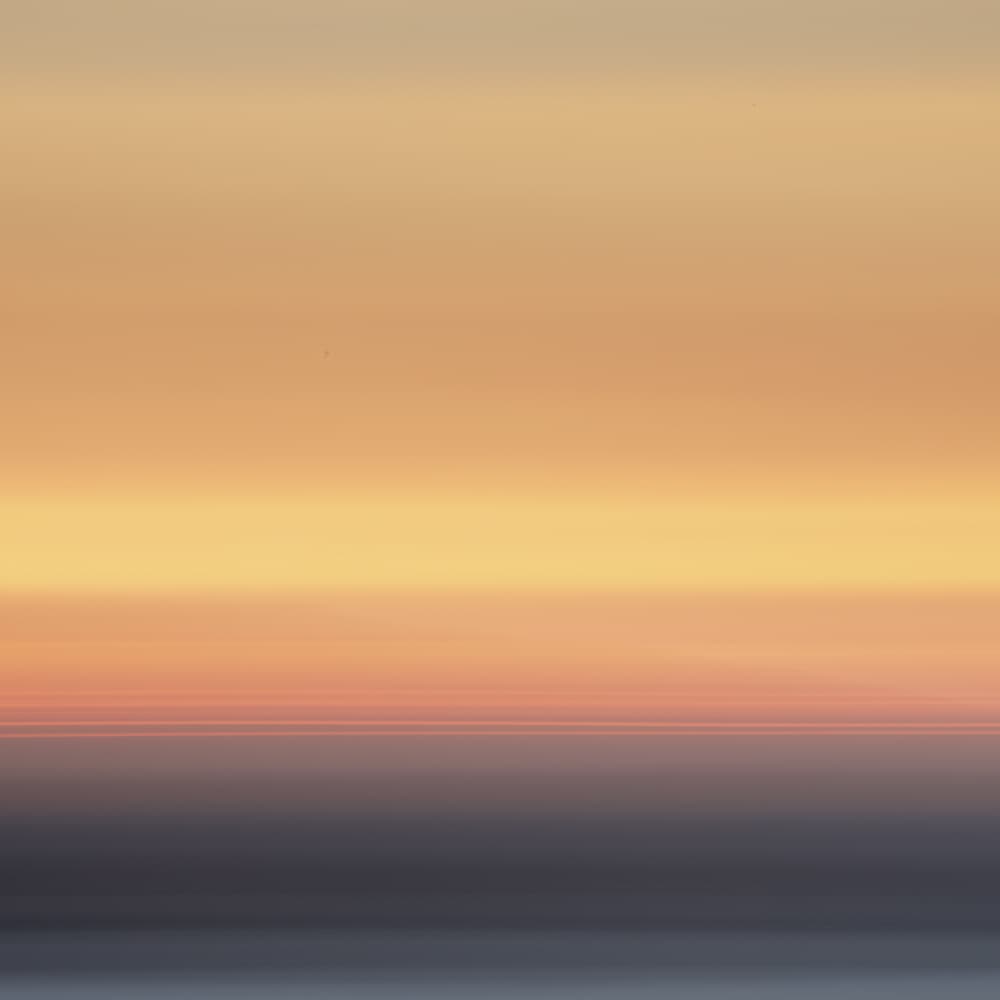
ICM can produce some beautiful results
Paul’s top tips
1. Don’t rush
Invest a little time exploring a subject. Try to work through your subject – walk around it and look at how the angles and lines change as you move.
2. Start small
Often the best subjects can be found in a very small area – perhaps a small circular walk, in your garden or even on a table in a coffee shop.
3. Less is more
Aim to see more and shoot less. It’s a difficult thing to do in the digital age, but discipline yourself to only shoot when you feel the image has come together without the camera.
4. Repetition
Look for repeating patterns. These will help direct the viewer around your images.
5. Experiment
Don’t be afraid to try new things: multiple exposure, defocused images, rotating your camera – get out of your comfort zone.
6. Be brave and use your imagination
Not everyone will like what you do, so don’t be put off by people not endorsing your initial efforts. Likewise, not every shot will be a winner. But if you use every ounce of creativity you possess and you are truly open to seeing the potential in normal objects, your visual excitement will know no bounds.
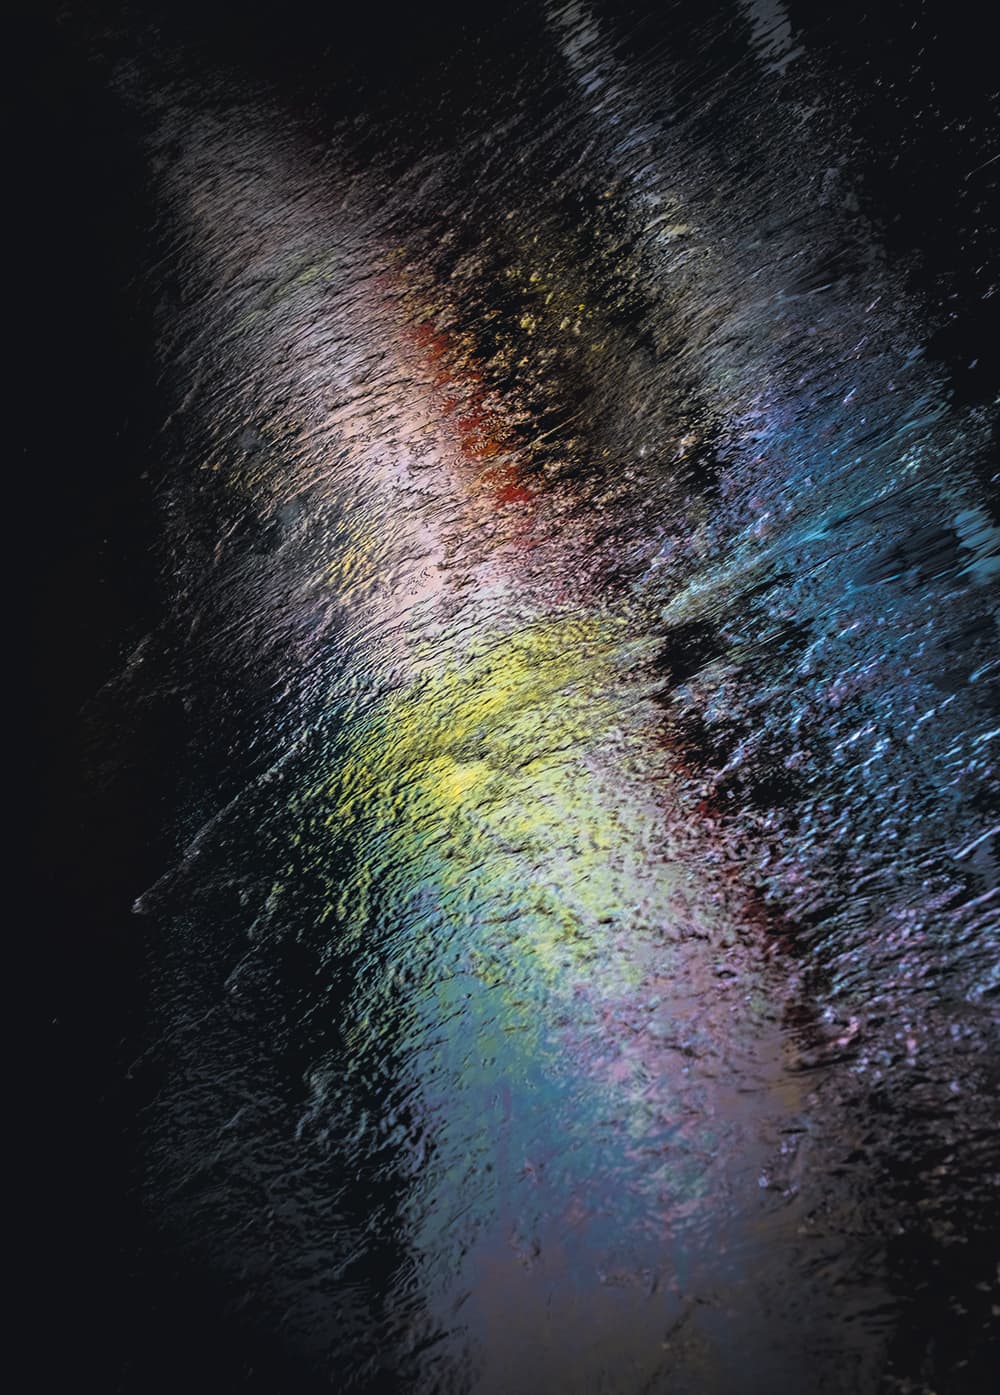
Colour can play a key role in abstract images, grabbing the viewer’s attention
Kit list
Telephoto lens
I often like to shoot wide open on a longish lens. The 56mm f/1.2 lens on my Fujifilm is perfect as it allows me to isolate the subject and create nice bokeh.
Graduated filters
Graduated filters are not just for landscapes. I often use a set of Lee graduated filters just to hold certain areas of detail. Also, I can reverse them to allow areas to bleed to white if the effect is pleasing to the eye.
Kenko extension tubes
These tubes get you closer to the subject, and are a real aid when shooting details.
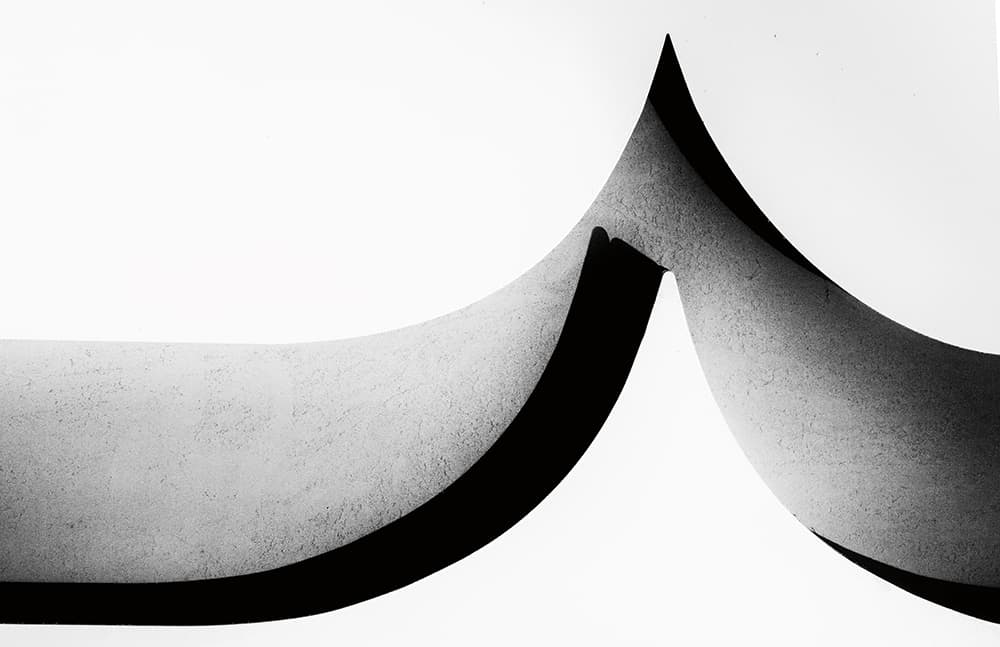
Lines and curves can lead the viewer round the image, so use this to your advantage
Professional photographer Paul Sanders joined The Times in 2002, becoming its picture editor in 2004. In this prestigious role, he oversaw the entire visual look and feel of the newspaper. He left in 2011 to pursue his passion for fine-art landscape photography. Visit www.paulsanders.biz

