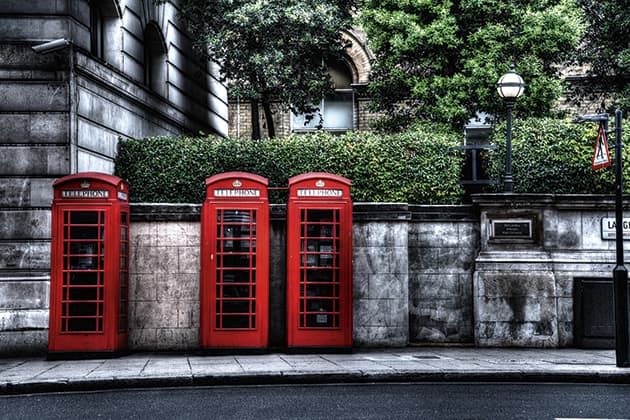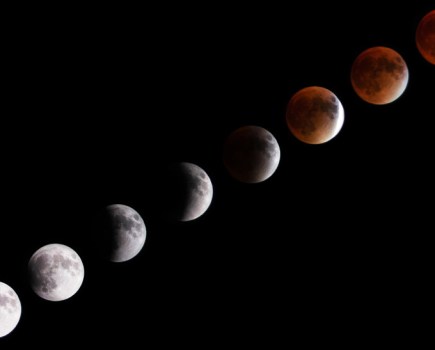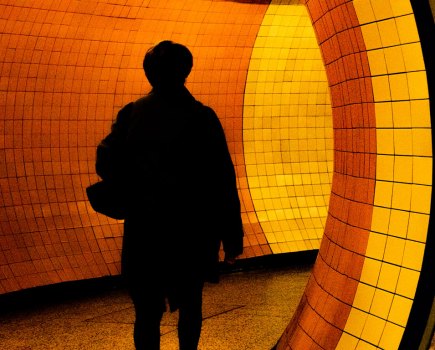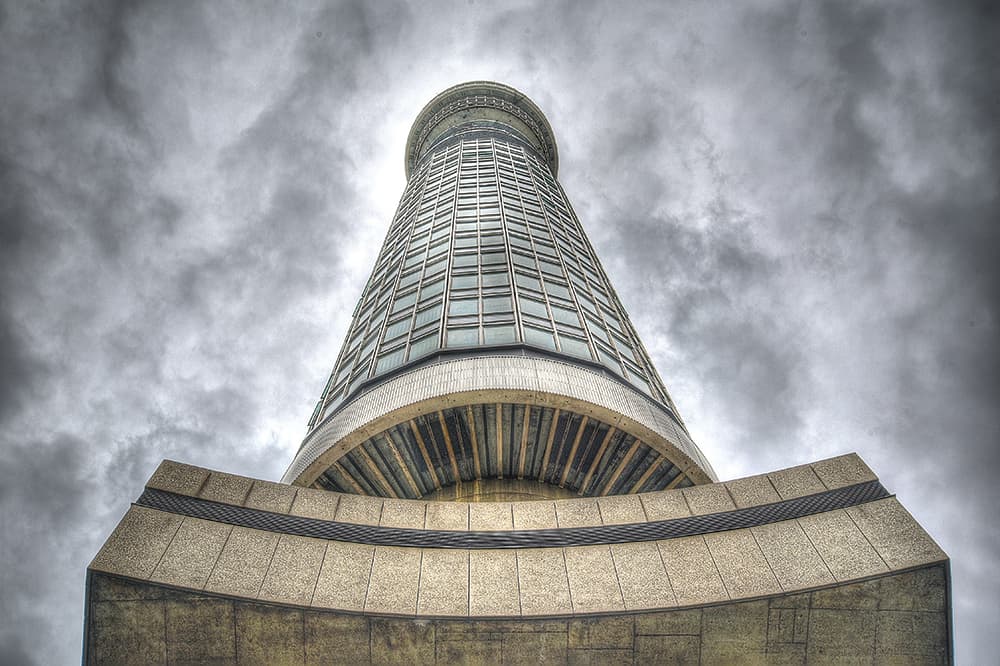
When faced with a high-contrast scene, such as a bright sky against dark stonework, the camera has to decide between preserving detail in the shadows or the highlights. By using HDR, you can retain both
During the course of your photography, you will almost certainly have encountered scenes where brightness levels exceed the dynamic range of your camera: dark hills set against bright white skies; stained glass in dimly lit churches; figures reduced to silhouettes etc. Landscape photographers overcome this problem by using neutral-density filters to reduce the contrast between the land and sky, but there are other options. One of the most popular is a technique known as High Dynamic Range, whereby a series of images are taken, each with a slightly different exposure, and then combined to produce a single picture, rich in detail.
Before we take an in-depth look at HDR, it’s important to understand why cameras struggle to record the same level of detail that we can see with our eyes. When we look at a scene our pupils adjust to allow us to make out fine details, regardless of light levels. Our eyes are also constantly shifting focus and taking in a broader angle of view than many camera lenses. Healthy human eyes can have a dynamic range of up to 24 stops (considerably more than a DSLR), and they also have the assistance of a brain to interpret what they see. Cameras do not have this luxury and when they are faced with scenes containing extreme brightness levels they have to choose between preserving details in the shadows (turning the highlights pure white) or preserving details in the highlights (turning the shadows pure black).
If you want to retain maximum detail in both the shadows and the highlights you need to do one of three things: reduce the contrast in the scene until it falls within a range the camera can cope with, expand the sensor’s exposure latitude in some way, or use third-party software to combine images taken at different exposures. Let’s take each of these in turn. Firstly, you can reduce the contrast in a scene by using a neutral-density filter, moving the subject into the shade or introducing a diffuser. Secondly, you can expand the dynamic range of the sensor (or simulate this effect) by using the Active D-Lighting feature on your Nikon DSLR.
Thirdly, to combine images taken at different exposures, you might like to experiment with the HDR mode on your Nikon DSLR (located in the Shooting menu). Once activated, this feature instructs the camera to take two images at different exposures, and combine the results, without using third-party software. While this might sound like a win-win situation, it’s restricted to JPEGs, and the only image that’s saved is the final composite, not individual files. It’s a great introduction to HDR, but for maximum detail and creative control you need to shoot Raw and combine your images using dedicated HDR software, such as Photomatix Pro 5.
Before attempting HDR you need to think about what may (or may not) make good subject matter. If you’re looking to do more than just reduce the contrast between light and dark areas (hills against white skies, for example) you might like to shoot reflective surfaces such as windows, glossy paint or metal. Using HDR will bring out every reflection your eyes can see, and even a few that they can’t. In addition, textured surfaces such as stone, wood and bricks often work well. In fact, anything with plenty of detail is a pretty safe bet.
On the flipside, moving objects are best avoided. If your subject changes position even slightly during the exposures it can lead to ghosting – an undesirable artefact that will result in hours of post-production work. This is particularly common in landscape or architectural shots where a bird might enter the frame – so look up before you release the shutter. (If you want to create an HDR action shot try using the Active D-Lighting feature on your camera, or shoot a single Raw file and create multiple versions of it in editing software, before combining them.)
Don’t take these suggestions as gospel; it’s important to experiment. Subjects that look unsuited to HDR can work well, while others that should work can sometimes fall short.
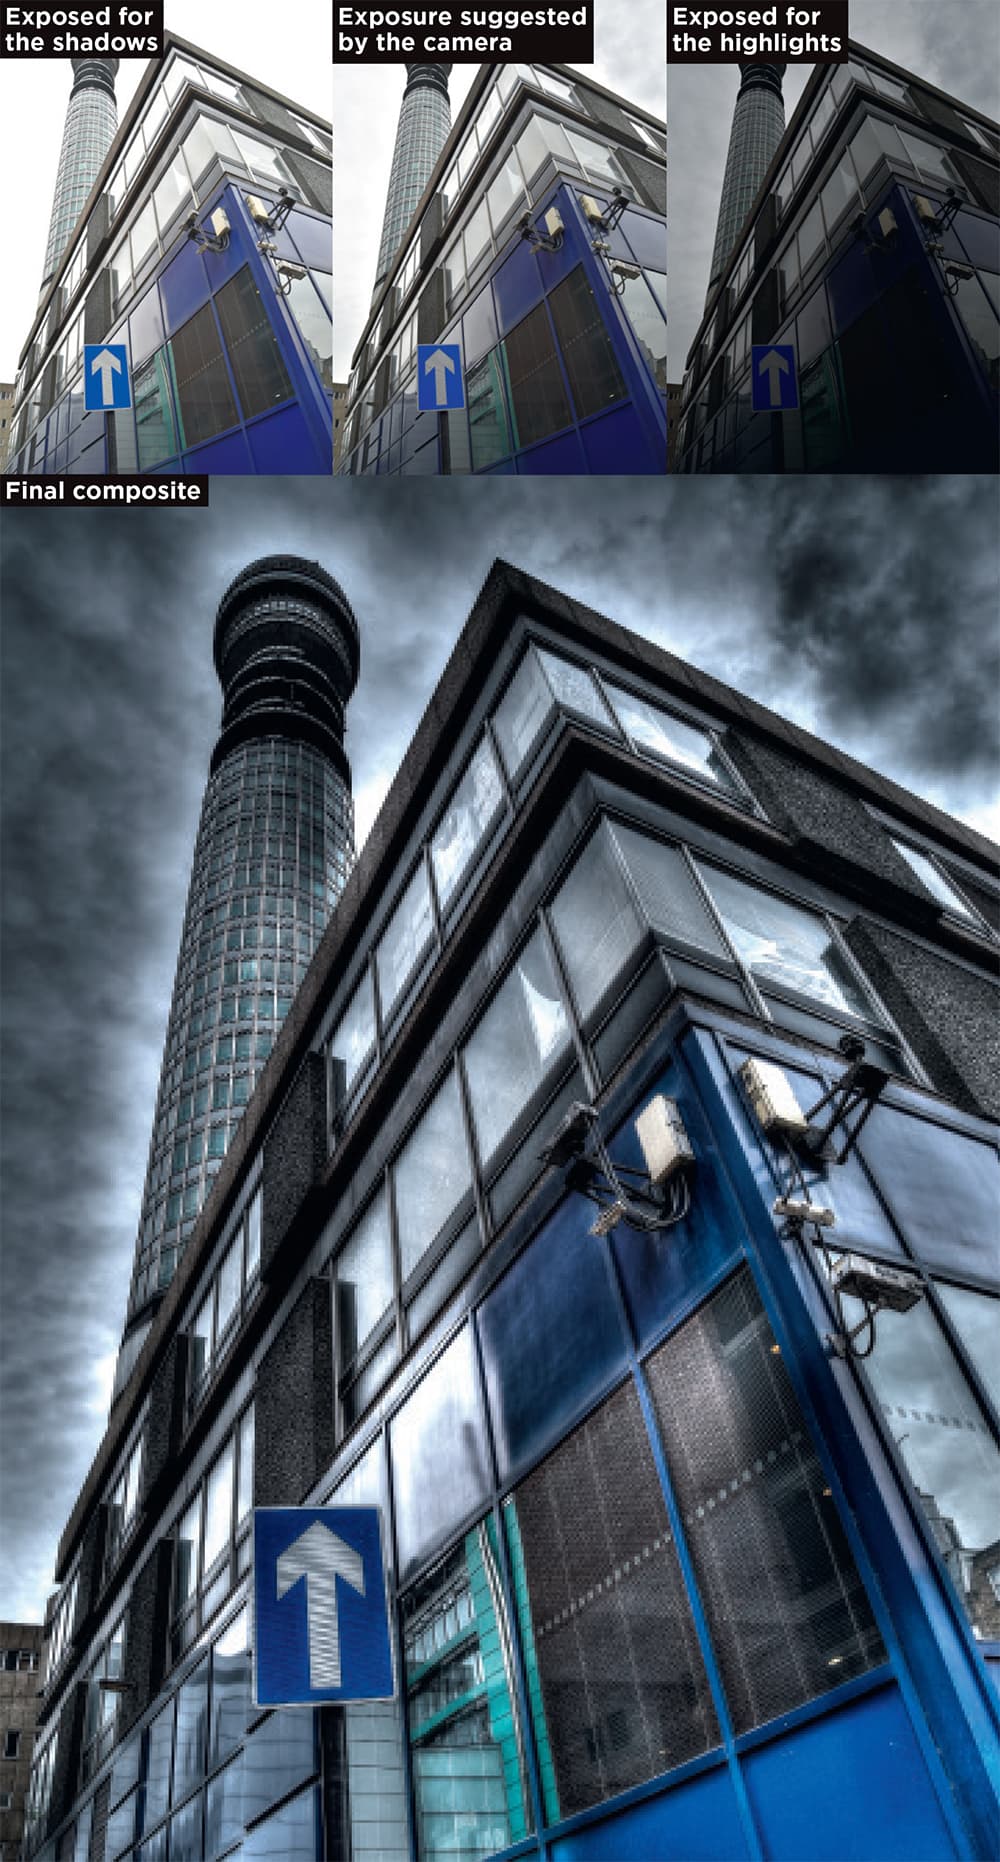
HDR involves shooting a series of images, each with a slightly different exposure, and combining them to produce a single picture – it’s a good idea to start with just three frames
Shooting your first HDR sequence
Shooting an HDR sequence requires preparation, but once you’re under way it’s a straightforward process. First you need to hold your camera steady, so you’ll require a tripod – make sure the legs are firmly planted on the ground, not slowly sinking into soil. To reduce any internal vibration caused by the mirror flipping up during the exposure (or the shutter being fired) you can lay a beanbag on top of the camera, or use the mirror-lock up facility, but you only really need worry about this if you’re using a camera with 36MP or more (such as the Nikon D800) which will capture every single detail, good or bad. It’s also best to use the self-timer function or a remote shutter release.
With everything nice and steady, you can turn your attention to the camera settings. Aperture priority is a good place to start, with a mid-range f-stop of, say, f/11. Let the camera take care of the shutter speed. The ISO, however, should not be left to chance: set the lowest sensitivity you can, say 100. If there’s any noise in individual pictures it will be multiplied in the composite. You’re trying to catch as much detail as possible, so make sure that the Image Quality is set to Raw. The next job is to pre-focus, either by using back-button focus or switching to manual focus. Once again, it’s all about consistency: if the lens tries to lock onto objects at different distances during the exposure sequence then the pictures will not line up at the end, and there will be a noticeable lack of sharpness.
At this point you need to decide how many images to include in your sequence. To begin with, it’s a good idea to choose just three, but bear in mind that high-end DSLRs (such as the D810) have the capacity to shoot up to nine. The number you use will depend on the look you’re after and, of course, the brightness levels of the scene. If you want the shadows and highlights to look relatively natural, then stick to just three or four images in your composite. But if you want a more graphic, cartoon-like look, experiment with more – you don’t have to use them all. Once you’ve made this decision you can activate Auto-exposure bracketing (AEB). In the sub-menu you will be given a choice as to how many stops apart each of the pictures should be. Again, it’s down to personal preference, and the nature of the scene, but two stops is a good starting point. (The dynamic range of most modern sensors is so good that it will cover one stop either way anyhow.)
Once you have shot a sequence of images, play each one back on the LCD monitor. Check that you have all of the information you require: one showing detail in the clouds, one showing detail in the land etc. You can use the histograms of individual files to make sure that there is a good balance, but you can judge it pretty well from the LCD monitor too. Once combined, the files should result in a picture with bags of detail, and plenty of impact.
Active D-Lighting
Another way of capturing more detail in shadows and highlights is to use the Active D-Lighting feature on your Nikon DSLR. Using one of five settings (older models have less): Auto, Low, Normal, High or Extra High, you can adjust contrast levels in order to essentially expand the dynamic range of the sensor. (If you want to apply Active D-Lighting to Raw files you need to use Nikon software.)
Press Menu. Locate Active D-Lighting in the Shooting menu and press OK to open the submenu (more recent models allow you to access this feature via the information screen too). (Menu>Active D-Lighting>OK).
Use the Multi selector to choose one of five strengths: Auto, Low, Normal, High or Extra High. Press OK. (Multi selector right>OK). Fire away.
An older version of D-Lighting (located in the Retouch menu) can be used to adjust contrast after a picture has been taken, but the results are rather heavy-handed, so it’s best avoided if possible.
Dedicated HDR software
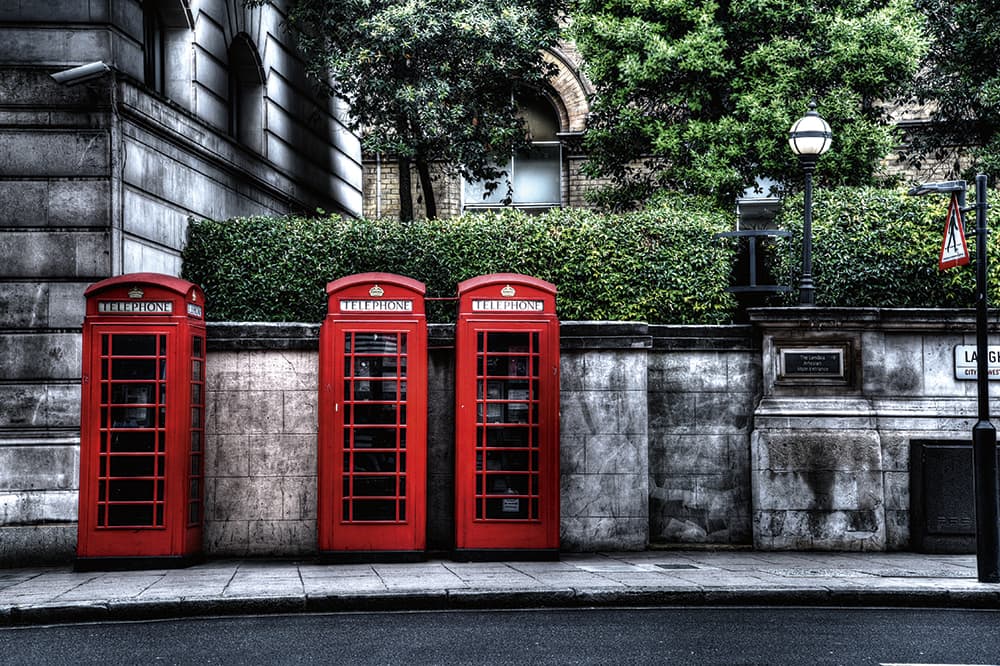
To make the most of detail in textured surfaces like stone, and reflective surfaces like glass, shoot Raw and combine the exposures using dedicated software
A variety of stand-alone HDR programs and plug-ins are available, but Photomatix Pro 5 comes highly recommended. Both Windows and Mac versions are provided, for £72. Using this software you can vary the HDR look from natural to artistic, create custom settings, align handheld shots, remove ghosting, or take advantage of batch processing. It comes with a plug-in for Lightroom. Alternatively, you can buy Photomatix Essentials (with a few less features) for £29.90, which includes a plug-in for Photoshop Elements. Visit www.hdrsoft.com
How to set up your Nikon DSLR camera for HDR
Step 1
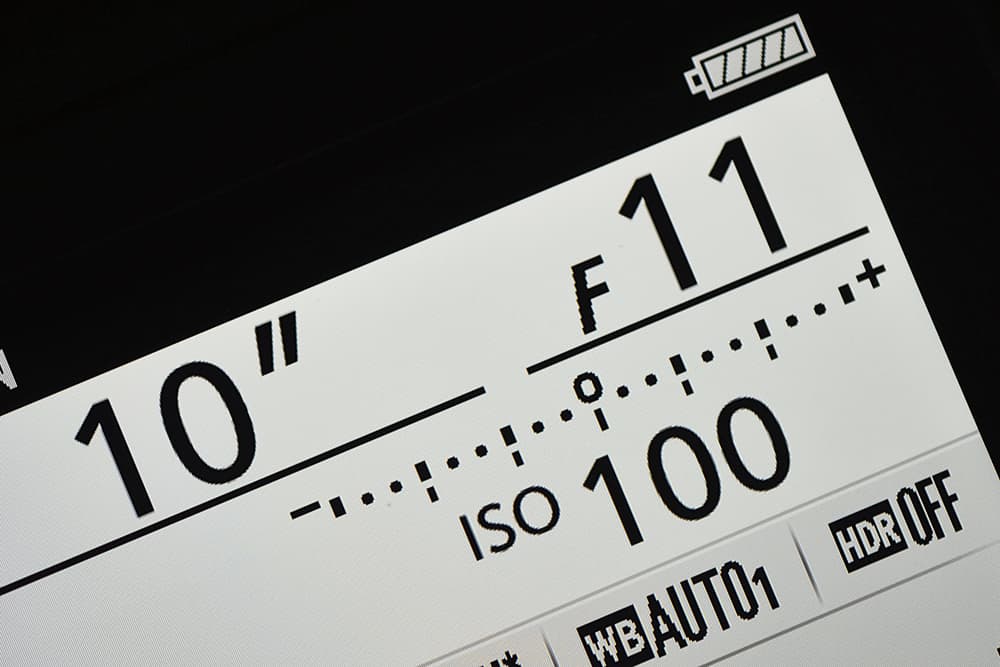
Mount the camera on a tripod. Select Aperture priority mode, and choose a mid-range aperture (such as f/11). Let the camera take care of the shutter speed, but make sure the ISO is as low as it can be (say, 100). Set Image quality to Raw, and pre-focus the lens by using Back-button focus or switching to Manual focus.
Step 2
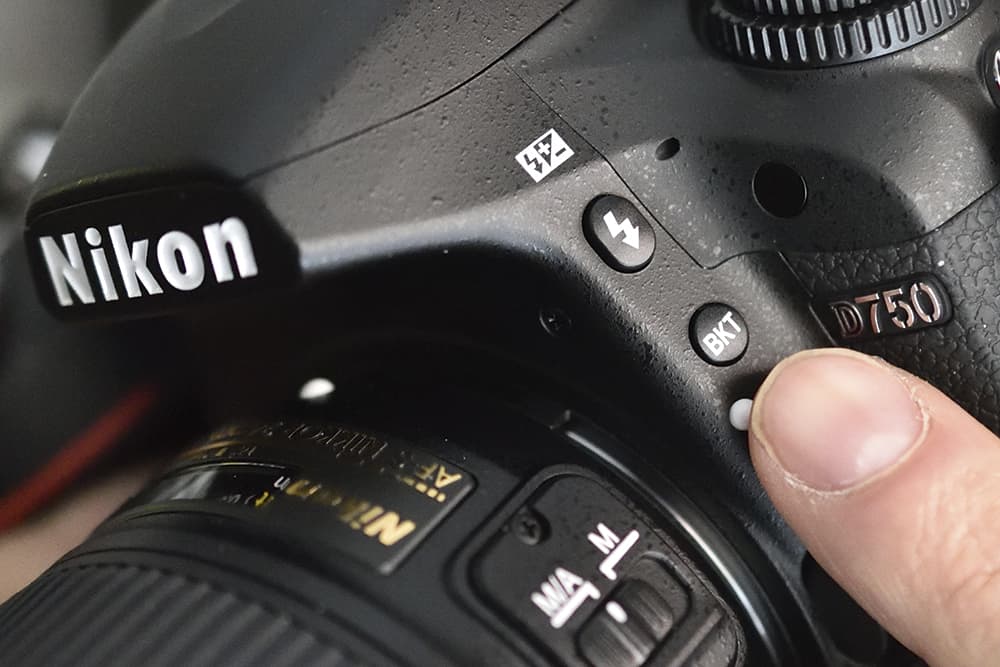
Take a test shot, and check where the highlights/shadows are lacking detail. Decide how many images you would like in your HDR sequence, and press the BKT (Bracketing) button on the camera body (if you’re using a pre-D7000 model you might have to access this feature via the menu system).
Step 3
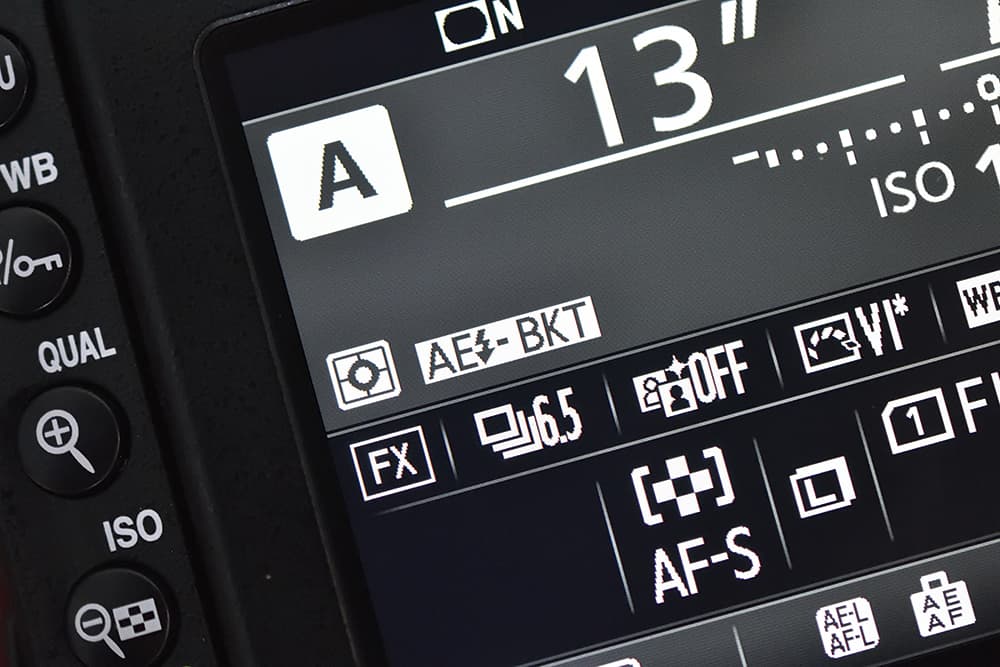
On some intermediate and high-end Nikon DSLRs (such as the D5300) you can bracket White balance and Active D-Lighting, so make sure that the screen displays AE – BKT (Auto-exposure bracketing) in this instance.
Step 4
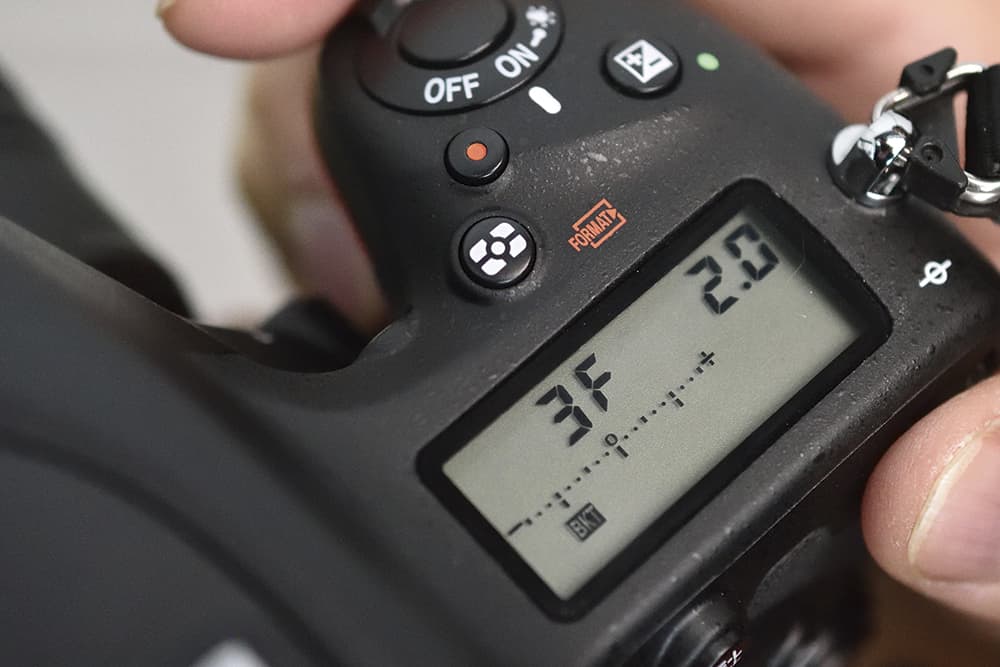
When the Auto-exposure bracketing submenu appears, select the number of shots you would like in your sequence, and how many stops apart you would like them to be. Here we have opted for three frames at two stops apart.
Step 5
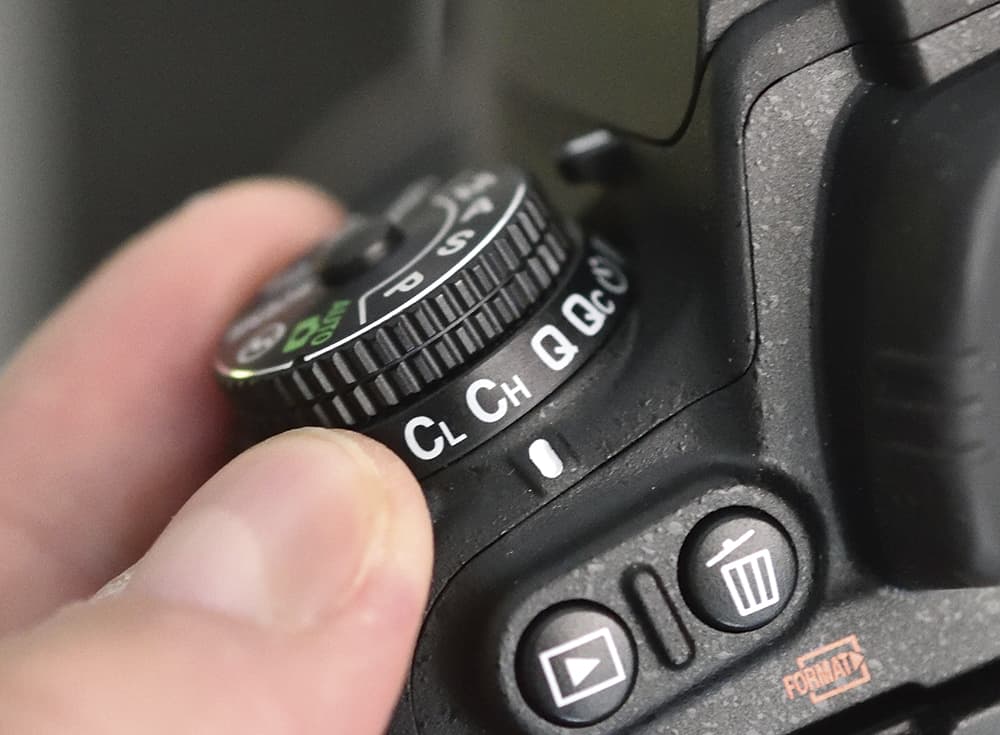
Set the shooting speed to Continuous high (CH), so that all of the images will be taken almost instantaneously. Now fire away. Review your sequence on the LCD monitor and check that you have all of the information you require. Finally, combine the images using a software program such as Photomatix Pro 5.

