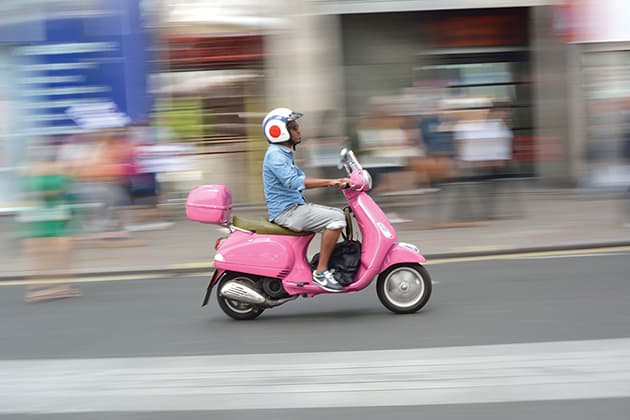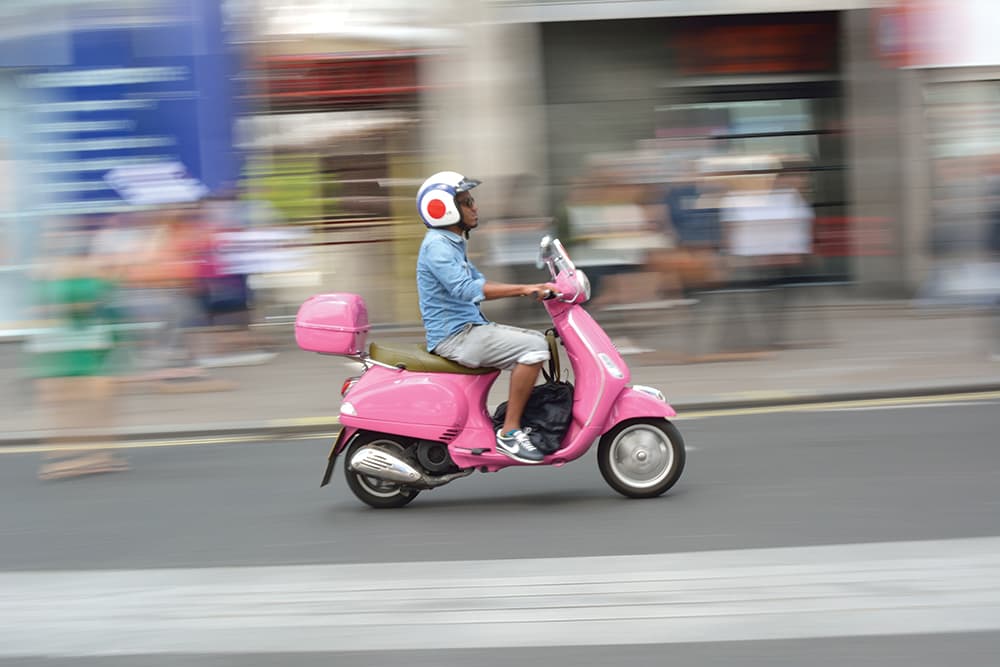
Tracking a moving subject in the frame is easy thanks to a multitude of autofocus options
When we look at a picture, our eyes are drawn to areas of fine detail and sharpness first. Photographers are aware of this, and make great efforts to ensure that key parts of the composition are in focus: the eyes on a portrait, the peak of a mountain, the stamen of a flower, for example. By taking control of focus and depth of field they can dictate how a viewer’s gaze will travel through a picture and, ultimately, how it will be interpreted. Unless you are a fan of artistically blurry pictures – such as those created by ICM (Intentional Camera Movement) – the importance of careful focusing cannot be overstated. Many things can be corrected during post-production, but poor focusing isn’t one of them. Sadly, an out-of-focus picture will always be out of focus, so familiarise yourself with the focus modes on your camera, and you will stand a much better chance of securing a sharp shot.
Before we discuss the various focus modes on your Nikon DSLR, it’s important to realise that there will always be times when the camera will struggle to achieve focus. Low- contrast and low-light scenes, for example, can cause the lens to whir backwards and forwards, trying to ‘lock on’. In addition, highly reflective surfaces, geometric patterns, overlapping elements, and off-centre subjects can prove challenging for autofocus systems. These problems can be overcome by switching to manual focus and adjusting the lens yourself, but this will slow down the shooting process considerably. To give your camera the best chance of locking on, you need to make sure the focus points are covering areas of high contrast or fine detail.
Sensor versus software
There are two ways to compose a picture using a DSLR: through the viewfinder or via the LCD screen. The method you choose depends on personal preference, but before you raise your eye to the glass, or fold out the screen, bear in mind that each of these uses a different focusing system. When you use the optical viewfinder to take a picture the camera activates a physical sensor inside the body to achieve focus. When you use the LCD screen to take a shot, the camera uses software, much like a tablet or a smartphone, to lock on. Naturally, there are pros and cons to each.
All Nikon DSLRs use optical rather than electronic viewfinders, so what you see is life as it unfolds, without delay. Optical viewfinders are bright and clear. What’s more, they have no impact on battery life, and are ideal for situations when the LCD screen is hard to see. Some viewfinders don’t provide 100% coverage, so what you see is a portion of what the sensor will record (albeit a large portion of around 98%), but all current Nikon models offer full coverage. On the downside, the shape of the sensor used by the viewfinder dictates where the focusing points can be positioned. As a result, it’s impossible to focus on subjects at the edges of the frame without recomposing.
When you shoot using the LCD screen, you see 100% of what the sensor will record. You can set the screen to brighten automatically in dim light, or display copious amounts of technical information. What’s more, as this method uses software rather than a sensor you can position the focusing points anywhere you like within the frame. On the downside, the screen can be hard to see in bright light, and if you use it for long periods it will drain the battery. In all honesty, focusing with software is still not as effective as focusing with a sensor, so it’s best to shoot moving subjects in particular using the viewfinder method.
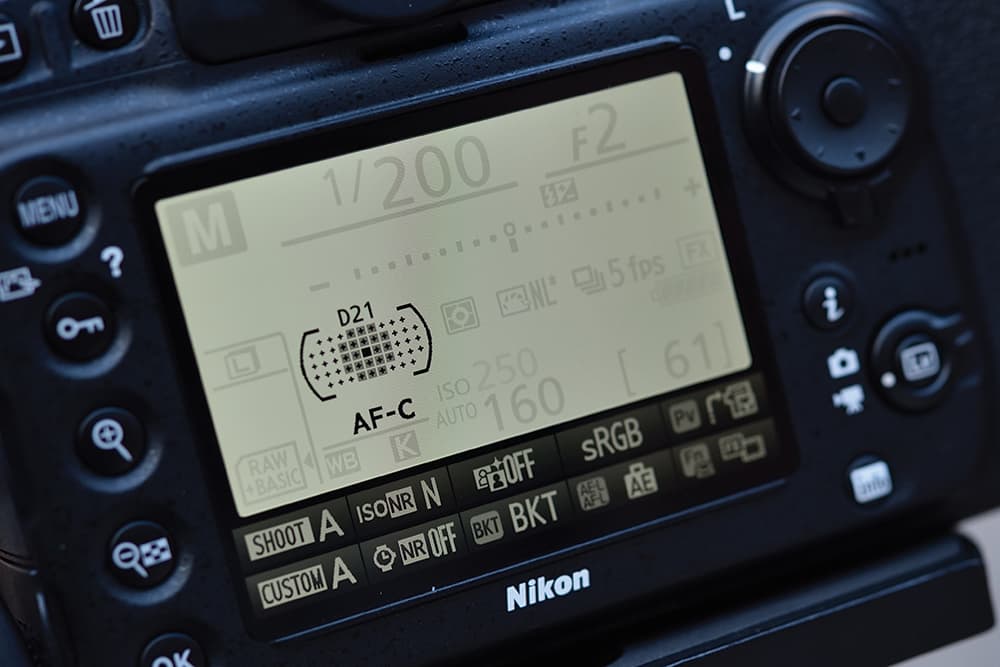
Dynamic-area focusing allows you to select a point and limit the size of the area in which it operates
Focusing through the viewfinder
When you compose a picture via the viewfinder, you have access to a number of focusing and area modes. The first focus mode is AF-S (Single-servo AF), which is designed for static subjects, as it focuses once and then stops. With AF-S selected you can choose between the following area modes: Auto Area AF, which instructs the camera to use all of the focusing points to achieve focus; Single Point AF, which allows you to select one, and Group Area AF, which uses five points.
Of course, there are positives and negatives to each of these. AF-S pretty much guarantees that the camera will focus on something, but it offers little control over where this focus will fall. Single Point AF attempts to solve this problem by allowing you to select an individual point, but this can be too specific, leaving no margin for error. In addition, if the point falls on an area that is low in contrast or detail then the camera may fail to focus altogether. Group Area AF, on the other hand, is a great all-rounder. With five points to move around freely you have maximum flexibility. (This mode first appeared on the Nikon D750 and D810, so if you have a model that pre-dates these you might just have Auto Area AF and Single Point AF to choose from.)
The second focusing mode is AF-C (Continuous-servo AF), which tracks a subject as it moves within the frame. With AF-C selected you can choose between the following area modes: Auto-area AF, Single-point AF and Group-area AF, but this time you also have the option of 3D-tracking, which allows you to sample a colour and track it as it moves within the frame; and Dynamic-area focusing, which enables you to select a single point and limit the size of the area in which it operates (current pro-spec models offer three ranges: D9, D21 and D51).
Focusing via the LCD screen
When you compose a picture using the LCD screen some of the focus modes and area modes differ from those used by the viewfinder method, while others have simply been renamed or repackaged. The main focus mode options are AF-S (Single-servo AF) and AF-F (Full-time servo AF).
When the camera is set to AF-F it continuously adjusts focus, tracking a moving subject without the need for pressing or holding down buttons. If,at any time, you wish to lock the focus you can press the shutter-release button halfway. By contrast, AF-S is designed for static subjects, as it focuses once and then stops.
With AF-F selected you can choose between the following area modes: Face-priority AF, which detects a face in the frame and locks onto it; Wide-area AF, which allows you to position a large focus point anywhere within the frame; Normal-area AF, which enables you to position a slightly smaller focus point anywhere within the frame; and Subject-tracking AF, which tracks a subject as it moves within the frame. This mode is intended for video recording, but as the microphone will pick up the sound of the lens whirring in and out it’s better to use Manual focus for movies.
Autofocus systems have come a long way in the last 35 years, so make the most of this amazing technology by experimenting with focus modes to create perfect pin-sharp pictures.
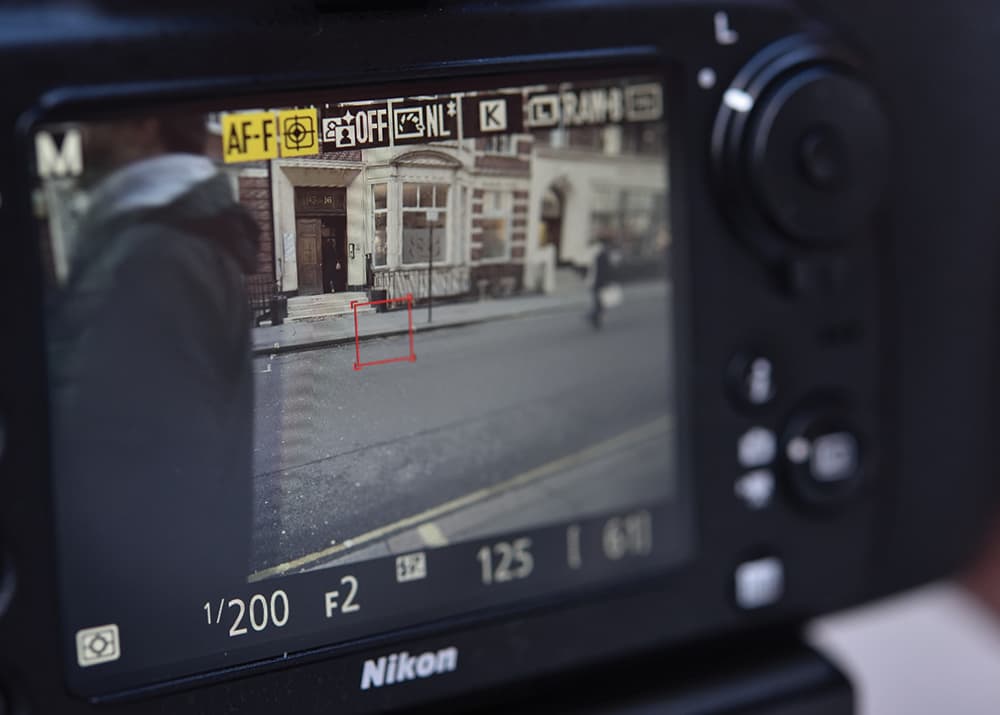
When you compose using the LCD screen you can display useful technical information
Release priority
There may be occasions when the camera is unable to confirm focus – in a low- light situation, for example – but you are confident that key areas are sharp, and you would like to release the shutter anyway. In order to do this, you need to call up the Custom Setting menu, select autofocus, and opt for Release Priority. Now you can take a picture without waiting for focus confirmation. If you are in any doubt as to the accuracy of your focusing, choose an aperture that provides enough depth of field to forgive any slight error of judgement.
Back button focusing
There are a number of ways to activate the autofocus system on your DSLR, but pressing the shutter- release button halfway, or using the AF-On button on the back of the camera are the most popular. The second method is known as Back Button Autofocus and necessitates separating the focusing from the picture taking, leaving the shutter-release button the job of opening the shutter, and the AF-On button the role of focusing.
Separating the autofocus and the shutter release has many advantages, but the greatest is that it removes the need for switching between AF-S (Auto Focus Single Servo) and AF-C (Auto Focus Continuous Servo) modes. Using Back Button Autofocus you can track a moving subject in the frame simply by holding down the AF-On button. If you want to switch to Single shot you just position the focus where you want it and release the AF-On button. Using this method you can respond to changing situations quickly, without the need to press multiple buttons. In short, using Back Button AF gives you greater control and more flexibility.
Recent Nikon DSLRs have a dedicated AF-On button, but older models have an AE-L/AF-L button that can be assigned to Back Button Autofocus. Whether you have an older or a newer model, the camera needs to be in AF-C mode to use Back Button Autofocus.
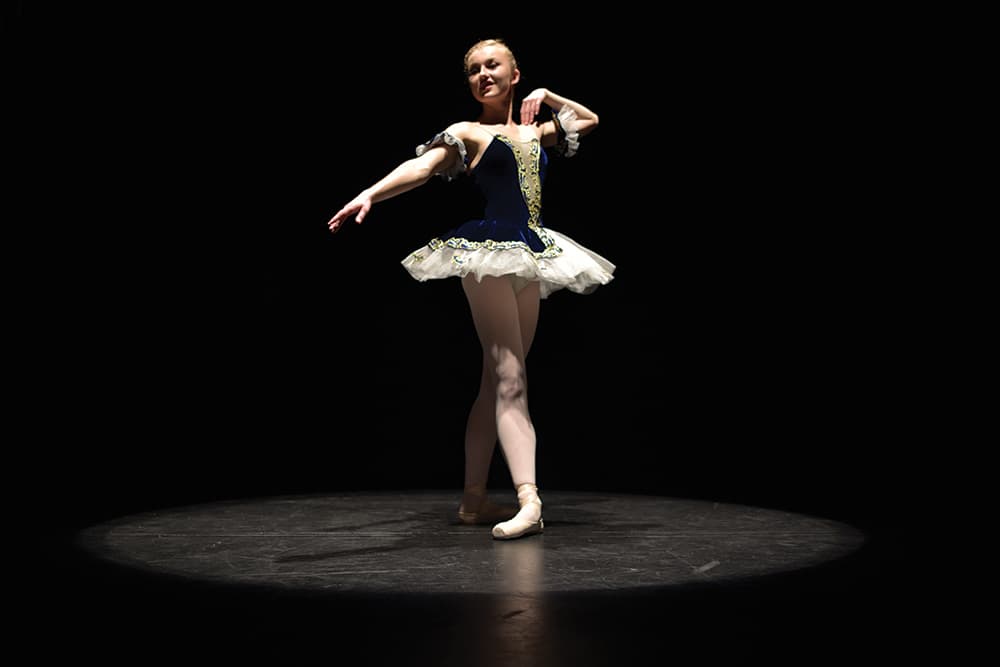
One of the most popular combinations for tracking a moving subject is AF-C with Group Area
How to set a Focus mode during Live View
Step 1
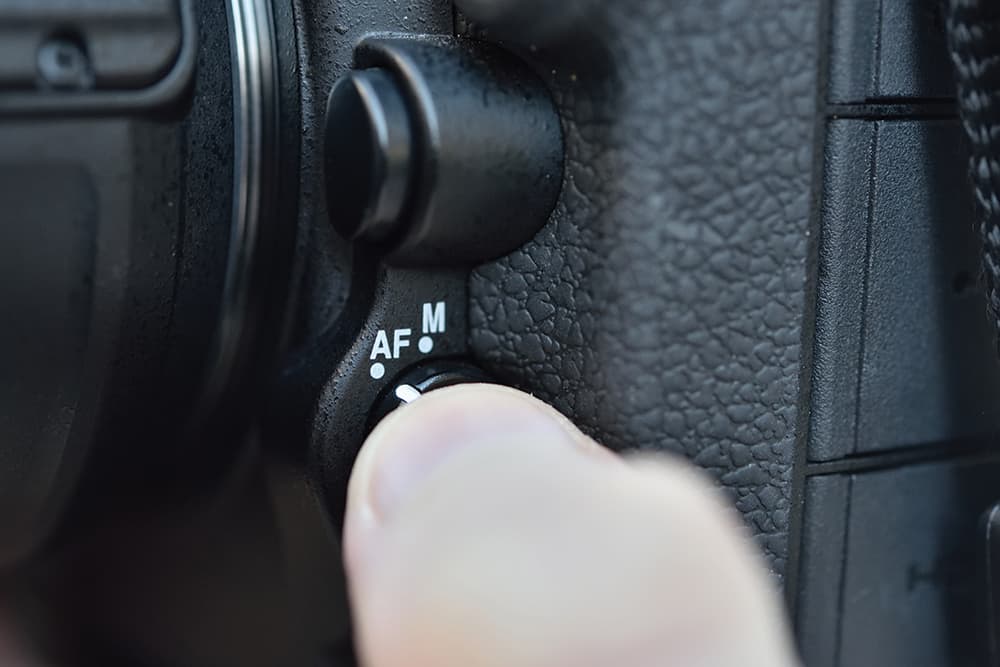
Switch the Focus mode selector on the side of the camera body to AF (Autofocus).
Step 2
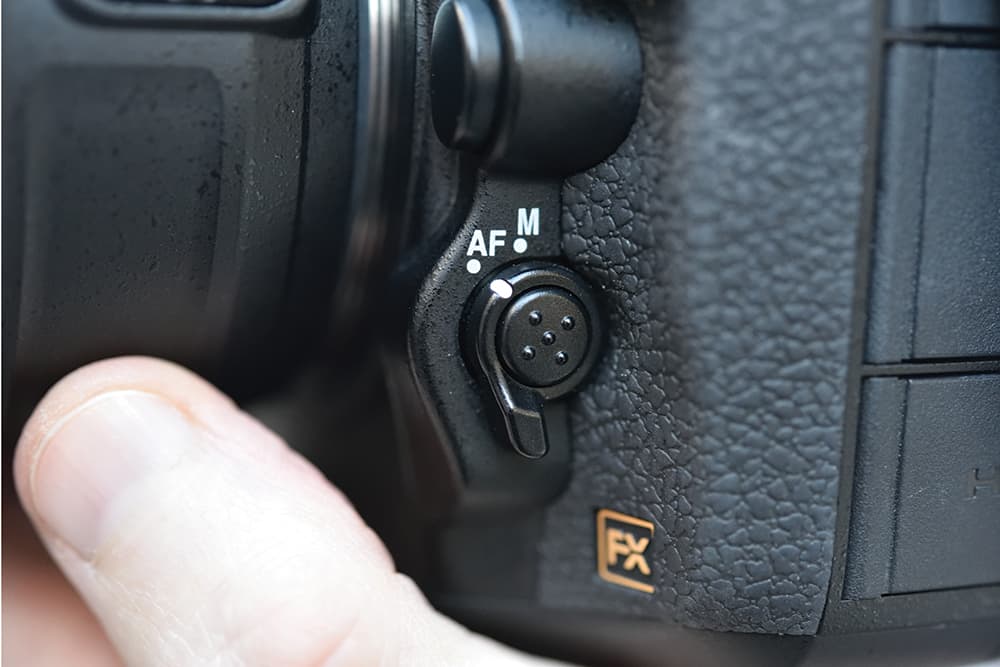
Select an autofocus mode from AF-S or AF-C by pressing the AF-mode button and rotating the main command dial at the same time. Remember that AF-S is intended for static subjects, while AF-C is designed for moving subjects.
Step 3
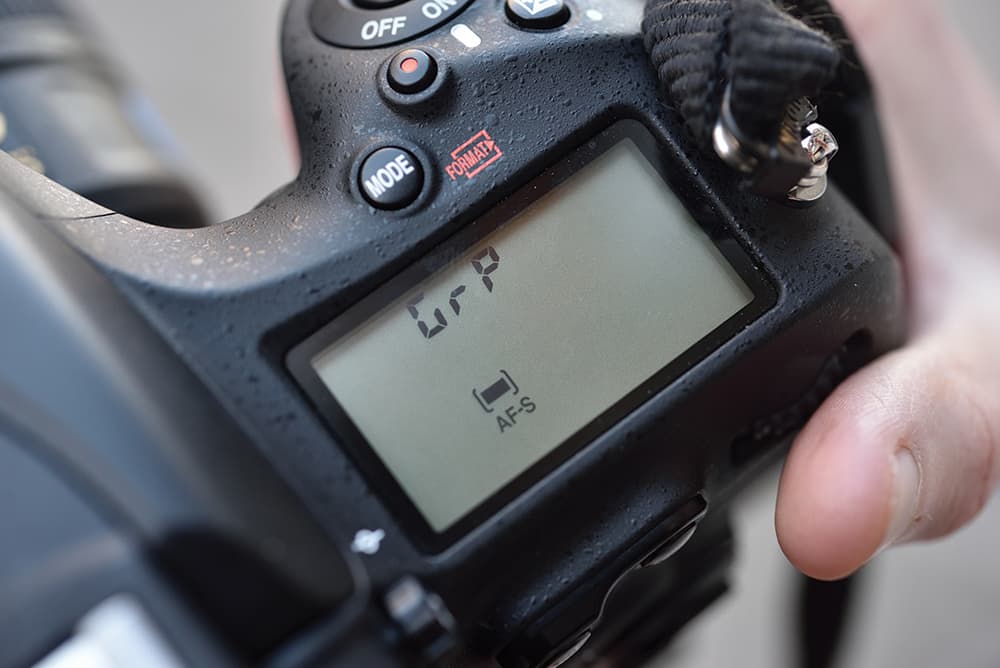
Choose an AF-area mode by pressing the AF-mode button and rotating the sub-command dial at the same time.
Step 4

Check the position of the focus point on the LCD screen. If required, use the Multi Selector to move the frame to the area you wish to focus on.
Step 5
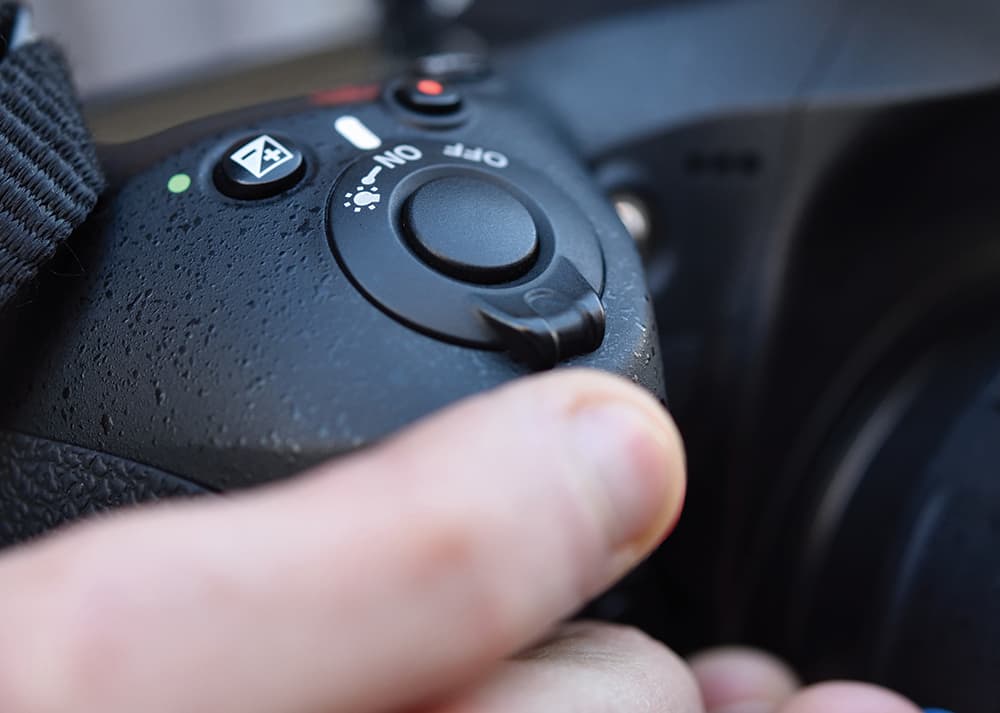
To activate focusing, press the shutter-release button halfway, and wait for the focus frame to turn green. Press the button all the way down to take a picture.

