

I’ve long been a huge fan of the original Sony A7R, and therefore transferring over to the Mark II was for me a relatively seamless process. There are a few cosmetic enhancements that one notices immediately – the redesigned body fits better in the hand, and there’s a relative absence of shutter shock, which was a fly in the ointment with the original camera.
I use aperture priority and manual, a very standard way of working and I find it easy to be able to switch between them. When doing long exposures or panoramic stitching I use manual, and if I’m in a situation with quick-changing light then aperture priority works really well. When I’m setting white balance, I tend to use daylight. I always shoot Raw, so everything’s retrospectively adjustable, but I try to make things as convenient for myself as possible.
For this feature, I’ll look at the optics, accessories and techniques that will help you get the best out of your A7R II for shooting landscapes.
Joe’s recommended lenses
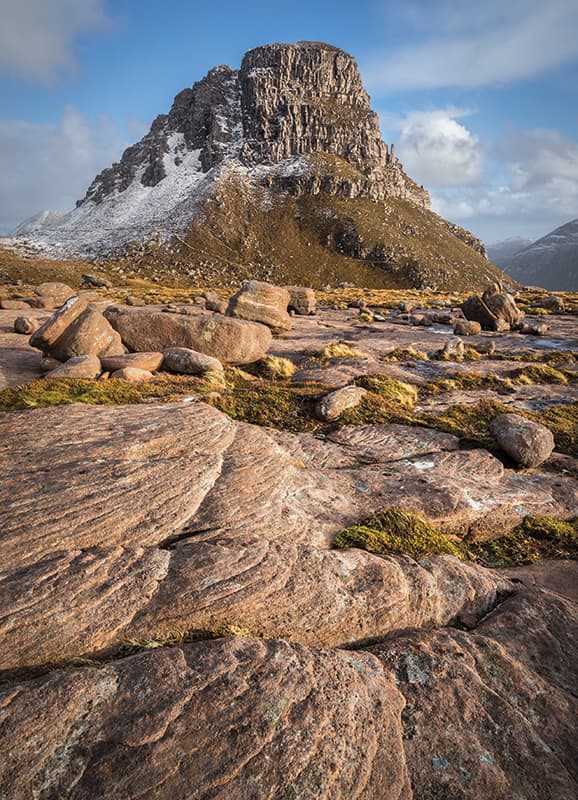
Stac Pollaidh, Assynt. When wind speeds are very high, it is wise to both shelter the tripod-mounted camera as far as possible with your body, and use a wideangle lens
For a camera like this, the pressure on the photographer rises. The higher the resolution of the camera, the more scrutiny one can apply to the files, meaning imperfections tend to be more evident. That means you need high-quality lenses.
With my A7R II, I use quite a mix of different optics. One of the lenses I use the most is the very first one that came with the original A7R, which is the Sony FE 55mm F1.8 ZA Carl Zeiss Sonnar T* lens. This is an excellent lens, and has a well-earned reputation for producing high-quality images. It doesn’t come cheap, but you get what you pay for.
Another lens I would recommend that may surprise people is the Sony Carl Zeiss Vario-Tessar T* FE 16-35mm f/4 ZA OSS. It’s not an ultra-fast lens or an ultra-sharp prime, but having shot with primes at various focal lengths and done side-by-side comparisons – not proper studio tests, but tests in the landscape – I’ve seen virtually no significant difference. That gives me the confidence to shoot with it, knowing I’ll produce results that will stand up to enlargement.
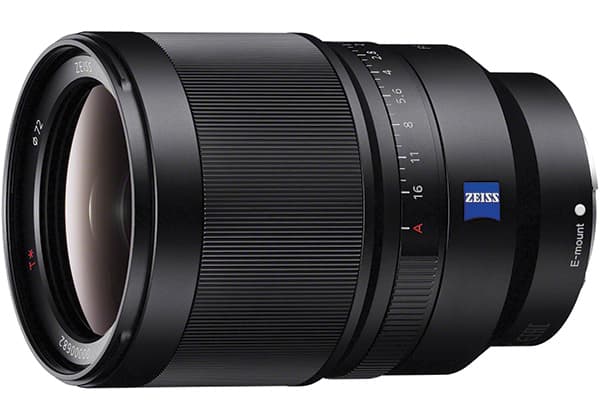
A lens I’ve acquired recently is the Sony 35mm f/1.4 G, which is stunning. However, it is massive, which you’ll have to take into account if you’re going to take it along on a shoot.
It’s not necessarily the sort of lens you’d put in your bag and walk long distances with. But for the times when you want the very best in that focal length, it’s wonderful, and definitely usable wide open in my opinion.
Another lens I love is the Sony FE 90mm f/2.8 Macro G OSS. Macro lenses have always been very good in my opinion, so there’s no great surprise that this isn’t an exception. Previously, I was using a Carl Zeiss 100mm f/2 Makro-Planar T* 2 via an adapter. This is a great lens, but the fact that it needed an adapter meant there was a loss of functionality and a fair amount of fiddling needed to set it up.
Using ISO
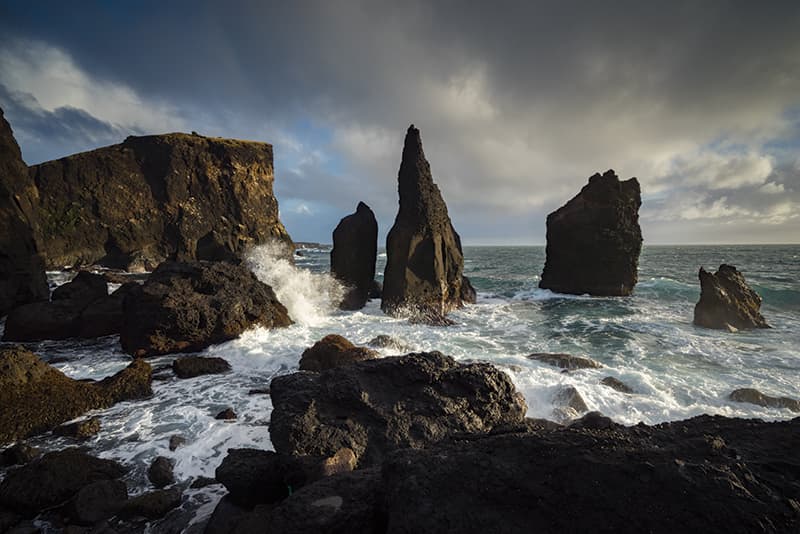
Iceland is one of those places that presents many opportunities, yet also technical challenges. Sunlit sea foam and shaded black volcanic rock is a high-contrast example. The A7R II’s tone and colour rendering copes easily
I am a habitual user of native ISO, except when I need more speed in order to shorten an exposure time. What I find amazing, however, is how often ISO 100 gives me exactly the amount of movement in a shot that I like (between 1/2sec and 1/15sec, say). However, on occasion, if I want to extend my exposure time beyond these shutter speeds, I will sometimes drop down to ISO 50, a level the A7R II can offer, albeit not natively. I also frequently use a three- or six-stop ND standard filter to lengthen exposure times creatively (more on filters below).
At the other end of the scale, the A7R II offers the best high-ISO performance of any camera I have used. However, I would still be reluctant to push much beyond 1600. It’s true that when you know how to print, acceptable results can still be achieved at higher settings than this, at least to 6400 or even higher. But I’d prefer not to have to try!
Filters
If you want to explore creatively in landscapes, it’s necessary to get hold of some filters. I use the Lee 100 system, because some of the lenses I’ve got are relatively large. These filters are excellent – I’ve never had any problem with loss of quality or detail even when using two or three of them together, which is great when using a camera such as the A7R II.
’ve always used a wide range, so I typically carry ten filters with me. I use various different densities and different hardness settings, which allows me to use filters in such a way that they’re invisible. They manage the lighting range nicely so I’ve got less work to do in post production.
I use a mixture of neutral-density grads, regular NDs and polarisers. ND standards can slow my exposure down, especially in bright light conditions, which is all part of the language we have to play with – time and motion. It’s not only interesting but it’s also slightly unpredictable, because it can soften the detail in a way that’s actually visually pleasing. Even with a camera like the A7R II, detail isn’t everything, and an excessive amount can result in an image that’s too busy.
Landscape advice
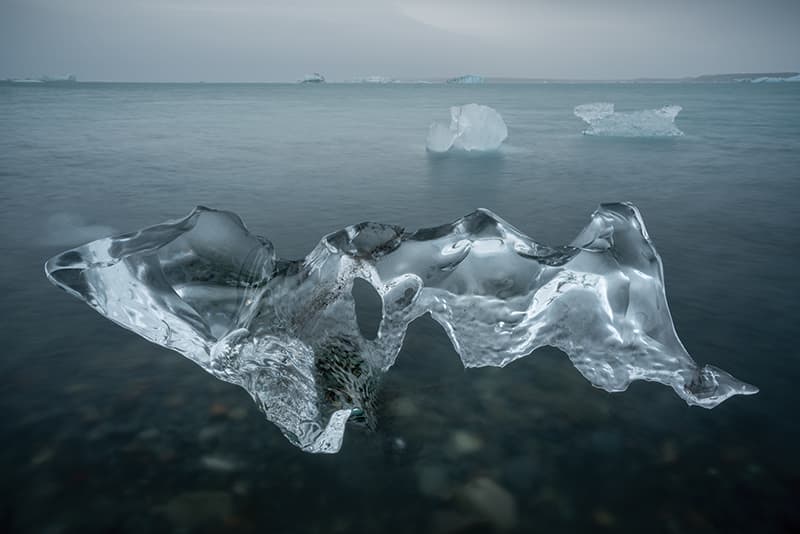
Working in the rain should be possible for any dedicated landscape photographer, so long as you have confidence the equipment can take it. Shot with the A7R II at Jökulsárlón, Iceland
Each photographer is going to be different, and the most important thing is to spend time outdoors and develop a sense of what kind of gear you want to carry. The A7R II is a light camera, and the best way to take advantage of that is to avoid carrying an unnecessary amount of gear. Too much will slow you down and make the shoot less enjoyable.
See below, where I’ve outlined a good light kit bag that will allow you to make the most of your A7R II without weighing yourself down with too much kit.
Travel Light: Five Essentials
I think if you want to be effective as a photographer, you shouldn’t carry around loads of stuff you don’t need all the time. You’ll end up very tired, and you need the energy to concentrate on what you’re doing. With that in mind, here’s how I would design a “travelling light” kit bag…
1. 24-70mm lens
If you take one lens, make it a standard like this, which will cover most options for the photographer using 35mm format. I think it’s advisable not to have too many options lens-wise, as it will force you to think carefully about what you’re doing.
2. Three filters
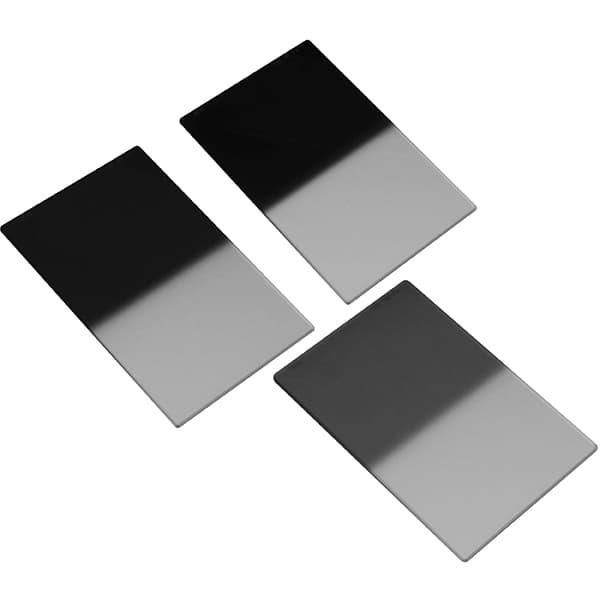
I’d say a good filter “survival kit” would be a .6 hard grad, a .6 soft grad and a .9 soft grad. You’ll mostly need to control skies, and these three will produce a good baseline to work with.
3. Gitzo tripod
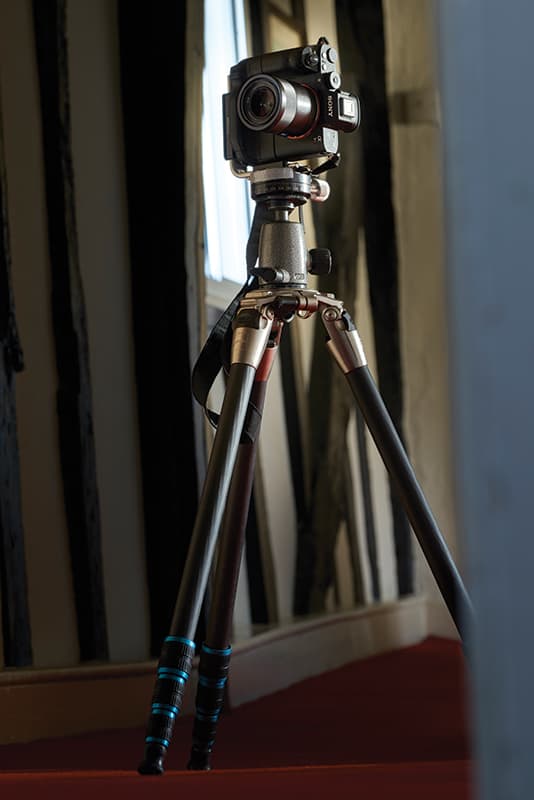
I’ve used Gitzo tripods ever since I started out as a photographer, and I think they’re excellent. There is such a wide range of tripods now and many of them are good, but if asked to endorse one I would choose Gitzo.
4. Wellingtons
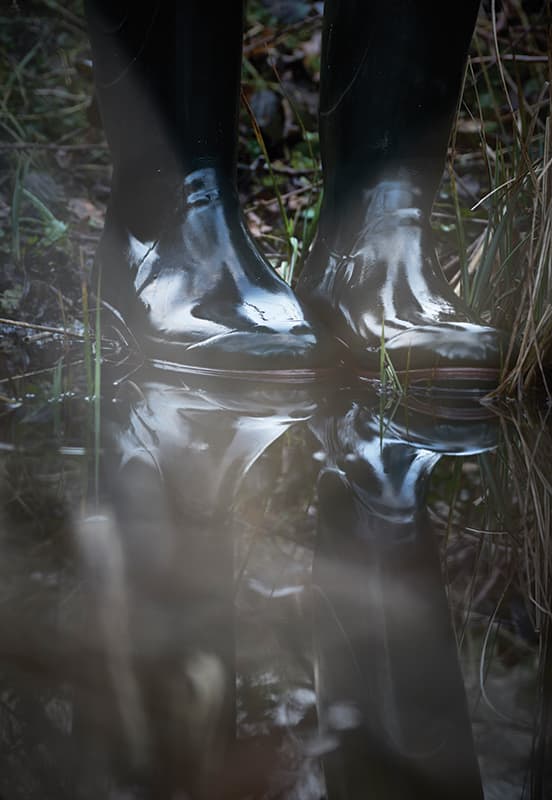
I think wellies are often misunderstood—people have bad experiences when they only use cheap plastic ones! Give wellies the same level of thought you give proper walking boots and you’ll find them to be invaluable, especially if you’re working at low level or even embarking on some medium hill walking.
5. Backpack
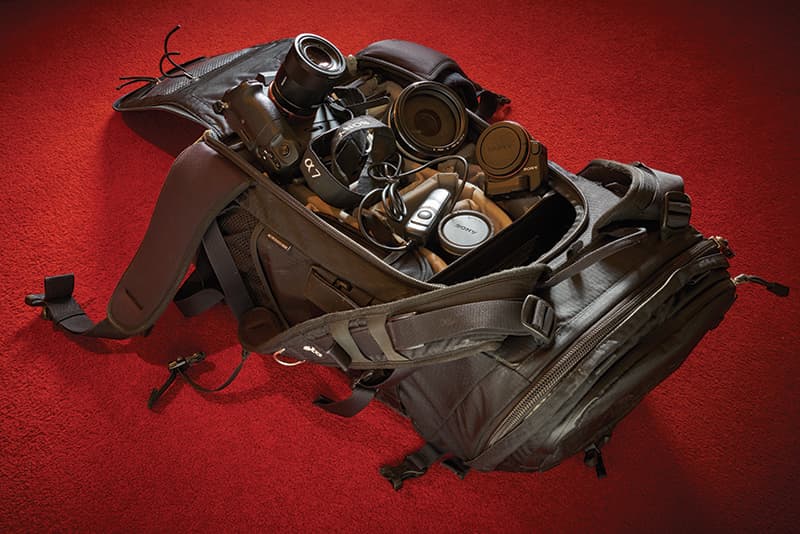
For carrying all your gear I would recommend a backpack, if for no other reason than good balance and ease of carrying over distance. As I said before, you want to be able to get immersed in your subject without tiring yourself out.


