One of the most exciting aspects of photography is its ability to capture the world in a way that’s far beyond the capabilities of human perception. It can freeze ultra-fast movement to suspend a subject in time and space. At the other end of the scale, exposure time can be drawn out for seconds, minutes and even hours to capture movement in some of the most eye-catching ways possible. Landscape photography in particular offers a number of possibilities to use the long-exposure technique for creative shots.
Note: please be aware of lockdown restrictions if you go out to try long exposures. It’s Ok to take photos in a local beauty spot or beach as part of your daily exercise but setting up a tripod for any length of time is likely to attract official attention. Obviously you can do what you want around your house and garden. See here for a fuller guide to lockdown photography.
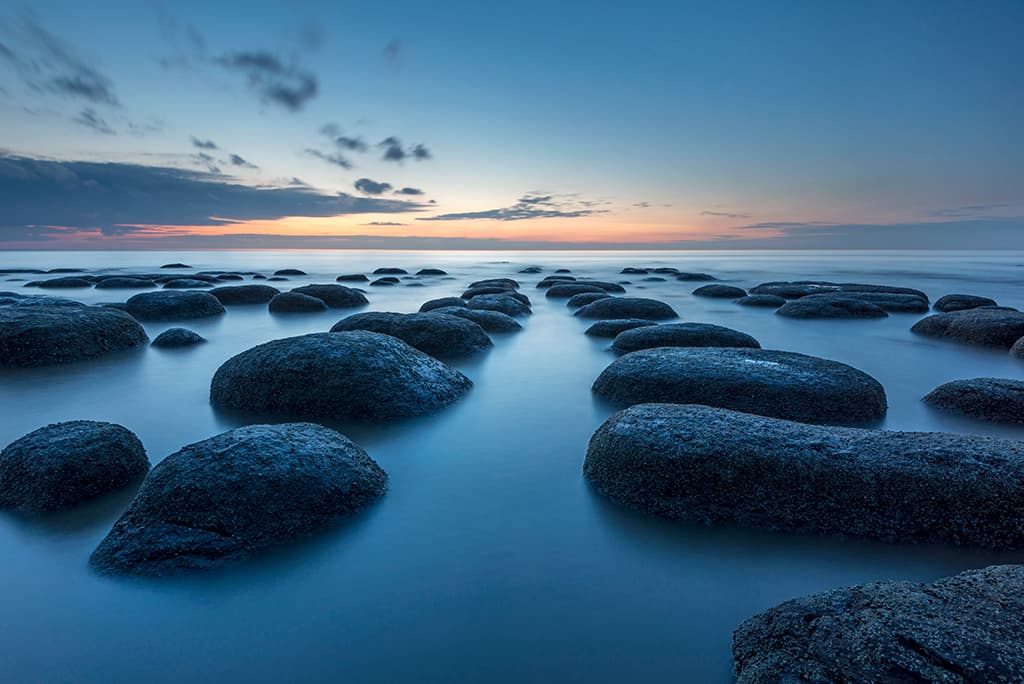
Nikon D610, 16-35mm, 30sec at f/16, ISO 100
1) Common landscape problems
Camera shake and ghosting
Camera shake is movement of the camera that’s captured in the image and results in blur. It’s certainly not the type of blur you’re aiming for with the long-exposure technique. This is why it’s important to attach your camera to a tripod and use a shutter remote to fire the shutter. Camera shake can also occur if you’re shooting on unstable ground and people walk past the camera, which is what happened in the image above.
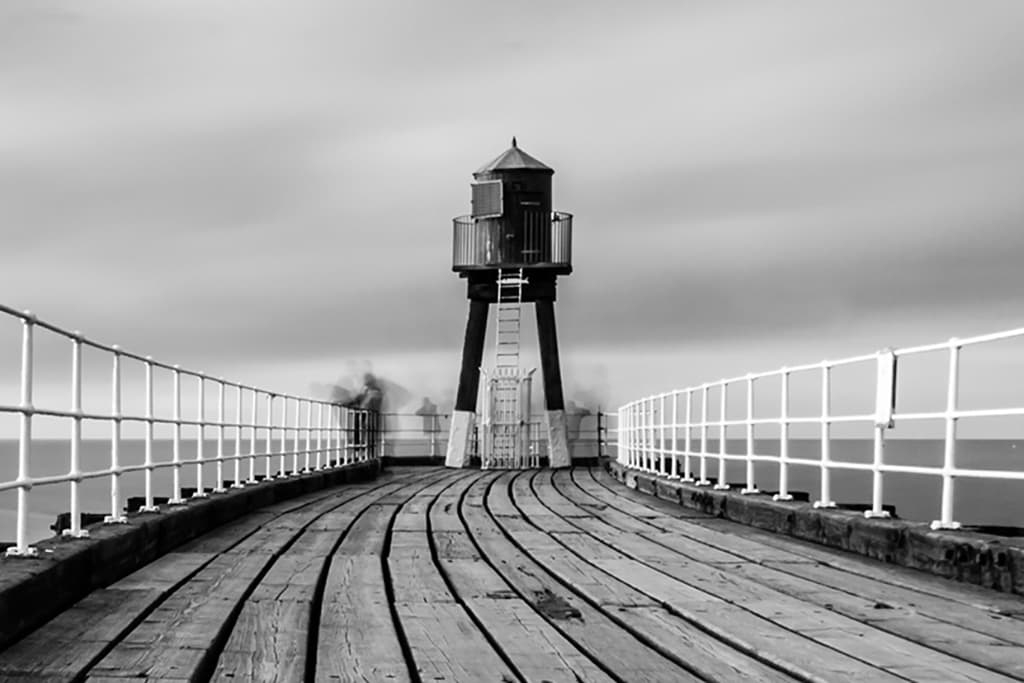
A second problem in the image above is that stationary as well as slow-moving people have been captured as ghosts despite the long exposure. If people are walking through the scene, they’re often not captured, but anyone standing still or moving slowly can be, so timing is everything. To achieve a sharp shot, it was necessary to wait until the scene was free of people and that no one was walking past the camera during the exposure.
How to shoot minimalist seascapes
Minimalism is a popular approach when shooting long exposures. Attach your camera to your tripod, compose and use any ND grads you would normally need but position the grad in the second, rather than first filter slot. Now manually focus one-third of the distance into the scene and set the aperture to f/11 and ISO 100 in aperture-priority mode.
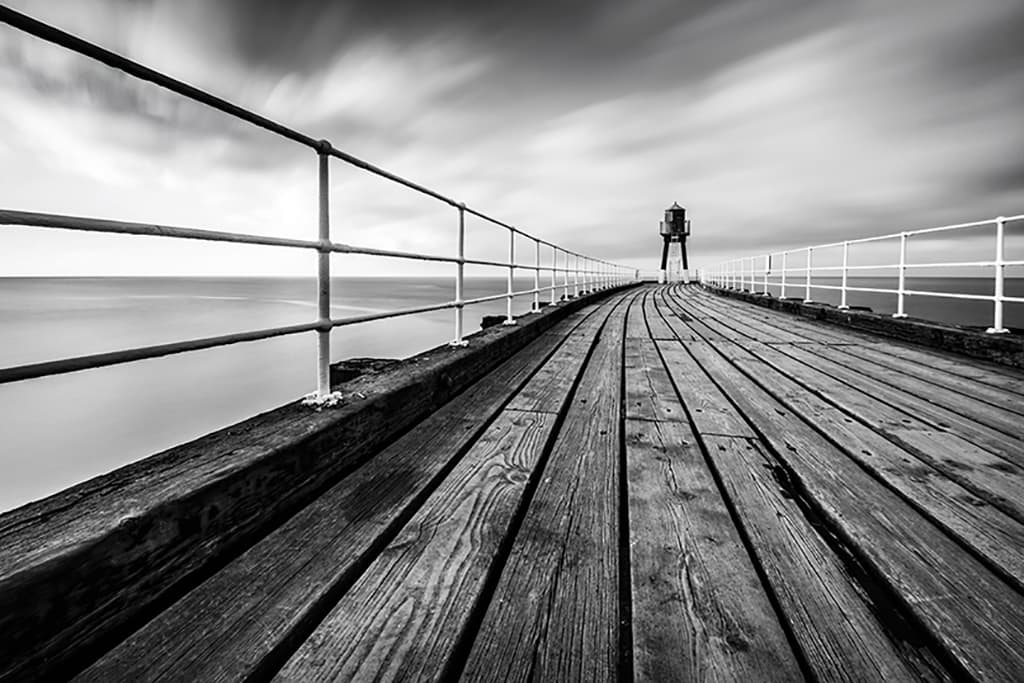
Take a test shot and adjust exposure until everything is correct. Make a note of the shutter speed and set the camera to Bulb mode at f/11 and ISO 100. Slot the long-exposure filter into the first filter slot or screw it on to the lens.
Using the Lee Stopper app, select the filter and dial in the shutter speed for a ‘normal’ exposure; the app will calculate exposure. Then click on the timer to time the exposure. Press start and release the shutter at the same time, locking the shutter button on the remote until the timer comes to an end.
Problems using Big Stoppers with landscape shots
The easiest mistake to make when shooting with a long-exposure filter such as the Big Stopper during the day is not to put a cover over your viewfinder. Some professional DSLRs have a viewfinder curtain built-in, so you simply have to flick a switch to engage it.
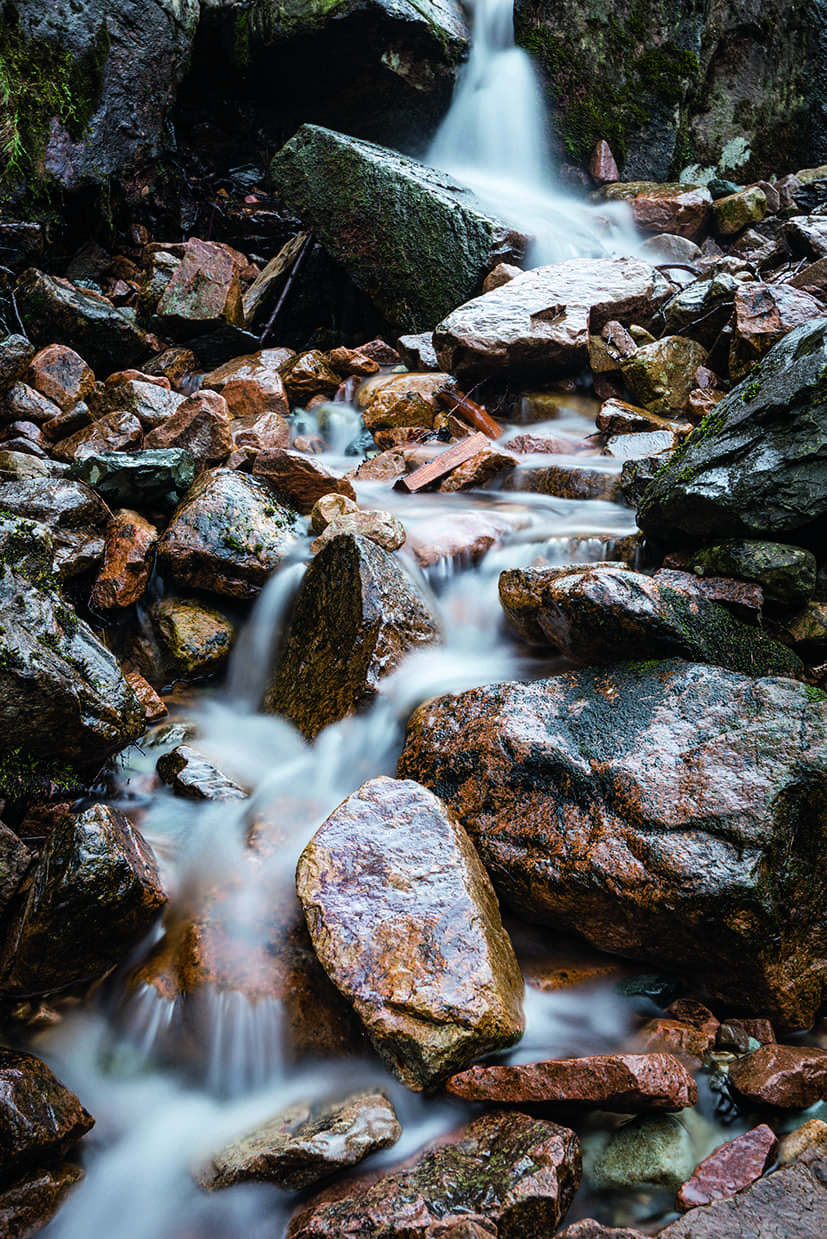
Viewfinder covered
And if you’re shooting with a mirrorless camera with an electronic viewfinder, you don’t need to worry about this – no light can reach the sensor through the EVF. If you forget your viewfinder cover, use a lens cloth to stop light entering.
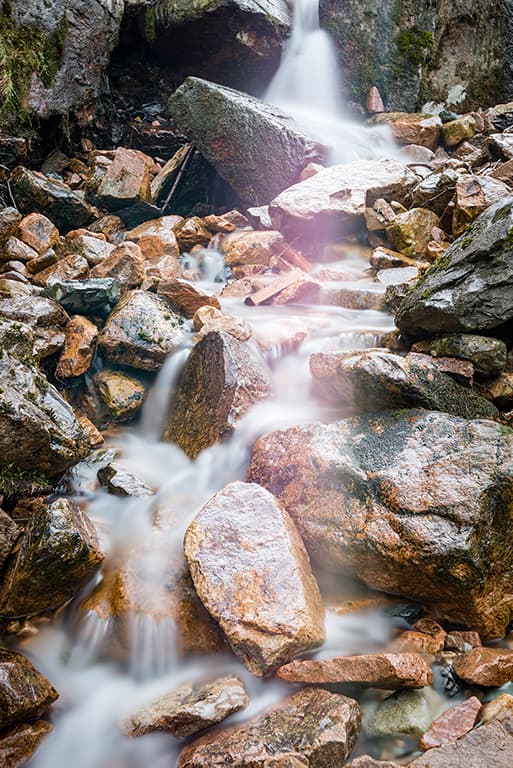
Viewfinder uncovered
So why is it so important not to let light enter the viewfinder during daytime long exposures? It’s because when enough light enters the viewfinder, it finds its way to the sensor, and over the course of the exposure creates a light leak in the image – reminiscent of light leaks you’d get as a result of damaged film canisters.
Kit list
Shutter remote
If you are shooting exposures longer than 30sec you’ll need a shutter remote to hold the shutter open manually in Bulb mode.
Tripod
Keeping your camera completely still during long exposures is imperative for sharp shots. Never leave home without one.
Exposure calculator
The free Lee Stopper app is a great way of calculating and timing long exposures with 6-, 10- and 15-stop ND filters.
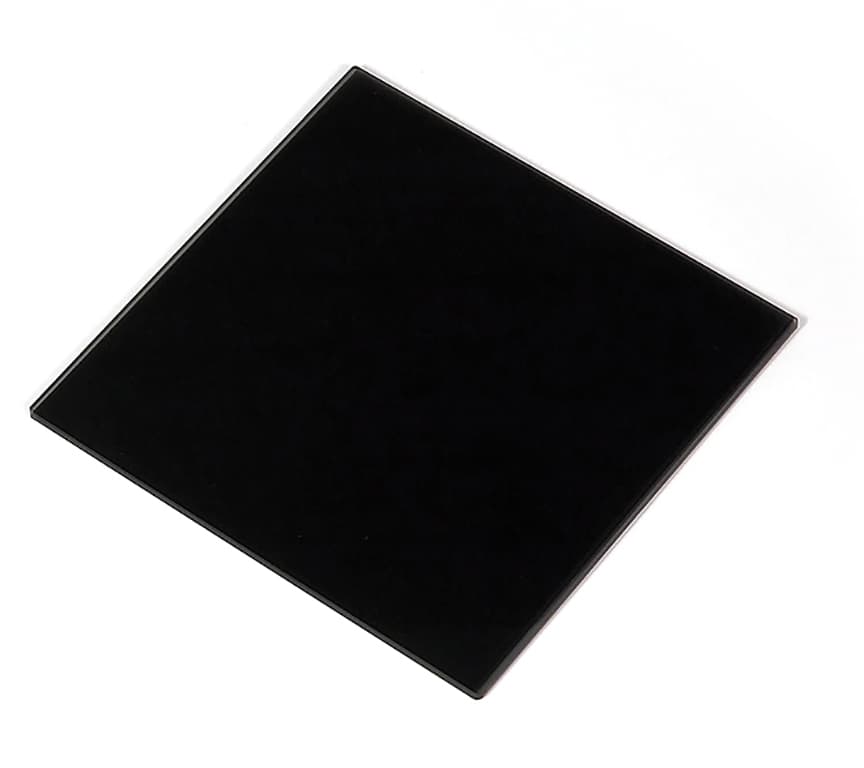
Big stopper
A long-exposure ND filter that blocks 10 stops of light is a must-have accessory if you would like to be able to shoot ultra-long exposures.
2) Capture dynamic light trails
When the sun drops below the horizon, a new photographic world opens up – one where light and movement can be used to make artificial illumination pop with colour against a glowing blue sky.
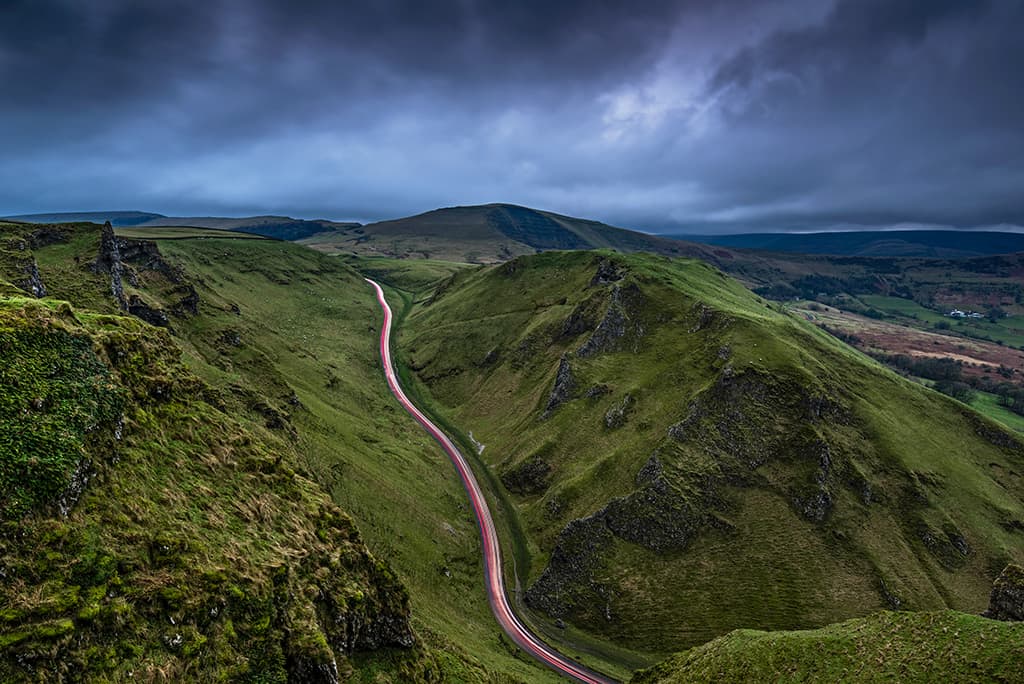
Nikon D610, 16-35mm, 1/8sec at f/11, ISO 100
Traffic trails
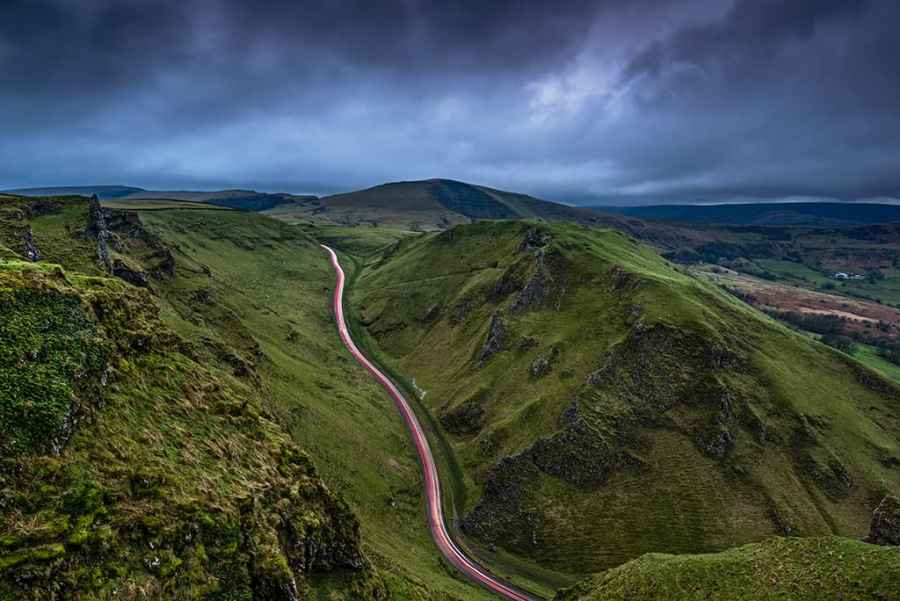
Shooting traffic moving through both rural and urban environments can help to bring the scene to life and add an element of dynamism. In rural locations, traffic is often more sparse than in the city, so it’s best to shoot at a time when you know it will be busy.
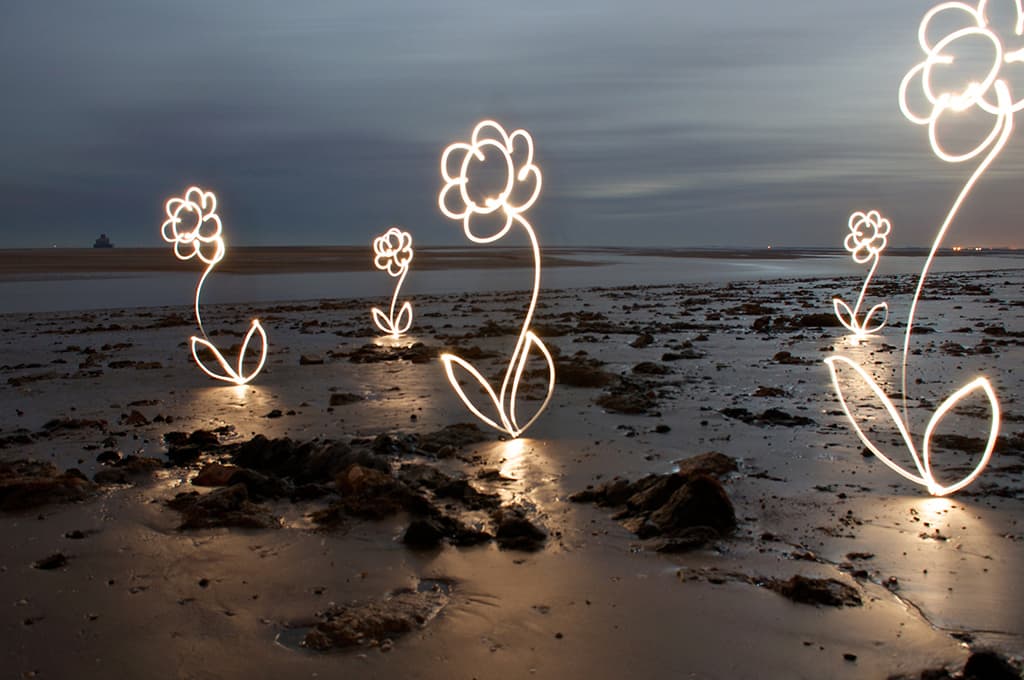
Remember to move quickly as you have only a 20-second self-timed exposure in which to work
Create light trails anywhere
Painting with light is a technique that can be used to create eye-catching images of light trails, anywhere. Indoors or outdoors, as long as ambient light levels are low enough, you can draw simple images, illuminate a subject or even write words.
It’s a lot of fun and despite being one of those techniques that looks difficult, it’s actually really easy. Once you’ve identified a suitable backdrop, make sure you’re on location just after sunset. Similar to traffic trails, a blue glow in the sky always looks best. Shoot in aperture priority at f/8 and ISO 100, and then wait until exposure time is at least 20sec.
Use the self-timer set to a 20-sec delay to allow you to get into position, and if painting multiple areas/objects, turn the torch off between each. And work fast!
How to shoot light trails
Time of day
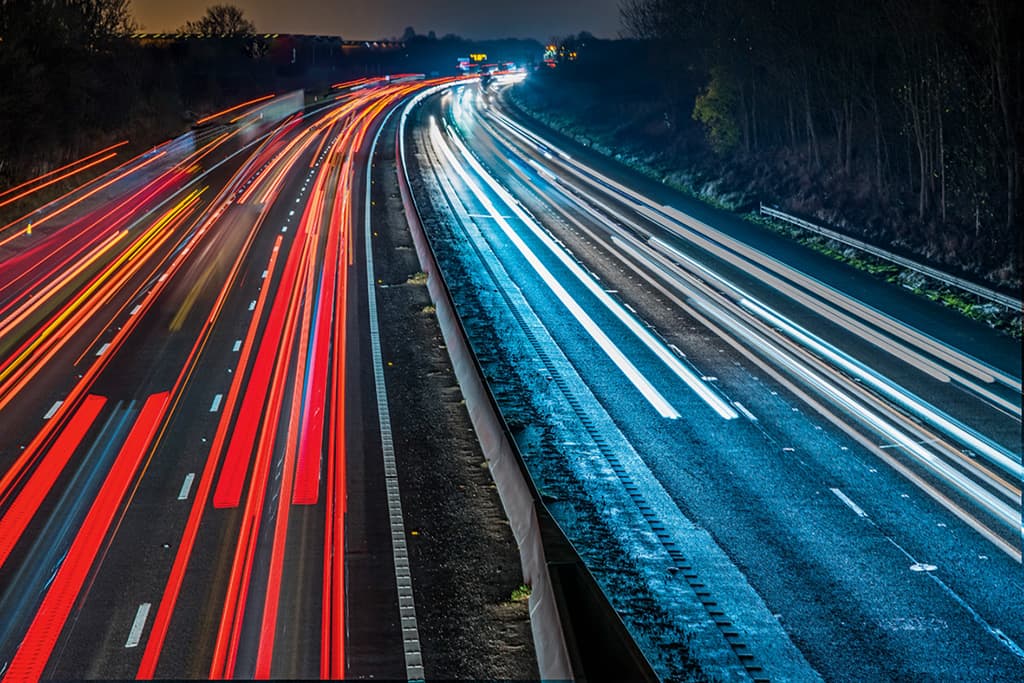
The best time of the day to shoot light trails is the period of time after sunset. For around 30-45min the sky will glow blue. This results in much more punchy images than at night when the sky is completely black. When light levels drop too low, the surrounding environment can also become too dark and lack interest and detail.
Camera settings
Regular landscape settings apply, so shoot in aperture priority mode at f/11 with ISO set to 100. In this mode, the camera will take care of the shutter speed for you, and when shooting after sunset this will generally range from 15-30sec. As a general rule, 15sec is the shortest exposure time you can get great traffic trails with, but this of course depends on the density of traffic or the speed of the fairground ride you’re shooting. If shutter speed needs to be longer than 30sec, for a correct exposure increase ISO to 200-400.
Camera kit
Shooting light trails requires no specialist kit – just a camera and kit lens will do the job; although, if you have an ultra wideangle lens, this can also work very well. You’ll need a tripod to keep the camera steady during long exposures, and if you have one, a shutter remote can be useful. But if you don’t have one no need to worry– simply use the camera self-timer set to a 5-sec delay to release the shutter and avoid camera shake.
Location
For traffic trails, an elevated position such as a bridge over a busy road or motorway provides an excellent viewpoint. To capture the less bright rear lights, position yourself above the lane of traffic moving away from you. Another great spot can be shooting on a traffic island with the traffic travelling on either side of you, for a more immersive-looking result.
Traffic density
The volume of traffic on the chosen road is always an important factor, which is why shooting near main roads at busy periods will give you the best results. Quiet roads with little traffic will most likely always be a greater source of frustration.
Common problems
Very dark sky
The ideal time to shoot light trails is for the short period of time after sunset known as the ‘blue hour’. Be on location and ready to shoot before sunset, because the blue hour isn’t really an hour. Shooting at this time will provide a bright blue glowing sky with light trails in the foreground rather than a boring black sky.
Incomplete light trails
When shooting light trails, you have to wait for busy periods when traffic is flowing on both sides of the road. If you shoot from an elevated position, such as a bridge, you’ll be able to see the density of traffic in the distance and can release the shutter at the best time. Also shoot at rush hour if possible.
3) Shooting stars
The night sky has been the object of fascination for many a millennia. Astrophotography is an extremely captivating arm of the landscape photography genre. For pure astrophotography, one might use a star-tracker device or telescope capable of mounting a camera, but it doesn’t have to be that complicated.
Digital photography and the control of high-ISO noise, alongside the advances in fast maximum aperture, wideangle lenses, have made photographing the stars more achievable than ever before. You’ll get the best results using professional-level cameras and lenses, although it’s still possible to capture fantastic images with more modest kit.
Star trails
Basic set-up for stars
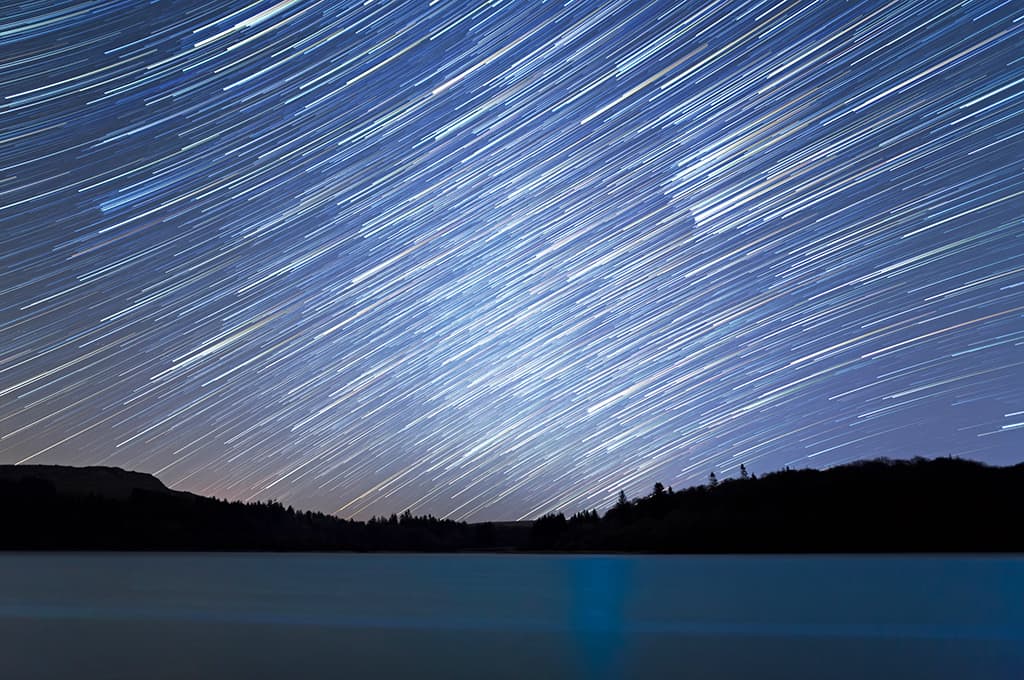
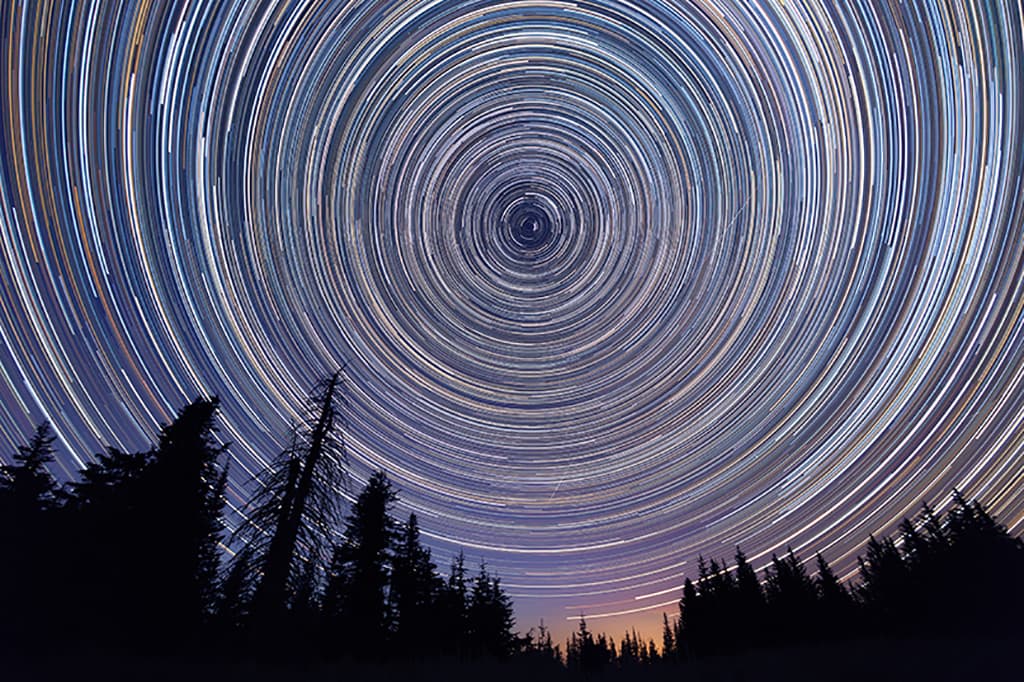
In the days of film, photographers would leave the camera shutter open for long periods of time, but with digital it’s much easier to shoot star trails. Set the camera to the settings mentioned below, but set your ISO to 800. Shoot in Bulb for 4min per exposure, shooting one shot after the other, and the images can be stacked in Photoshop and blended together using the Lighten Blending mode.
Lens choice
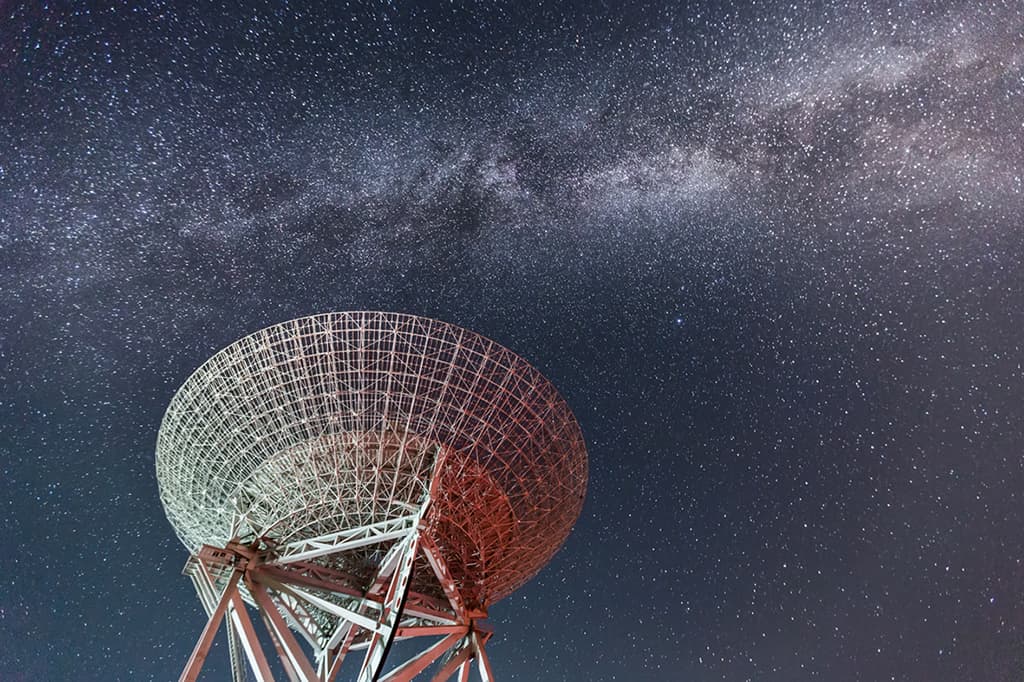
The best lenses for astrophotography are ultra-wideangles, so 16-35mm on full-frame and 10-15mm on APS-C. Wideangle primes also work exceptionally well, and the wider the aperture the lower the ISO can be set to. For best results, use f/1.4, f/1.8 and f/2.8, but f/4 lenses can achieve reasonable results as well.
Focus and shooting mode
Set the lens to infinity, which will focus the lens on the sky. Shoot in manual mode, and to capture stars as the eye sees them aim for a shutter speed of around 20-25sec. There’s much more to shutter speed and focal length than this – the ‘500 rule’ – but this is a good general starting point.
Camera settings
Record images in raw and set the widest aperture your lens is capable of. Now set ISO to 1600 and increase or decrease as necessary using the image on the
LCD as a guide. For this technique the histogram is useless because it will show massive underexposure.
Common problems
Light pollution
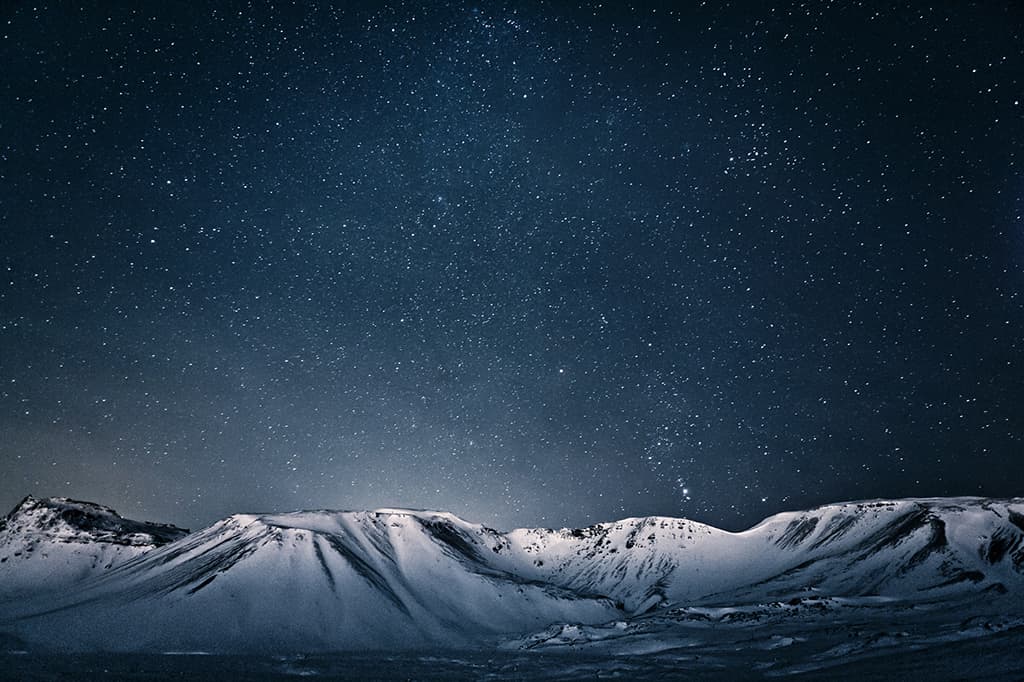
Not only will light pollution make it more difficult to actually see and capture stars, it will also create an orange glow in your images. Shoot in dark sky areas, such as Northumberland and the Brecon Beacons in Wales, for the best results possible.
Turn off Noise Reduction
Turn off your camera’s high ISO and long-exposure Noise Reduction. It’s always best to deal with these in post-processing, and having them turned on will make the camera take ages to write images to the memory card.
Shallow depth-of-field
Shooting at a wide aperture means foreground depth of field will be extremely shallow. To avoid this, take a wide open shot of the sky, and one stopped down for the ground to blend together in post-processing
Further reading
Expert tips for longer exposures

