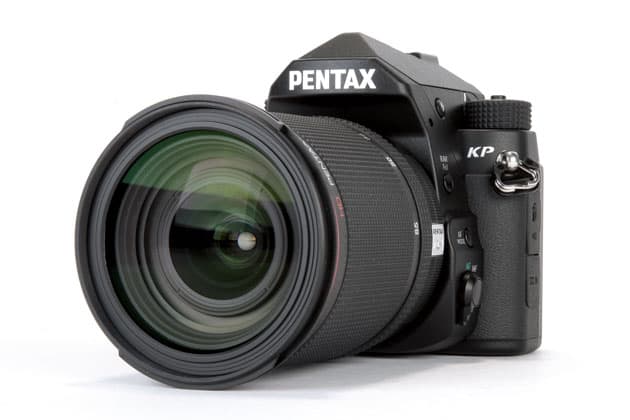
Pentax cameras are often praised for offering great value for money but something far less appreciated is just how much control over customisation is offered, even on the lower-end models. We examine some of the ways you can adjust current Pentax models to suit your liking; looking at everything from longstanding but underused settings to newer adjustments that you might nd extremely useful when shooting.
What follows is based on the functionality inside the latest Pentax KP DSLR, but much of it also applies to older models and other cameras within the current line-up. Read on and you might be surprised by what’s on offer.
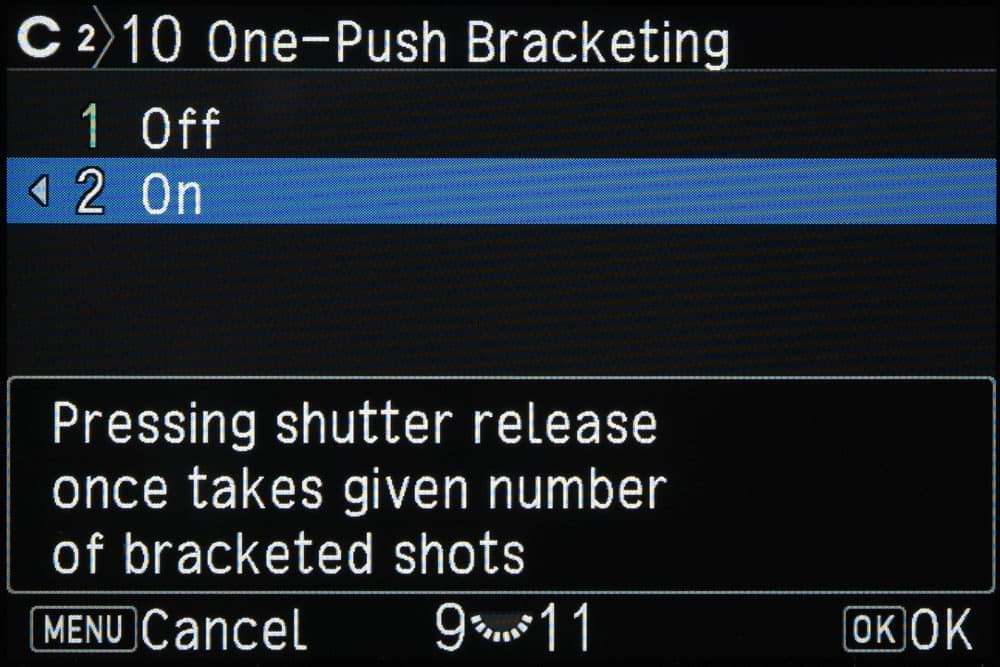
One Push Bracketing
One Push Bracketing is ideal for shooting moving subjects, and will increase your hit rate
Different cameras take different approaches to bracketing images and many require you to press the shutter release button prior to every frame within that particular sequence. Arguably, a more convenient option is to have the entire sequence of bracketed images captured with a single press, and enabling the One Push Bracketing control does just that.
This is perhaps not too great an issue with sedate subjects but those of you capturing scenes in which a subject is moving should find this to be useful since you stand a better chance of each exposure being similar to the others. this option tends to be located in the middle of the Custom menu.
Save Menu Location
There are often times when you need to activate a feature for one or two images before deactivating it once again. Frequently this requires you to re-enter the menu to find this feature but it can be frustrating if your camera has already gone back to the start of the menu, rather than staying where you left off.
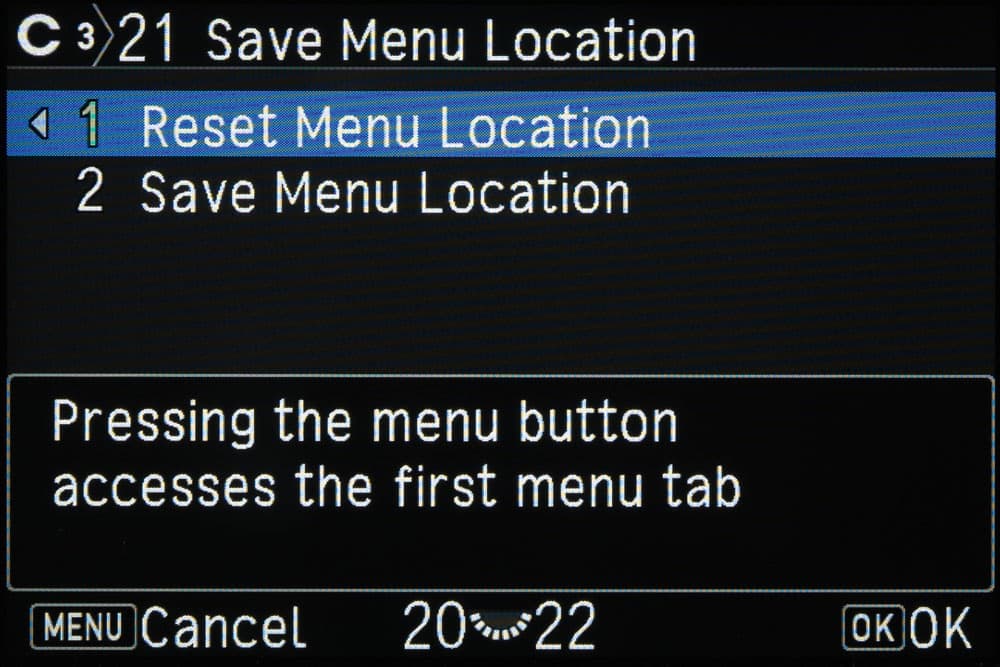
Fortunately, a quick fix is available. Simply find the Save Menu Location option from the custom Menu, which tends to be somewhere towards the end of this section. the default option should be to reset the menu back to the start but the other option is to have this remain at the last place you left the menu.
Memory
This is hardly a secret option, having long featured on even some of Pentax’s cheaper compact cameras, but it’s useful to acquaint yourself with what it allows as you may want to adjust it in different shooting situations.
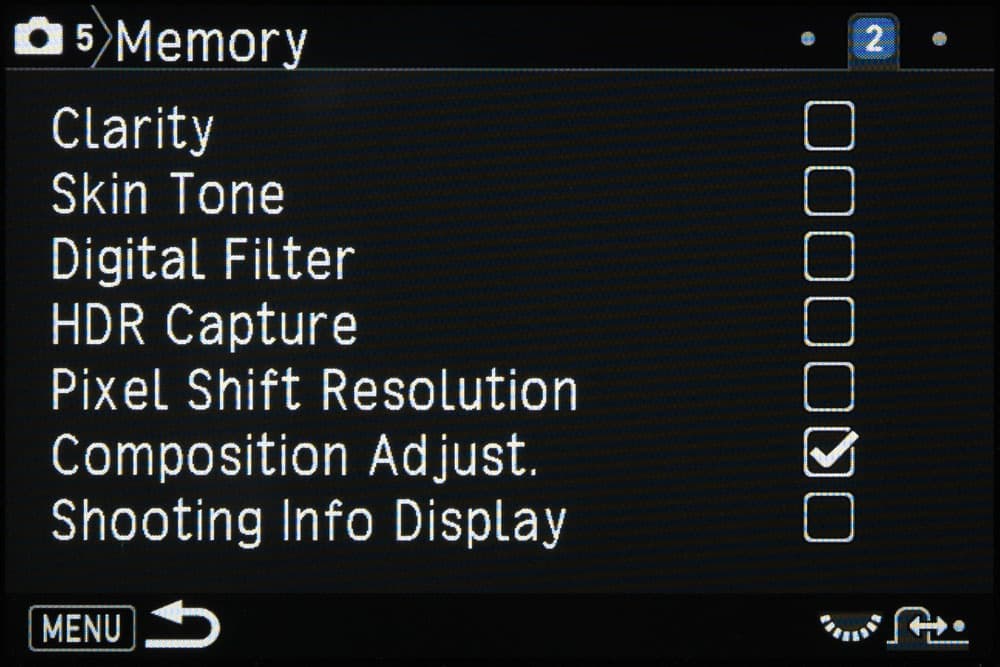
It gives you the option to select those features that are to remain at their current settings after the camera is turned off. the default set-up has roughly half the options within this feature kept on and the remainder readjusted to their default settings.
There is logic in this since the features that are kept on are core options incuding sensitivity, white balance and custom image, while the others are very much secondary ones – for example, Skin tone and HDr capture. Some of the functions introduced in newer models, however, are filtered into the latter camp, although it’s likely you’ll want to keep some of these on depending on what you’re photographing.
The Pixel Shift resolution option, for example, might be worth keeping on if you’re shooting outdoors for an extended period of time and turn the camera off to conserve battery. the Outdoor View Setting is also probably something else to keep on if you’re taking pictures over the course of a sunny day when you’re likely to be turning your camera on and off with some frequency.
Anti-aliasing filter simulator bracketing
You can dictate the strength of the anti-aliasing filter simulator
Bracketing, where three or more images are taken with just a single variable changed between each frame, used to be a feature that simply changed an exposure-oriented parameter, such as shutter speed.
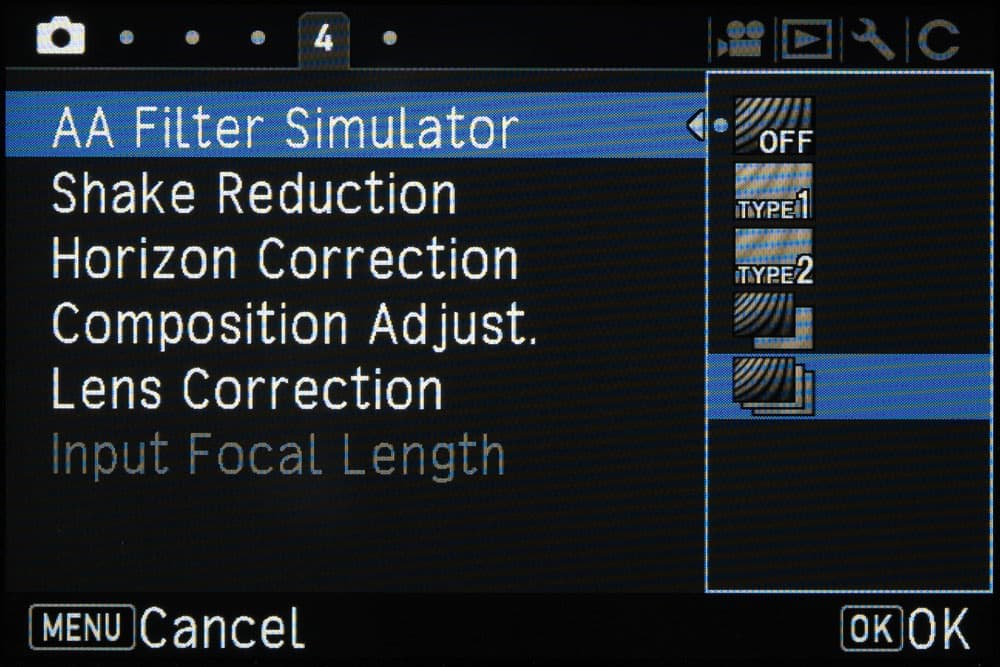
This principle was subsequently applied to flash exposure, white balance and colour and filter options, and with its most recent models Pentax has provided the same control over its anti-aliasing filter simulator.
Here, one image is captured with the simulator activated, before another is captured on its standard setting, and then one final image with a stronger corrective effect over moiré (at the expense of resolution). On the KP, a further option that removes the middle image from that sequence is also available.
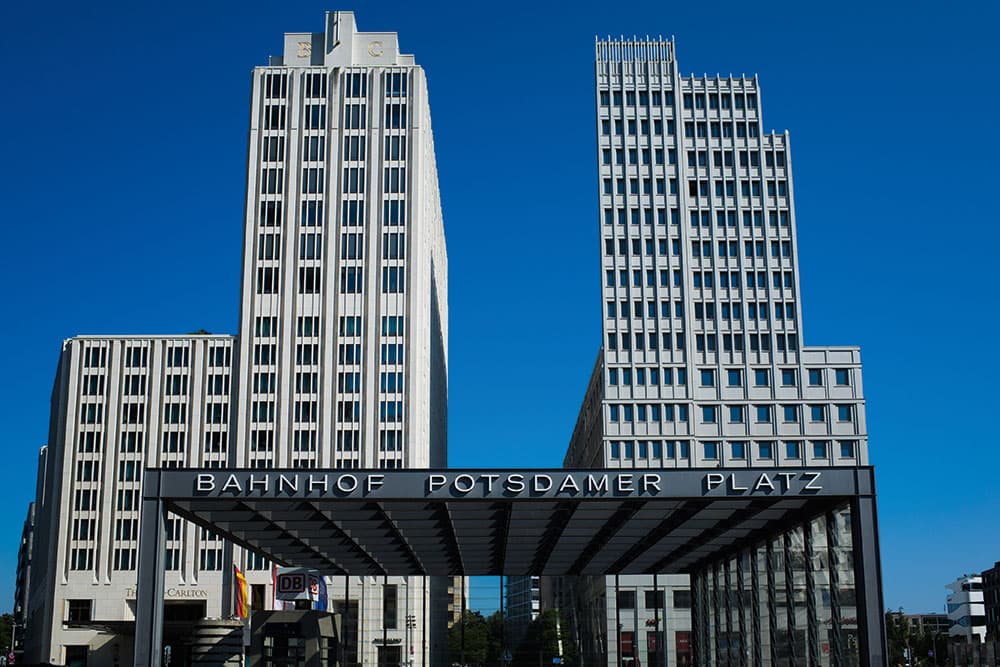
Given that moiré, and other aliasing artefacts, can be very problematic to deal with in post-production, this is a useful option to have activated if you tend to shoot subjects that easily give rise to these effects, such as architecture, textiles or anything else that may involve fine repeating patterns, such as strands of hair.
These effects cannot always be anticipated as they are partly down to the very specific positioning of the camera to the subject. in other words, they can appear or disappear with just a slight shift or change in focus.
This option is found within the first set of menu tabs.
Quick zoom

Quick Zoom allows you to jump deep into the centre of the frame
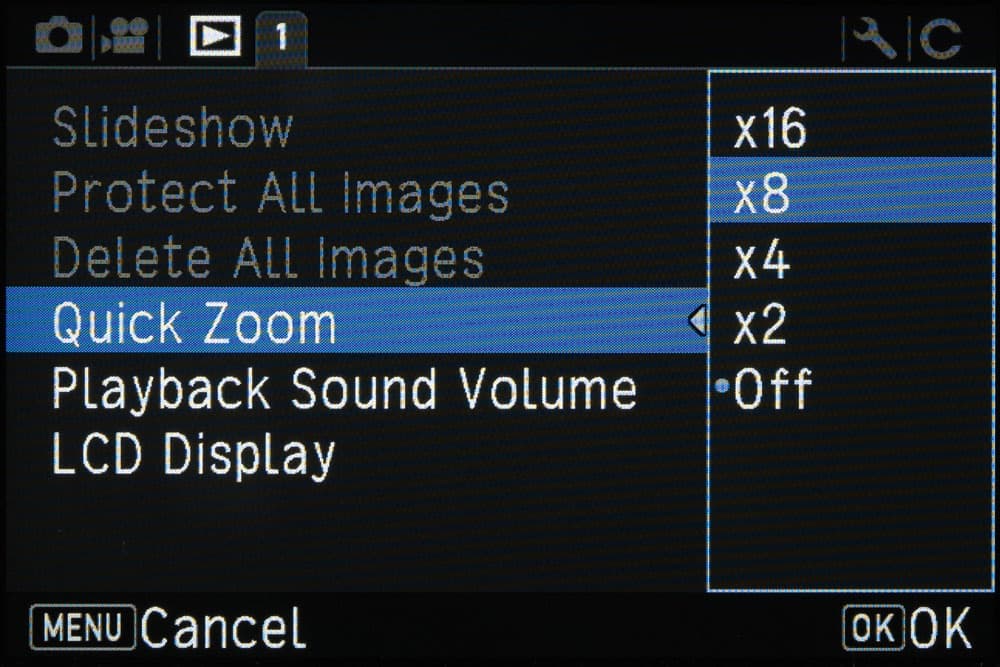
Usually, when you zoom into a captured image, the camera will zoom further into the image with each click of the control dial. This is also the case on many other cameras, and it allows you to zoom into a certain part of the image when used in conjunction with the directional controls.
Most of the time, however, it’s more helpful to have the camera jump deep into the centre of the frame, and then give you the option to adjust this if you need to. This is what the Quick Zoom function allows. Most models offer 2x, 4x, 8x and 16x magnification options, and this is the first point the camera will reach when you start zooming. The middlemost 8x setting provides the best approximation as to what you see when viewing an image at 100% in an image-editing program, so this is perhaps the best option if you want to check focus and sharpness, and whether depth of field extends as far into the frame as you want.
It is most useful for those who need to do this with any frequency, such as portrait photographers looking to see whether eyes are in focus, or those shooting macro and close-up images.
Shutter mode selection
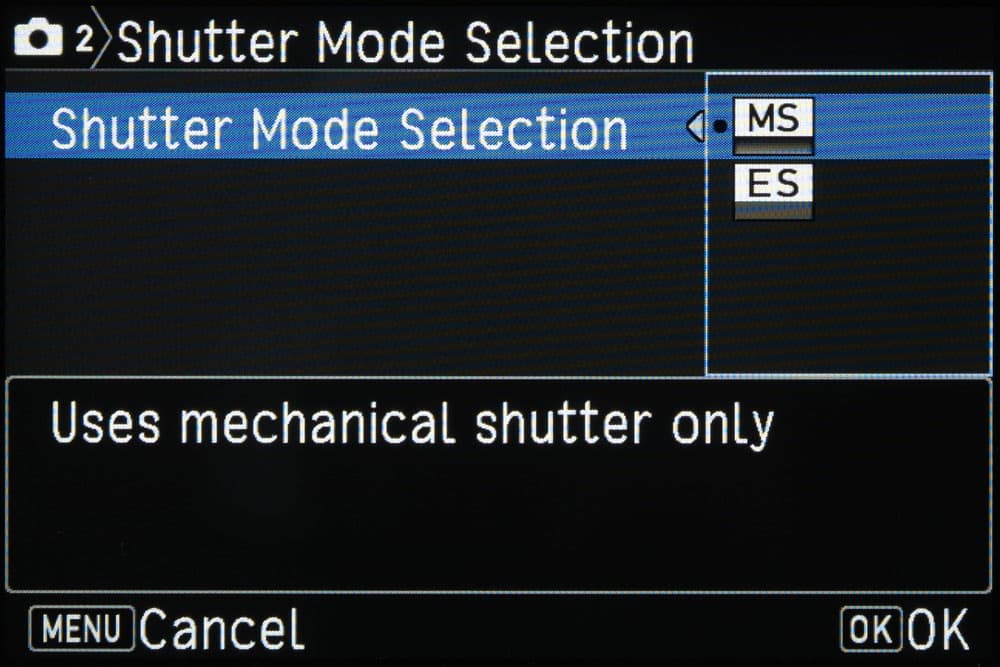
This is a relatively new option that’s included on the KP as standard but which was also made available to K-1 users via a firmware update. it lets you decide whether to use the camera’s manual or electronic shutter, an option that’s fast becoming standard on compact system cameras.
Normally, the camera will use a mechanical shutter to take the image, but there are downsides to this. The main one is that it’s noisier than using an electronic shutter, which can be an issue when you need to be discreet. it can also cause vibrations that compromise image sharpness.
Using an electronic shutter on a compact system camera gets around both of these issues but on a DsLR you still have the issue of the mirror swinging up and down, which means there is less of an advantage.
For this reason, this feature is only really intended for live view shooting. however, another key advantage of using this, namely much faster shutter speeds, does seem to be available when using the viewfinder.
Whereas the KP can only fire at up to 1/6,000sec with its mechanical shutter, this increases to 1/24,000sec when using its electronic one. This is likely to be useful for those wanting to use the camera for very fast-moving subjects or when using wide-aperture lenses in bright sunlight, where the camera’s mechanical shutter may not allow for sufficient fast shutter speeds.
Matt Golowczynski
Matt Golowczynski is a London-based journalist and photographer. He has contributed to a range of magazines over the past 10 years and graduated from the University of Westminster with a BSc in photography and digital imaging. You can see more of his work at www.mattgolowczynski.com.

