
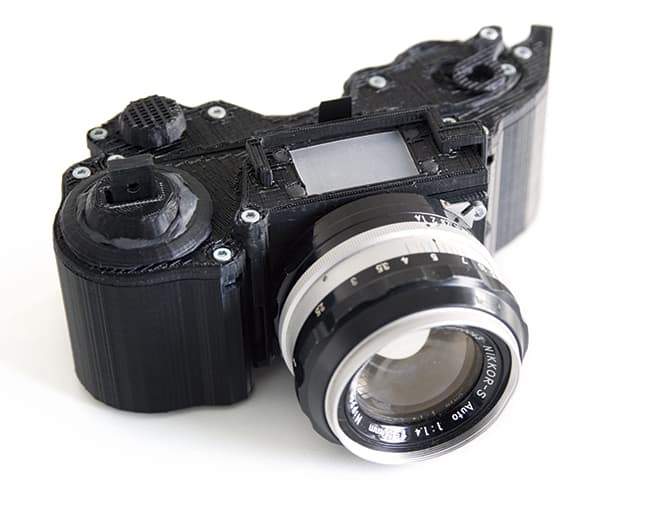
Ever wanted to know how to 3D print a camera? The OpenReflex camera is almost entirely made from 3D-printed parts.
OpenReflex is the graduation project of Leo Marius, a design student from Belgium, who has created a fully functional 35mm film SLR with a mirror box, viewfinder and 3D-printed mechanical shutter.
It can take any lens with a custom-printed adapter, but a lens with a manual aperture ring is recommended. The camera does not have a built-in light meter and the shutter speed is fixed to approximately 1/60sec so you have to use a handheld meter and change the aperture on the lens to adjust the exposure.
Depending on the build and how hard the shutter button is pressed, the shutter speed can vary a little. Some trial-and-error testing might be required when using the Open Reflex for the first time.
Leo called the camera OpenReflex because it is an open-source project. All the plans can be downloaded from the Instructables DIY community website, and then modified and improved by other users who are in turn encouraged to share their revisions.
Open-source software was used to create the camera’s complex-shaped parts
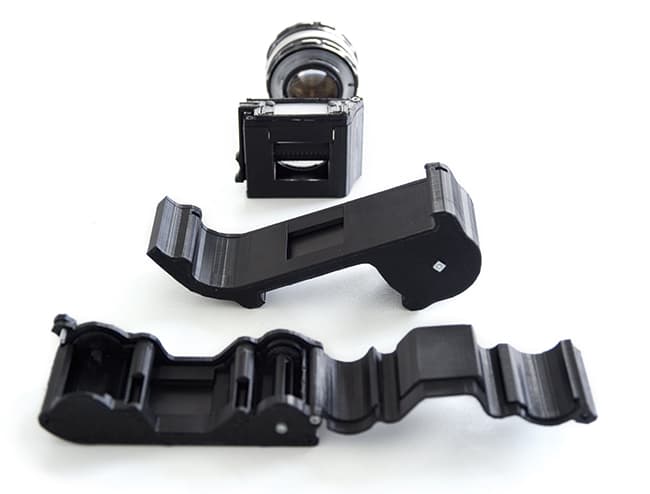
The camera comes in three parts (the film receiver, the shutter and the viewfinder) that snap into place when put together. The modular design allows for easy alterations by those users who want to adjust the original 3D models.
Most of the camera was designed using the open-source software packages Blender and OpenSCAD. MakerWare was used to convert the model into slices that can be understood by the printer.
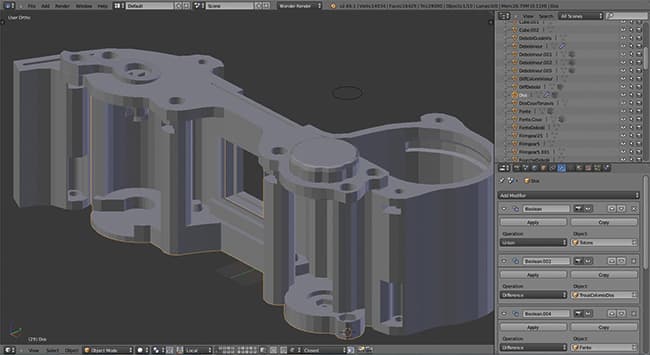
Open-source software was used to create the camera’s complex-shaped parts
Leo printed his version of the OpenReflex on a MakerBot Replicator 2X, but the camera parts can be printed on any current 3D printer that uses the RepRap standard and is capable of using ABS plastic as a printing material.
In addition to approximately 250g of black ABS, the design only requires a few screws, ball bearings, a mirror and some other minor bits and bobs. All in all, the material cost shouldn’t be more than £20.
Depending on the printer used, printing of the parts should take approximately 15 hours and assembling the parts will take a further hour. Full instructions and a list of required materials and tools can be found on Leo’s Instructables page.
Once the three individual modules have been assembled, they need to be light-proofed using Sugru or black Blu Tack. All screw holes and gaps have to be filled in to make sure the film is not exposed to light.
Once the modules are lightproof they can be snapped together and the OpenReflex is ready to go. To take a picture, first unscrew the back of the camera to load the film, frame the shot with the aperture wide open and then adjust it according to your light-meter reading before pushing the shutter button.
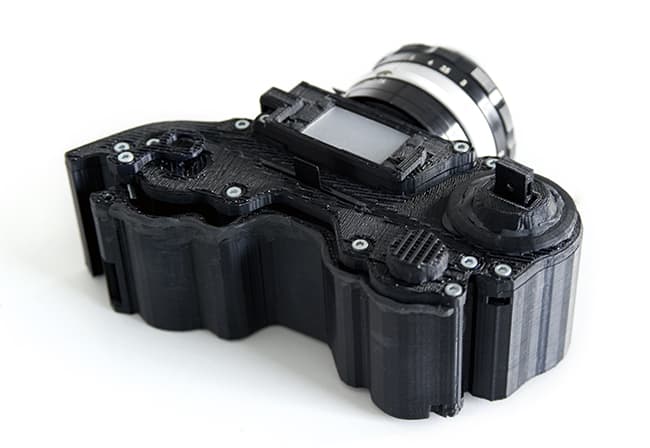
Using 35mm film, the OpenReflex takes 15 hours to print and an hour to assemble
The quality of the OpenReflex sample photos we have seen cannot quite rival the images of off-the-shelf SLRs. Nevertheless it is quite amazing that thanks to 3D printing, with the right skill set and know-how, even complex devices such as the OpenReflex can be designed and manufactured by an individual.
We’re looking forward to seeing Leo’s first update to the OpenReflex and how other members of the 3D-printing community will modify and improve the design.


