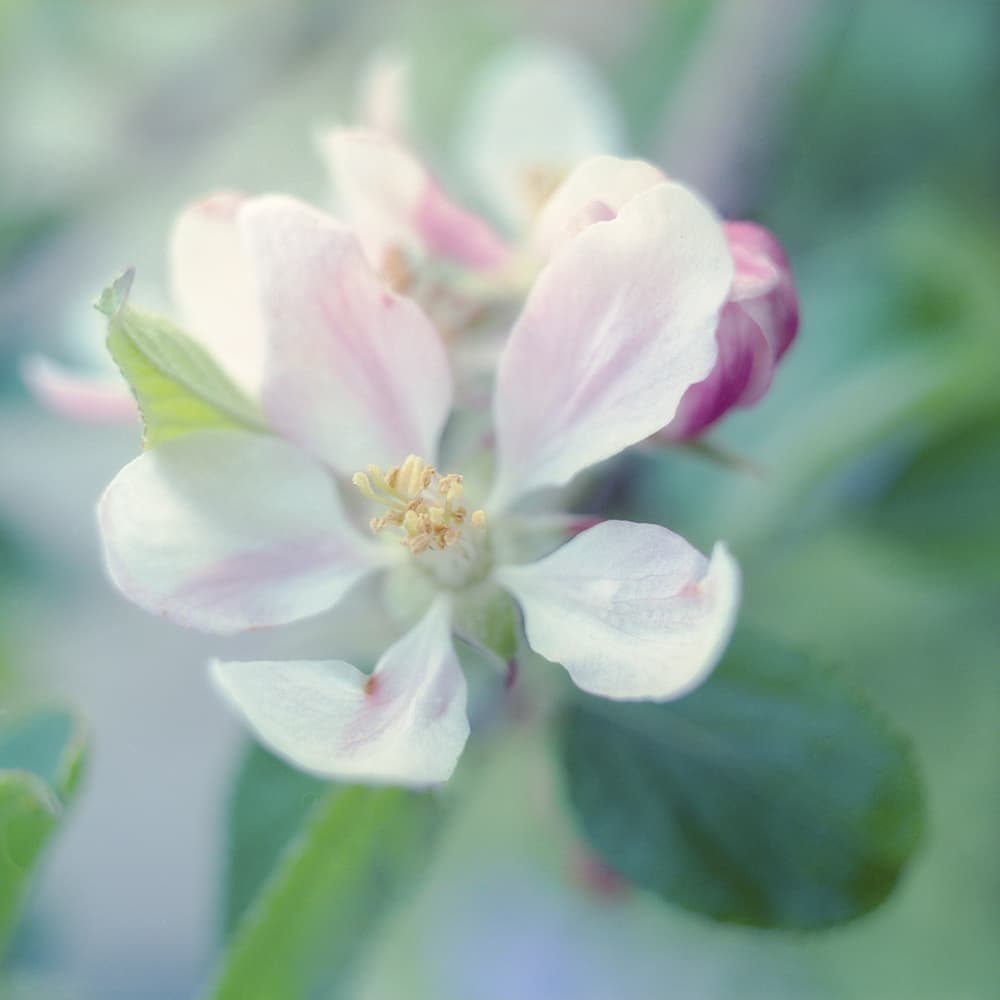
‘Apple blossom’. The garden has been a constant source of inspiration and experimentation for David. Mamiya C3, 55mm, 1/2sec, Fujicolor Pro 400H. All photos by David Clapp
David Clapp is one of the best-known landscape and architectural photographers in the UK, and has a masterful grasp of the latest Canon digital SLRs, lenses and editing software. In recent years, he has also become intrigued by film photography in a digital world – as he puts it, it’s a ‘hybrid approach’ focusing on what can be done with modern film and Photoshop. To this end, he has become a keen student of colour negative photography, and while he remains a committed digital user, he’s fascinated by the creative possibilities of film.
‘I like the fact that slide film and colour negatives have significant aesthetic differences [compared with] digital,’ David explains from his studio in Devon. Indeed, he reckons there has never been a better time to experiment with shooting film. ‘We now have such fantastic digital technology, and the experience of shooting, scanning and digitally enhancing film is so much more straightforward than it used to be. I am also burying my own demons in a way; I abandoned what I saw as the confusing world of 35mm film in 2005.’
Having established himself as a top digital photographer and workshop leader, David’s rediscovery of film was inspired by photo technique books from the 1970s and ’80s, along with the sense of enjoyment he experienced when looking at large-scale images in portrait galleries. ‘Lots of the images in these books were shot on large format. Also, I was impressed by large-format architecture shots by long-forgotten photographers who really understood their craft. I suppose you could say I wanted to mix it up and unsettle not only myself, but also my audience.’
Baptism of fire
Deciding to give film another go was the easy bit; nonetheless, David faced a steep learning curve. ‘In January 2015, I borrowed a 6x9cm architectural camera from my friend Tristan Campbell, which offered a much-increased image size,’ he says. ‘It also had a 3:2 orientation, which gives the same perspective as digital. However, I couldn’t get the depth of field out of it that I needed for landscapes, owing to the large capture area. The camera left me stepping back from my compositions and felt restricted, so I began to feel]my initial approach was wrong. However, I liked the images, and they gave me my first foray back into Fujichrome Velvia and colour negative film, which I had never really shot before. Colour negatives amazed me, but Velvia gave me the same old headaches – narrow latitude and finicky exposures. So, I went to see Tim Parkin, who runs On Landscape and works with Joe Cornish. He suggested I buy a large-format camera, as I have a fairly extensive knowledge of tilt-and-shift lenses. I ended up buying a Chamonix 045F1 large-format camera and two lenses (my intention was never to shoot large format due to the expense). I started out using a 6x9cm rollback, copying the settings from my DSLR. The results were unpredictable and also intriguing.’
As David explains, the first results unveiled many rookie errors: the 6×9 film back and ground-glass screen were not an exact fit, so he had to use tape, scalpels and plastic card to cut out plastic masks to modify the viewfinder. ‘I realised I had opened a door to a massive subject once again,’ says David. ‘Despite my professional knowledge with digital, I wasn’t just going to walk in and own it.’
Another realisation came when David showed some images to another landscape photography colleague, Antony Spencer. ‘He said they looked like digital,’ says David. ‘I realised that was initially because the 6×9 images had the familiar digital aspect ratio of 3:2. As the project continued, I began to show him pictures from different cameras, squares and 645 [6×4.5cm format] – different aspect ratios with compositions that worked well. He started to fully appreciate the look and feel of film.’
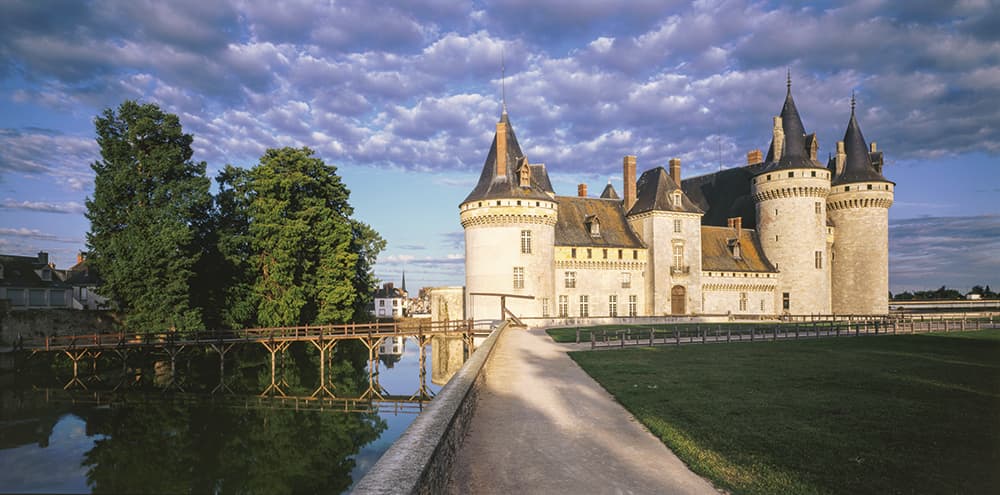
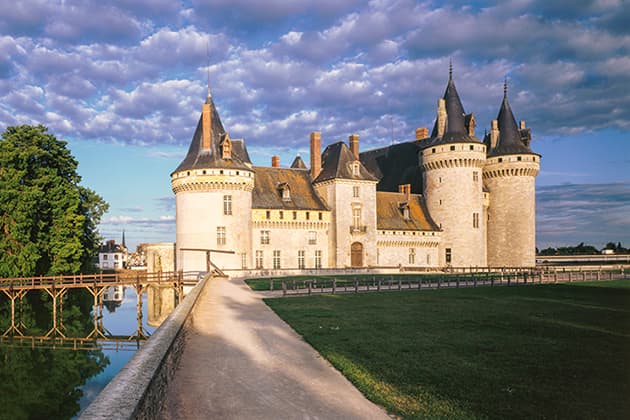
Note the separation in the greens, which is a particular strength of Velvia. Chamonix 045F1, Nikon 65mm, 1/8sec, Fujichrome Velvia 50
Wandering in the desert
Three or four months down the line, after ‘wandering the desert’ without anything to show for his efforts, another friend suggested that David try shooting with a medium-format camera. ‘I bought a Mamiya M645 1000S and 80mm f/2.8 lens for £100,’ he says. ‘My understanding of diffraction was completely wrong. I learned that f/22, or even higher, is perfectly acceptable on larger formats. I had it all wrong at the beginning, as I was shooting at f/11 – the 35mm “sweet spot” for lenses. Also, with just an 80mm lens (50mm equivalent in 35mm terms), I had to seriously think about how I constructed images.’ Another advantage of the Mamiya was its built-in light meter, which allowed David to explore and enjoy picture making without worrying too much about spot metering and other large-format complications. ‘It took me on a more relaxed journey with film,’ he adds, ‘rather than having to assemble the large-format camera every time and spend 15 minutes getting ready for a shot, only for the light to change and… nothing.’
David then bought a Mamiya C3 6x6cm camera with a 65mm lens. ‘I became enthralled with colour negatives and [decided to start] experimenting last summer with Fujicolor Pro 400H in my garden. I also tackled Kodak Ektar 100, Kodak Portra 100 and 400 films on medium format, matching films and cameras to suit the subject.’
However, one aspect of digital that David missed immediately was live view. ‘The number of times I would take a shot and instinctively glance at the back of [the] camera, and realise nothing was there!’
After taking his medium and large-format gear on holiday, David was still getting mixed results. ‘I soon realised how important decent developing labs are, in order to get good, clean negatives and consistent images,’ he says. ‘My local lab was not changing chemicals often enough. I also got a tough lesson when the film overheated in a hot car and the emulsion stuck to itself.’
Help from analogue forums
Next, David bought another back for his Chamonix large-format camera – this time a 6x12cm. ‘I moved over to panoramas exclusively, to make better use of the camera’s versatility’ he explains. ‘I love 6x12cm and so do others – there’s less of a reason to shoot 6x9cm on the Chamonix.’
David found the APUG (Analog Photography Users Group) forum very helpful. ‘It was like the forums when I first began photography, where people used to help you develop skills and get the best from equipment and imagery,’ he says.
Online forums helped David realise, for example, that a so-called faulty light meter that he kept sending back to sellers was actually a battery issue. ‘I kept receiving error messages and was getting very frustrated, but it turns out that this older type of light meter wasn’t able to handle the power of fully charged modern batteries,’ David explains. ‘The solution was to let the batteries lose a bit of their charge, and the light meter would work fine. I have learned tremendously from my mistakes and through this process.’
Despite all the trials, David never felt like packing it in. ‘I am quite bloody-minded, and I knew this would take time,’ he says. ‘My digital knowledge, and all its compositional strengths, did not [need me to] work in the same way – understanding the way film handles light is crucial. If you underexpose many colour negative films by 2 stops, the brightness looks virtually identical as it does at 0, but the colours look washed-out. If you go from +1 to as far as +5 of overexposure in 1-stop exposures, the pictures will again look almost the same, although the colours get more pastelly. There is so much tolerance when shooting colour negative, so it’s a great place to start.’
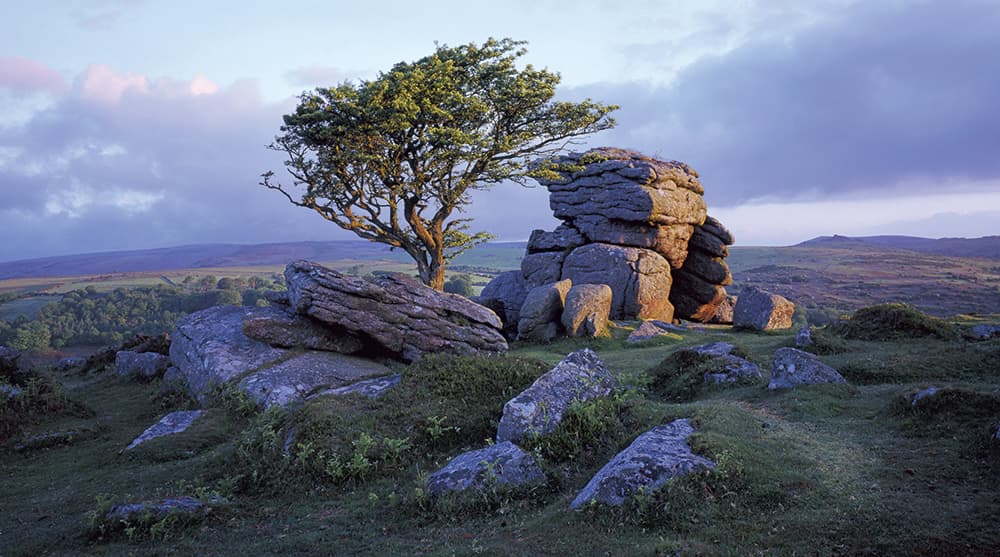
The signature purple of the film must be left intact. Chamonix 045F1, Nikon 90mm, 2secs Fujichrome Velvia 50
Darkroom test
According to David, colour negative requires an inverse mindset – the film gets darker as you expose it. ‘It’s not like a digital sensor at all. With certain films, like Kodak Portra, it’s almost impossible to blow the highlights and you can shoot directly into the sun. So yes, there’s massive tolerance for overexposure, but you have to be careful how much.’
David now concentrates on shooting colour negative, having bought boxes and boxes of film. ‘It’s been a real investment of time and money,’ he says. ‘I had to experiment and make mistakes. I also had to think like a scientist. Because there was no EXIF data to refer to, I wrote everything down so I could refer to it later, to decode the puzzle.’
For David, the real test was in the digital darkroom. ‘Even until recently, colour negative became a ridiculous colour-correcting wrestling match, rescuing images rather than improving them with endless dust-removal sessions and retouching residues,’ he says. ‘I found specific software and plug-ins to make life much easier, and forged professional associations with software developers.’
The software David is referring to is VueScan and ColorPerfect. ‘These scan colour negatives perfectly so long as the image is correctly exposed. They have been a real life saver.’
David’s perseverance finally paid off last winter, with a eureka moment right at the start of a day of photography. He says: ‘I was using Tristan’s 6×9 architectural camera on a first film-only excursion to Malham Cove and I took an image of a tree in North Yorkshire, on a dull, damp, cold winter’s day (see below). It was a photograph in the compositional style of [the Romantic painter] John Constable, yet the opposite – stark, desaturated, non-dynamic, yet so truthful and appealing; almost the complete opposite of what most crave in modern photography. For me, it was the sign – I was being called onwards.’
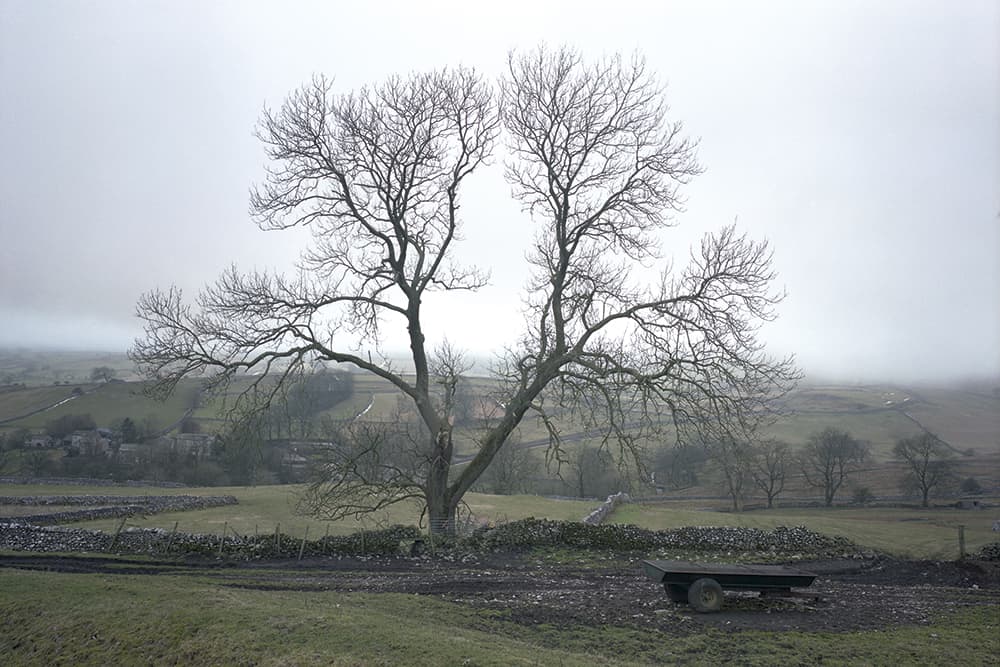
‘Malham’. This desaturated, stark, very real image was pivotal in David’s move to film. JTC 6×9, Nikon 65mm, 1/4sec, Fujifilm Superia 200
Dynamic range
So how has David adjusted his approach to landscape photography when using colour negative film? ‘Your compositions require you to stand back – to worry less about foreground, and become more representational,’ he says.
It’s been a tough journey, and David admits he still has a lot to learn, but he reckons his experiments with film have also made him a better digital photographer. ‘It’s stopped me from overshooting, and made me think about what I shoot and why,’ he says. ‘Also, my pictures have become more subtractive, and I now crave minimalism. Working with colour negative film has tightened everything up, and deepened my knowledge of photography. But it’s so nice to return to the convenience of a digital SLR!’
David’s film kit
- Mamiya 645 1000S ‘Small and convenient with great lenses’
- Lenses 55mm f/2.8, 80mm f/1.9 and 150mm f/2.8
- Mamiya C3 ‘A twin-lens reflex; it’s great for square images and flowers as it works like a macro’
- Lenses 55mm, 65mm 80mm, 135mm and 180mm
- Chamonix 045F1 ‘It gives me the panoramic edge’
- Lenses 65mm, 90mm, 150mm and 300mm
- Scanners Epson V850 and Nikon LS9000
- Scanning software VueScan, Epson Scan and ColorPerfect. (ColorPerfect helps immensely with colour negatives, so long as the image is exposed correctly)
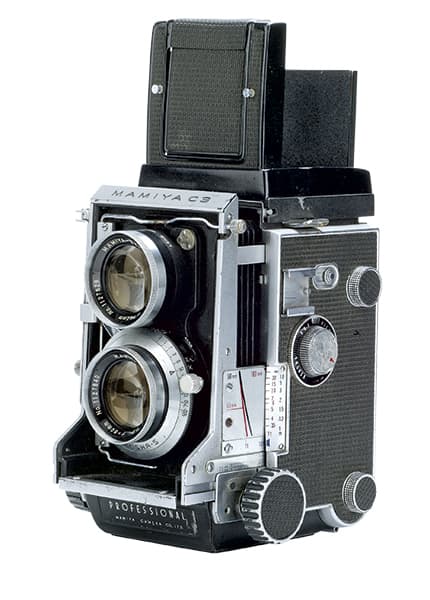
David has invested money as well as time into film
To find out more about David Clapp and his work, both digital and film, visit www.davidclapp.com

