January 9, 2024
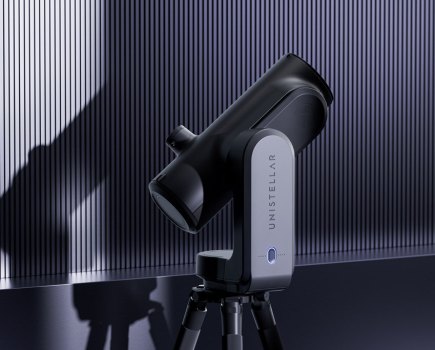
CES 2024: Unistellar launch smart telescopes with autofocus
Unistellar has launched the Unistellar Odyssey and Unistellar Odyssey Pro telescopes at CES 2024 in Las Vegas.
Advertisement
Astrophotography deals with the act of photographing astronomical objects in the sky, such as planets, stars and other objects. It is usually done by employing long exposures to capture enough light photons to make an image.
You don’t necessarily need specialist kit for astrophotography. You can use a digital camera for to take a picture of the night sky, or alternatively you can attach a telescope or spotting scope to your DSLR.
Astrophotographer Andrew Whyte, recently told Amateur Photographer that uses the following kit for his night shots.
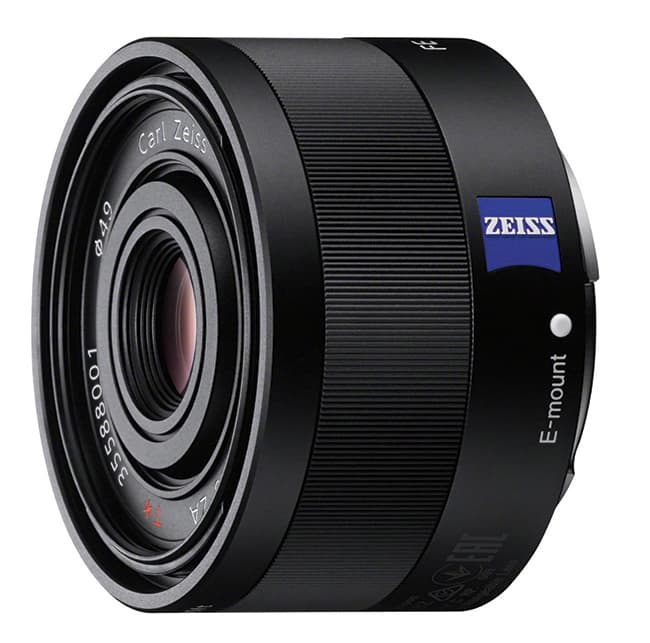
A wide aperture gathers light more quickly, which is critical when there’s not much of it. If you learn (or know how to look up) your hyperfocal distances, depth of field doesn’t need to be a challenge even at the widest setting. Andrew’s 35mm f/2 is probably my most versatile lens.
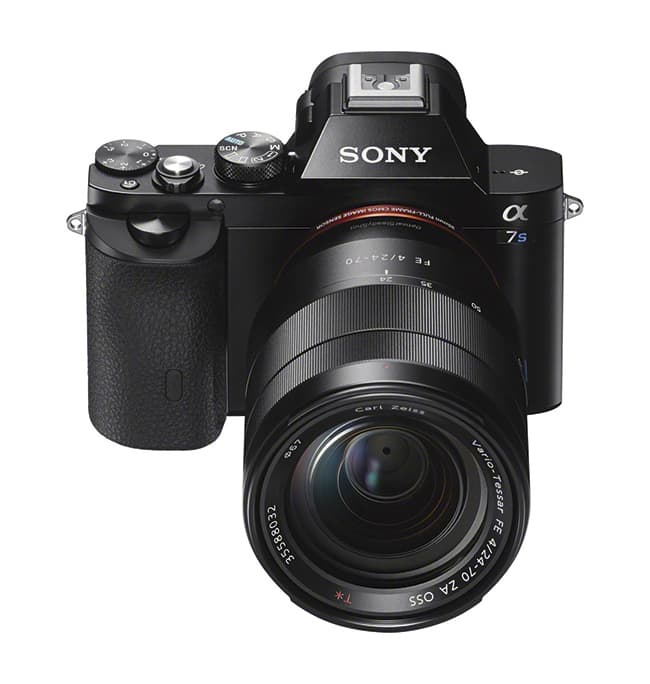
With a 12.2-million-pixel full-frame sensor and sensitivity range up to IS O 409,600, the Sony Alpha 7S is ideal for astrophotography
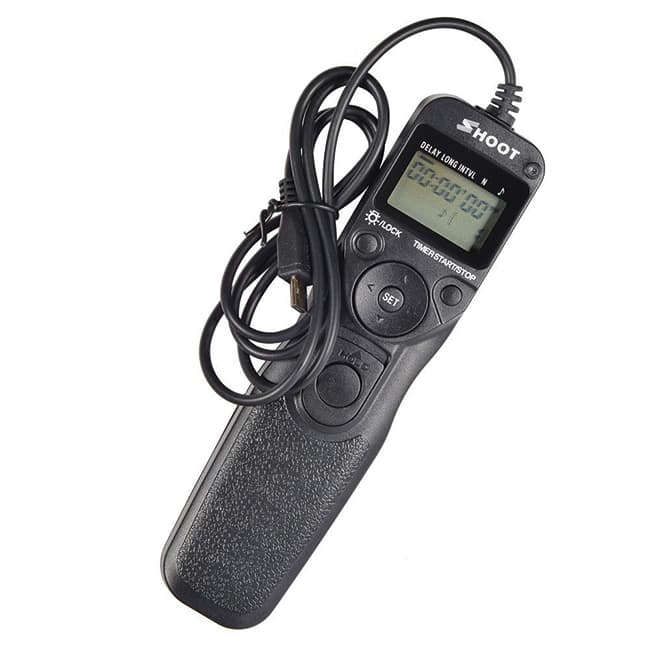
Once your settings are dialled in, you want to trigger the camera without introducing vibrations, as these will soften your final image. A cable release also allows the shutter to remain open longer than the default 30secs.
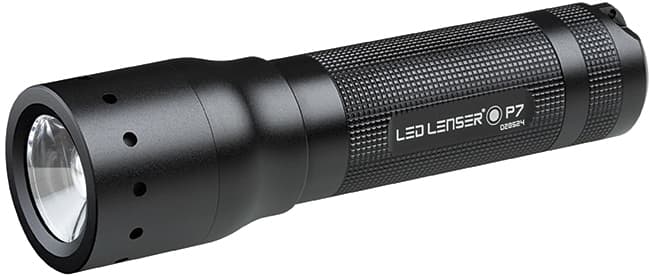
A powerful torch is essential, but so is knowing when not to use it. The LED Lenser P7 strikes a good balance between power and portability. Use torchlight with discretion in order to retain your night vision.
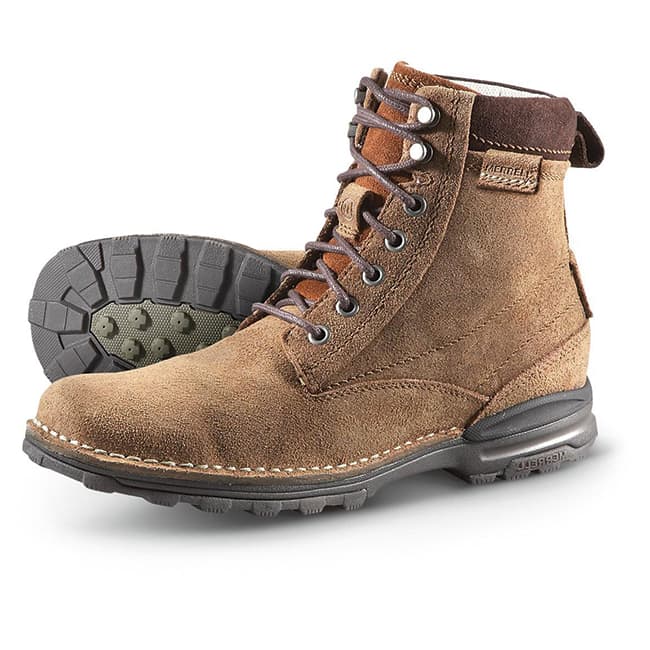
The effects of tiredness magnify the sensations of cold. Many a friend has accompanied Andrew wearing trainers, only to want to go home after 90mins as their toes start losing sensation. Protect your extremities to remain productive for longer.
For astrophotography it can be more economic to use a telescope rather than a telephoto lens with a teleconverter attached.
The exact method of mounting a telescope depends on your camera and telescope combination. Most SLRs can be attached to a telescope via a T-mount adapter.
With the eyepiece of a telescope removed, the T-mount adapter screws on to either the rear of the telescope or the eyepiece thread. In turn, the T-mount adapter needs to fit the body of your camera. This is the same adapter you would use if you were fitting a T-mount lens.
There are other adapters, specifically designed for compact digital cameras.
The smaller size of compact cameras makes them easier to use when coupled with a telescope, as they are lighter and more manoeuvrable when trying to track a moving subject or find a particular astronomical target. Compact cameras also don’t suffer from mirror slap, the slight vibrations of which can affect image sharpness.
To help steady a camera and scope it is vital to use a sturdy tripod and mounting system. This is further complicated by the long exposures needed for astrophotography. As the earth rotates, it appears as if stars are moving across the sky. Over a long exposure this causes light trails in the sky.
To prevent these trails, or blurring caused by this movement, an equatorial telescope mount should be used. This compensates for the Earth’s rotation by using a motor to rotate the telescope at the same speed as the Earth is turning, helping to prevent star trails and blurring.
When carrying out astrophotography it’s best to do some research first into a good location without much light pollution.
You also need to consider how the presence of the moon will affect your exposure, as this will affect how many stars you are able to capture. In his article how to photograph stars, Ben Canales gives some further advice about how these factors can affect your shot, and how to create the best exposure for photographing stars.
Image: copyright Ben Canales
Ben Canales recommends experimenting with a combination of settings until you get the exposure you need. He personally starts out with ISO 3200-4000, f/2.8 for a 25-second exposure, as a starting point, and offers this advice on what to expect when changing your settings:
One popular astrophotography technique, you might try is photographing star trails – the motion of the stars over a period of time. You can do this by choosing a long exposure, and experimenting with times. See our article by Christopher Herring for his top tips.
Sadly, no weather forecast is 100% reliable, but over the years I’ve found xcweather.co.uk to be a good source of information, including for cloud cover. Lunar phases and times are at www.timeanddate.com, while heavens-above.com has details of ISS and satellite flybys.
Long-exposure noise reduction (LENR) continues to be featured in current cameras but is arguably unnecessary, with great raw processing and noise-management features built into most software. LENR takes valuable time on location and consumes battery power
Image: copyright Andew Whyte
If your torch is lacking range to focus, take it closer to your subject and leave it shining while you return to the camera. Positioning it at 45° will bring out any subject texture, increasing the contrast and giving AF an easier task. You might benefit from flicking AF off once focused.
Image: copyright Andew Whyte
Use further torchlight to bring detail into your foreground in very dark locations. Stand away from your camera/tripod so there’s depth to your light and cast your torch beam smoothly over the surface of your subject. Be prepared for a couple of attempts to get it right.
Image: copyright Andew Whyte
Even if you don’t add some light-painting, you may still want to stray from your camera during a star trail – an hour is a long time to be rooted to the spot. A glow stick taped to your tripod will help you locate it again in the dark, without adding any illumination to the scene.
See Andrew’s artcile on photographing the night sky
More astrophotography guidance and articles:

January 9, 2024
Unistellar has launched the Unistellar Odyssey and Unistellar Odyssey Pro telescopes at CES 2024 in Las Vegas.
December 5, 2023
With minimal light pollution, Tenerife is the perfect place to sharpen your astrophotography skills – we meet the expert tutors from Dark Skies Tenerife Guide
September 4, 2023
However good your gear, some subjects are just hard to get right. James Paterson shows how to get around the photographic challenges
July 21, 2023
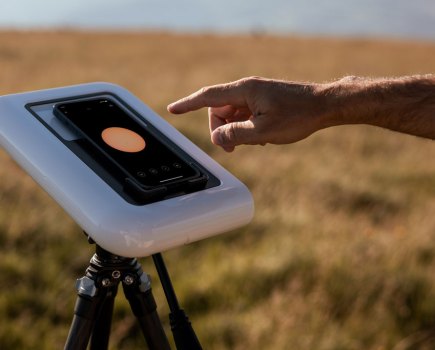
The Vaonis Hestia is designed to accommodate phone sizes and users can position their smartphone on Hestia to align their phone's camera.
May 31, 2023
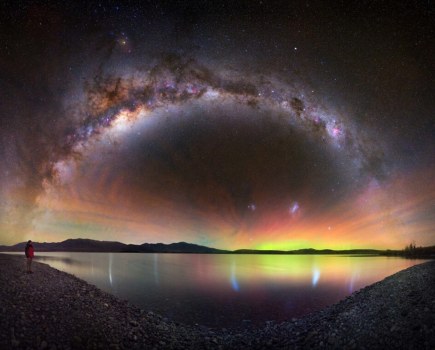
If you like featuring the milky way in your landscapes, you will be blown away by the winners of this year's Milky Way Photographer of the Year competition
January 27, 2023
However tough the times, photography really can help us through – as you’ll see from these inspiring stories from our readers.
September 15, 2022
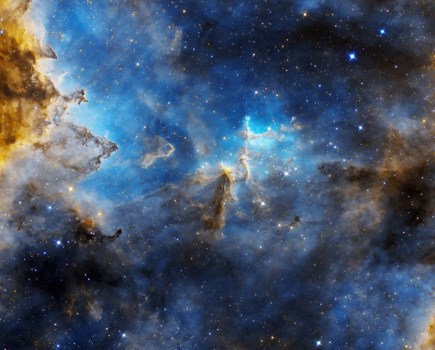
Royal Observatory Greenwich has announced the winners of Astronomy Photographer of the Year 14, see the winners here including Young Astronomy Photographer of the Year.
July 5, 2022
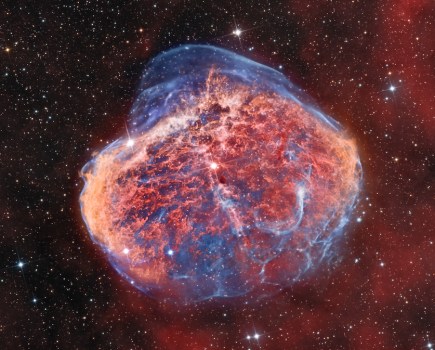
Incredible images of comets, galaxies, stars and more feature in the shortlist for Astronomy Photographer of the Year 2022
February 20, 2022
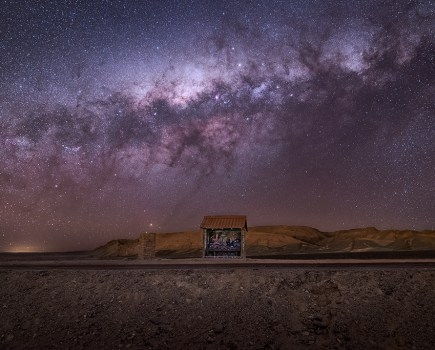
Peter Dench asked three winners of Astronomy Photographer of the Year 2021 to share practical advice on shooting the night sky