In partnership with Skylum Luminar Neo
There has never been a wider choice of photo-editing software, but Skylum Luminar Neo remains a firm favourite. Even before AI started popping up everywhere, Skylum was pushing the boundaries of what was possible with this new technology, and how it could enhance images.
From today through Friday, AP and Skylum have partnered for the first Luminar Neo photo-editing week. Over the next five days, photo-editing expert and AP regular contributor Rod Lawton will take you on a creative journey, from getting to grips with the interface to mastering more advanced techniques.
So because it’s Monday, let’s start at the beginning. In his first tutorial, Rod presents an introductory guide to the Skylum Luminar Neo interface, showing how to find and use all the key functions.
Skylum Luminar Neo basics
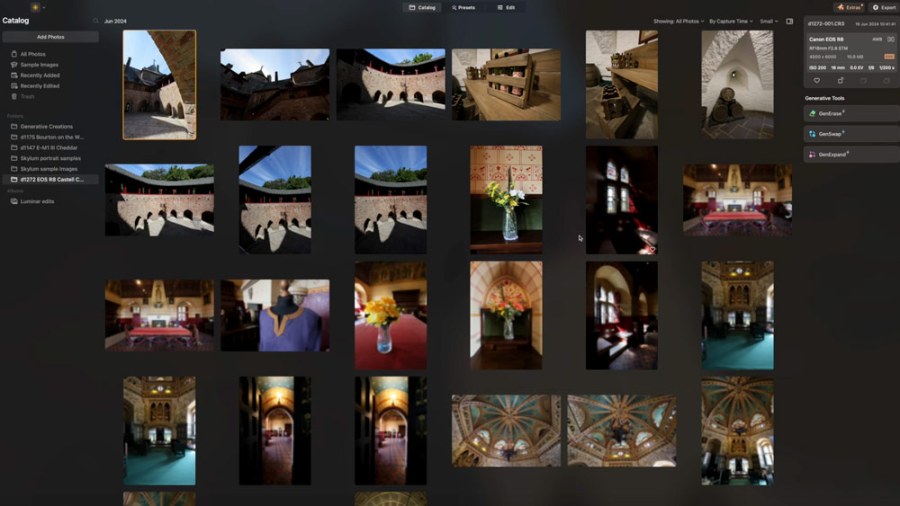
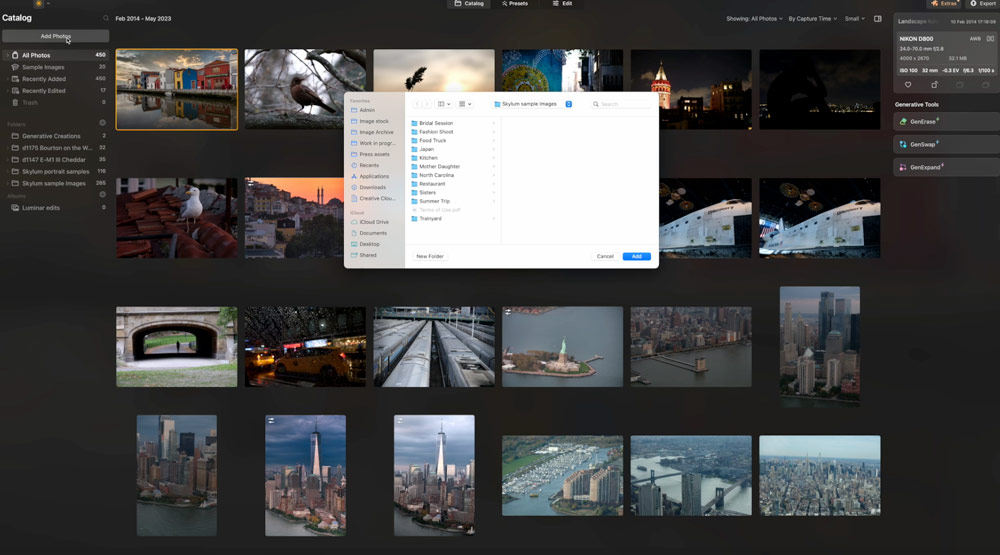
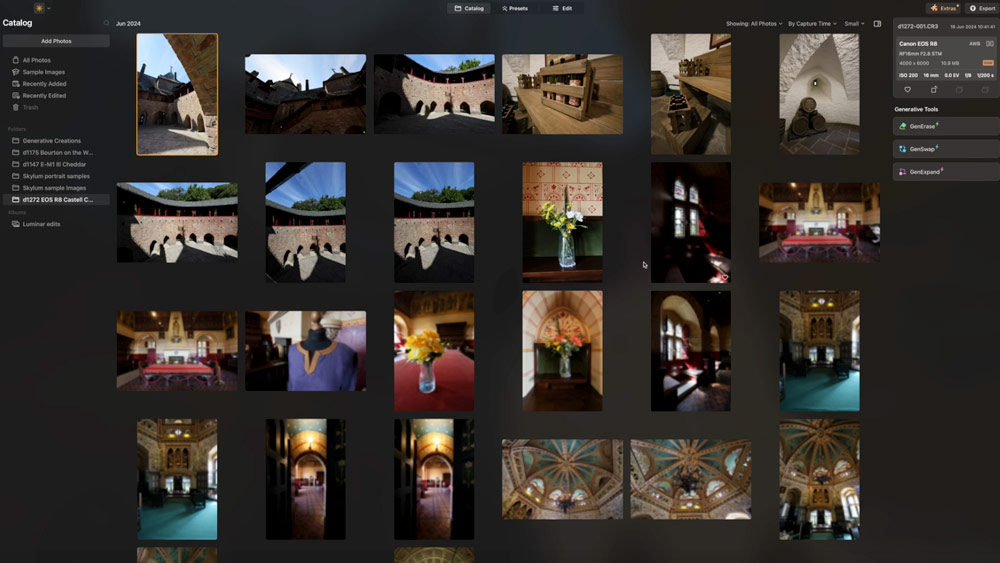
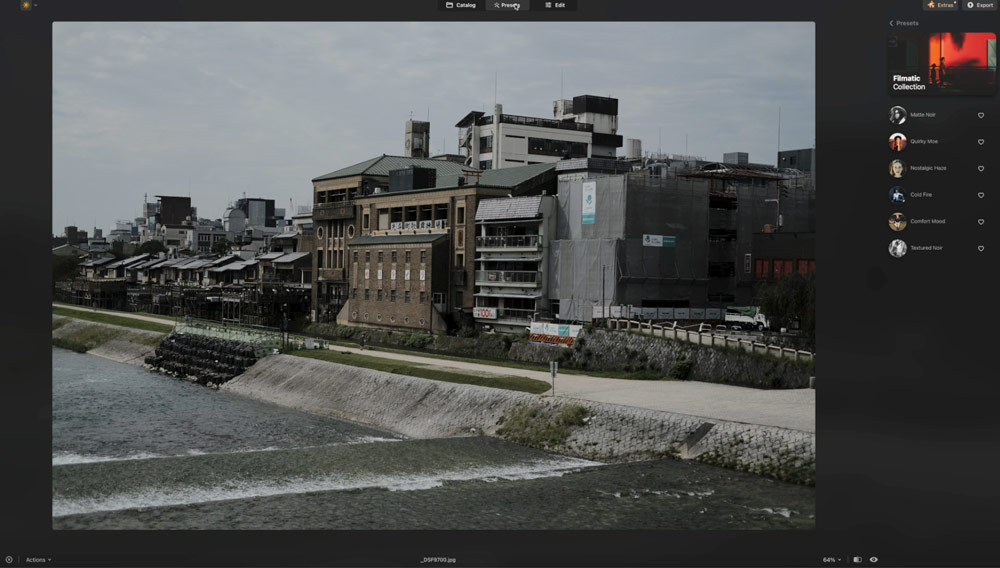
As Rod explains, Luminar uses a catalogue tab to help you add the images you want to work on. Then he explains how to use the Preset and Edit tab to start enhancing the picture – Presets in particular are quick and easy. The Edit panel, however, enables more in-depth editing, with tools organised into categories.
Enhance and Sky are particularly interesting, with Enhance using AI to quickly improve an image. The Sky filter enables you to replace the sky completely. Meanwhile, Color lets you boost the saturation, while filters can also be combined for dramatic effects.
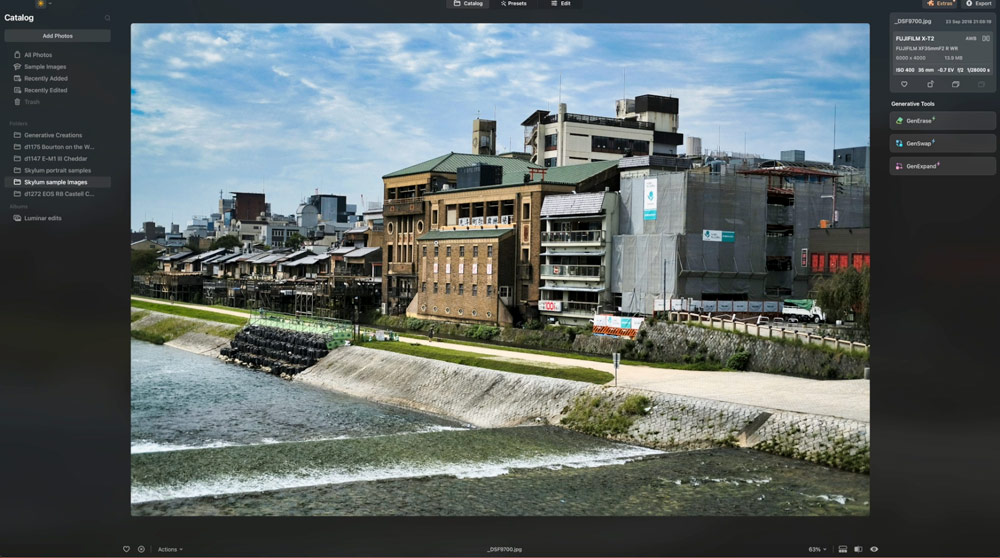
All the adjustments are non-destructive and are saved in the Catalogue rather than irrevocably changing the original image, which gives you maximum flexibility and peace of mind.
See Rod’s full Skylum Luminar Neo introductory video below
Tomorrow, Rod will explain how to make the most of the powerful AI adjustments and enhancements in Skylum Luminar Neo. Keep coming back for more great guides!
Exclusive discount
For more information about Skylum Luminar Neo, click here. You can also get an extra 20% off this great software using the code AFF-TypzcO

