As part of Adobe’s latest upgrades, Photoshop now features a new Neural Filter called Depth Blur, which adds instant background blur to your photos. It’s a bit like the ‘Portrait Mode’ on your smartphone, but with more control. Photoshop expert Martin Evening shows how to get the best results.
The new Depth Map filter is available from the Neural Filters menu in Photoshop, where the filter’s controls can be used to add a blur depth effect to an image. Wherever you click on the preview will be the point of sharpest focus. Photoshop then creates a pseudo depth map from a regular 2D image and uses this to apply progressive degrees of blur towards the distance.
The sliders let you set the amount of blur and depth of field range as well as apply other effects such as haze, colour-shifts and brightness. The actual processing is carried out in the cloud. Therefore, the responsiveness of the sliders is slow, but once you have finished adjusting the settings the filter can be quickly applied.
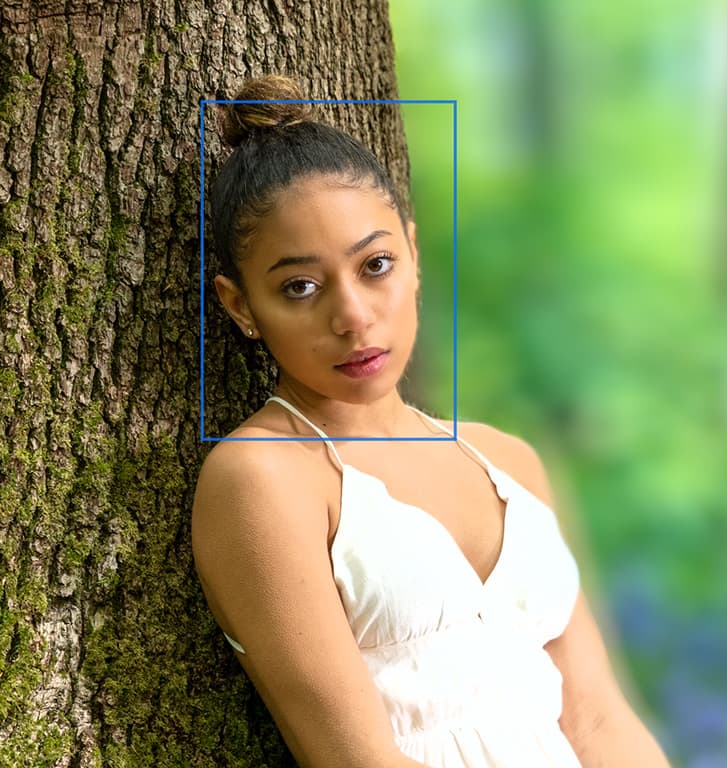
The problem I have experienced working with the Depth Blur filter is that the subject edges often bleed into the background producing soft halo effects. And, in this instance, lightening the model’s dress. If you don’t want your photos looking like a conference-call screengrab, it is possible to work around this.
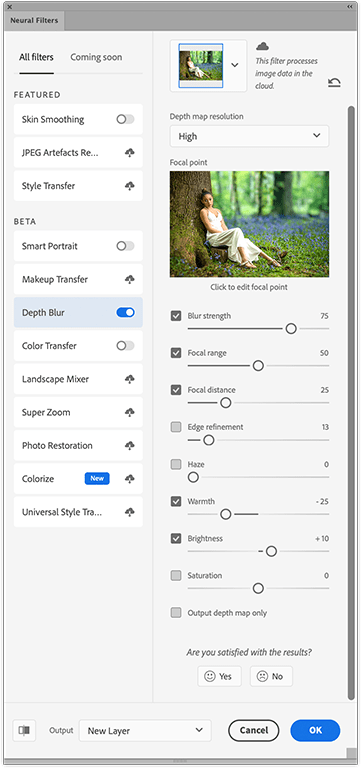
Advanced Photoshop users should check the ‘Output depth map only’ option. This adds a greyscale depth map layer. Convert this to a mask channel and use your painting and pen path skills to edit the mask. Reapply the Depth blur as a regular output layer. Apply the edited mask as a layer mask to this layer and continue to edit. I have found that by spending time refining the filter output it is possible to obtain more realistic results.

The original image. Credit: Nigel Atherton (Model: Amelie Honey Hurley: @ameliehurley)
The new tool in action: step-by-step

Blurring the background focus
The original raw image was opened via Camera Raw, where I went to the Basic panel.
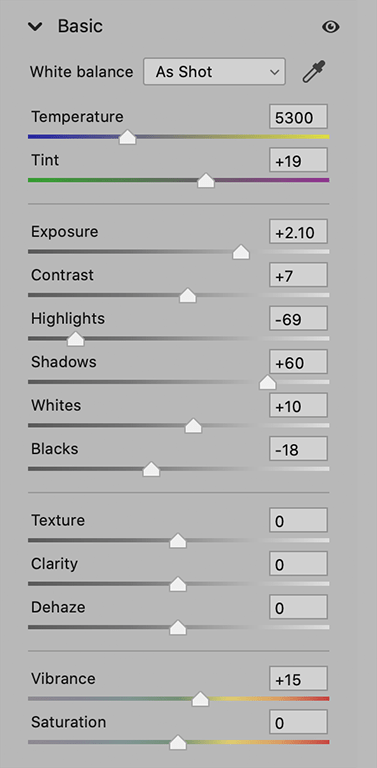
I then applied some basic tone and colour adjustments to add more saturation and lighten the image, while preserving the highlight detail in the dress.
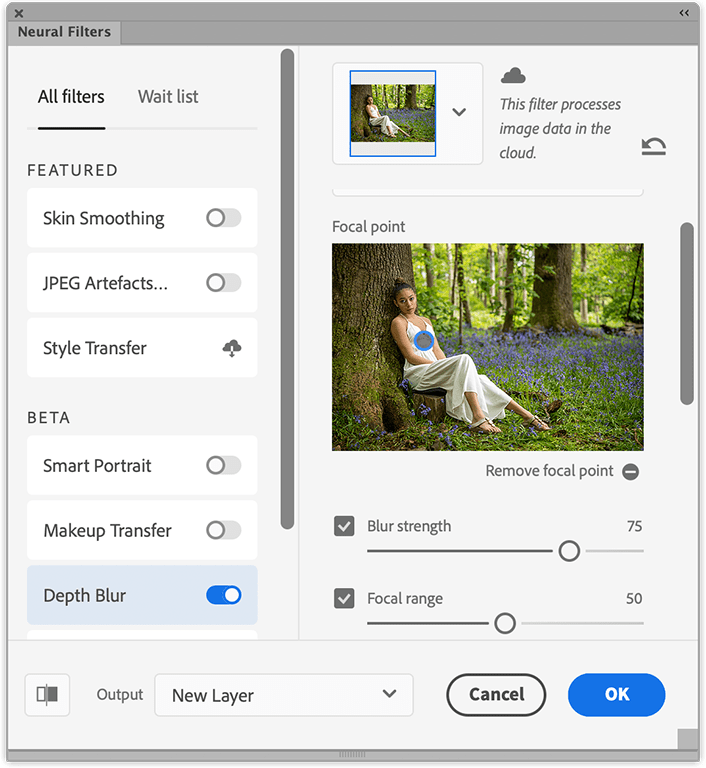
Over to Photoshop
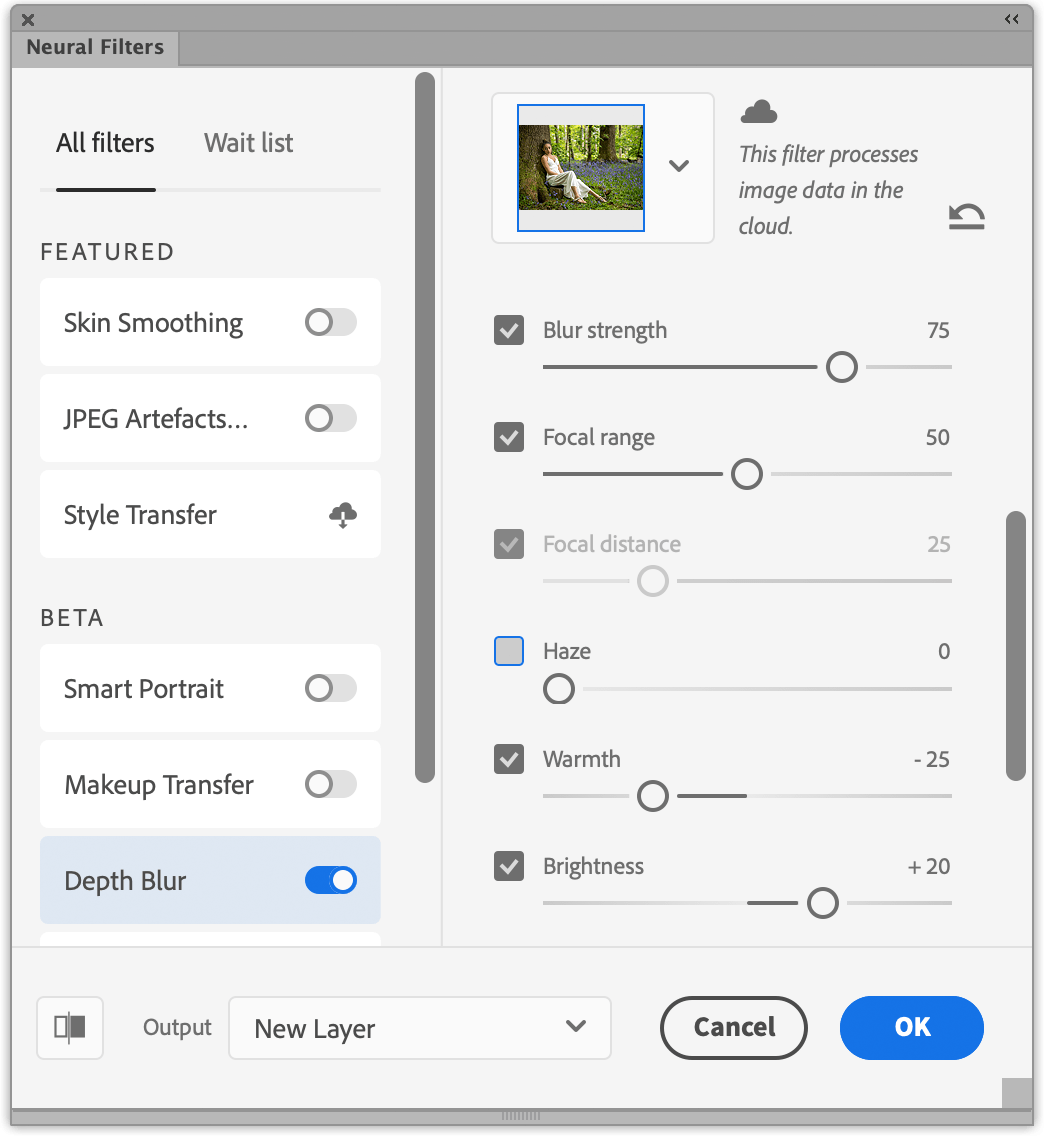
I then opened the Camera Raw-edited image in Photoshop. I then went to the Filter menu and chose Neural Filters. In the filter dialog I enabled the Depth Blur filter with the default Blur Strength and Focal Range settings.
Warm things up
With the Neural Filters dialog still open I further modified the settings by dragging the Warmth slider to the left to add a cooler colour balance. I also added a brighter luminance to the Depth Blur filter effect.
Skin smoothing
Click OK to apply the Depth Blur effect.
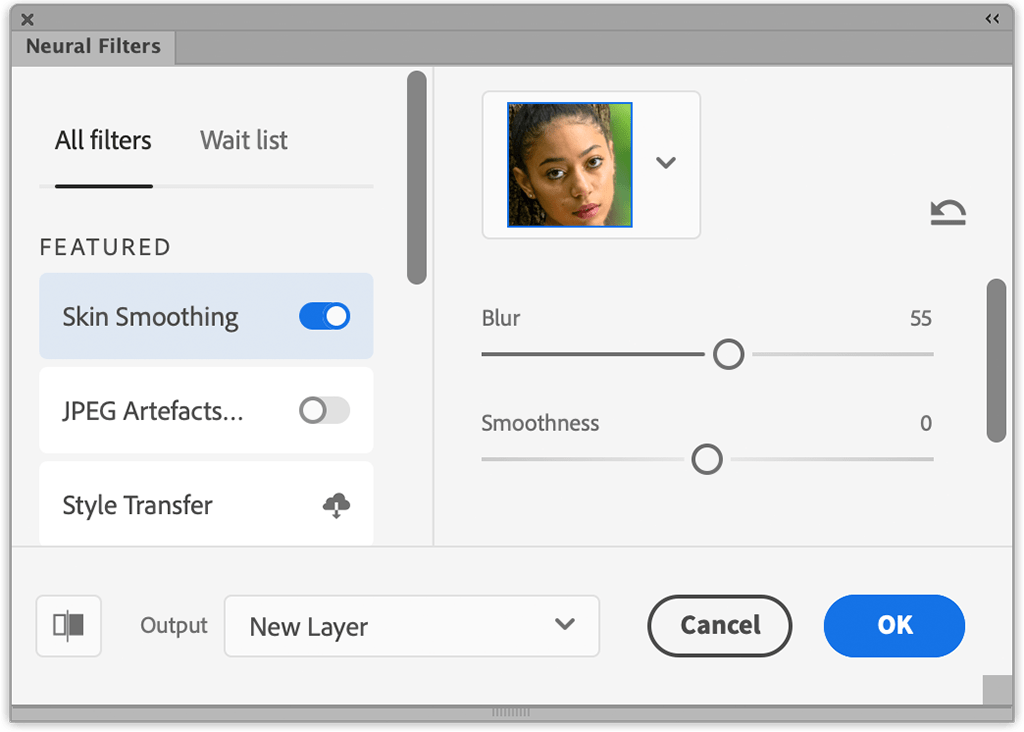
After that I chose Neural Filters again from the Filter menu. This time I enabled the Skin Smoothing filter and applied a 55 Blur. This filter effect is applied solely to detected faces in the image.
And here is the final image.

About Neural Filters
The Depth Blur feature is one of many Neural Filters that have been added to Photoshop. These all rely on cloud-based computing to analyse and apply the desired effects. Current filters include Skin Smoothing, JPEG Artefact removal and Style Transfer. But there are also a number of beta filters available such as the Depth Blur.
As these filters are in beta development they are still being refined. Therefore, some failings, such as the edge bleed blur may hopefully be corrected by the time it is officially added as a Neural filter. For those Adobe customers willing to take part in the participation program, you can vote using the ‘Yes’ or ‘No’ buttons when processing an image and this can help train the AI machine learning to achieve better results.
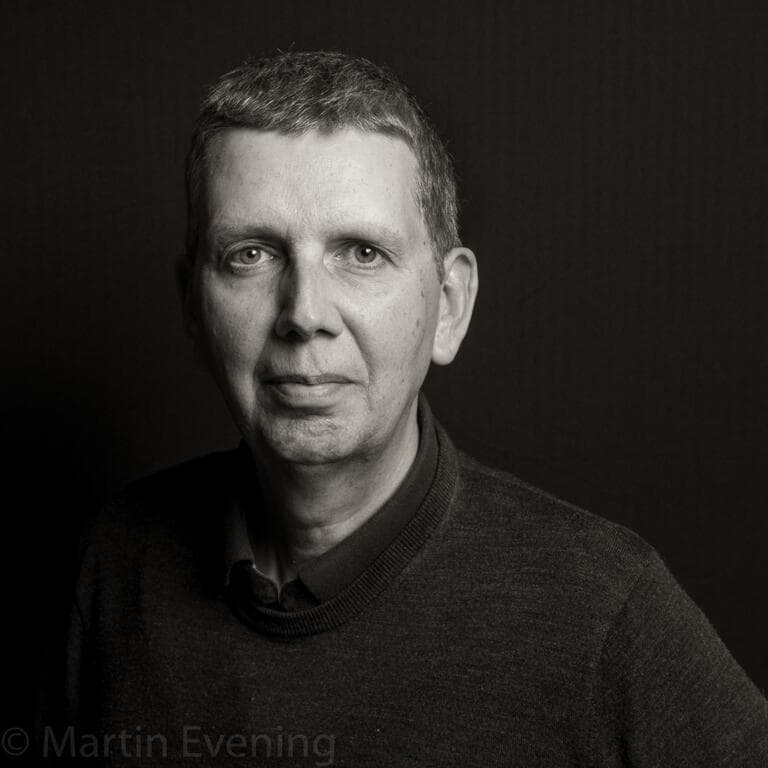
Your guide: Martin Evening
Martin has a background in advertising and landscape photography. He is also well known for his knowledge of Photoshop and Lightroom, plus his numerous books on digital editing and imaging. See www.martinevening.com.


