Advertising Feature
Leading Scandinavian photographer Kevin Bruseby explains how he gets more from the feature-packed Zoner Photo Studio X
As our recent five-star review pointed out, Zoner Photo Studio X (ZPS X) is a fully-featured imaging program for Windows users that does everything from importing images to making prints. Zoner Photo Studio X is much more than a raw converter and image editor, because it promises to do pretty much everything you might need once when you get home from taking pictures.
The software can be used to download and organise pictures from your camera, develop and edit raw files, and then build web galleries, design photo books and buy prints. It’ll even integrate with external services such as Dropbox and Facebook. But how do photographers use it in practice? We caught up with Kevin Bruseby, a young landscape and commercial photographer from Linköping, Sweden, who is a seasoned user of the Zoner Photo Studio X software.
Can you give us a bit of background about your career so far as a photographer and content creator?
I began taking photos at the age of 13 back in 2016. During the first year, I used my parents’ pocketable point-and-shoot camera and learnt some photography basics through a lot of trial and error. The following year, I bought my first DSLR and began photographing sunrises and foggy rural scenes. Photographing these kinds of scenes gave me a sense of peace and fulfilment that I never had experienced before. At this point, I knew for sure that my interest in photography was here to stay.
Fast forward to 2023, I now photograph quite a broad range of subjects. While nature photography will always have a special place in my heart, I also do a lot of commercial work. During recent times, I have also gotten myself more into videography, as this is a great tool to utilize on social media. This is definitely something I would love to work more on in the future, alongside with my photography.
When did you first start using Zoner Photo Studio X, and what attracted you to the software?
I have been using ZPS X since its early days. In fact, I also used previous versions of Zoner Photo Studio before the release of ZPS X. It was my father who first introduced me to the software when I started getting into photography. He had very good experiences from the software, and thought that it would suit me well as a beginner in photography. I instantly fell in love with the software and its features, and since then, I have stuck to Zoner Photo Studio.
What advantages does the software have, compared to other photo editing programs?
The versatility of Zoner Photo Studio X is what I believe makes it stand out from the crowd. The fact that you can do photo organizing, processing, and creative photo enhancement all in one place is very convenient. I personally often do some kind of creative enhancement, apart from the basic photo editing. By having the possibility to do everything in one place instead of having to switch software, I am able to speed up my workflow tremendously.
Another big advantage with the software is its possibility to create photo books and calendars, just to name a few, straight from the software. This is also a really useful addition in my opinion. Again, it just comes to show the versatility of the software. Speaking of versatility, Zoner Photo Studio’s video editing module is a really great tool that definitely is worth mentioning. It is really cool to have the possibility to edit video footage in a photo editing software, and it definitely makes life as a creative a whole lot easier.
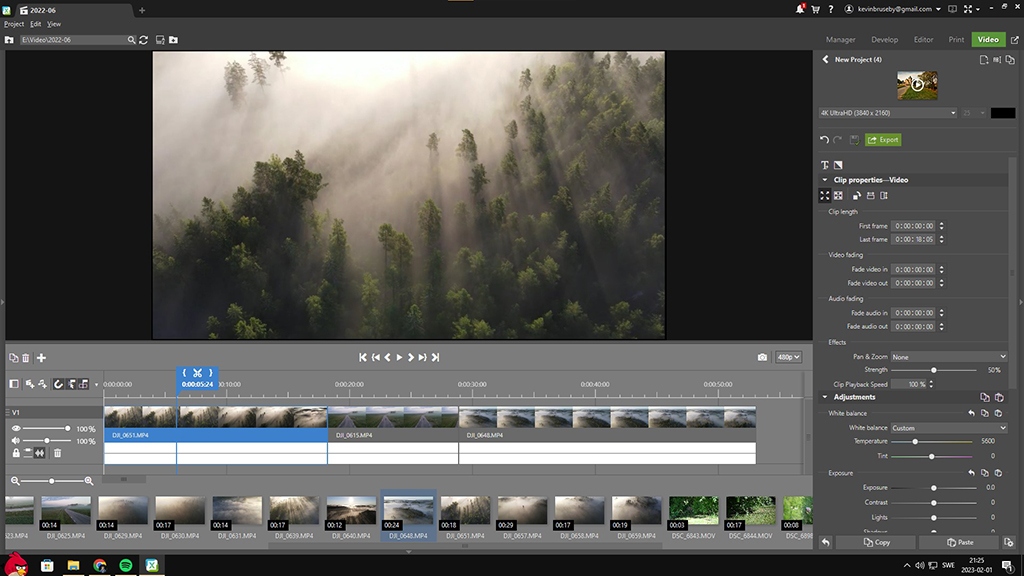
The ZPS video editor
Can you talk in a bit of detail about your favourite tools and features in Zoner Photo Studio X and how they help you?
I usually begin my edits by working with the basics of an image. This includes fine tuning the white balance, exposure, colours and tone curve. A personal favourite of mine is the texture slider in the exposure section. From my experiences, this tool helps to create a slightly more gentle sharpening effect. This is useful when you want to accomplish sharp, yet slightly soft-looking images.
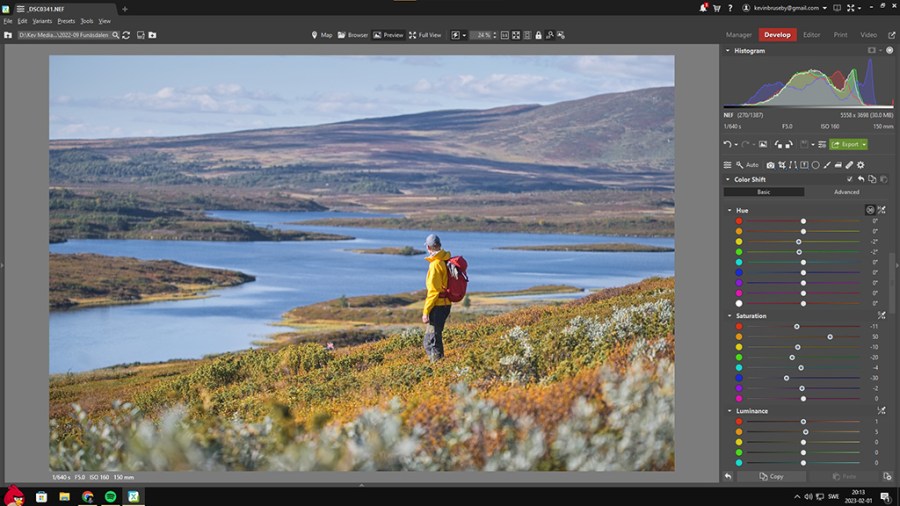
After this, I head to the colour shift and split toning modules, where I adjust the primary colours of the image. This is undoubtedly my favourite tool of the software, as it really enables me to create my desired look. Thanks to the colour picker, it is also possible to select a colour on the image instead of having to manually drag the colour sliders. I am personally very happy about this feature since it helps speed up the workflow very much.

The ZPS colour shift module
The gradient and radial filter are two highly underrated tools that I regularly use in my workflow. These tools are perfect for redirecting the light in an image, and work extremely well for techniques such as dodging and burning. Speaking of underrated tools, the clone stamp and healing brush are two essential ones that I often use as well. These retouching tools are perfect for deleting any unwanted objects from an image, and can be used to accomplish more clean images.
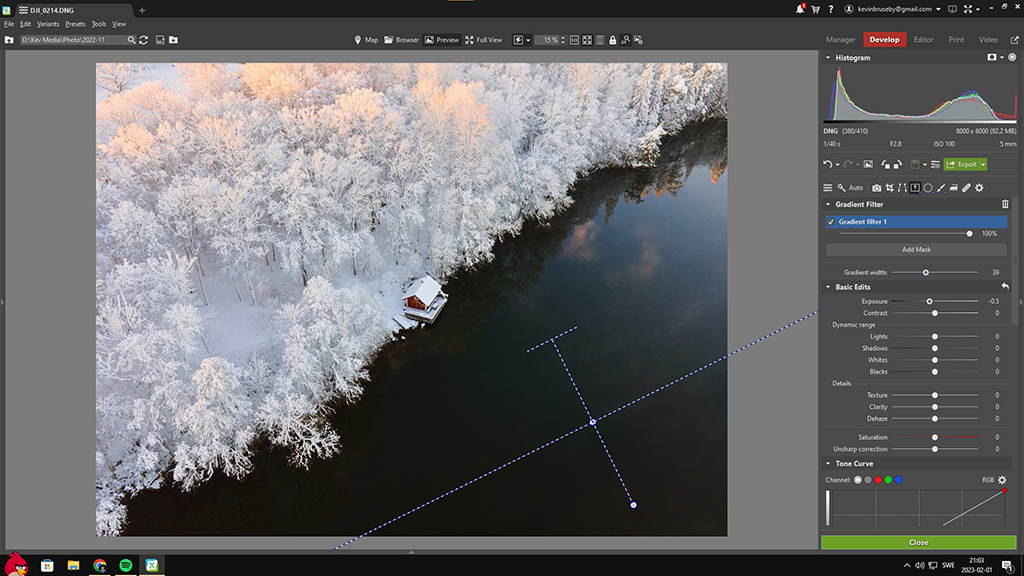
The ZPS gradient filter
Are there any new features that you are particularly impressed by?
This might sound like a simple answer, but I truly enjoy the overall performance of the colour shift and split toning tools. These tools have kept improving with recent updates, and the combination of their importance and great performance is the reason why I value them so much. Also, I really enjoy the quite recently added LumaCurve. This tool changes the brightness and contrast of an image, while retaining its colours. This tool is extremely useful when fine tuning the visual representation of an image.
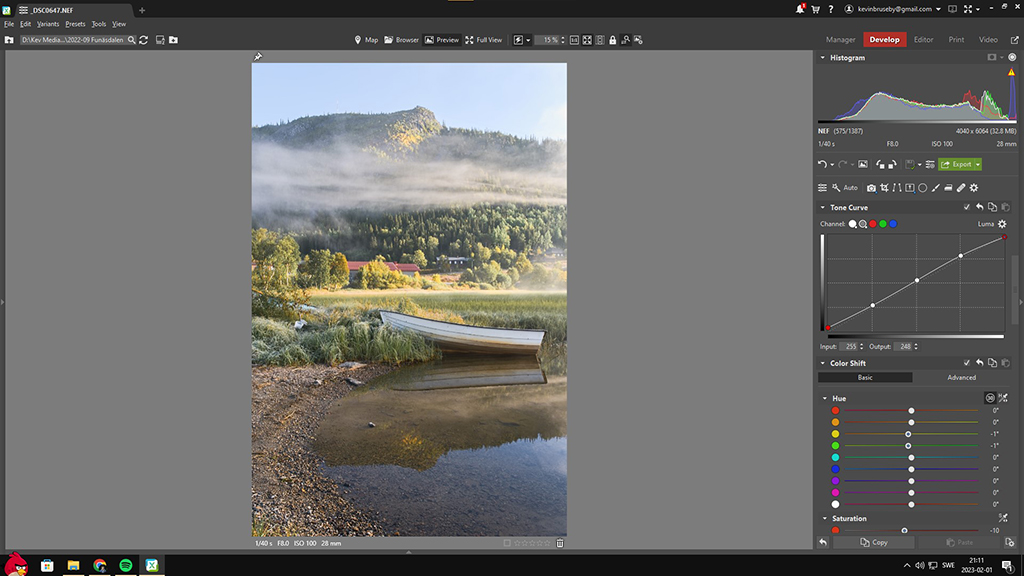
The ZPS LumaCurve
We have talked about still images, but how do you also use the program to edit your drone footage?
I have used Zoner Photo Studio’s video editor to create short-video content for social media. While I only have good experiences from this tool, I must admit that I have not used it too much yet. In the future, I am planning on diving deeper into it and learning more about the video editor as I get into videography more seriously.
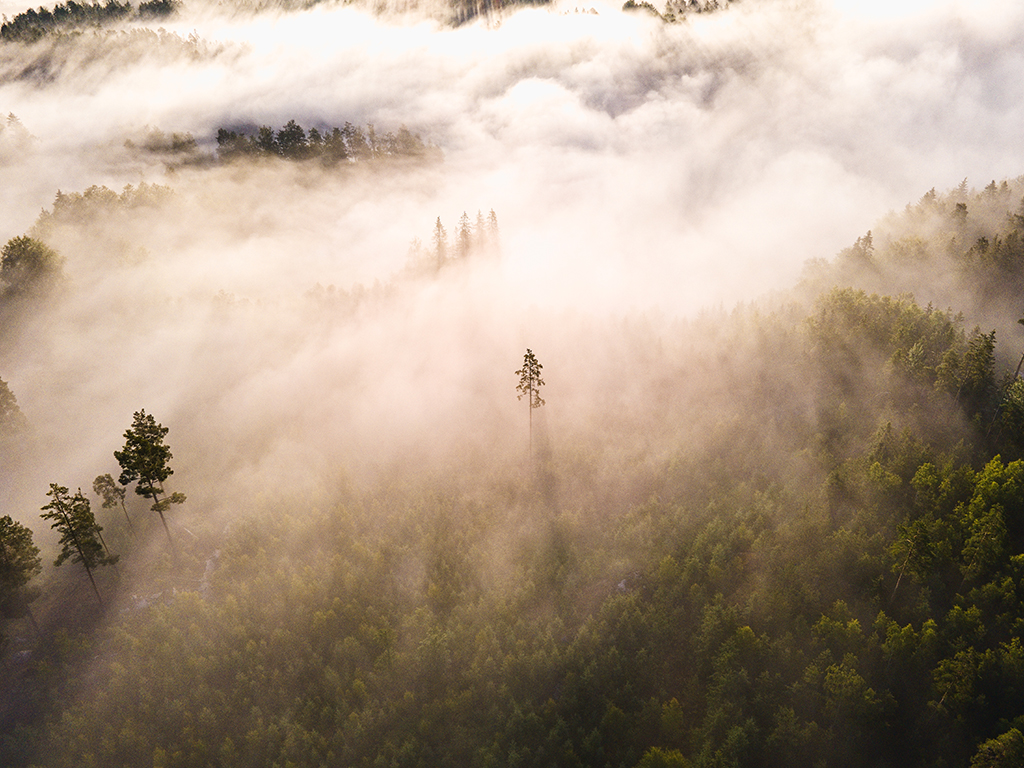
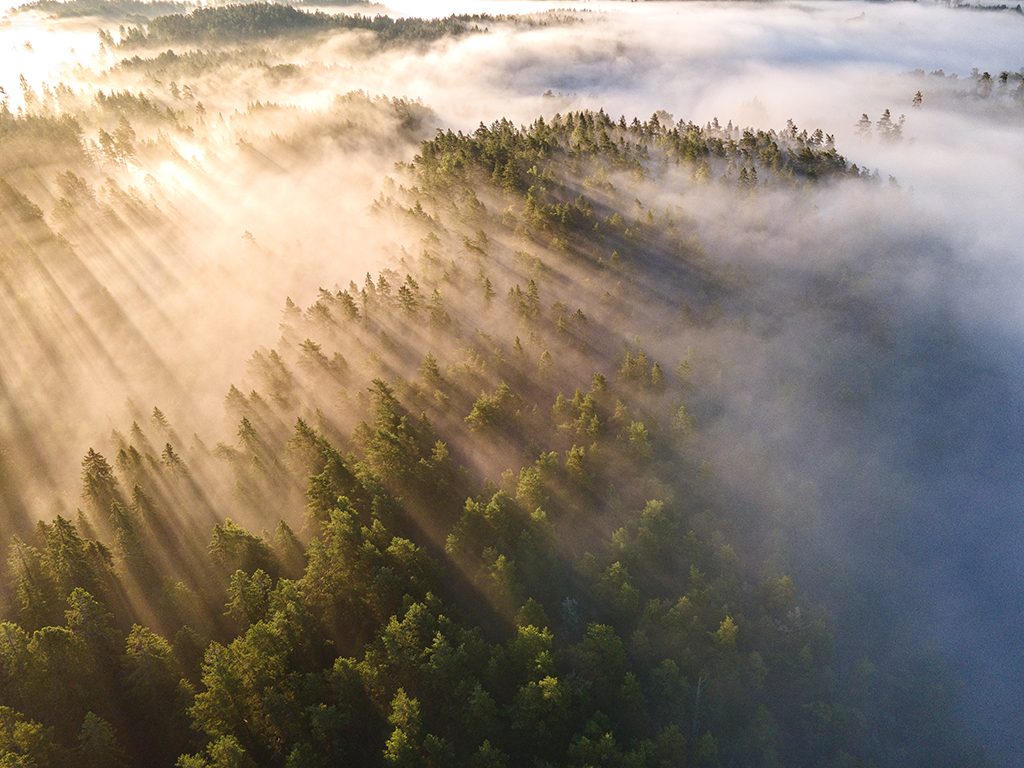
One of Kevin’s stunning drone images
For newcomers to Zoner Photo Studio X, what are the best tools and features to try out first?
My best tip would be to experiment with the features in the Develop module, as it is filled with awesome features. Once you feel comfortable with this, there are several exciting features to try out in the Editor module. I also highly recommend checking out Zoner Photo Studio’s own photography school. The site offers a broad range of articles and tutorials, which can be really useful if you are new to the software.
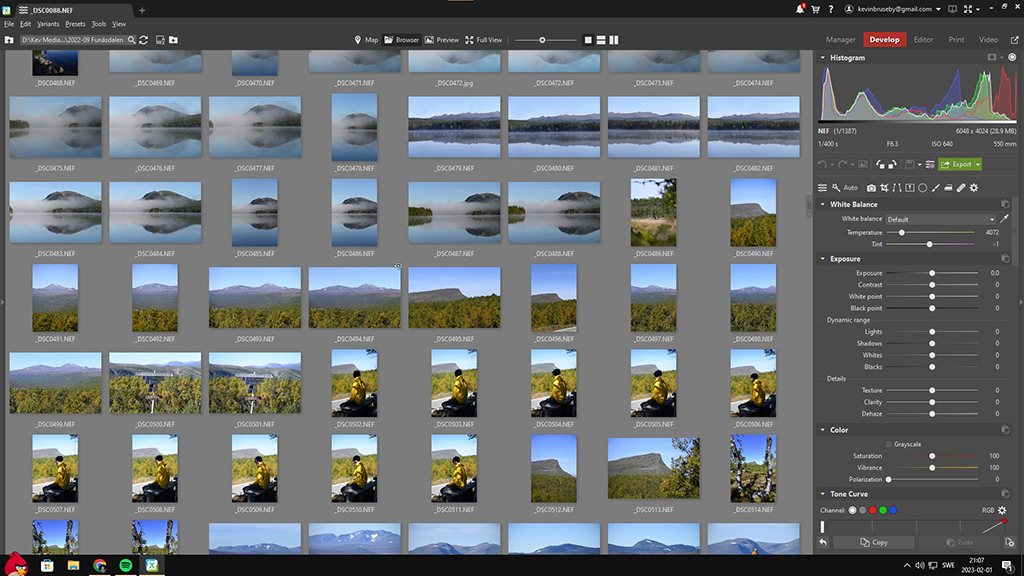
The ZPS Develop module
As you can see, Zoner Photo Studio X offers lots of features for photographers, and you can try it for 7 days for free.
Zoner Photo Studio X update brings extended Raw file support