Photoshop guru Martin Evening shows how to boost colour in your images
Martin Evening has a background in advertising and landscape photography. He is well known for his knowledge of Photoshop and Lightroom, plus books on digital imaging. He is also the author of the worldwide bestselling series Adobe Photoshop for Photographers. First launched in 1998 the latest edition is packed with practical examples of how to use Camera Raw and Photoshop to enhance your photographs. On sale now priced £45.59.
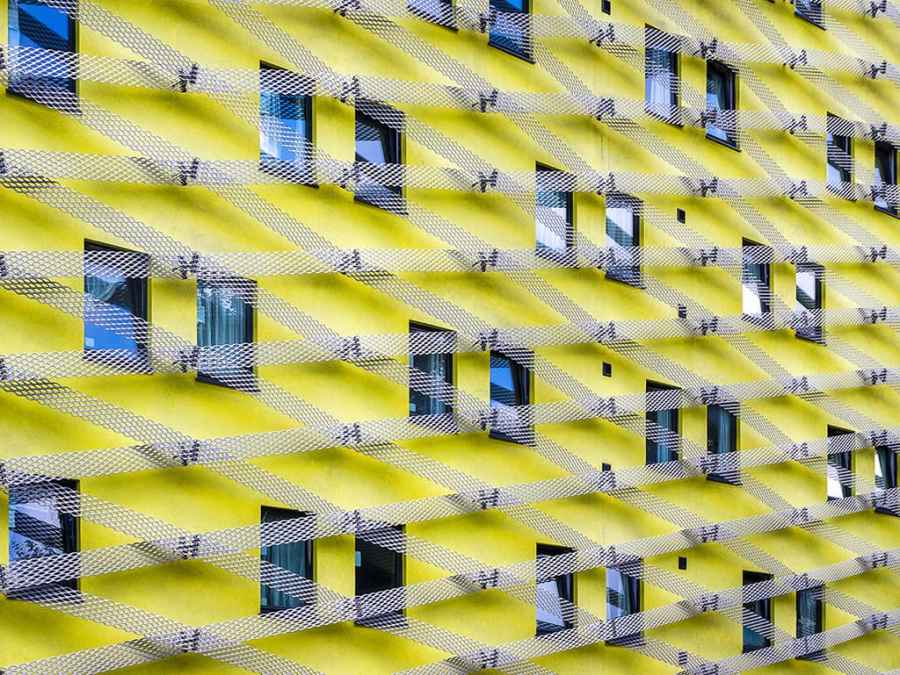
Yellow Wall by John Murray
John is a software engineer and has always enjoyed photography. After joining the City of London and Cripplegate Photographic Society in 2015, it has reignited his interest. cityandcripplegate-ps.org/showcases
Before. An eye-catching scene with wonderful texture that just needs a boost of colour Pentax K-3, 16-85mm, 1/400sec at f/8, ISO 500
This photograph was taken in north London near to Clissold Park. John writes, ‘I had a day off work and took my Pentax K-3 and its 16-85mm zoom for a walk along the New River Path. Architecture often draws my photographic eye, especially when patterns are present. I only took this one shot before moving on.’
I think there are two reasons why this photo works as a strong composition. There is obviously the bold colour of the yellow façade, which is contrasted with the blue reflections from the windows. There are also the repeating patterns of the window frames themselves plus the diagonal lines of the woven aluminium mesh.
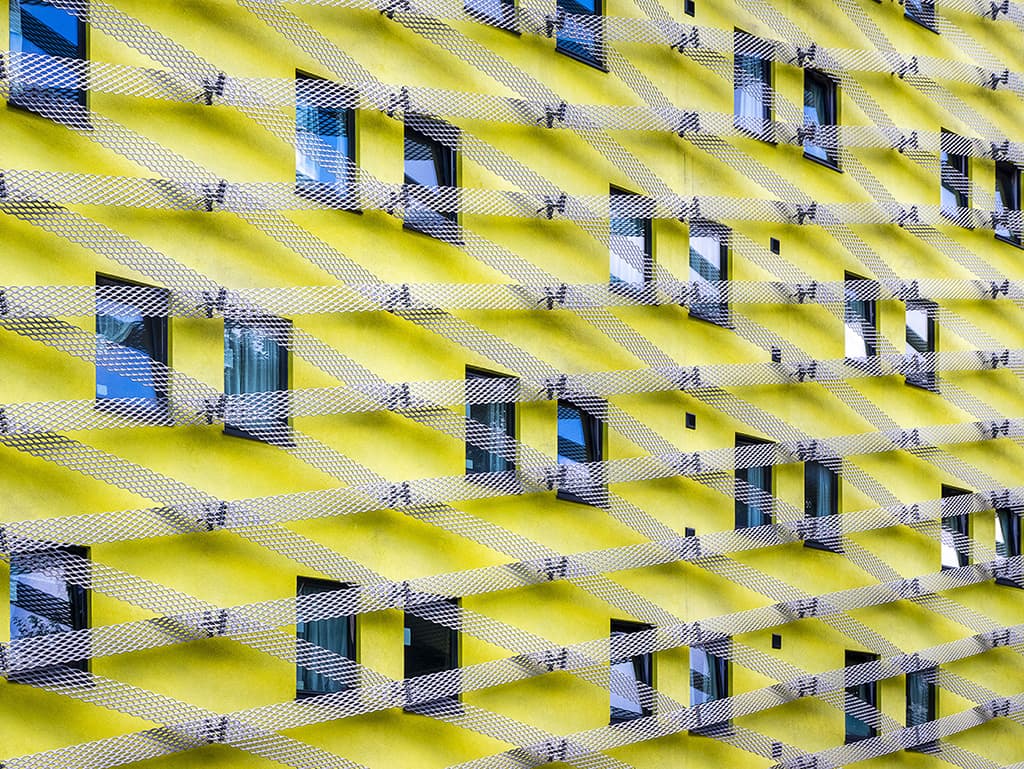
After
The main aim here was to brighten the colours, but I also wanted to do all that I could to ensure that the image was optically corrected and that the window frames were aligned vertically.
Martin’s adjustments to enhance the image
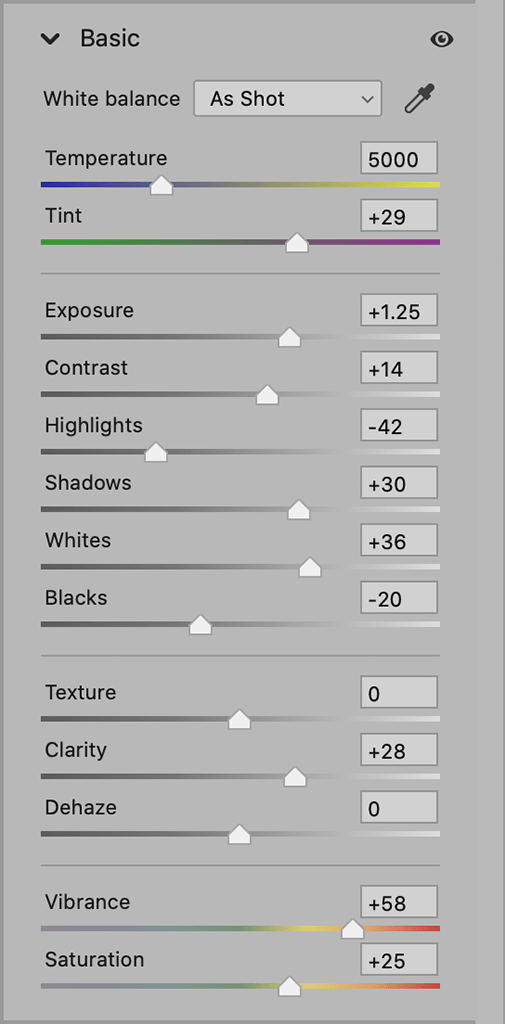
1. Lighten the image
The original image was a little underexposed, so the first step was to open the raw photo in Camera Raw, go to the Basic panel and lighten by dragging the Exposure slider to the right. I then adjusted the remaining tone sliders to optimise the range of tones.
 2. Saturate the colour
The main thing I wanted to do with this particular photograph was to make the most of the bright yellow wall and the colour contrast with the blue-sky reflections in the windows. In this step I increased both the Vibrance and the Saturation to make these colours stand out.
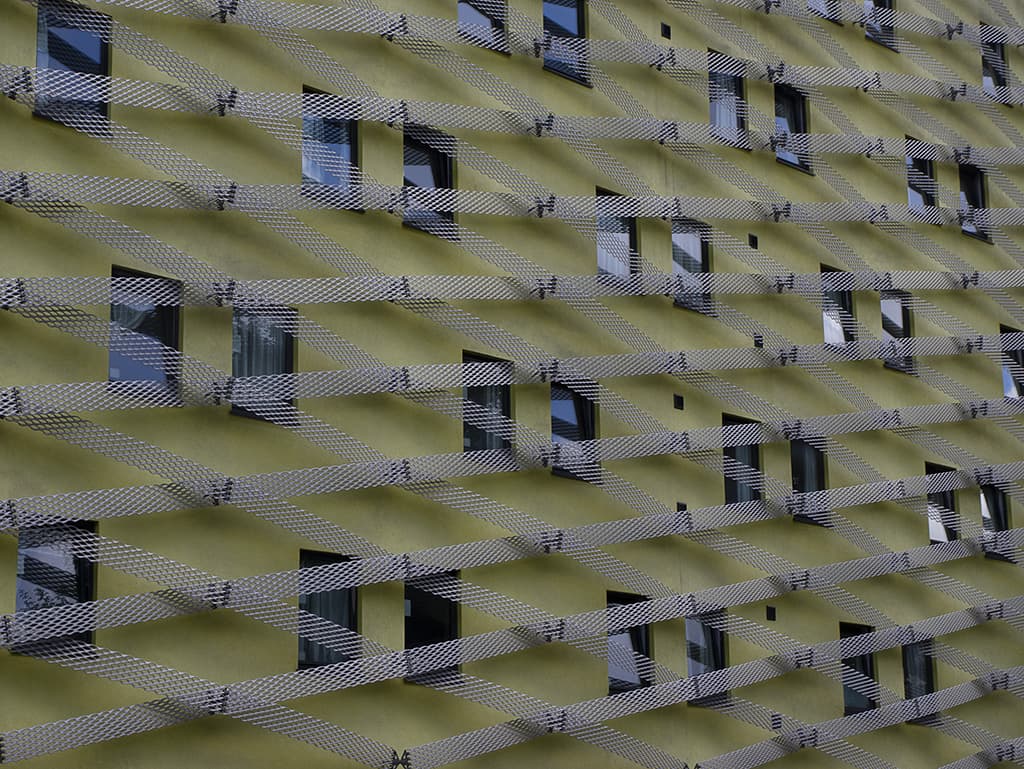
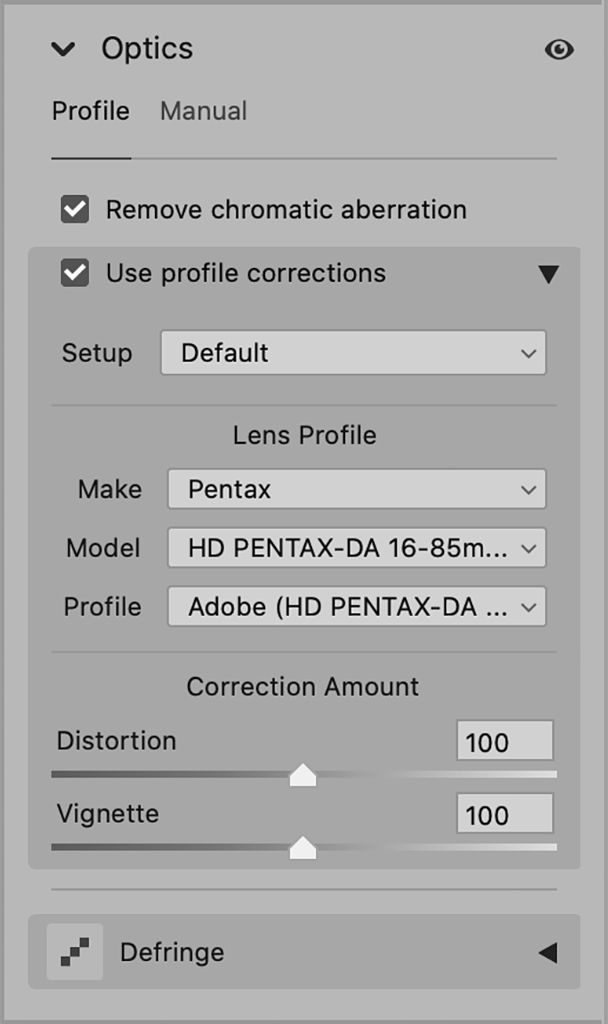
3. Apply optical corrections
For an architectural subject like this, I thought it was important to apply a profiled lens correction to the image. Here, I checked the Use Profile Corrections option. This auto-selected the appropriate Adobe lens profile to apply a geometric distortion correction.
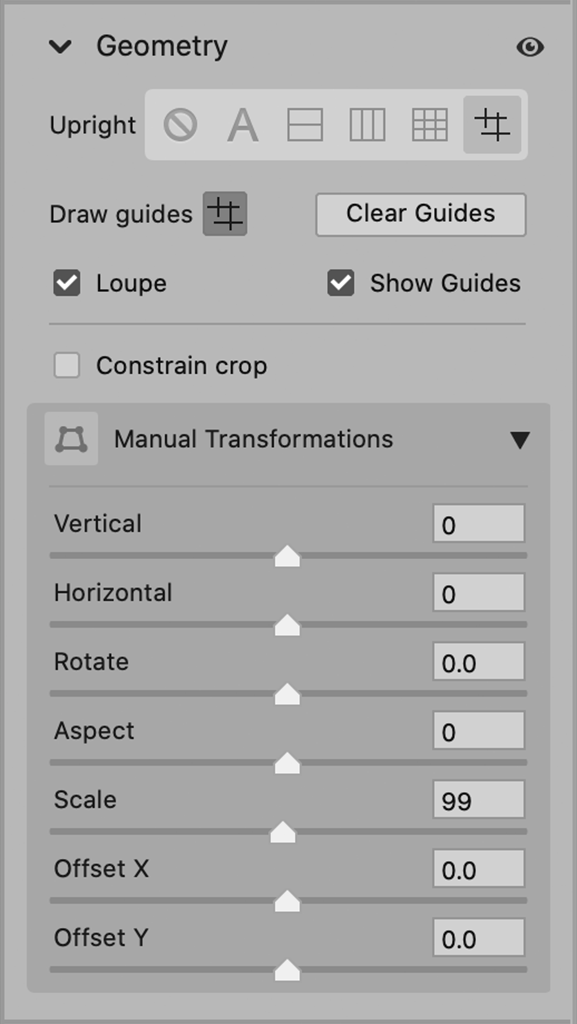
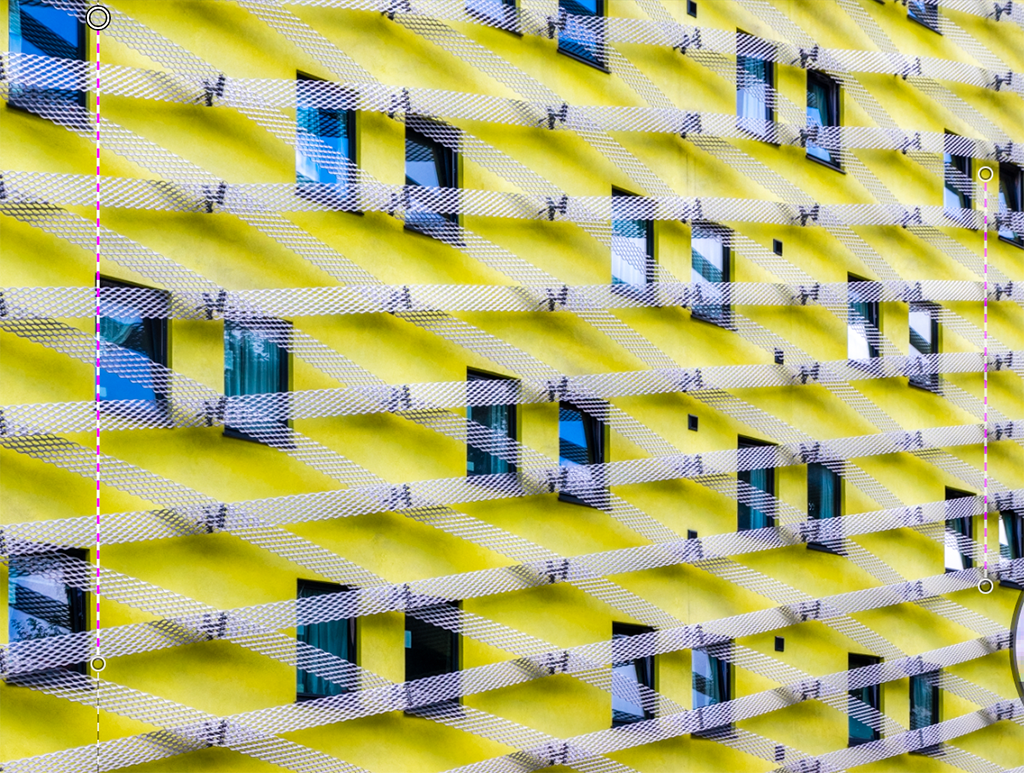
4. Correct the perspective
In this step I went to the Geometry panel to apply a Guided Upright transformation. To do this I selected the Guided Upright option. I checked the Draw Guides option and added two manual guides, left and right, making them align to the sides of the window frames.
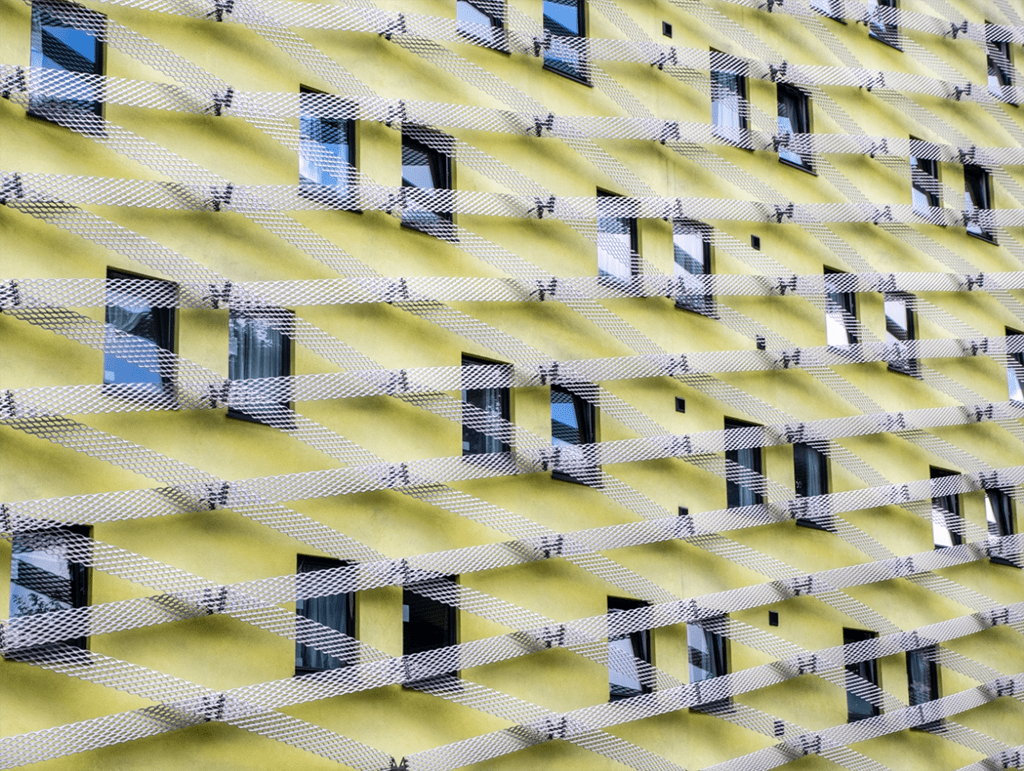
 5. Balance the exposure
I now wanted to carefully balance the exposure to keep it even across the whole image. I selected the Graduated Filter tool and added a Graduated Filter adjustment, dragging upwards from the left, and applied an Exposure increasing adjustment. I also added another adjustment on the right.
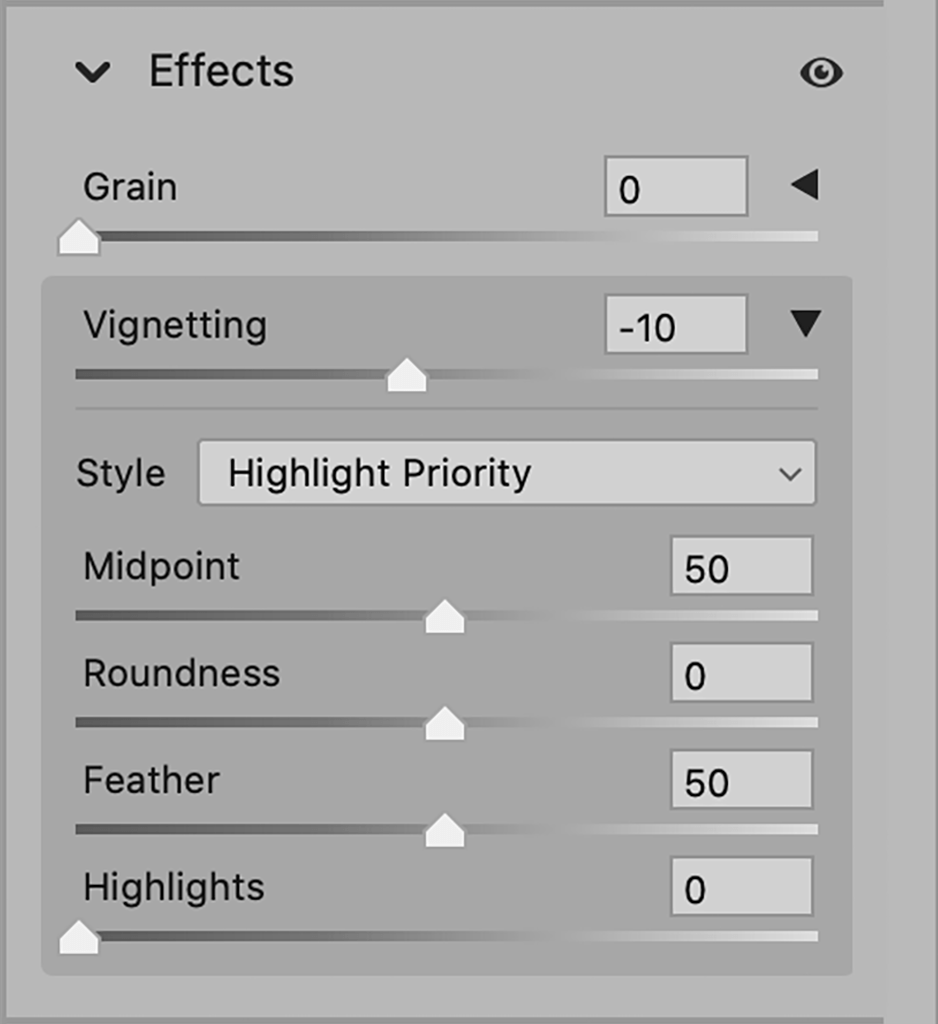
6. Darken the corners
Finally, I went to the Effects panel, where I selected the Vignetting slider. I dragged this slider to the left to apply a darkening adjustment to the corners of the image using the Highlight Priority style. This adjustment helped to focus the viewer’s attention towards the centre of the frame.

Profiled Lens Corrections
Both Camera Raw and Lightroom have a lens profile database that matches lots of different camera plus lens combinations and is being updated all the time. When you go to the Optics panel in Camera Raw (or Lens Corrections panel in Lightroom), you just need to check the Use Profile Corrections option to activate. This should automatically select the correct profile for the camera and lens used. Sometimes you may see a message that says: ‘Built-in Lens Profile applied’. This is because with some cameras, lens profile corrections are applied by default when you open a raw file in Camera Raw.
Submit your images
To see your photo here and for a chance to win Martin’s new book, email submissions to [email protected]
Further reading
Photo editing masterclass: How to reduce image noise in your photos – Amateur Photographer
Photo editing masterclass: How to balance sky and sea brightness – Amateur Photographer
Photo editing masterclass: How to darken a sky – Amateur Photographer
Photo editing masterclass: Blending two images – Amateur Photographer