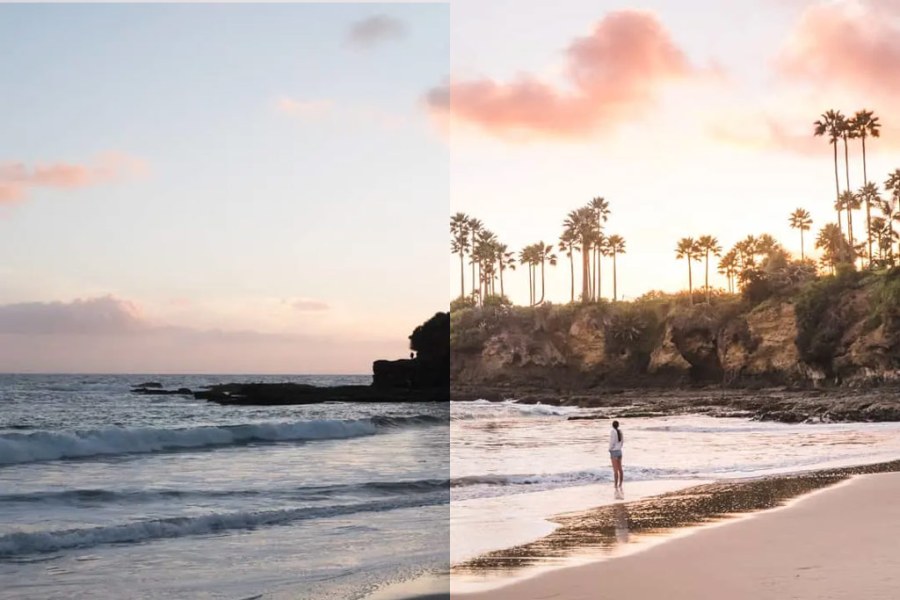
Adobe Lightroom Presets are a brilliant time saver when photo editing. Not only do they give you the chance to work quickly and efficiently with large batches of images, but also encourage experimentation with your processing style. The beauty of editing in Lightroom is that your tweaks are non-destructive. Make as many changes as you like knowing that you’re one-click from resetting to the original at any point.
Whether working in Lightroom Classic or Lightroom (for Desktop, Mobile or Web) there are a huge variety of Presets to download and explore. Some of the higher-priced offerings from bigger studios work hard to keep on top of new features (i.e., Lightroom’s latest AI-assisted updates). But dig deep and you’ll find that there are plenty of free options available from photographers who are simply keen to share.
We found some of the best free Lightroom presets to get you started.
How do you get presets on Lightroom?
How to install your presets on Lightroom Classic
- In the Presets Panel click on the ‘+’ and choose ‘Import Presets’
- Locate your Preset and click ‘Import’.
- You can tidy up and arrange your Presets at any time using the ‘Manage Presets’ option.
How to install your presets on Lightroom
There are two ways you can import Presets into Lightroom for Desktop.
- File>Import Profiles & Presets OR
- In the Presets panel, click the fly-out menu and select ‘Import Presets’.
Presets are commonly saved as a .xmp file. These files are easy to share with others and allow non-destructive editing. You may also find many older Presets with the extension .lrtemplate. These Presets can be used in both Lightroom Classic and Lightroom.
If you’re importing Presets directly into Lightroom for Mobile this may be a DNG file type. But you can make use of your .xmp and .lrtemplate files too (though it’s much easier to do this via Lightroom for Desktop and the Presets will be ready to use when you launch Lightroom Mobile).
Tip: how to save Lightroom for Mobile Presets into Lightroom Classic
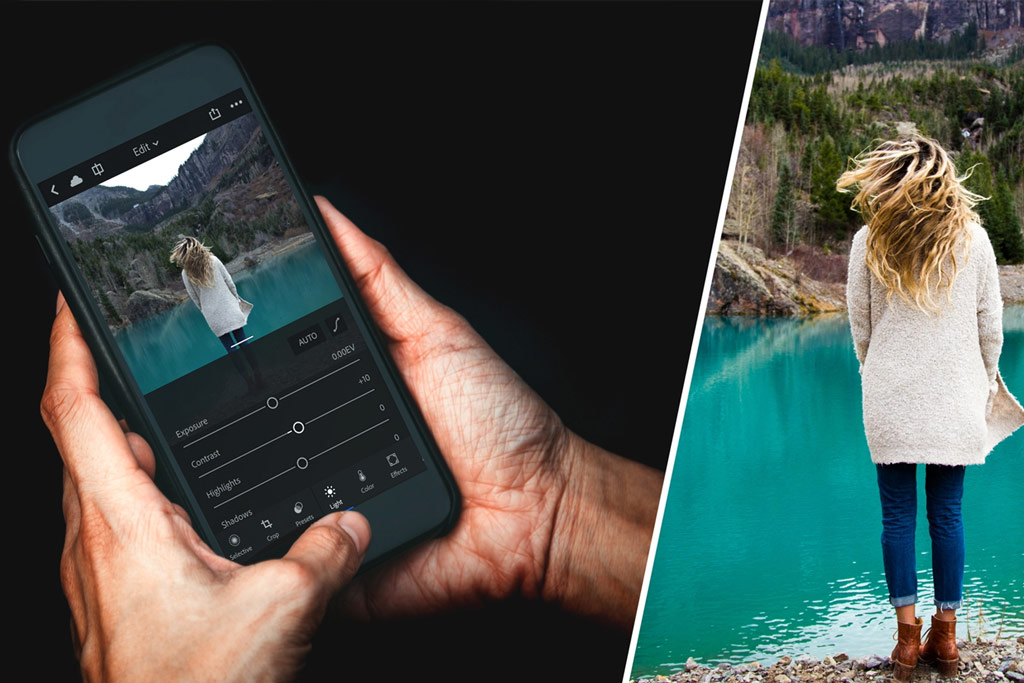
Managing to use your .xmp and .lrtemplate files in Lightroom (for Desktop and Mobile) is an intuitive process. But what if you have a great Preset in Lightroom and you really want to be able to make use of this in Lightroom Classic? The good news is this is possible, though it takes a bit of effort.
Here’s how you do it…
- In Lightroom Classic make sure you’re in Library Mode.
- You can Sync one catalog from Mobile to Classic at any one time. To do this click on the Cloud icon in the top bar and ‘start syncing’.
- If you have applied a Preset to a synced image in Lightroom Mobile, it will now show in Lightroom Classic. You will see tweaked sliders in the Develop panel and it should show as a slider under your Navigator window. You can now turn this into a .xmp Preset by clicking on the + in the Presets panel and choosing ‘Create Preset’. You will have to assign it a name. You’ll now be able to apply this Preset to any other image in Lightroom Classic, regardless of it being in this Synced collection. It will save in ‘User Presets’.
Where can I find free Lightroom presets?
Now you know how to utilise Presets for both Adobe Lightroom Classic and Adobe Lightroom and get them working in either application, here are some ideas for where to look for some freebies…
Best Free Lightroom Presets from Adobe Creative Cloud
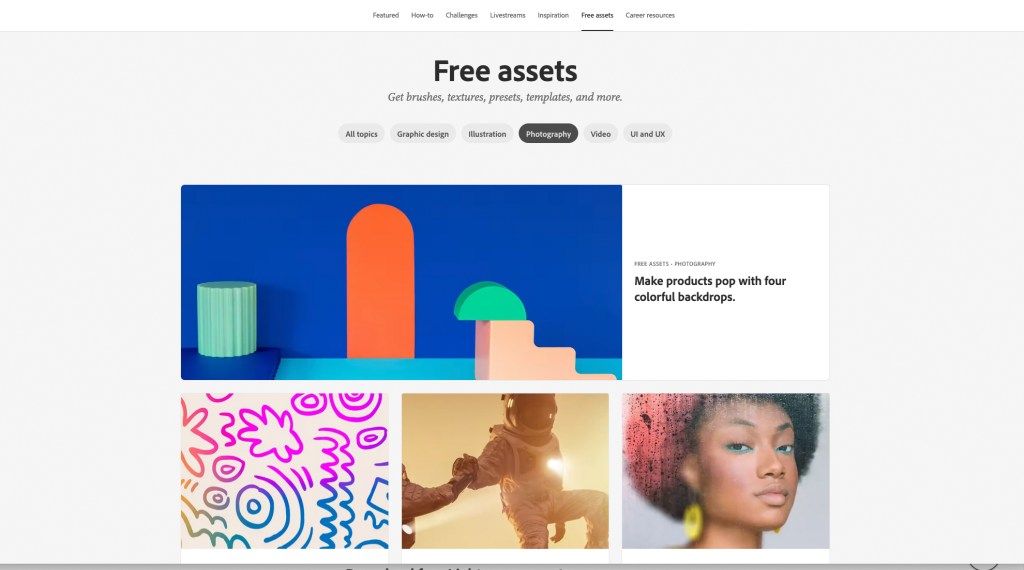
Your first port of call for finding good quality, free Presets should be Adobe itself. Head to the Creative Cloud site and check out the free assets that are regularly uploaded. The back catalogue of these freebies is there to be explored. They are beautifully presented, make it easy to view before and after examples, and come with well-written backstories and biographies of the photographers who have contributed.
For those interested in learning more about improving their image editing they also provide fantastic slideshow-like step-by-step, showing how the photographer processed their image and created the Preset. If you download these Presets they will open in Lightroom for Desktop and you’ll be able to watch a full edit before saving them.
You can return the favour by uploading your own edits. Other photographers will be able to see your original, all the edits you made and the final image. They can also save your editing settings as a Preset.
Remember the tip above to utilise your Creative Cloud-sourced Presets in Lightroom Classic.
Architectural Photography Presets by Kohki Yamaguchi
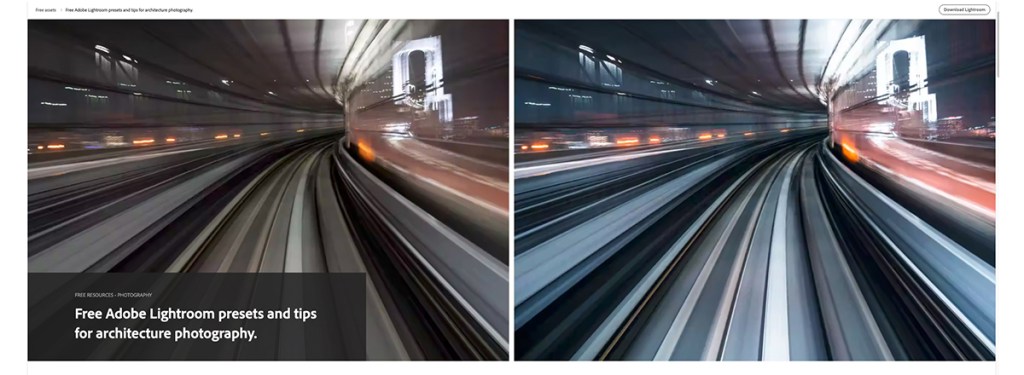
Eight Lightroom plug-ins by Kohki Yamaguchi to personalise your urban photographs, with technique hints and tips to get the most out of them.
Faroesian Blues by Luke Stackpoole
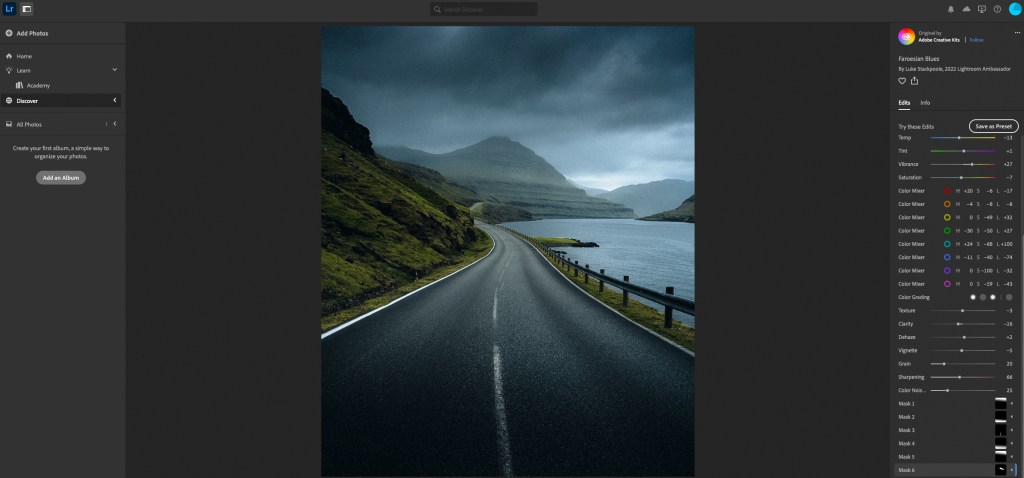
Luke Stackpoole used to be an accountant based in London. Today, he is a Lightroom ambassador and an adventure photographer working for brands that include American Express, Aston Martin and The North Face. Check out his preset here.
Cinematic cityscape by Piyatat Primtongtrakul
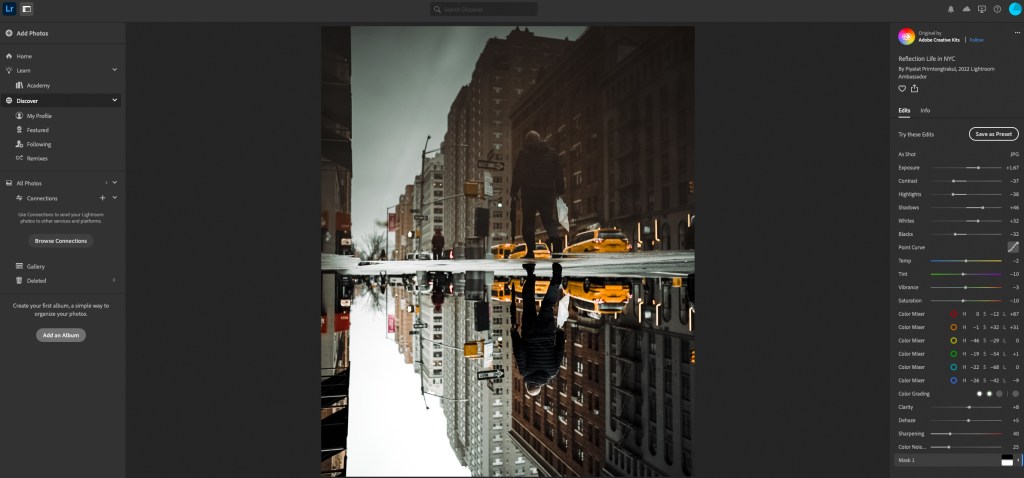
Add drama to your urban scenes with Piyatat Primtongtrakul’s free preset which exploits colour grading to give a cinematic mood. A dramatic low camera viewpoint helps this bold composition too.
Yesteryear Preset By Megan Loeks
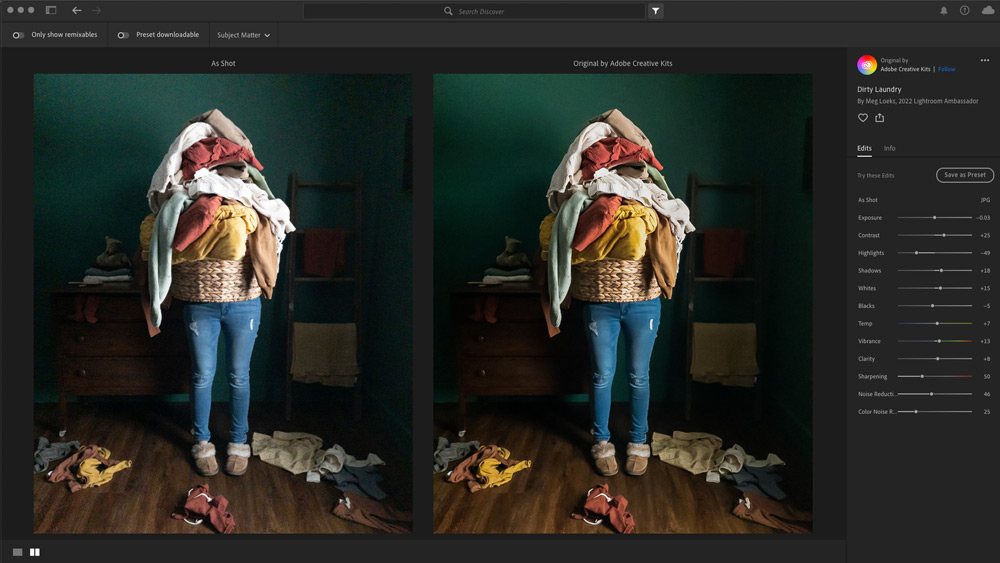
There’s only one offering here from Lightroom Ambassador, Megan Loeks but it offers up a lovely, rich and painterly look that works well on deep colours with dark shadows.
Flower Photography Presets by Thais Varela
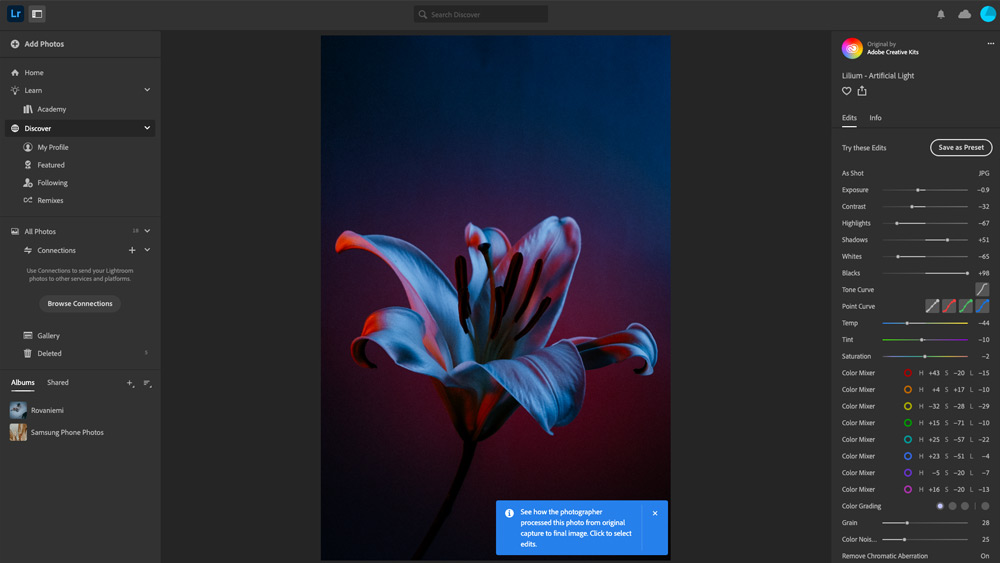
There are two downloads available for free use; one for enhancing details with studio lighting with confident colour mixes, and the other a more general colour booster for naturally lit floral shots.
Midday sun shoot Preset by Pei Ketron
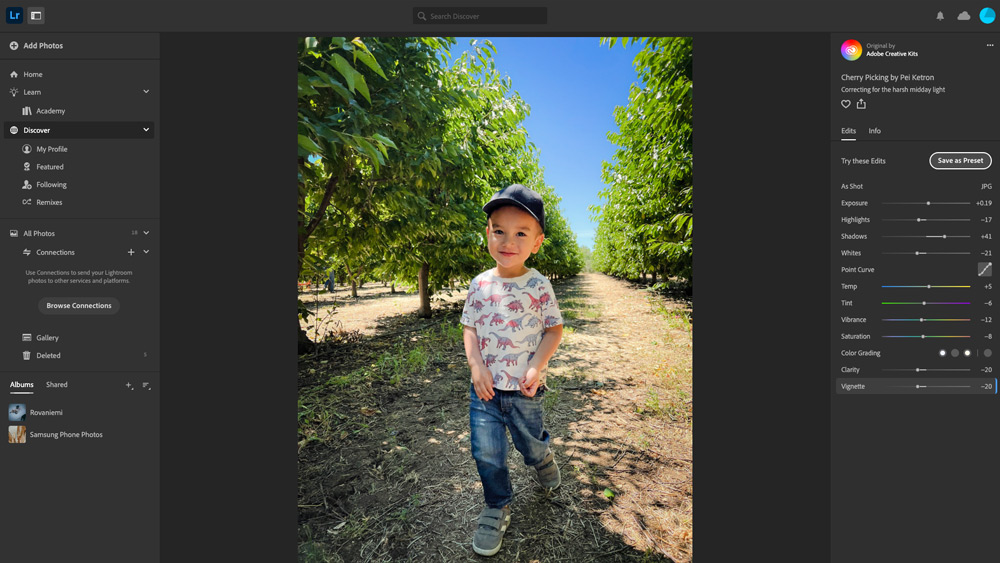
You know the best time to shoot for flattering portraits but sometimes the timing’s unavoidable, or you’ve shot in the spur of the moment. These Presets have a specific purpose – to even out shadows and highlights created by the harsh sunlight. These have been created for mobile phone images, but it’s worth trying as a quick fix on any squint-heavy image.
Best Free Lightroom Presets on other websites include:
Greater than Gatsby
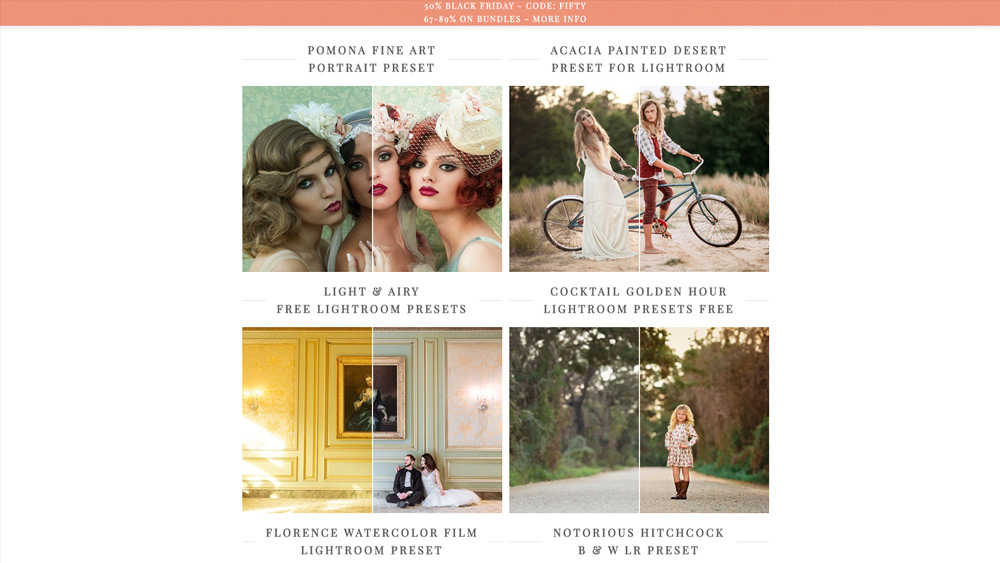
There are 12 free Presets for you to download here and with a few clicks you’re provided with both .lrtemplate and .xmp files. There’s a wide range of Presets suiting various styles of photography, including dedicated ones for portraits and weddings. We found ‘Watercolor Film’ and ‘Darkroom Film’ particularly pleasant on sunny landscapes.
Tramp in Trip
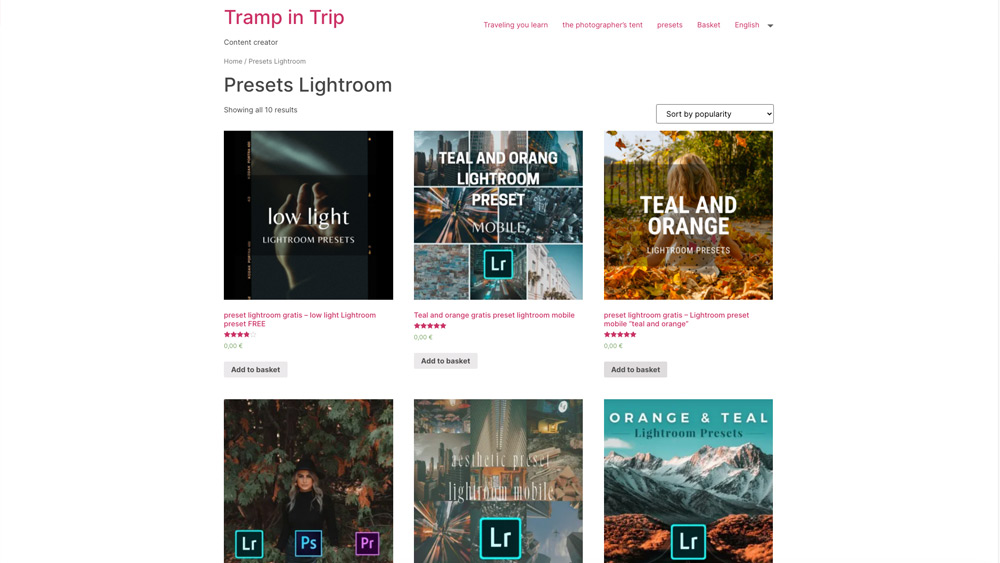
Dedicated Presets for Lightroom Classic and Lightroom Mobile. There are some interesting styles available, and we particularly appreciated the cool, blue effects of the ‘London Presets’ for stylised building shots and landscapes with a city coolness.
Helene In Between
There are only three .lrtemplate Presets available from Helene but they have such a fantastic quality to them – classy and not over-styled. Simply called ‘Free1’, ‘Free2’ and ‘Free3’, we suggest you rename these with something more memorable. Chances are you’ll come back to them often. ‘Free 3’ is our favourite as it turns mundane blues into dreamy, film-like turquoise. We found these worked better with landscapes and buildings.
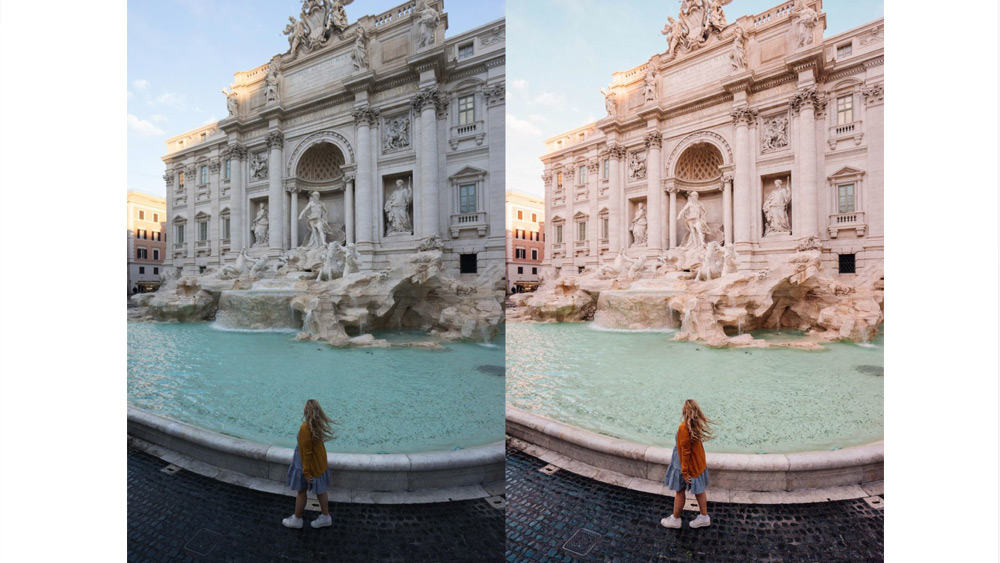
No Man Before
You need to subscribe to No Man Before’s newsletter before you’re given a download link to access these four .xmp Presets. The results are quite understated but take bright, warm photos up a notch. We found these worked better on brighter, sunnier landscapes. Less great for dingy Dorset beach scenes. Well, they are travel Presets after all!
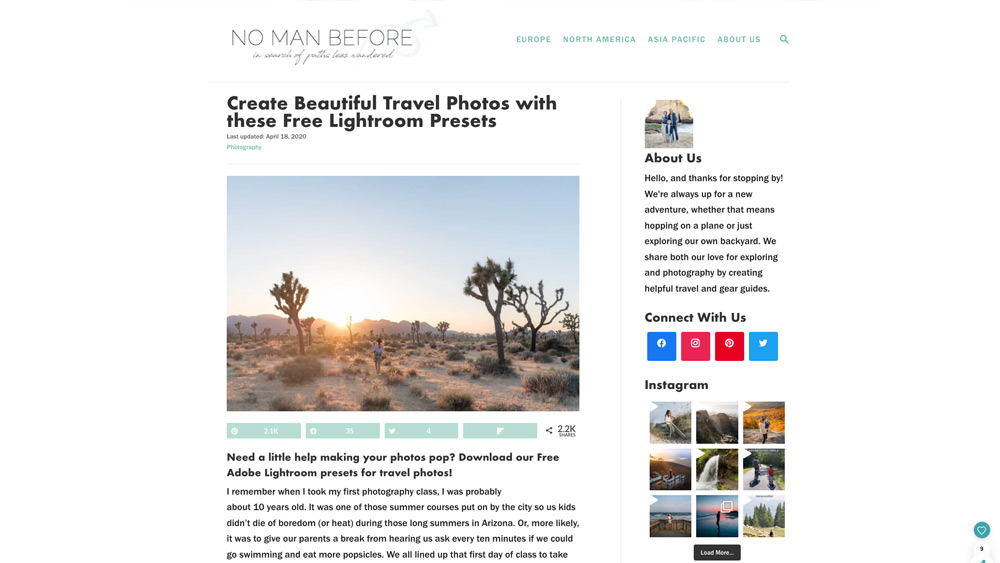
Weedit.Photos
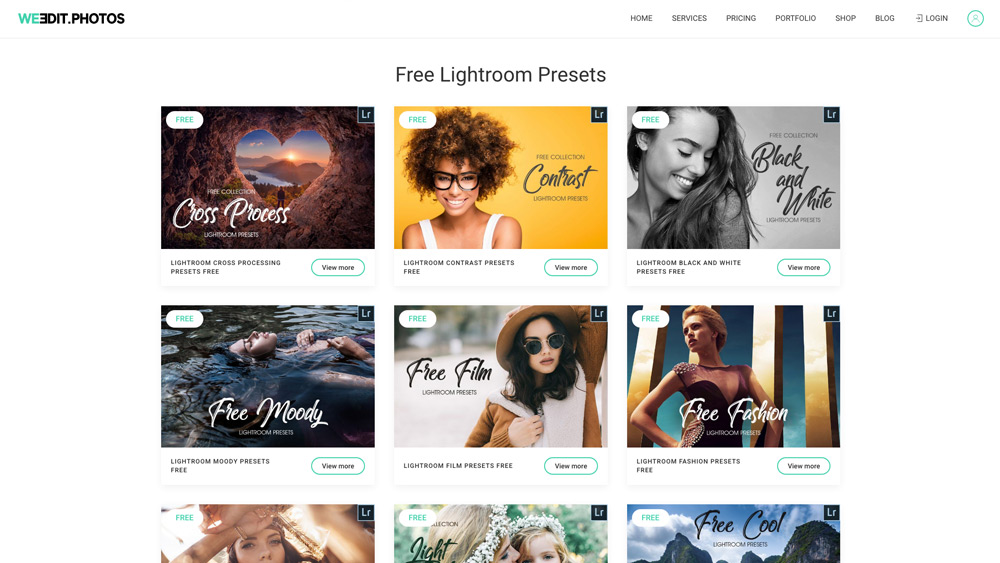
A professional photo editing service for wedding and portrait photographers, Weedit.Photos also have a generous number of free .lrtemplate Lightroom Presets files available for download. There’s a real mix of handy sets covering a wide range of subjects from Interior/Exterior real estate to clubbing and food. Each set contains a few options and they’ve done a great job at explaining what each Preset does and the kind of images they recommend them being used on. No newsletter subscription is required.
How to get the best results from your free Lightroom Presets
With all these free Lightroom Presets available, it’s very tempting to download as many as possible. However, a crowded Preset panel won’t help you speed up your workflow, especially if you spend so much time trying to find ‘The One’.
Make use of the ‘Manage Presets’ option to keep your collections tidy. In Lightroom Classic you can also right-click on a Preset you love and ‘Add to Favourites’ to save you from trawling through lists every time you want to use it.
Remember, Presets aren’t a one-click fix to achieving a perfect image. When you hover over a Preset to see a preview keep an eye out for how it affects the tone of your image. Does it suit the ambience of your photo? Is it adding atmosphere? Are you losing too many details? What is it doing to skin tones? Accept you’ll have a little bit of work to do to achieve a desirable look. It’s always a good idea to tweak with your Exposure and White Balance as a first step if things don’t quite look right.
Check to see whether the developer has given any tips on how to work with their Presets. The Creative Cloud free assets are excellent for this if you’re a newcomer to editing.
If you find you’ve tweaked a Preset’s settings too much you can always treat it as a primer and save your edits as your own Preset. Delete or hide the originals to keep your Lightroom workspace uncluttered.
Recommended articles:
- How to convert images to black and white in Lightroom
- Best Adobe Lightroom presets
- AI-powered tools for Photoshop and Lightroom
- Lightroom tips: Landscape photography editing
Follow AP on Facebook, Twitter, Instagram, YouTube and TikTok.

