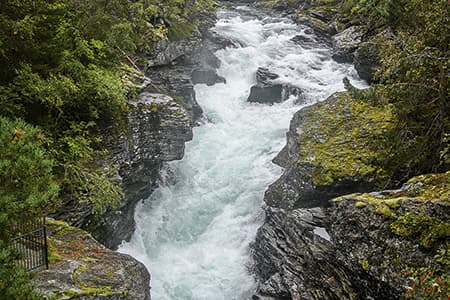
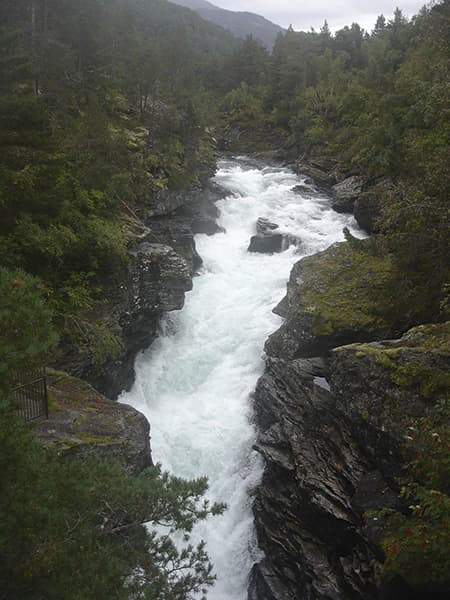
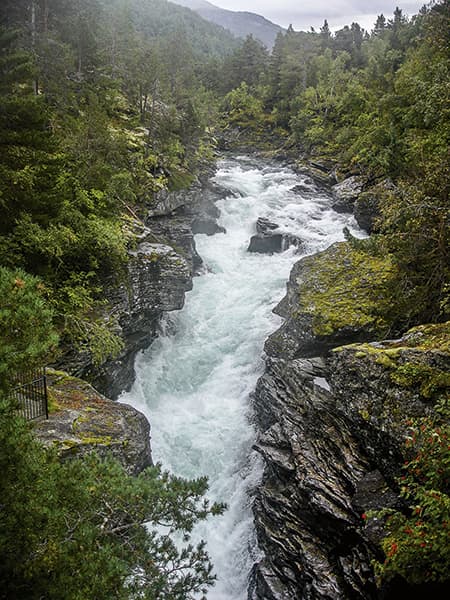
Checking the camera metadata for this photograph, I notice that Aaron Sims shot it using an early Sony compact digital camera. The composition is great and it’s a beautiful subject, but there is a lot of work that needs to be done in order to deal with the high contrast between the fast-flowing stream and the surrounding forest. This is further compounded by the fact it looks like this photograph was taken on a damp, overcast day and the water was probably throwing up a lot of mist. It also looks to me as if there may have been some fingerprint marks or smudges on the lens filter, which means the photograph will benefit even more from demisting.
The following steps show my process for demisting the original image in Camera Raw and Photoshop to overcome these problems.
1. Basic panel adjustments
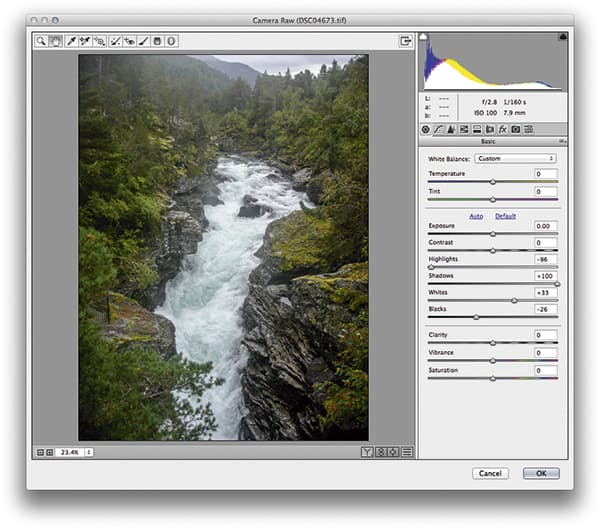 I started by opening the image via Camera Raw and applying a series of tone adjustments. My aim here was, first, to apply extreme Highlights and Shadows adjustments to effectively lighten and add contrast to the shadow,s and darken and add contrast to the highlights. This helped to balance out the tone range between the extreme shadows and extreme highlights.
2. Add a radial adjustment
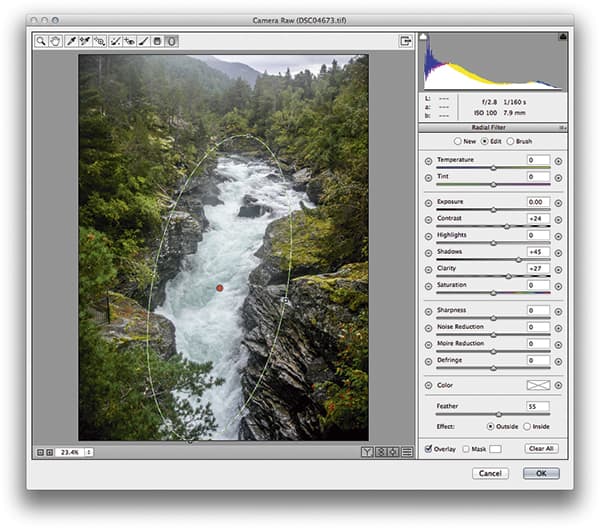 Still in Camera Raw, I then added a Radial Filter adjustment, which was set to affect the areas outside of the radial shape shown here. I adjusted the settings to add more Contrast, lighten the Shadows and add a little Clarity. Basically, I used this adjustment to add midtone contrast to everywhere except the river and bring out more definition in the trees.
3. Add a High Pass filter
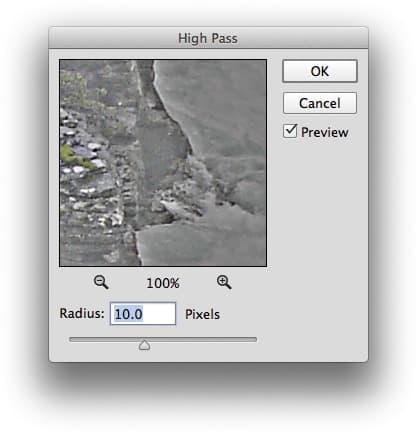
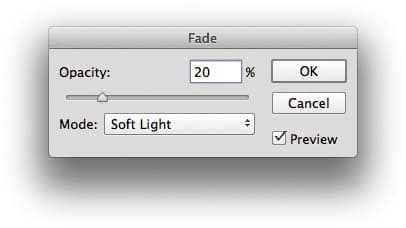

Finally, I opened the image in Photoshop and went to the Filter menu, chose Other>High Pass and applied a 10.0 pixels Radius adjustment. I then chose Edit>Fade High Pass filter. I set the Mode to Soft Light and reduced the Opacity to 20 per cent. This combination of steps added gentle soft-edge halos to the image. The overall result of this was to produce a ‘soft Clarity’ filter effect.
Neutral blend modes

The High Pass halo effect (step 3) is useful for controlling midtones. It relies on the fact that blend modes such as Overlay, Hard Light and Soft Light have a neutral effect where the source is neutral grey. If you apply any of these blend modes where the source is neutral grey, nothing will happen. But where a layer is, say, slightly darker or lighter than grey, the blend mode will affect the target. Here, the High Pass filter turned everything neutral grey, except where it detected edge detail and built up a halo edge according to the pixel radius that was set.
When this is combined with one of the above blend modes, you can add soft halo contrast to detailed edges. In the example shown here, you can see the before image on the left, in the middle a High Pass filter effect applied to it, and on the right how the image looks when this is combined using the Soft Light blend mode.

