For part two of our lens tips special, we look at wideangle lenses. Wideangle lenses let you squeeze more into the image than we can see, and Angela Nicholson shows you how to get the best from them.
1 How wide should you go?
Lenses are classed as wideangle optics when they capture a wider angle of view than we see with our naked eyes. Our eyes are equivalent to a lens with a focal length of around 43mm on a full-frame camera or 28mm on an APS-C format model, so any lens shorter than that is a wideangle. 35mm lenses and their APS-C format equivalent (23mm) are very popular for a wide range of photography genres, but especially street. Landscape photographers tend to prefer something a bit wider still, perhaps 24mm or 21mm, or occasionally even shorter. Corrected 12-24mm lenses are also popular, however uncorrected fisheye lenses that produce images with dramatic curves, or even circular images at focal lengths as short as 8mm, are best used sparingly.
2 Use a lens hood
It’s generally good practice to use a lens hood but it’s almost essential with a wideangle lens; in fact, some even have them permanently fixed on the front of the barrel. A lens hood helps to reduce flare – the hot spots and low contrast that are caused by
the sun or other strong light sources casting light across the front element of the lens. Like a hand to shield your eyes from the
low sun, a lens hood stops oblique rays of light from entering the lens and bouncing around inside causing problems.
3 Keep it super-clean
You should keep all lenses clean, but dirt on the front element of a wideangle optic makes flare worse and reduces contrast. Ultra-wide lenses like the Canon EF 11-24mm f/4L USM and Nikon 14-24mm f2.8 G also have big bulbous front elements that seem to attract dust and water droplets like magnets. Keep the lens cap on when you’re not shooting and have a lens cloth to hand to give the front element a wipe whenever it’s needed, especially in drizzle, mist or fog.
4 Foreground interest
is your friend Our eyes and brains can conspire against us a little when we look in the viewfinder when a wide lens is mounted on our camera – they focus in on the vista in the distance and we tend to ignore the empty space immediately in front of us. However, the opposite happens when you’re looking at the image on a computer screen or as a print, suddenly the foreground seems huge and dull while the view we were admiring has no significance. Foreground interest can really help with this by pulling your eye into the image and adding a sense of scale.
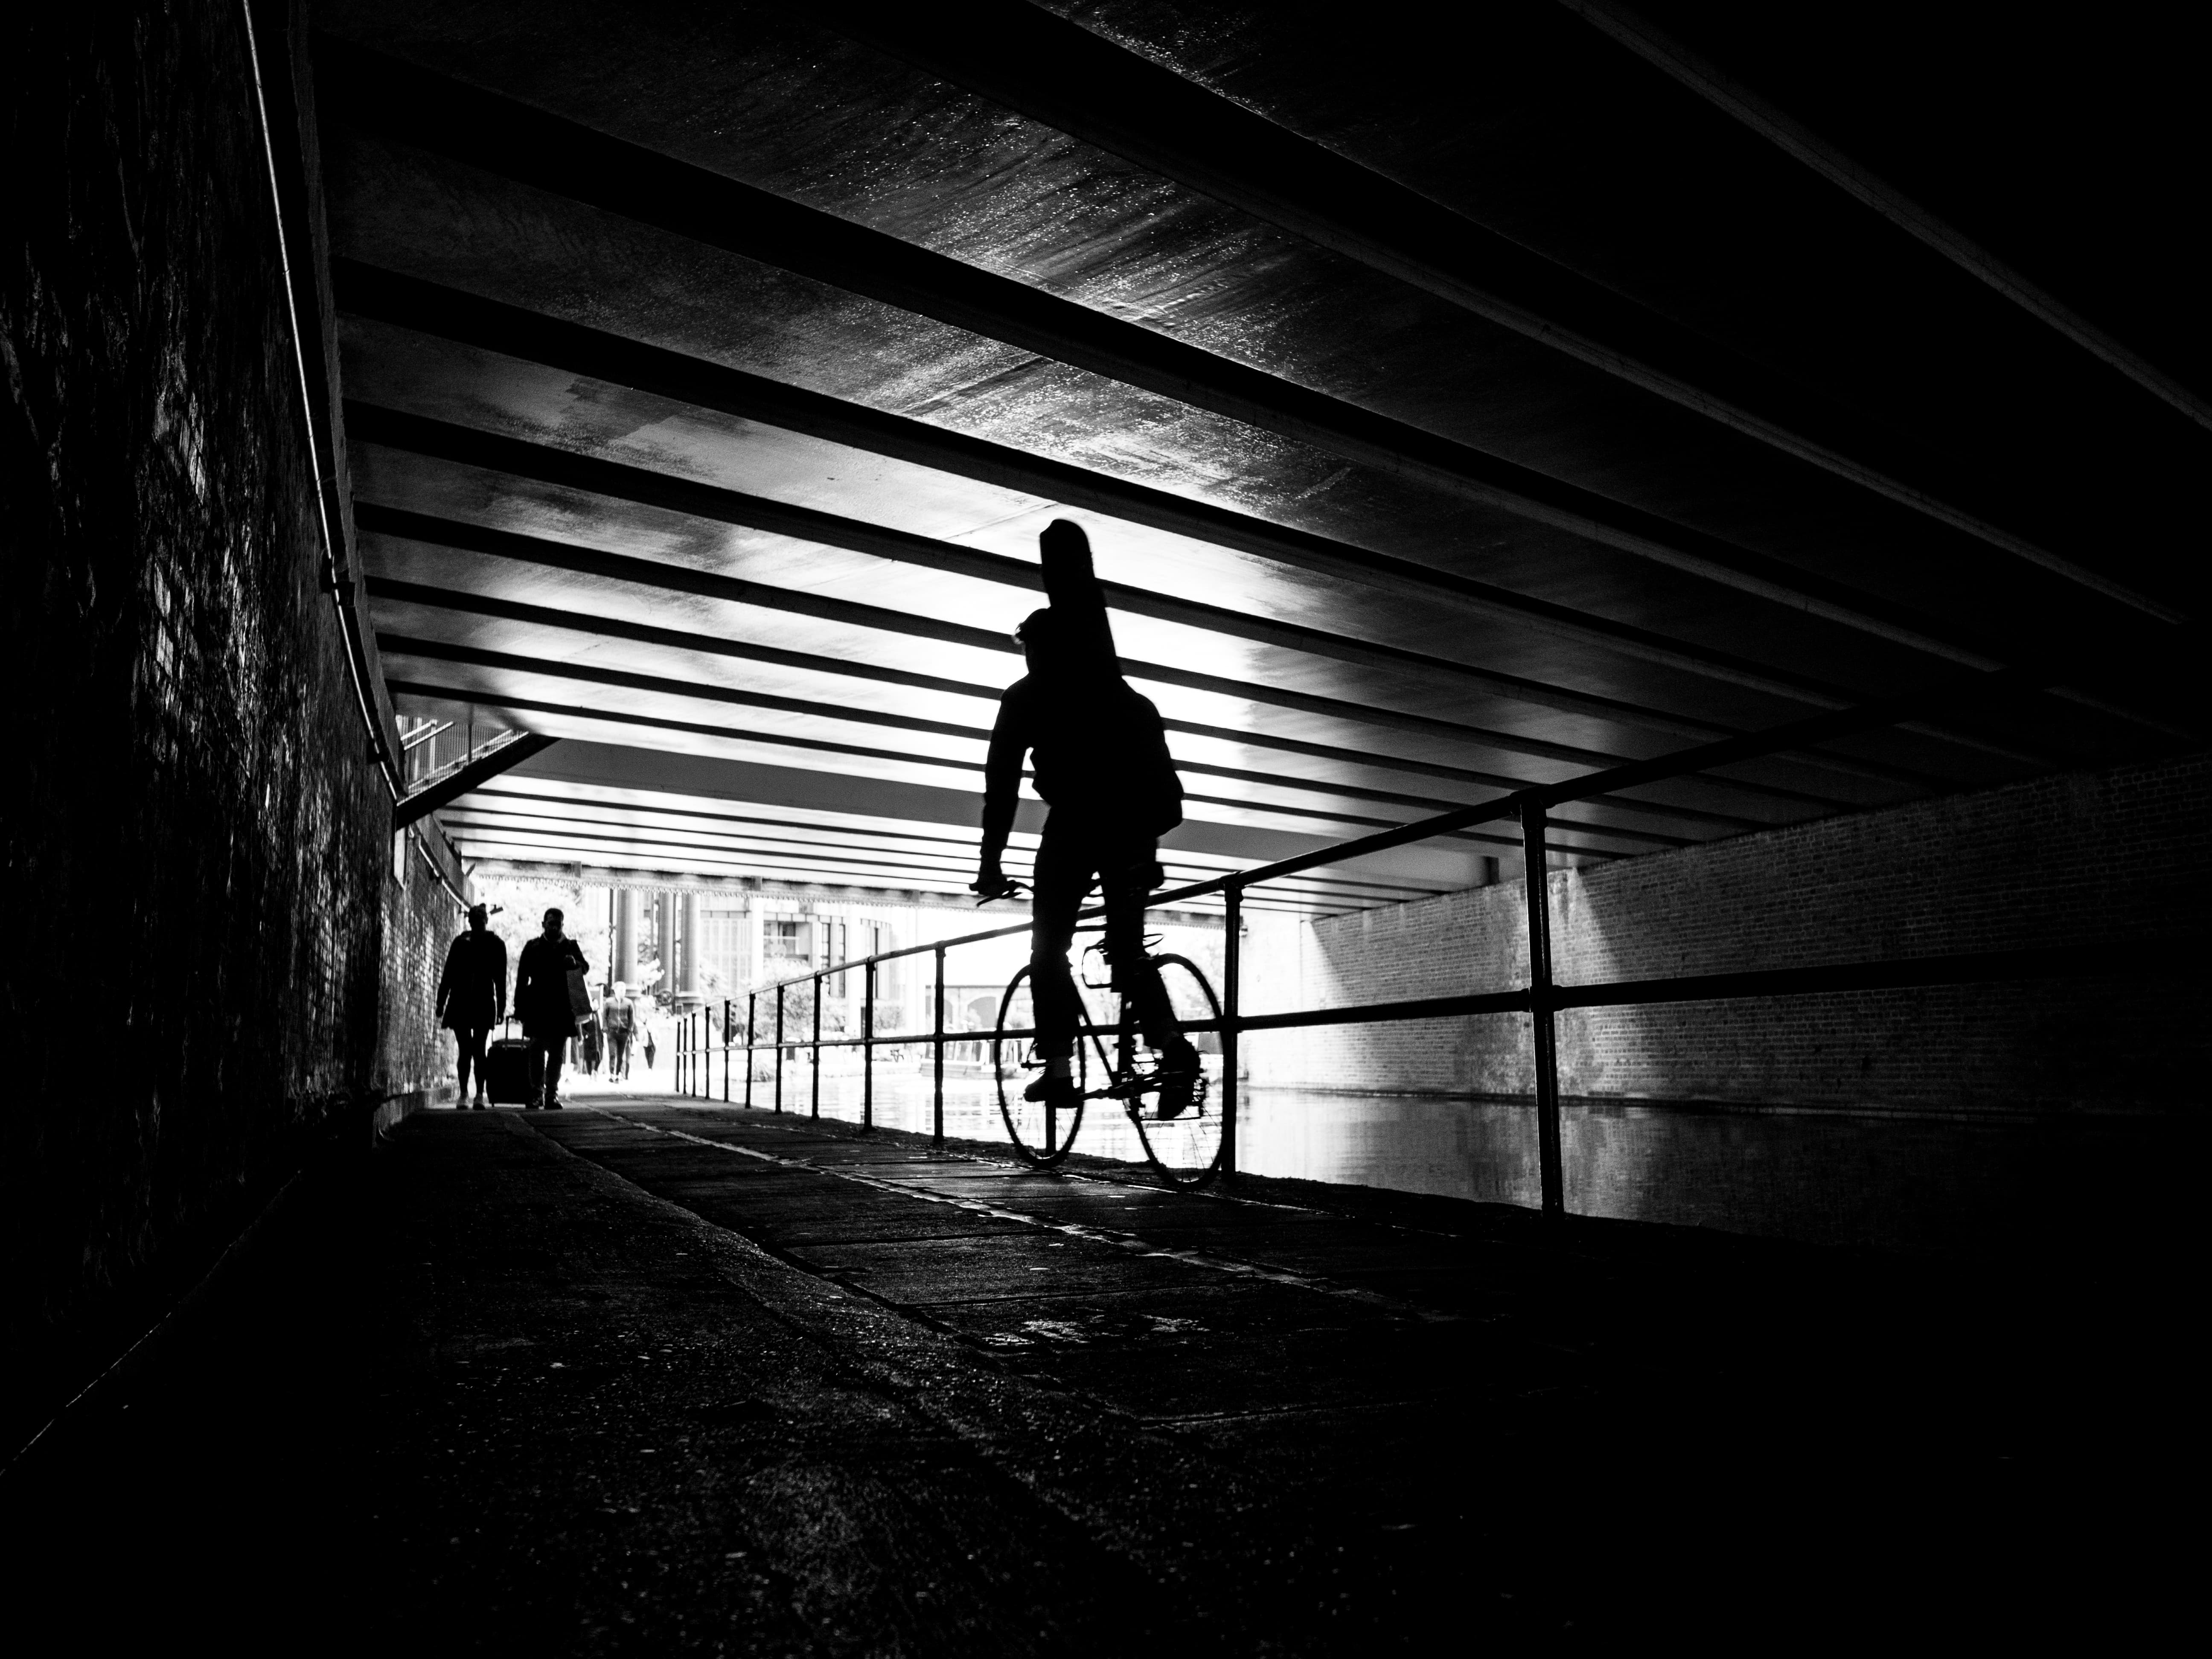
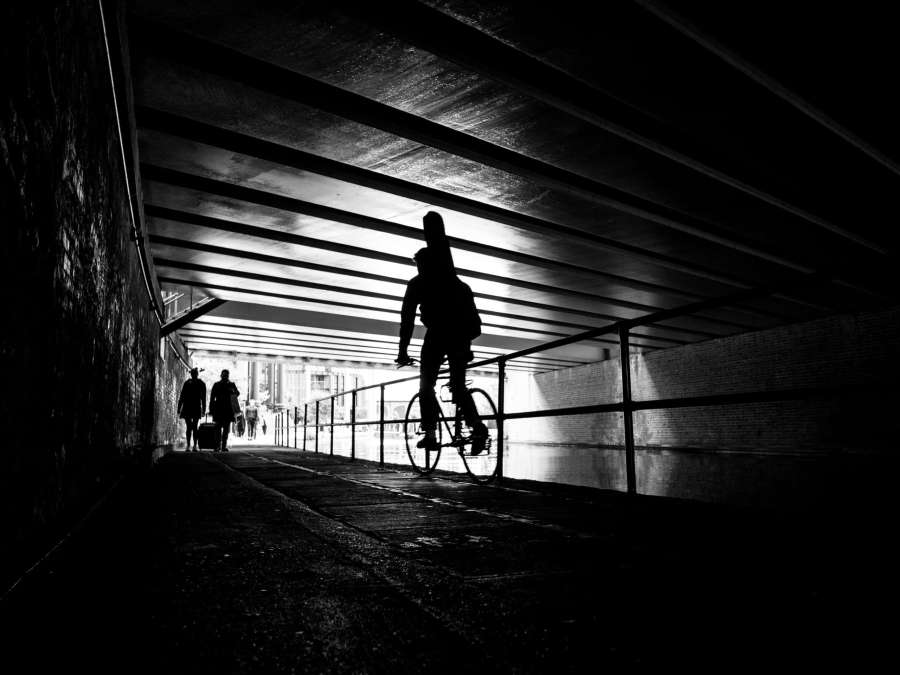
Get down low and capture a different perspective. Panasonic DC-GX9, 15mm, 1/100sec at f/2.8, ISO 200
5 Go low
Shooting from a low angle gives an alternative view of the world but because of the wide field of view, you still see everything in the scene. On the city street it can add an edgy vibe. In more rural locations, tipping the camera down makes the foreground more dominant, taking the concept of foreground interest a bit further and reducing the impact of a bland sky, whereas tipping it up can give impact to an interesting sky.
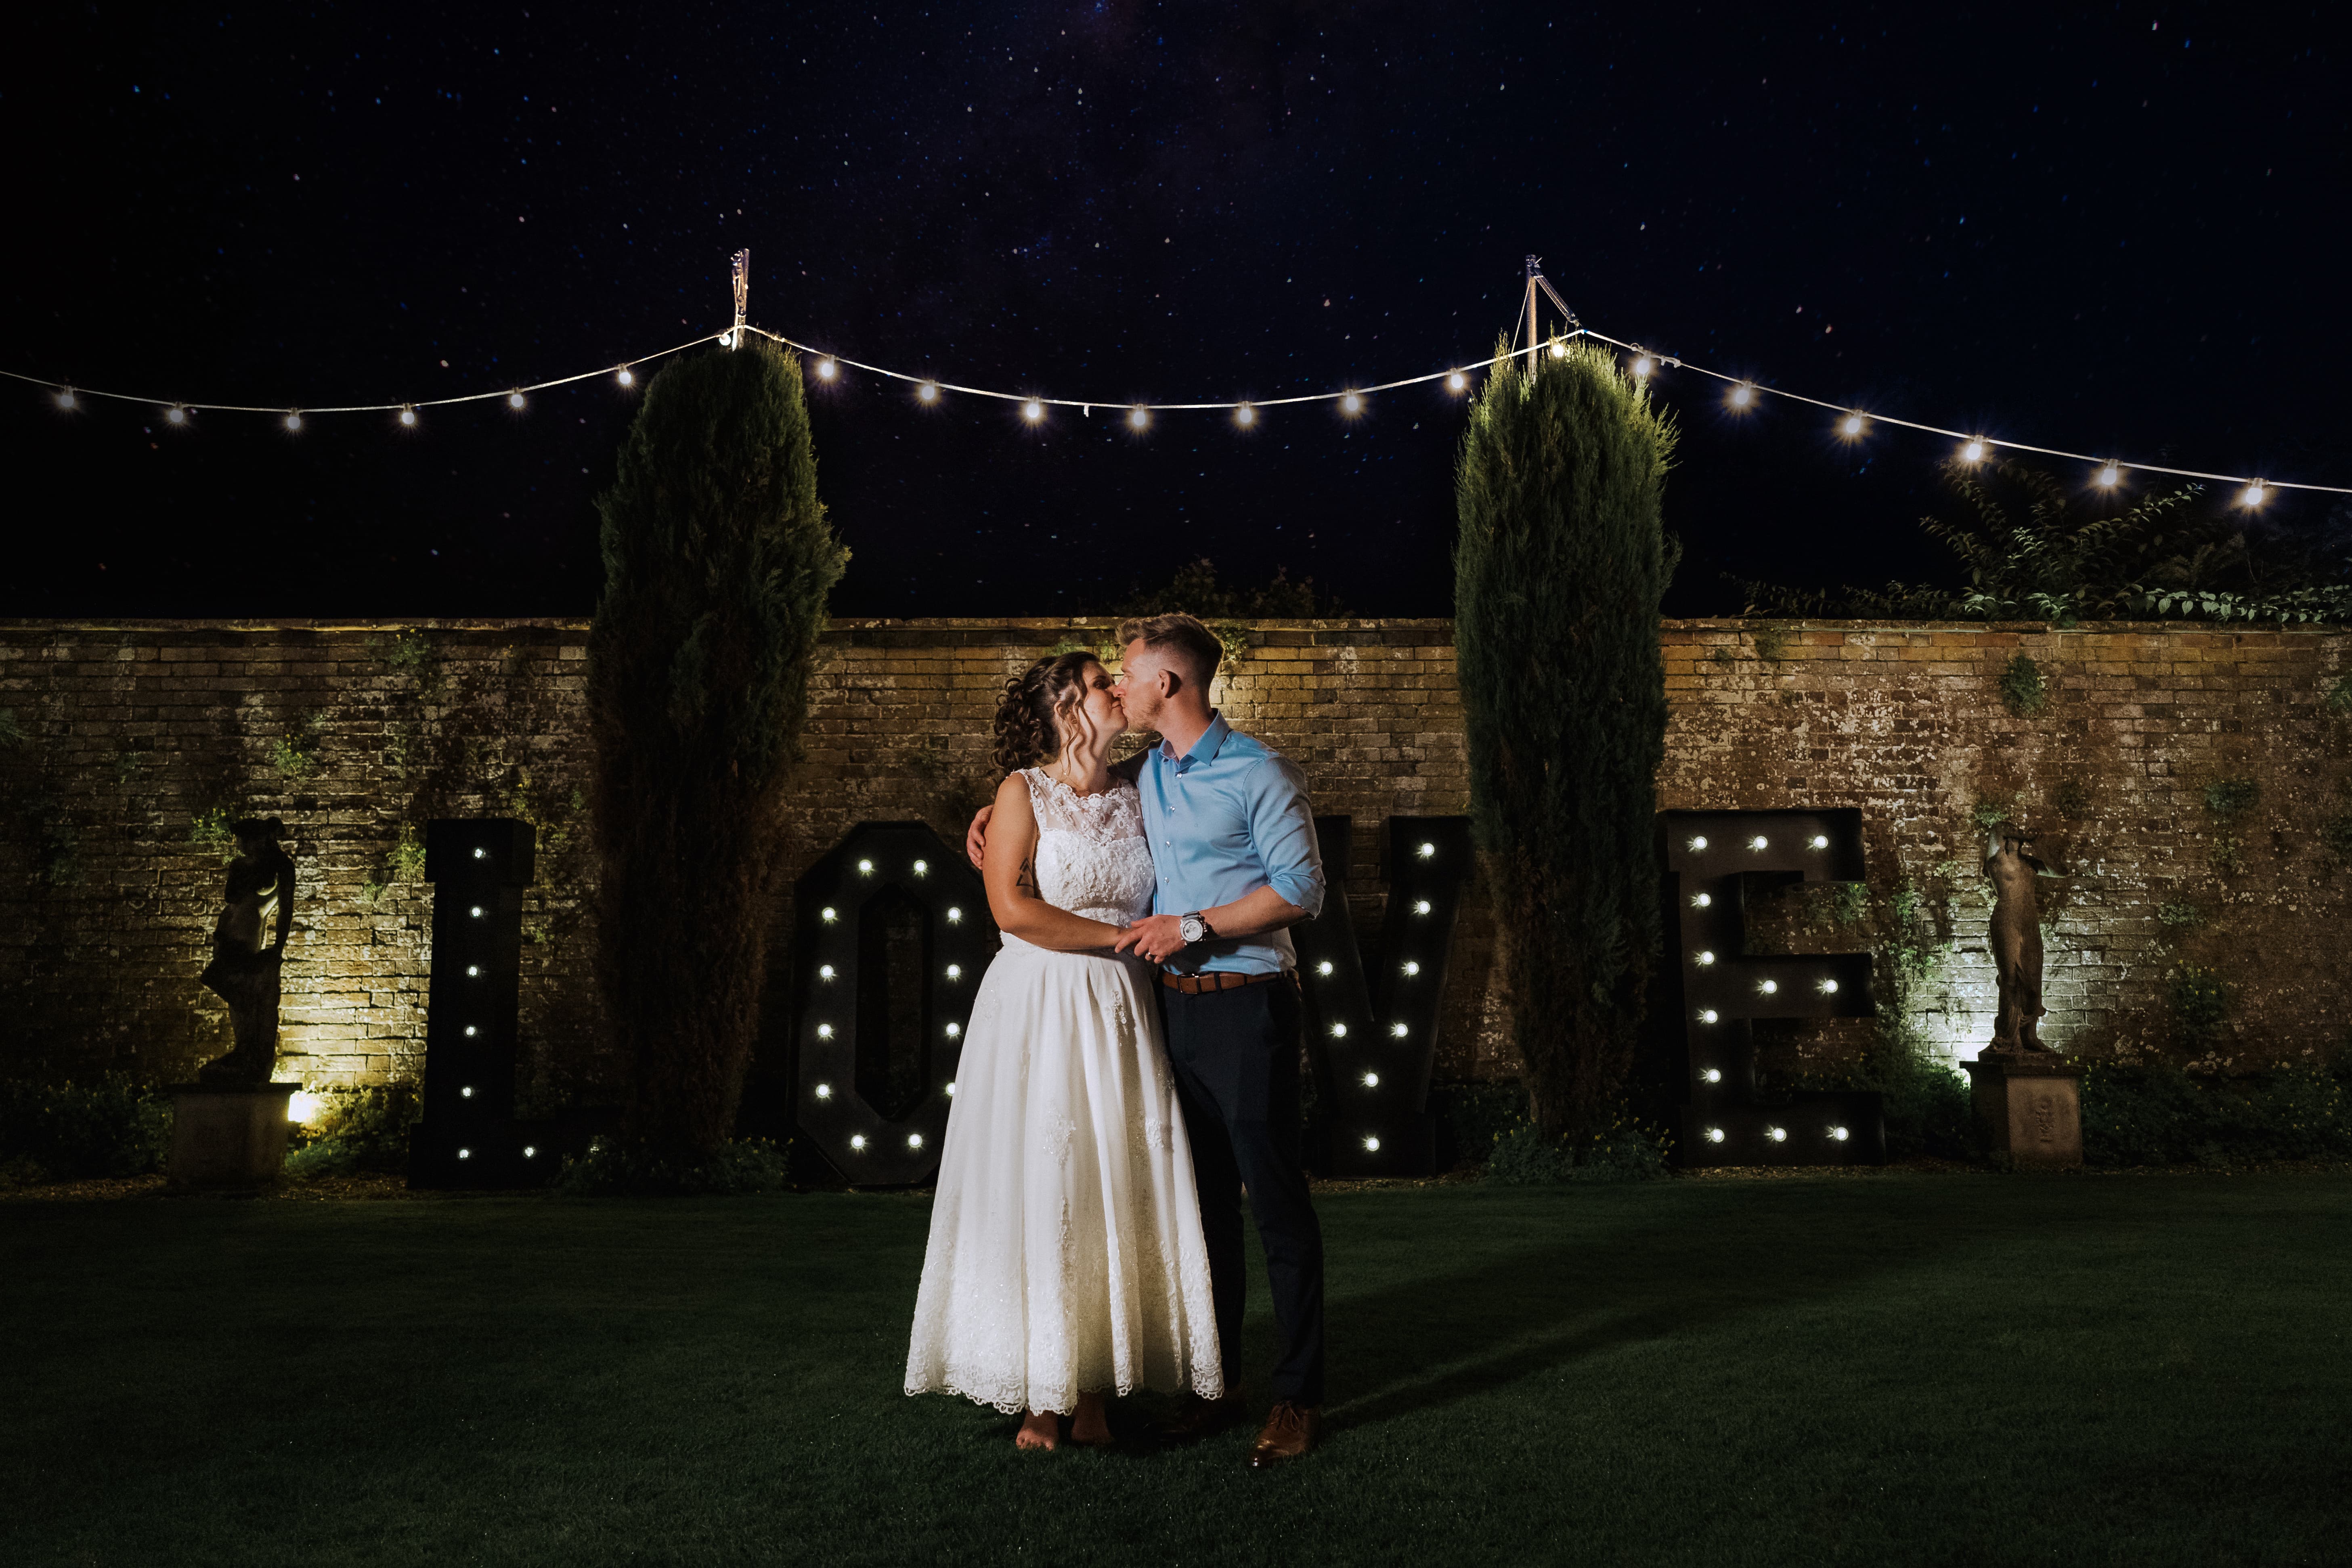
A wideangle lens enables you to capture more of the surroundings Sony A9, 25mm, 1/80sec at f/3.2, ISO 3200
6 Put some light on your subject
Although you probably wouldn’t want to go in close, a wideangle lens can be a great choice for a full-length portrait, and just like any other portrait, it can benefit from being shot with some extra light. Portrait and wedding photographer Robert Pugh says, ‘I like to use a 28mm lens on my full-frame Sony A9 II for wedding portraits because it lets me capture some of the surroundings and the feel of the day – after all, the couple has spent a lot of time and money picking the perfect venue and decorations. I thought this LOVE sign was a great touch and the stars looked magical in the sky, so I set up a couple of Rotolight Neo 2’s to illuminate the couple in the foreground’.
7 Use converging verticals
Wideangle lenses ‘suffer’ from perspective distortion which means objects close to the camera look disproportionately large compared with those further away. This means that if the camera is tilted, any parallel lines in the scene will appear to converge the further they are from the camera. While a slightly tilted camera produces what looks like accidentally converging lines, a more dramatic tilt looks deliberate and can add impact to your images. It’s most often used with vertical lines, but you can have the same effect with horizontal lines. It’s a useful technique with architecture, especially in modern city areas with lots of lines and angles. However, it can also work well with street photography and environmental portraiture because you can use the lines to pull the viewer’s eyes into the scene or towards the main subject.
8 Get close
Thanks to the perspective distortion that wideangle lenses capture, quite small objects can look very large if they are close to the camera. This can be very effective with a range of subjects but it works well with nature. A toadstool can loom large in the foreground, for example, while the woodland beyond is visible, giving the image context. Found or strategically placed objects can also add interest, raise questions or create a story in urban locations. 9Have good look at the background While wideangle lenses are great for giving your images context, that’s not always a blessing. A messy background can distract from an interesting subject so it’s important to have a good look around and make sure that there’s nothing in the shot that shouldn’t be there. If there is, either move it or move to another location. You can reduce the impact of the background by shooting at a wide aperture but depth of field is more extensive at short focal lengths so it can be hard to produce a very blurred background.
10 Shoot in both orientations
Wideangle lenses are most commonly used in landscape orientation, but they can produce fantastic results in portrait format too. The important thing to remember is that this puts even more emphasis on the foreground and any sky that’s in the frame. As Emma Davies, founder of ‘A Year with My Camera’ demonstrates with her image from Iceland, with the right scene and good composition skills, you can create some very impressive results, as in below.
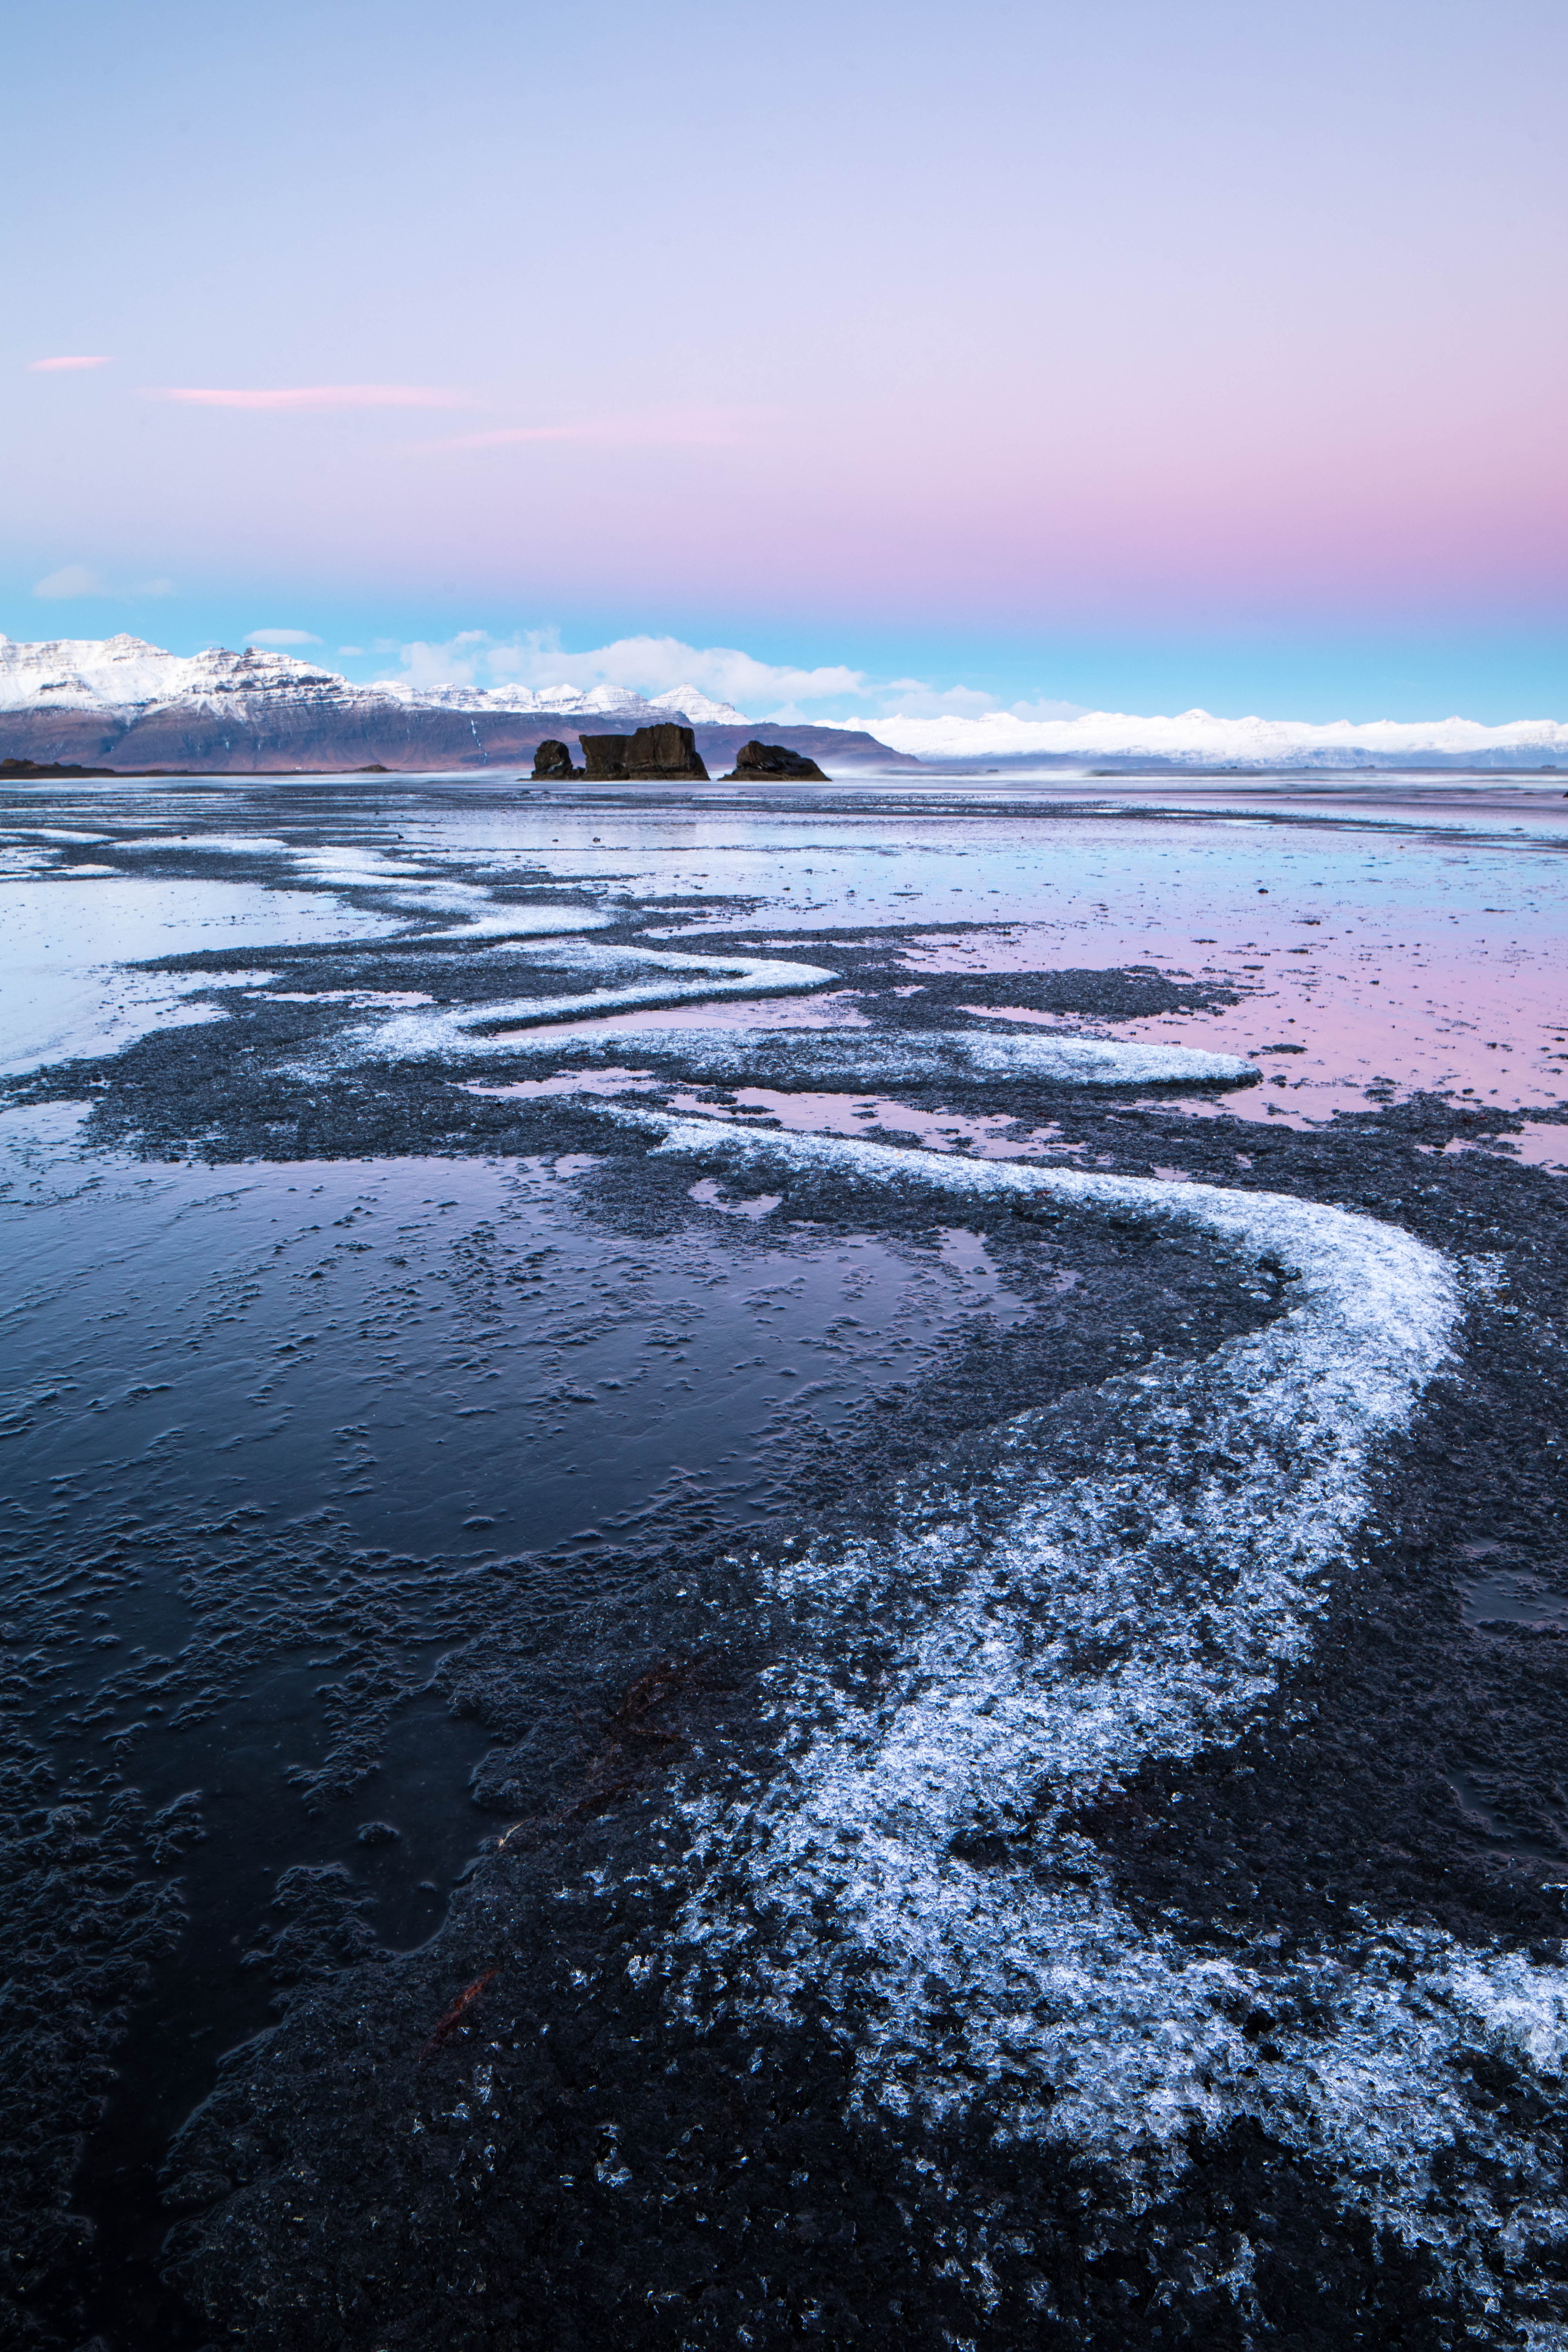
Try shooting with a wideangle lens in a portrait orientation. Canon EOS 5D Mark IV, 24mm, 0.6sec at f/14, ISO 100
11 Use ND filters
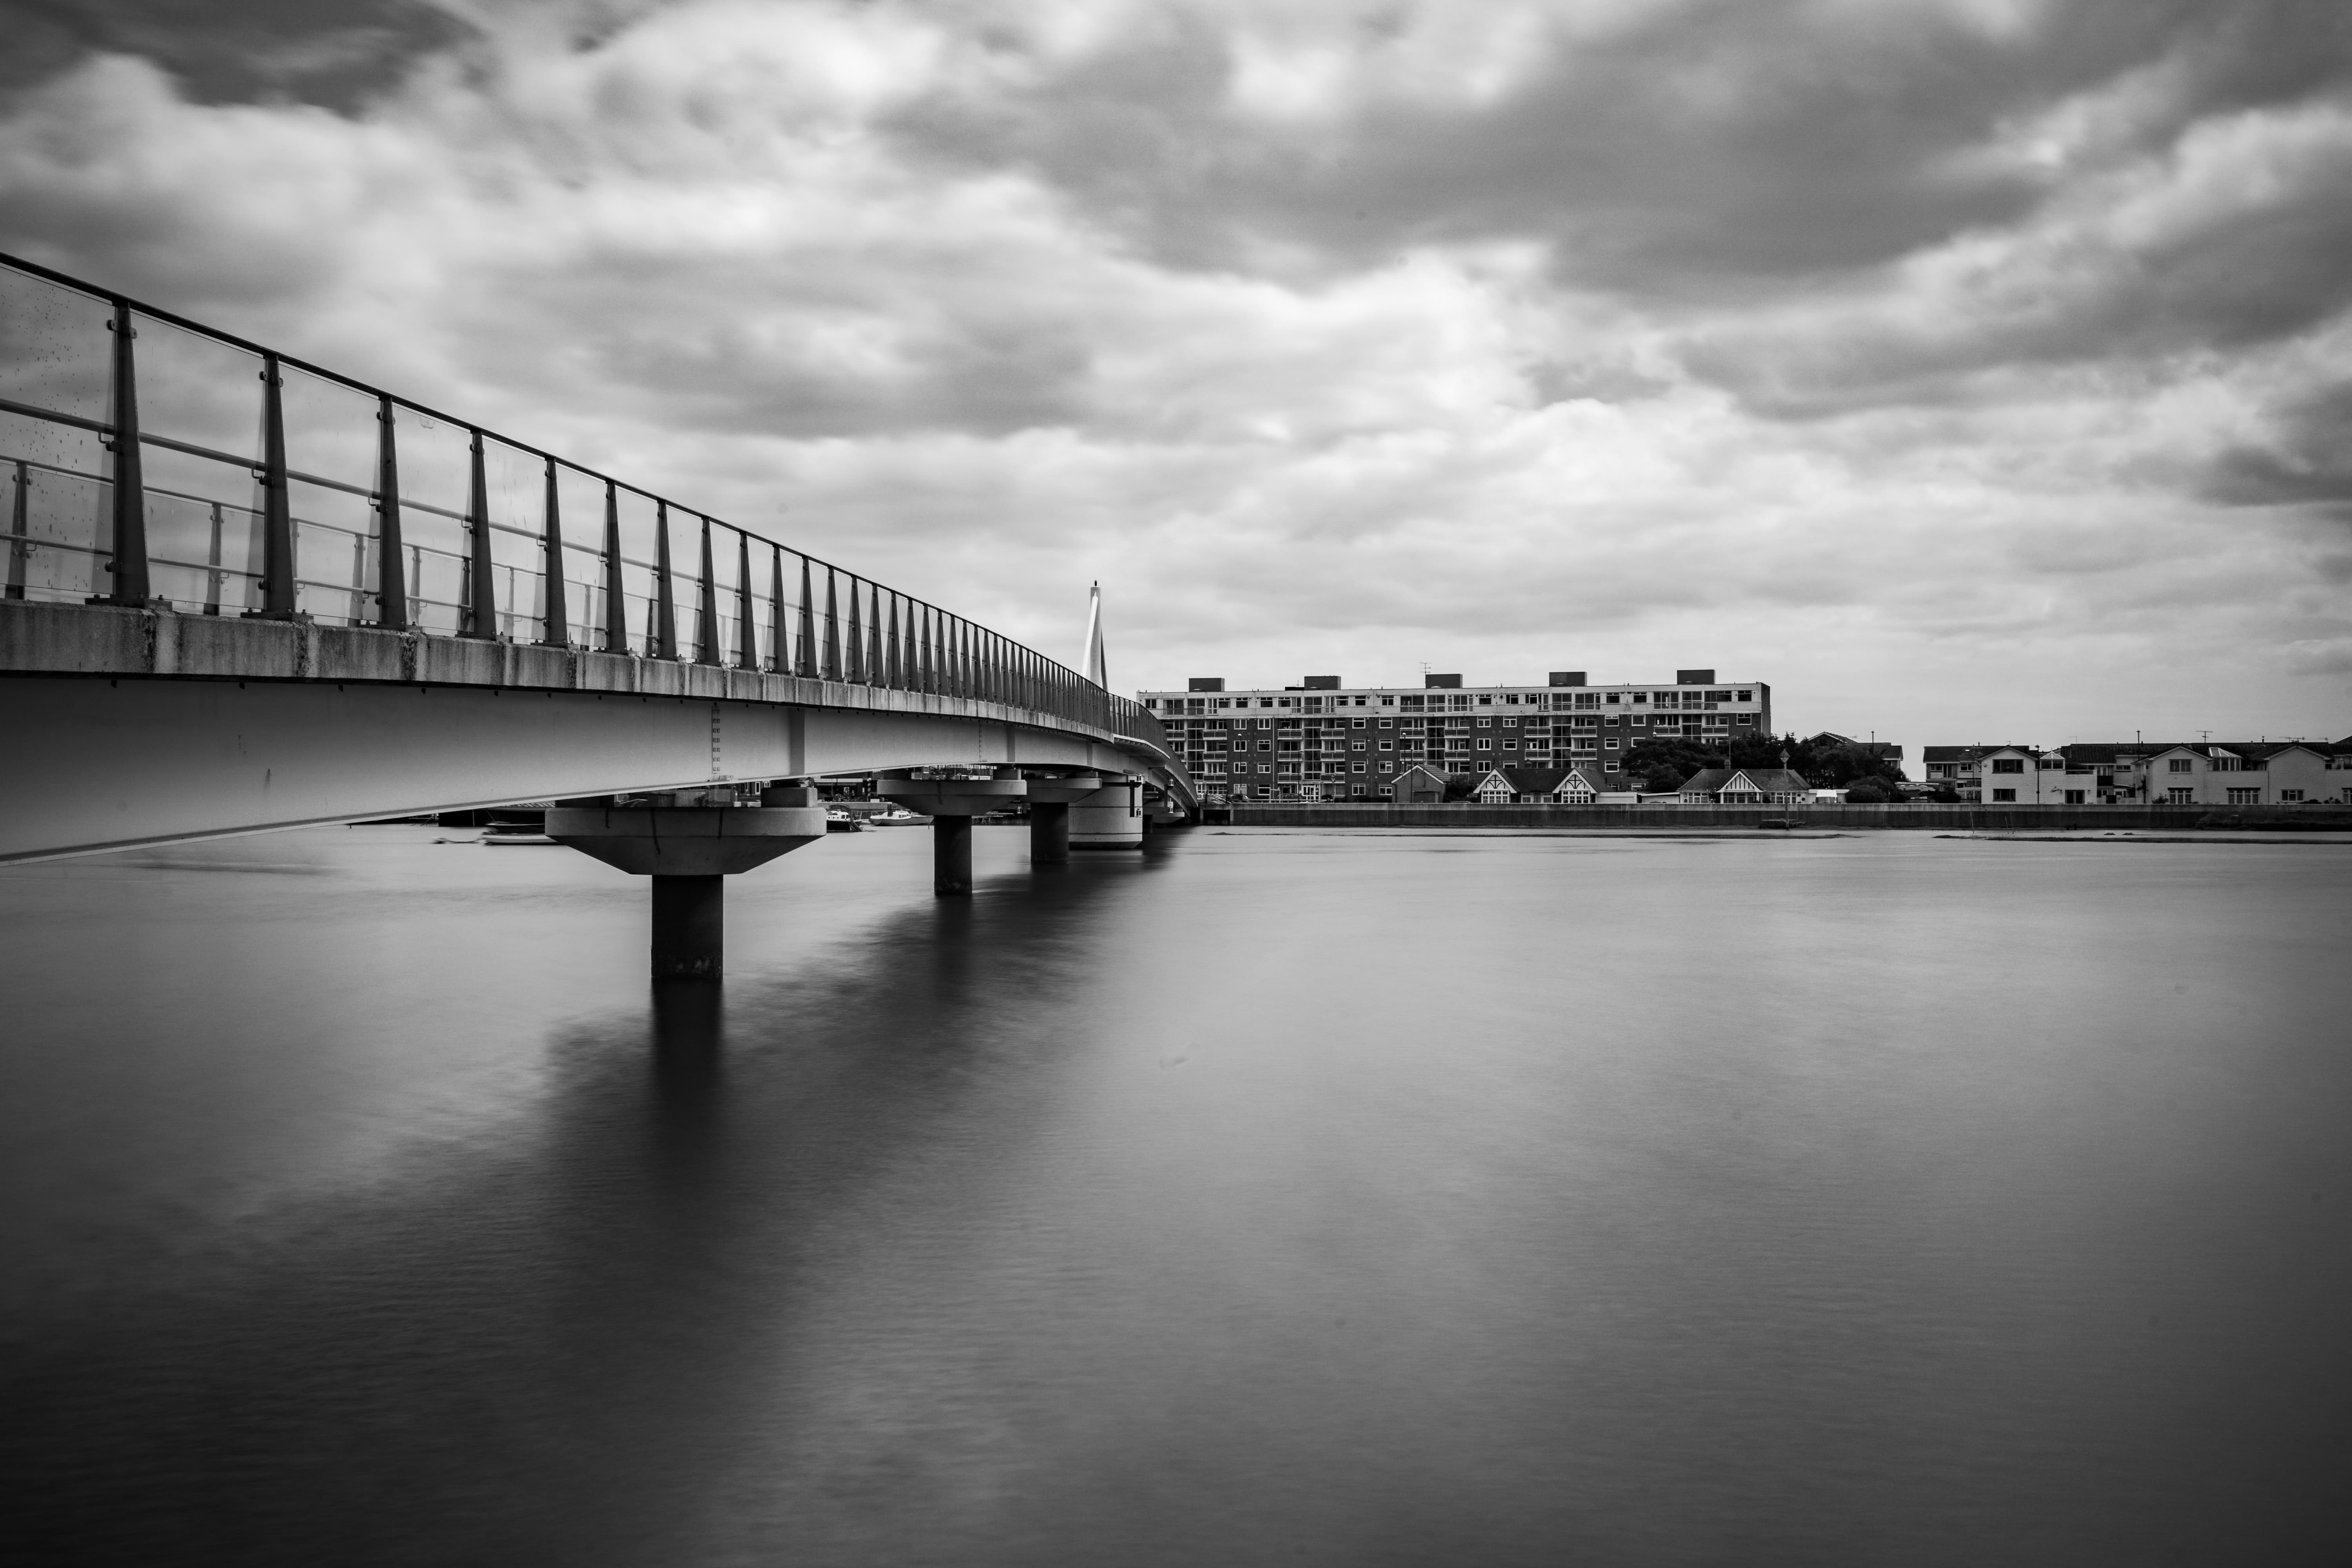
Neutral density and graduated neutral density filters are useful for wideangle photography but some ultra-wide lenses need a special mount and extra-large filters. If you’re shooting from a low angle with the camera tilted up to make an interesting sky occupy more of the image, a graduated neutral density filter will help retain the details of highlights and balance the brightness of the sky with that of the land. Also as wedding and landscape pro Claire Pulman explains, ‘A strong plain neutral density filter can transform a snapshot into fine art by blurring moving elements. I love how it turns water into glass and makes motionless objects in a scene stand out, it gives them more definition.’ Long exposure photography can be especially effective on dull days when everything looks a bit flat and uninteresting at more normal shutter speeds.
12 Activate your camera’s electronic level
With a wide angle of view, it can be hard to keep an eye on the horizon so it often ends up a little wonky in your shot. Thankfully, most cameras have an electronic level which you can activate to help with keeping the horizon level. Many electronic levels also indicate if the camera is tipped slightly up or down – this can help to avoid converging verticals.
13 Keep an eye on the corners
When you’re using an ultra-wide lens it’s easy to miss things creeping into the corners of your frame. Pay particular attention to the lens hood and make sure that it’s correctly fitted as if it’s knocked out of alignment, it may be visible in your shot. Vignetting is a common issue with wideangle lenses, especially when you’re shooting at wide apertures. In some cases it can improve the image by drawing the eye to the centre of the frame, but sometimes you might want to close down a little to reduce the darkening of the corners.
14 Be careful with polarisers
Polarising filters are useful for cutting down reflections and intensifying colours but they need to be used with care on a wideangle lens. The problem is that the polarising effect changes with the angle of the sun and this varies across a wide angle of view. As a result, you may see a dramatic polarising effect on one side of the image but nothing on the other. If the sun is behind you, it shouldn’t be a problem to use a polarising filter (although watch out for your own shadow), but if it’s towards the edge of the image frame, take a look with the polariser in place and weigh up whether the effect looks uniform or not.
15 Shoot black & white
One way to reduce the impact of a colourful background is to convert the image to black & white. It can also give an interesting sky even more impact and with careful editing and a spot of dodging and burning, you can bring out your subject to convey the message or story you had in mind when you captured the image more effectively. Black & white is also a great choice for long exposure images of water.
16 Keep people near the centre of the frame
Have you ever noticed how objects towards the edges of the frame of a wideangle image appear to change shape? This volumetric deformation is unflattering for anyone towards the edge of the image as they will look wider than they do in real life. As a rule, try to keep people towards the centre of the frame when you’re shooting a wideangle image, but if it’s unavoidable (perhaps because you need to photograph a large group of people in a small room), controls in DxO’s Viewpoint, PhotoLab or Nik Collection software can come to the rescue.
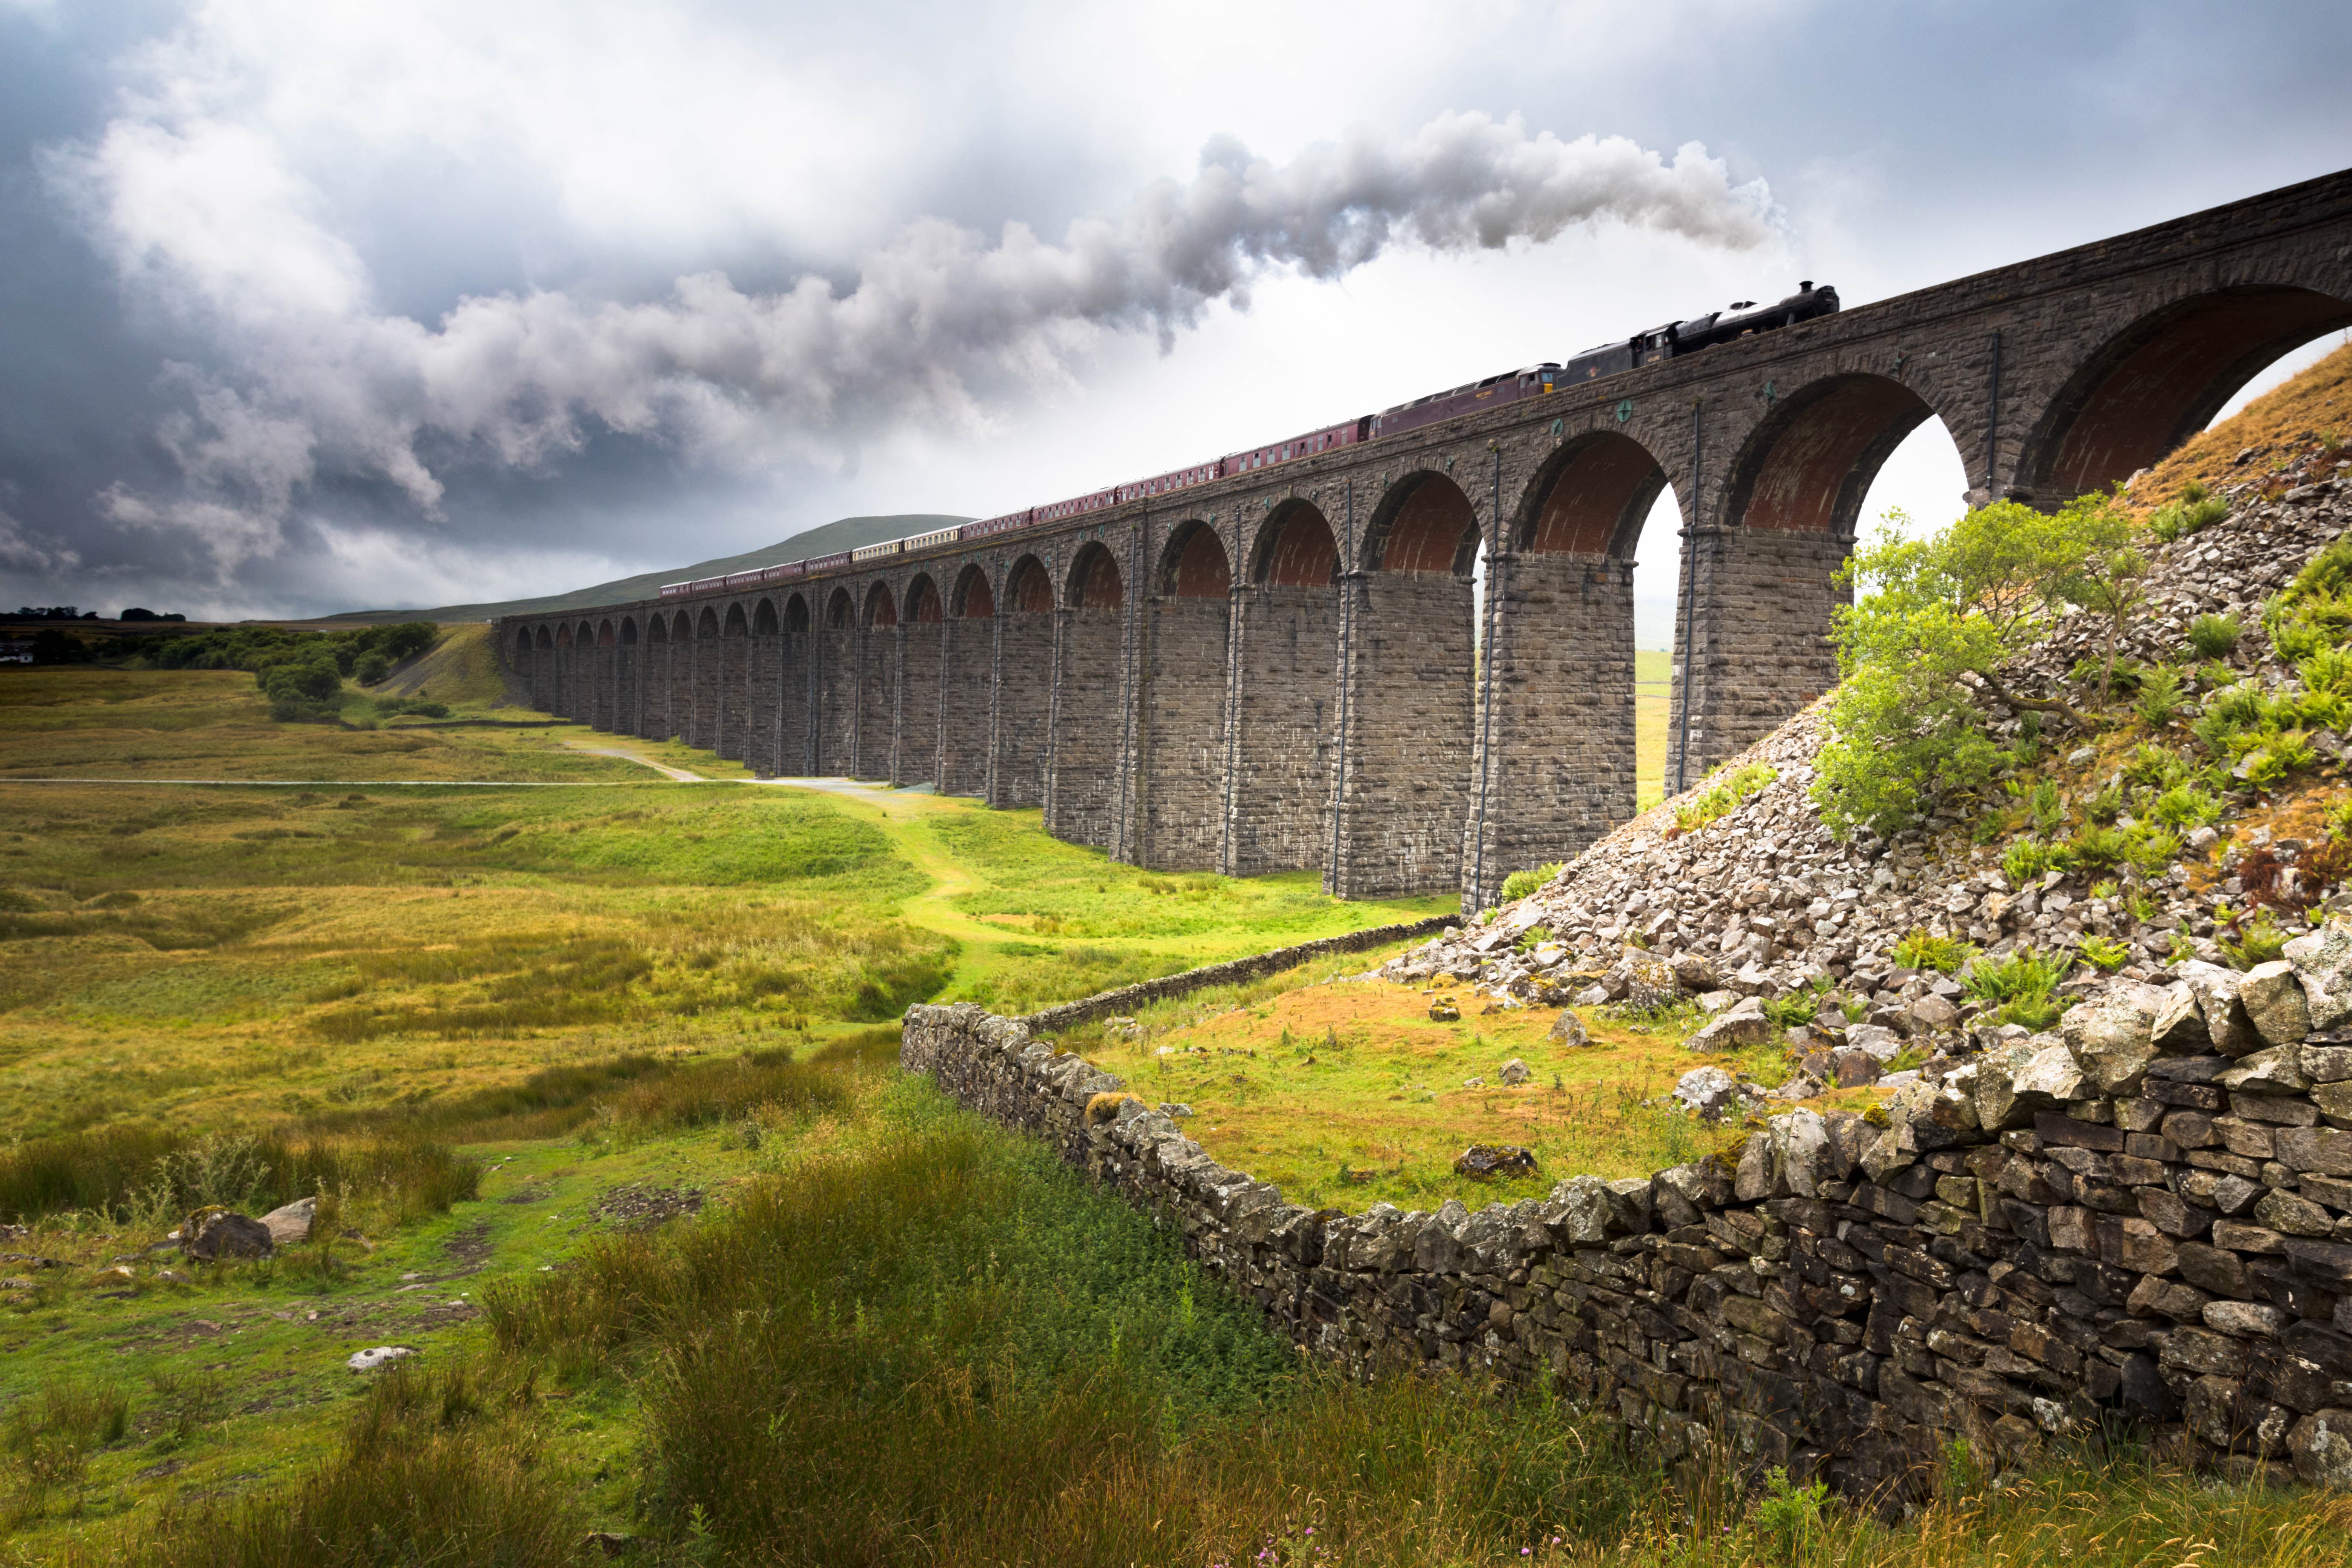
Wideangle lenses are great for giving your images context. Canon EOS 5D Mark IV, 11-24mm, 1/100sec at f/10, ISO 200
17 Try different aspect ratios
If you have an APS-C format or full-frame camera it shoots with a native aspect ratio of 3:2 while a Micro Four Thirds camera’s default aspect ratio is 4:3. Those are fine for many shots, but sometimes another aspect ratio can work better and many cameras now let you shoot JPEGs with different aspects. A ratio of 16:9 works very well with wideangle lenses as it emphasises the wide view. Some cameras even offer a 65:24 setting which produces a thinner letterbox. Alternatively, you can crop post-capture, but it’s a good idea to think about the ratio you want to use at the shooting stage as it can affect how you compose the image.
18 Look for puddles
If your inclination is to stay at home when rain is falling, think again because wet-shiny streets and puddles can really enhance street photography and when you’re shooting with a wideangle lens there is more potential to include them in the scene than with a standard or telephoto lens. A puddle can act like a mirror reflecting something higher up to create some foreground interest – or even the main subject. Don’t forget, if your camera isn’t weatherproof it will need some protection if rain is falling. You can buy purpose-made rain covers like the Think Tank Photo Emergency Rain Cover, available in small, medium and large sizes (£30, £35 and £55), or you can fashion something from a plastic bag and an elastic band.
19 Watch straight lines
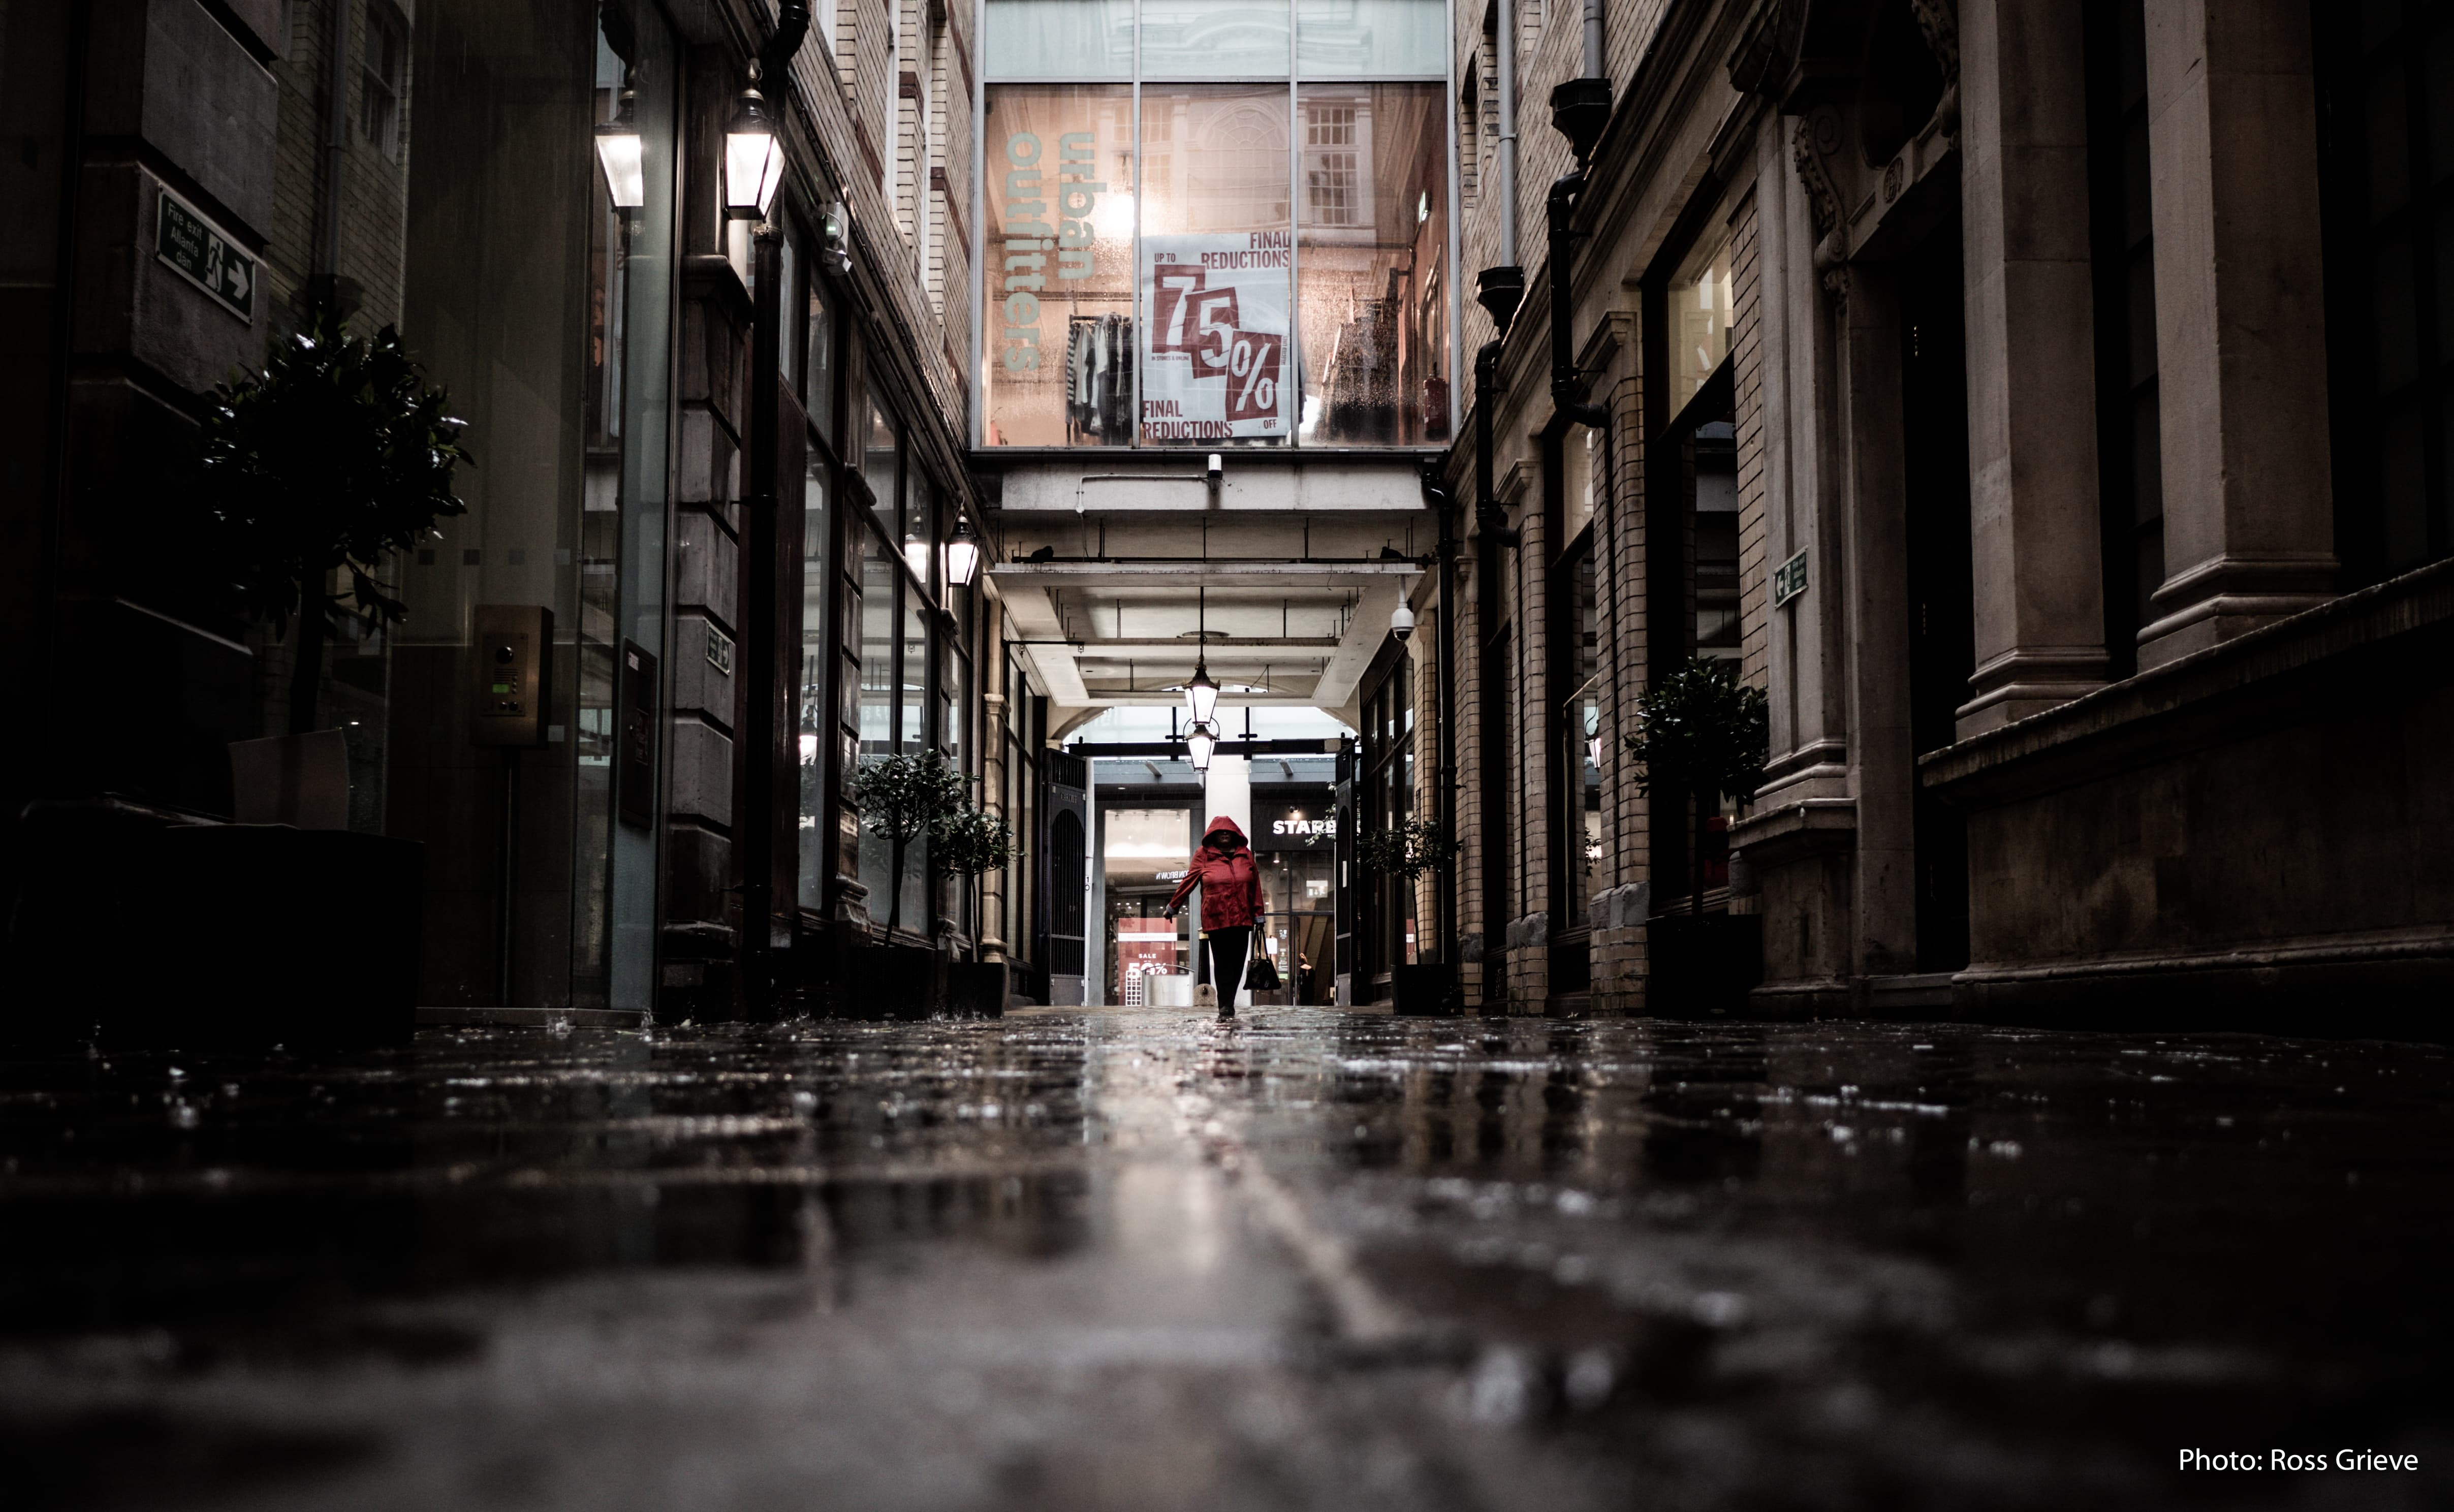
Wideangle lenses are prone to barrel distortion. This makes straight lines bow out from the centre of the frame like the planks of a barrel. It’s more noticeable towards the edges of the frame, especially the long sides. Whether this is a problem or an asset depends upon your point of view and what you’re photographing. A slight bowing of lines of mortar in the brick wall of some architecture shot straight-on might be irksome (although potentially correctable in post-capture processing), but more extreme bending can add impact to buildings, bridges and other structures photographed from a quirky angle.
20 Use motion blur
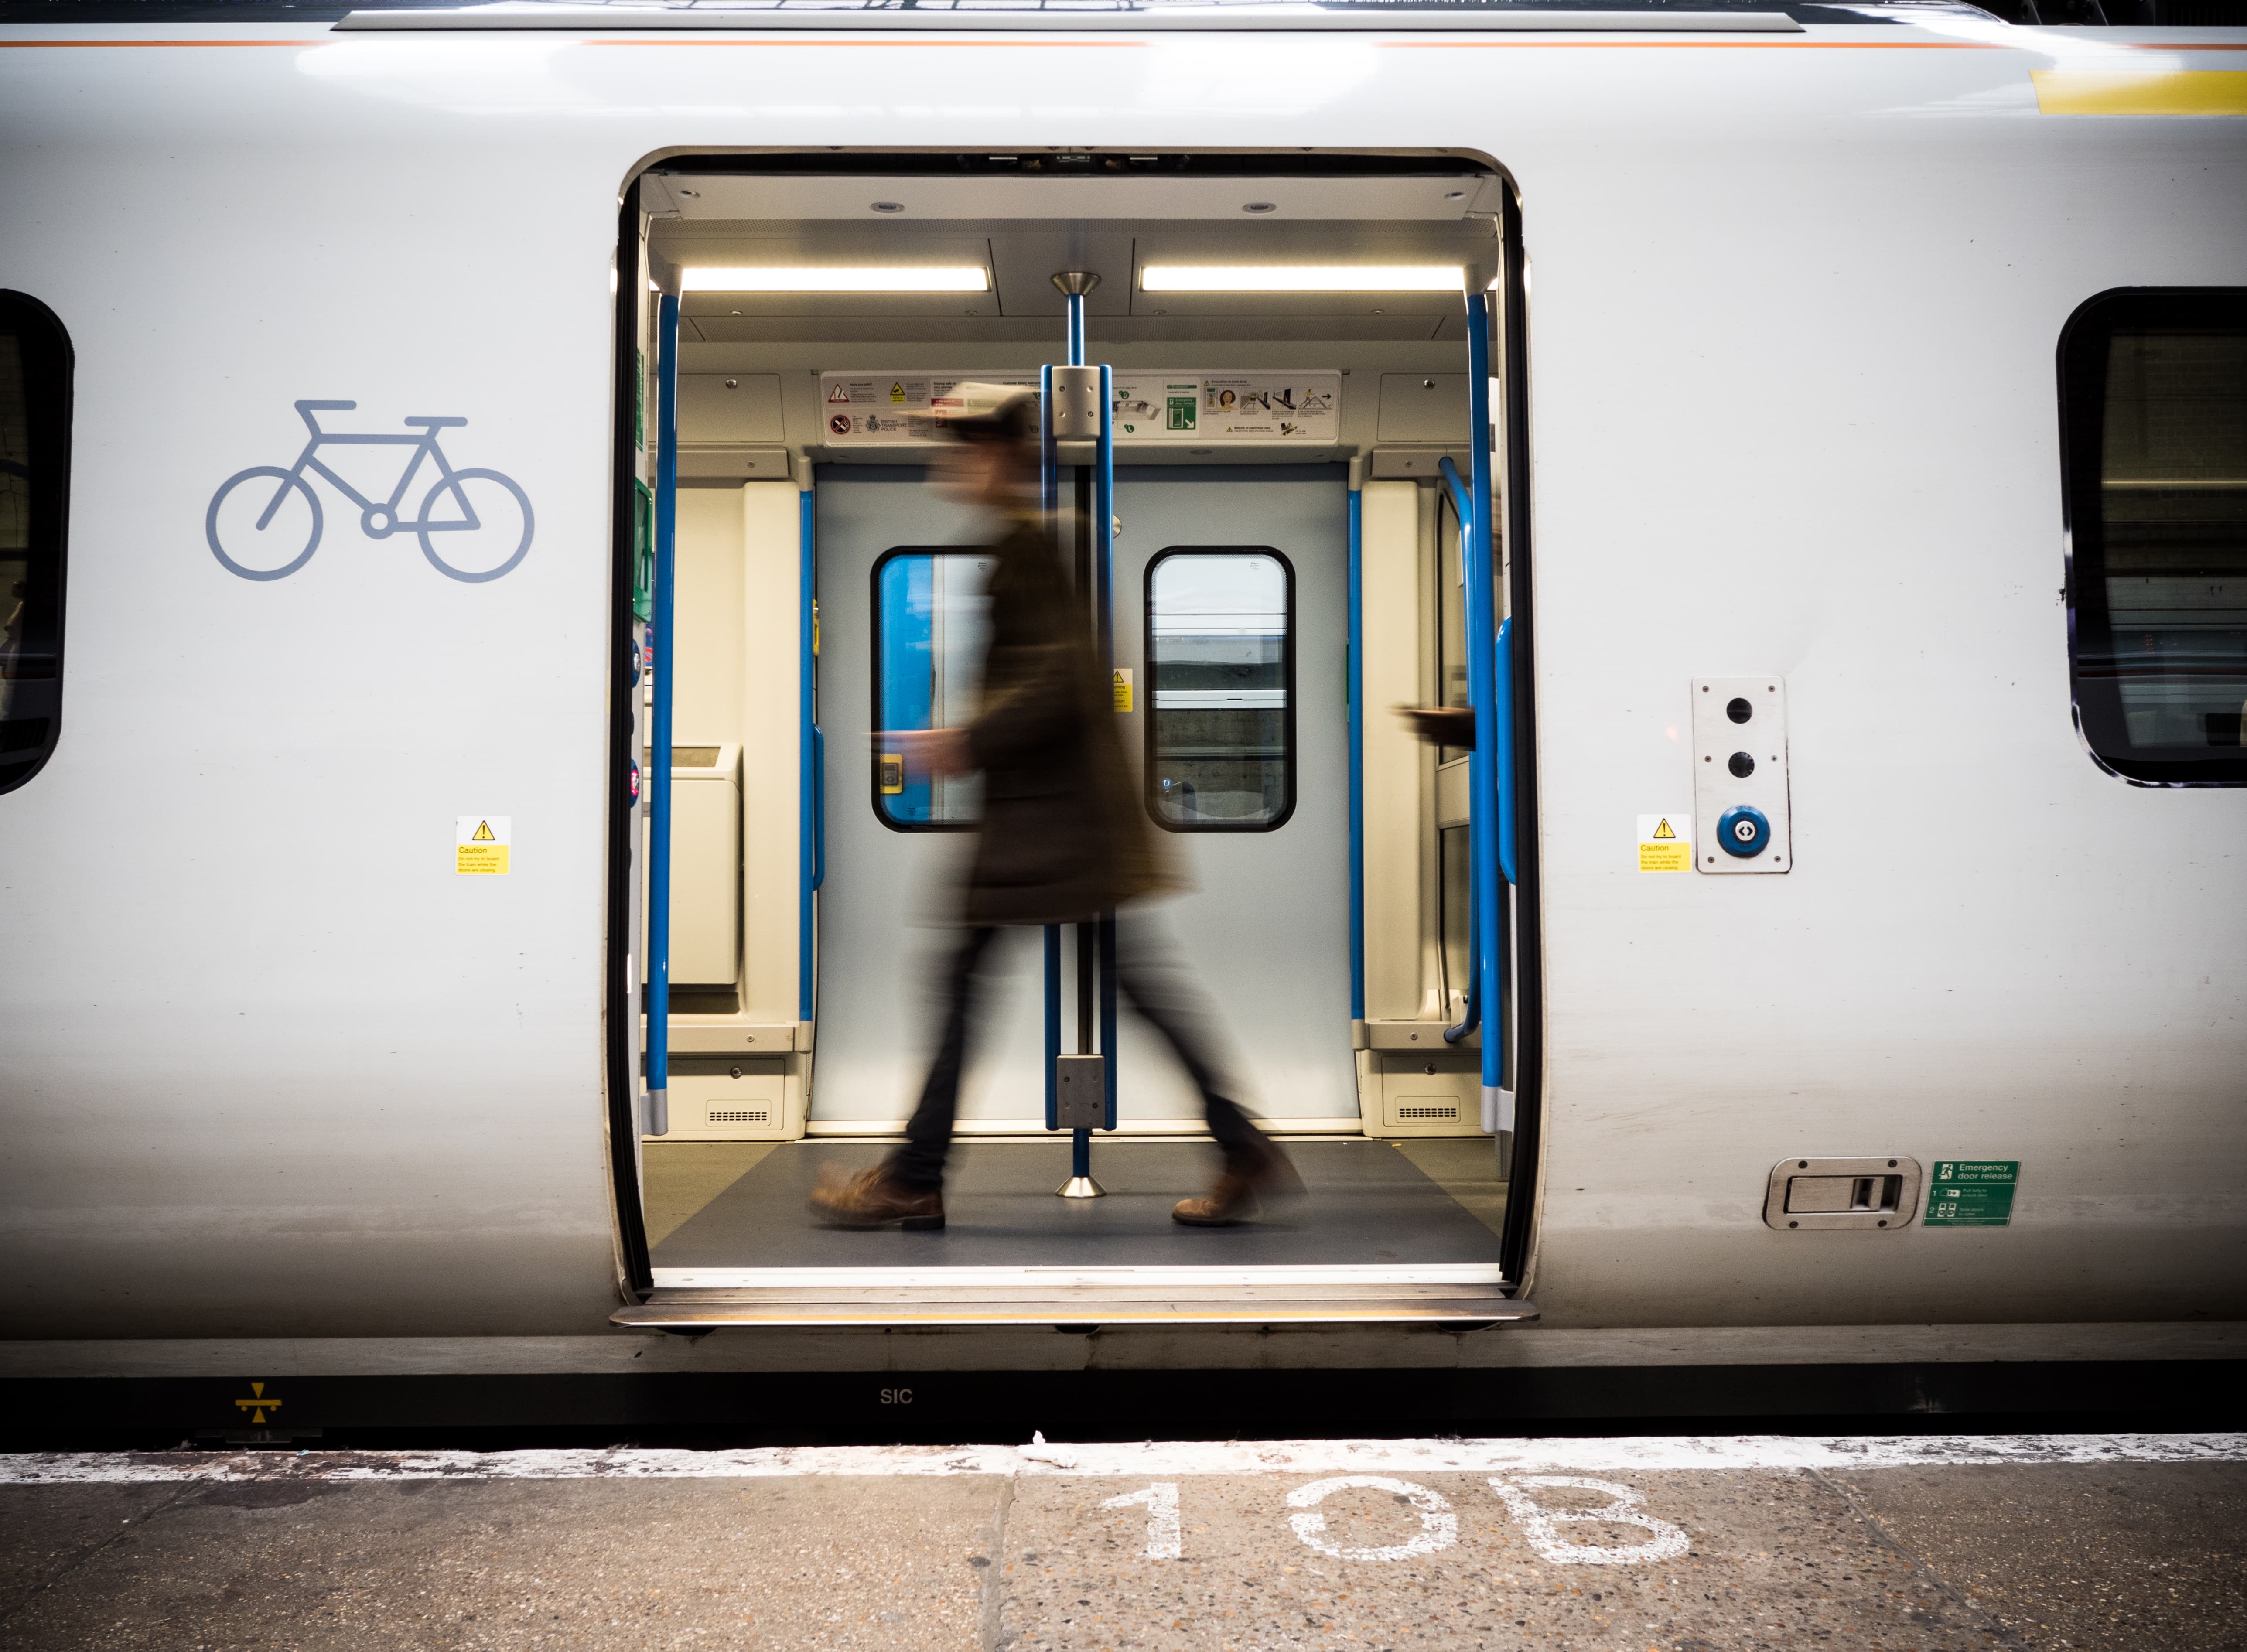
Thanks to modern in-camera stabilisation systems you don’t always have to set up a tripod to use shutter speeds long enough to combine motion blur with sharp details in street photography. Ross Grieve is a portrait, commercial and street photographer, and a Lumix Ambassador, and says, ‘I love to shoot at 1/15sec to capture the blur of passers-by. I shoot in manual exposure mode so I have full control, but the shutter speed is the key to capturing these motion-blur shots. I vary the sensitivity (ISO) setting depending upon the light conditions. I shoot handheld but my Lumix GX9’s stabilisation keeps the buildings and stationary objects sharp while anything moving is blurred.’
Further reading
Get the most from your wide-angle lens
Best lenses for mirrorless systems

