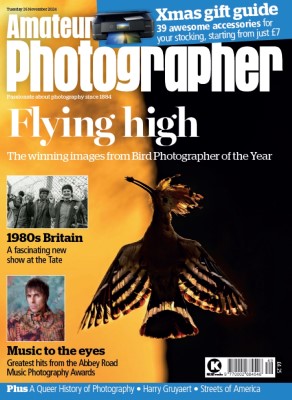
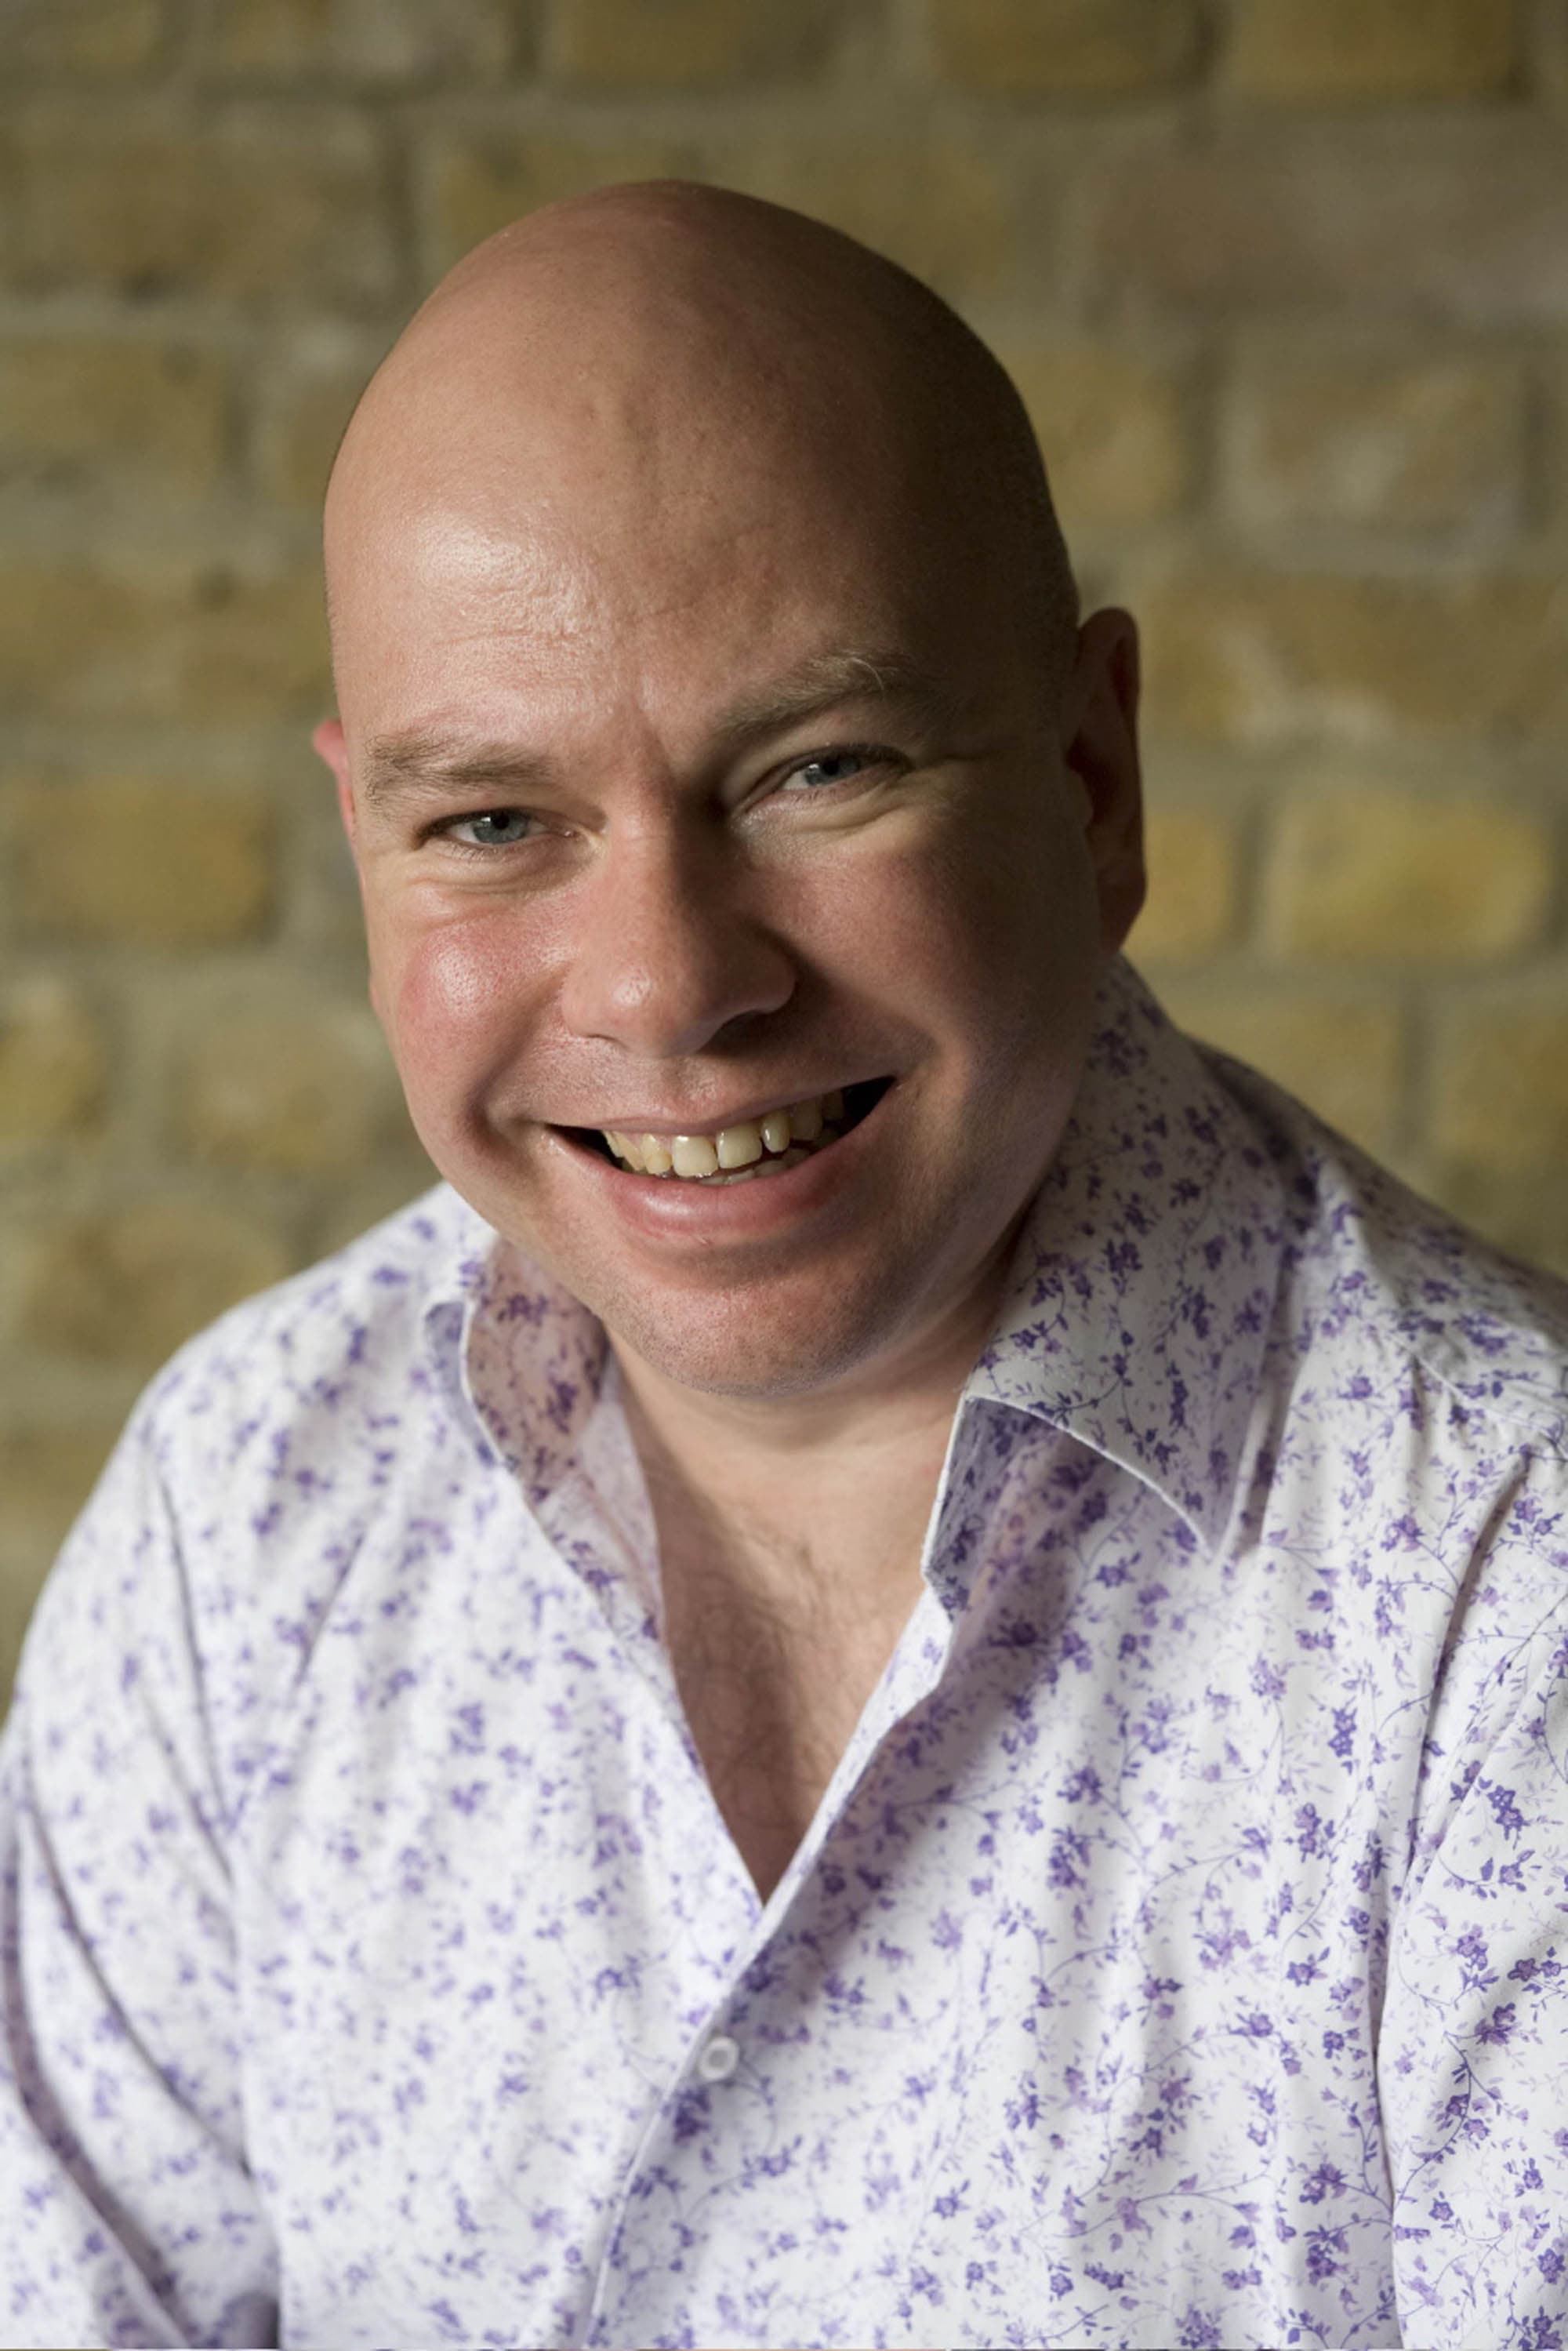
Even if you are not that familiar with his name, there’s a good chance you have seen the work of Drew Gardner. This internationally acclaimed portrait and location photographer has worked extensively for a range of advertising clients, as well as doing editorial work for some of the biggest magazines in the world – from GQ to The Observer. AP caught up with Drew for his insider tips on how to take portraits that pack a punch.
1. Plan, plan and plan some more

“I have been taking portraits professionally for about 40 years now and as I say in my lectures, if anybody shows you a rulebook of photography, throw it away,” Drew notes wryly. “Having said that, I have a pretty good idea of how I am going to approach a portrait assignment as I like to thoroughly research the person I am photographing, and where I will be working.”
He cites the example of his highly acclaimed portraits with US golf legend Tom Watson for Sports Illustrated magazine. “I practiced everything in my back garden, and worked out how I was going to use the camera, what lighting I was going to use, which ND filter and so on.” As Drew notes, careful planning can make all the difference when you have limited time with a big name, which is usually the case.
2. Shoot wide
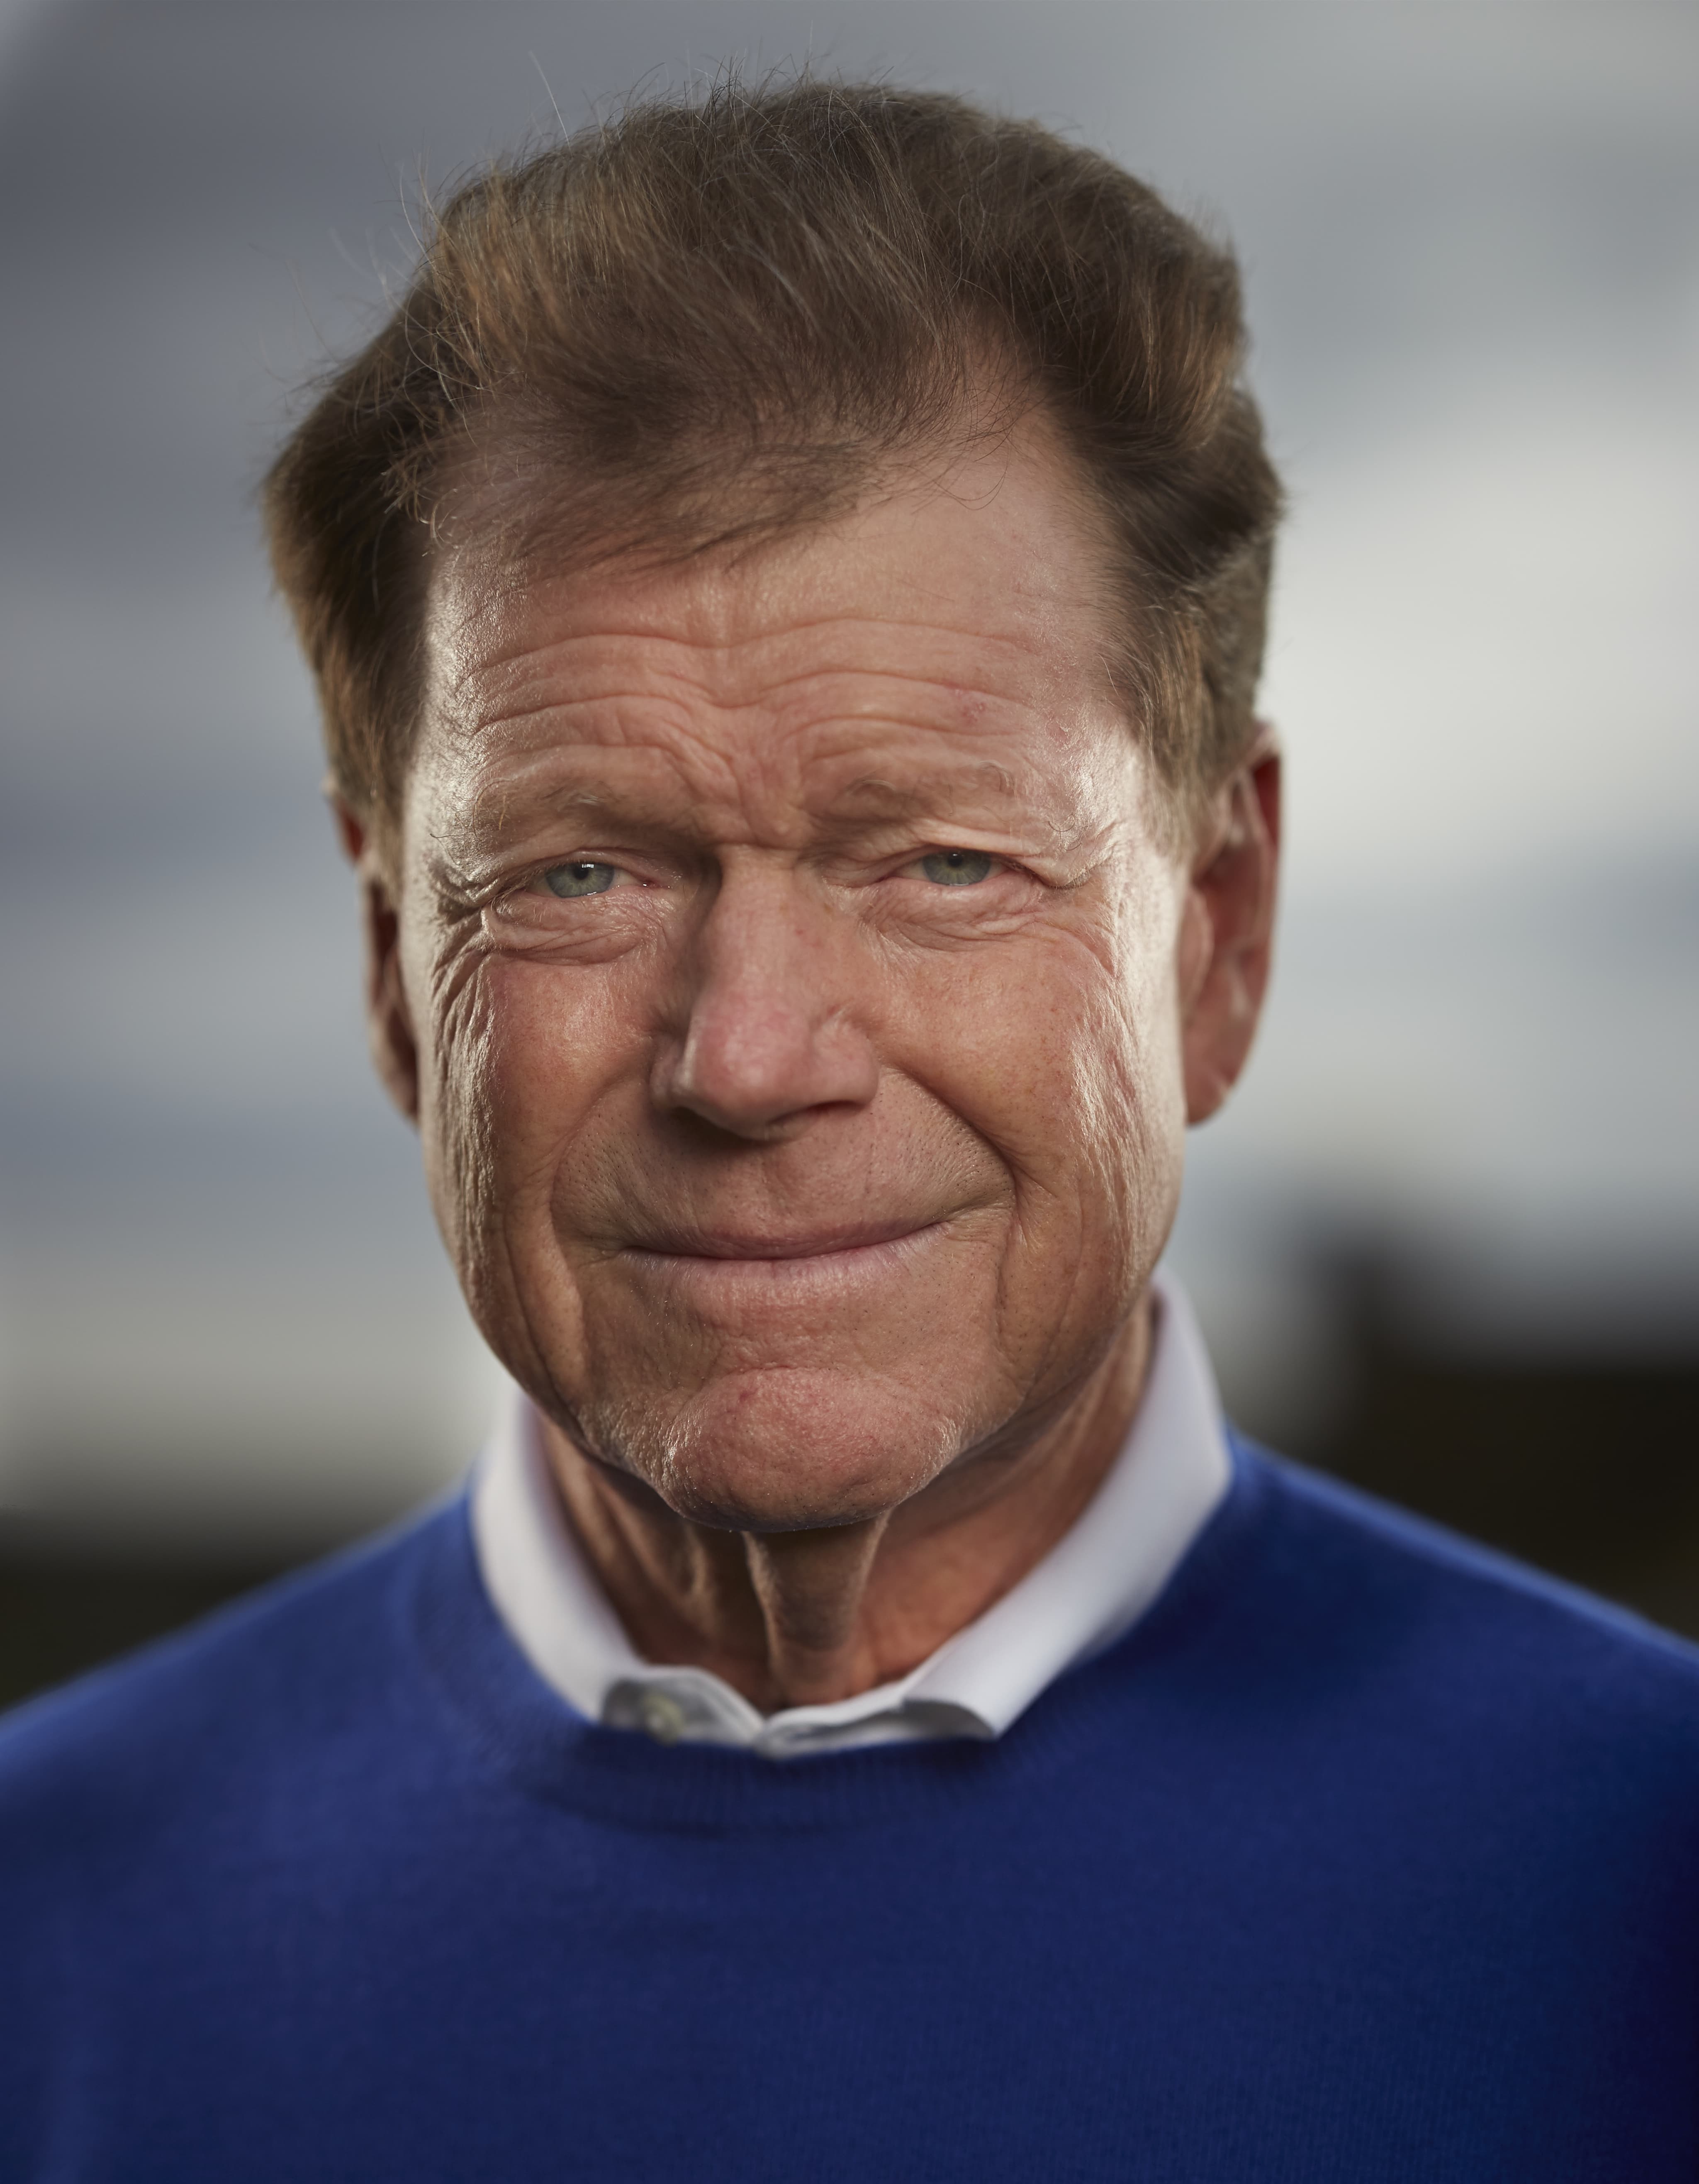
Drew is a big fan of shallow depth of field, an effect he also used to make his portrait of Tom Watson really stand out. “They told me to just do my thing, which is music to any photographer’s ears. So I came up with this idea of a full-on portrait, taken at a very wide aperture of f/1.4, to really capture the soul of the man.”
3. Focus carefully
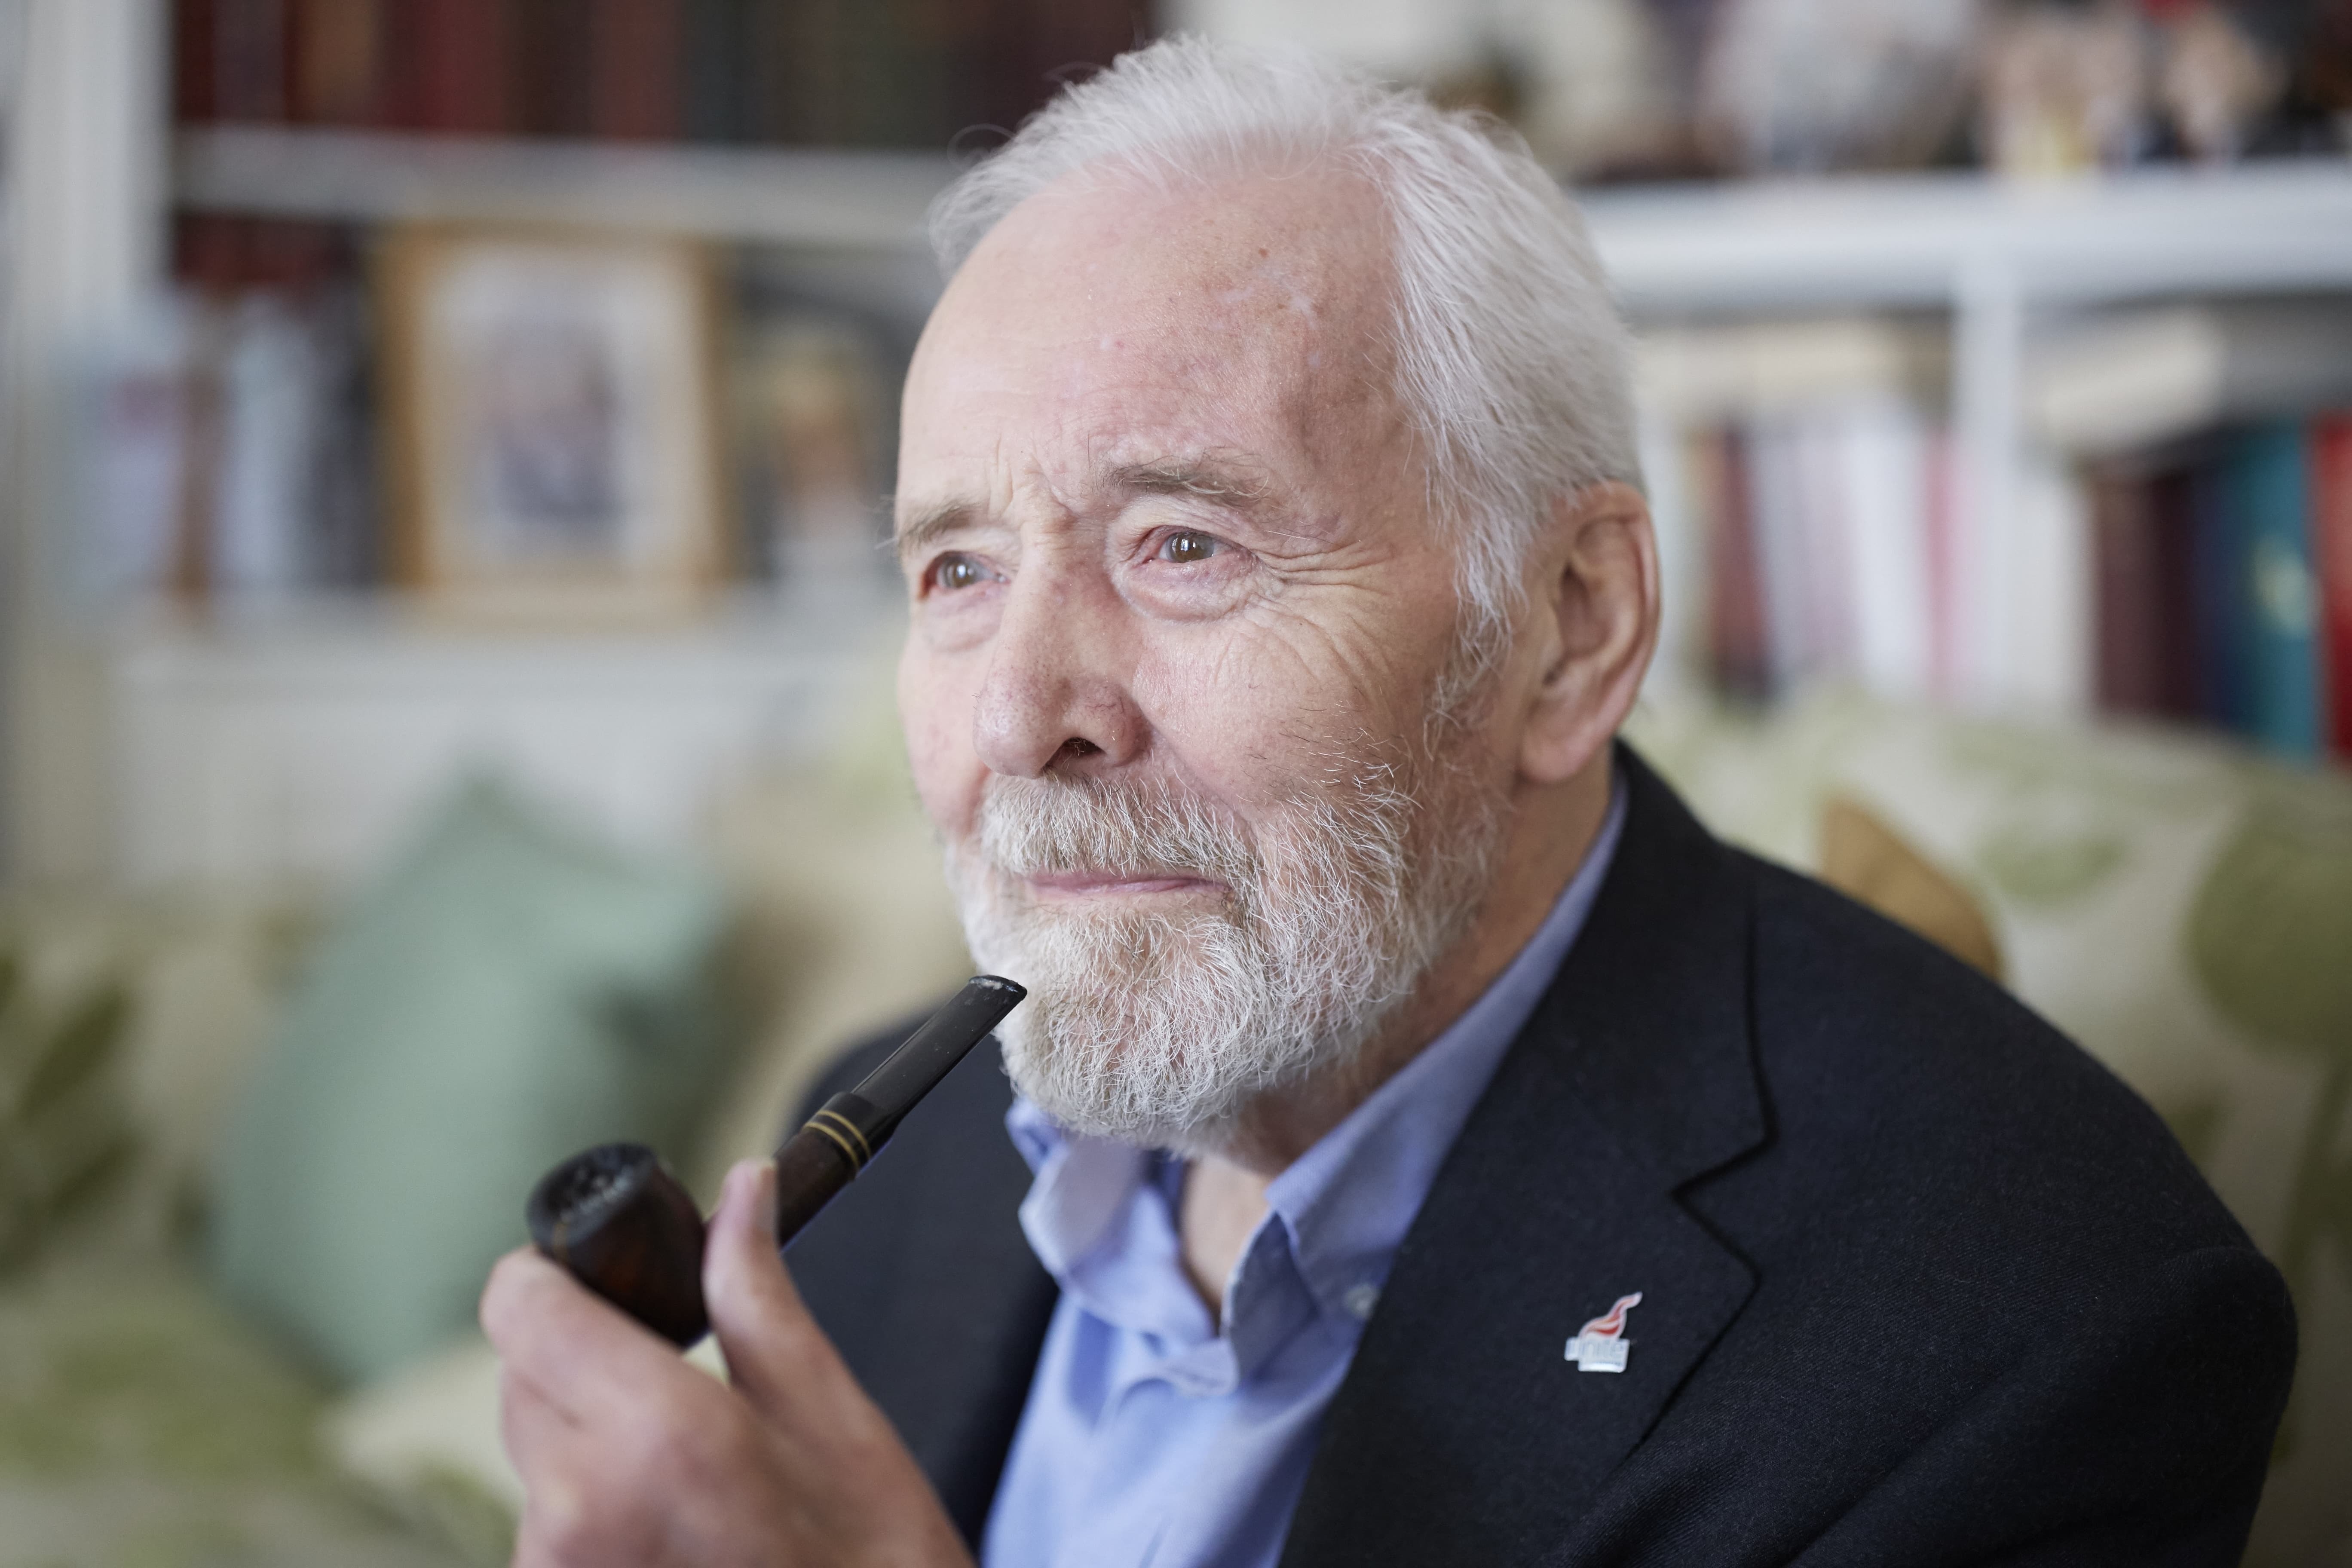
Wide aperture portraits with a narrow depth of field requires careful focussing, as Drew explains, and it’s absolutely essential if you are using a high-quality manual focus lens, such as the ZEISS Otus range.
“When it comes to focussing at very wide apertures, I use Live View on the back of the camera, particularly if it’s full frame. I can zoom 10x into the eye and get it exactly sharp. It’s a different way of working than looking through a conventional viewfinder, but very interesting. You can also get sharper pictures with manual focus, but this comes down to practice and familiarity with your lenses.”
4. Use the best possible lenses

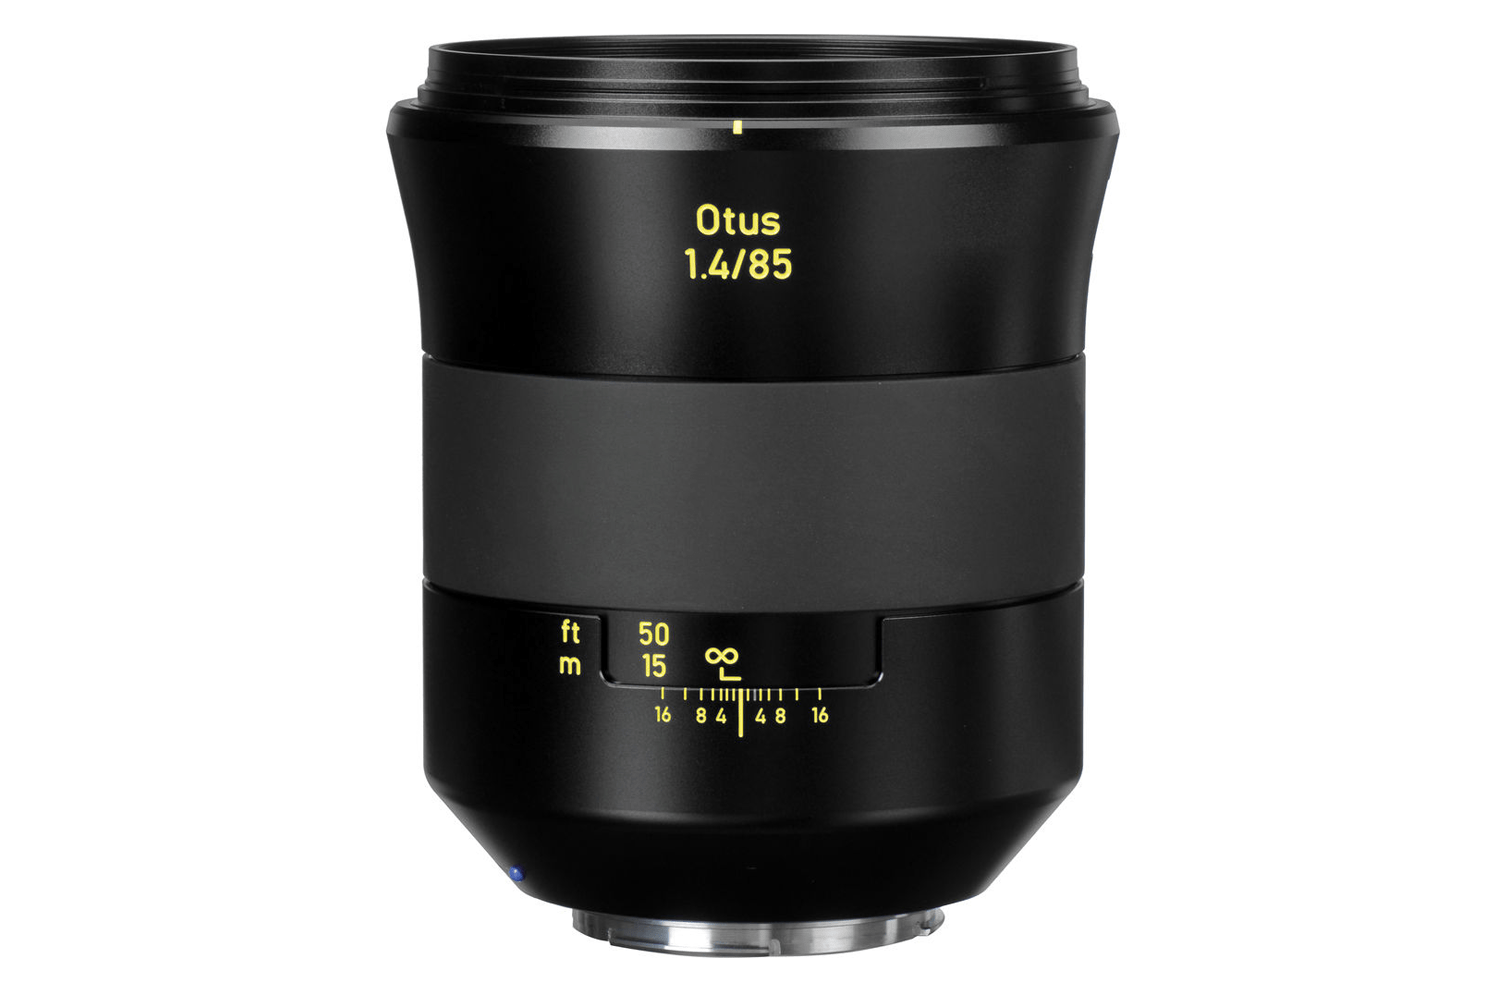
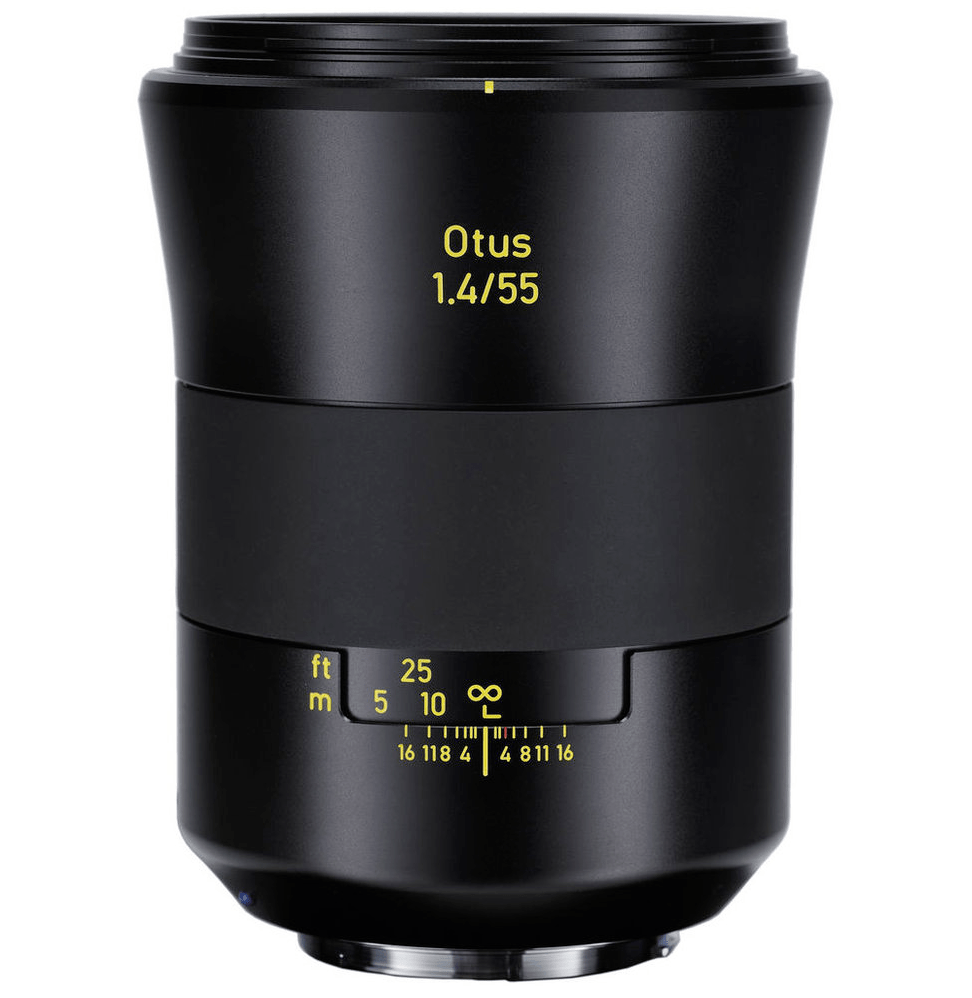
On the subject of lenses, Drew swears by ZEISS glass, and is a particular fan of the Otus prime lenses. “I was sceptical at first when people said ZEISS bring a medium format-style look to D-SLRs, but they really do. Otus lenses also have an almost 3D quality and deliver fantastic bite and contrast. You can tell an image was taken on an Otus lens even if you see it on a monitor as you pass by, they really do jump out at you.
“When you work at very wide apertures, as I like to do, you really appreciate the quality of a lens.” He is consistently fond of the 85mm focal length. “I argue about this with other photographers over a pint but I reckon 85mm is pretty much the ultimate focal length for portraits.”
5. Make the camera invisible – and obsess about light
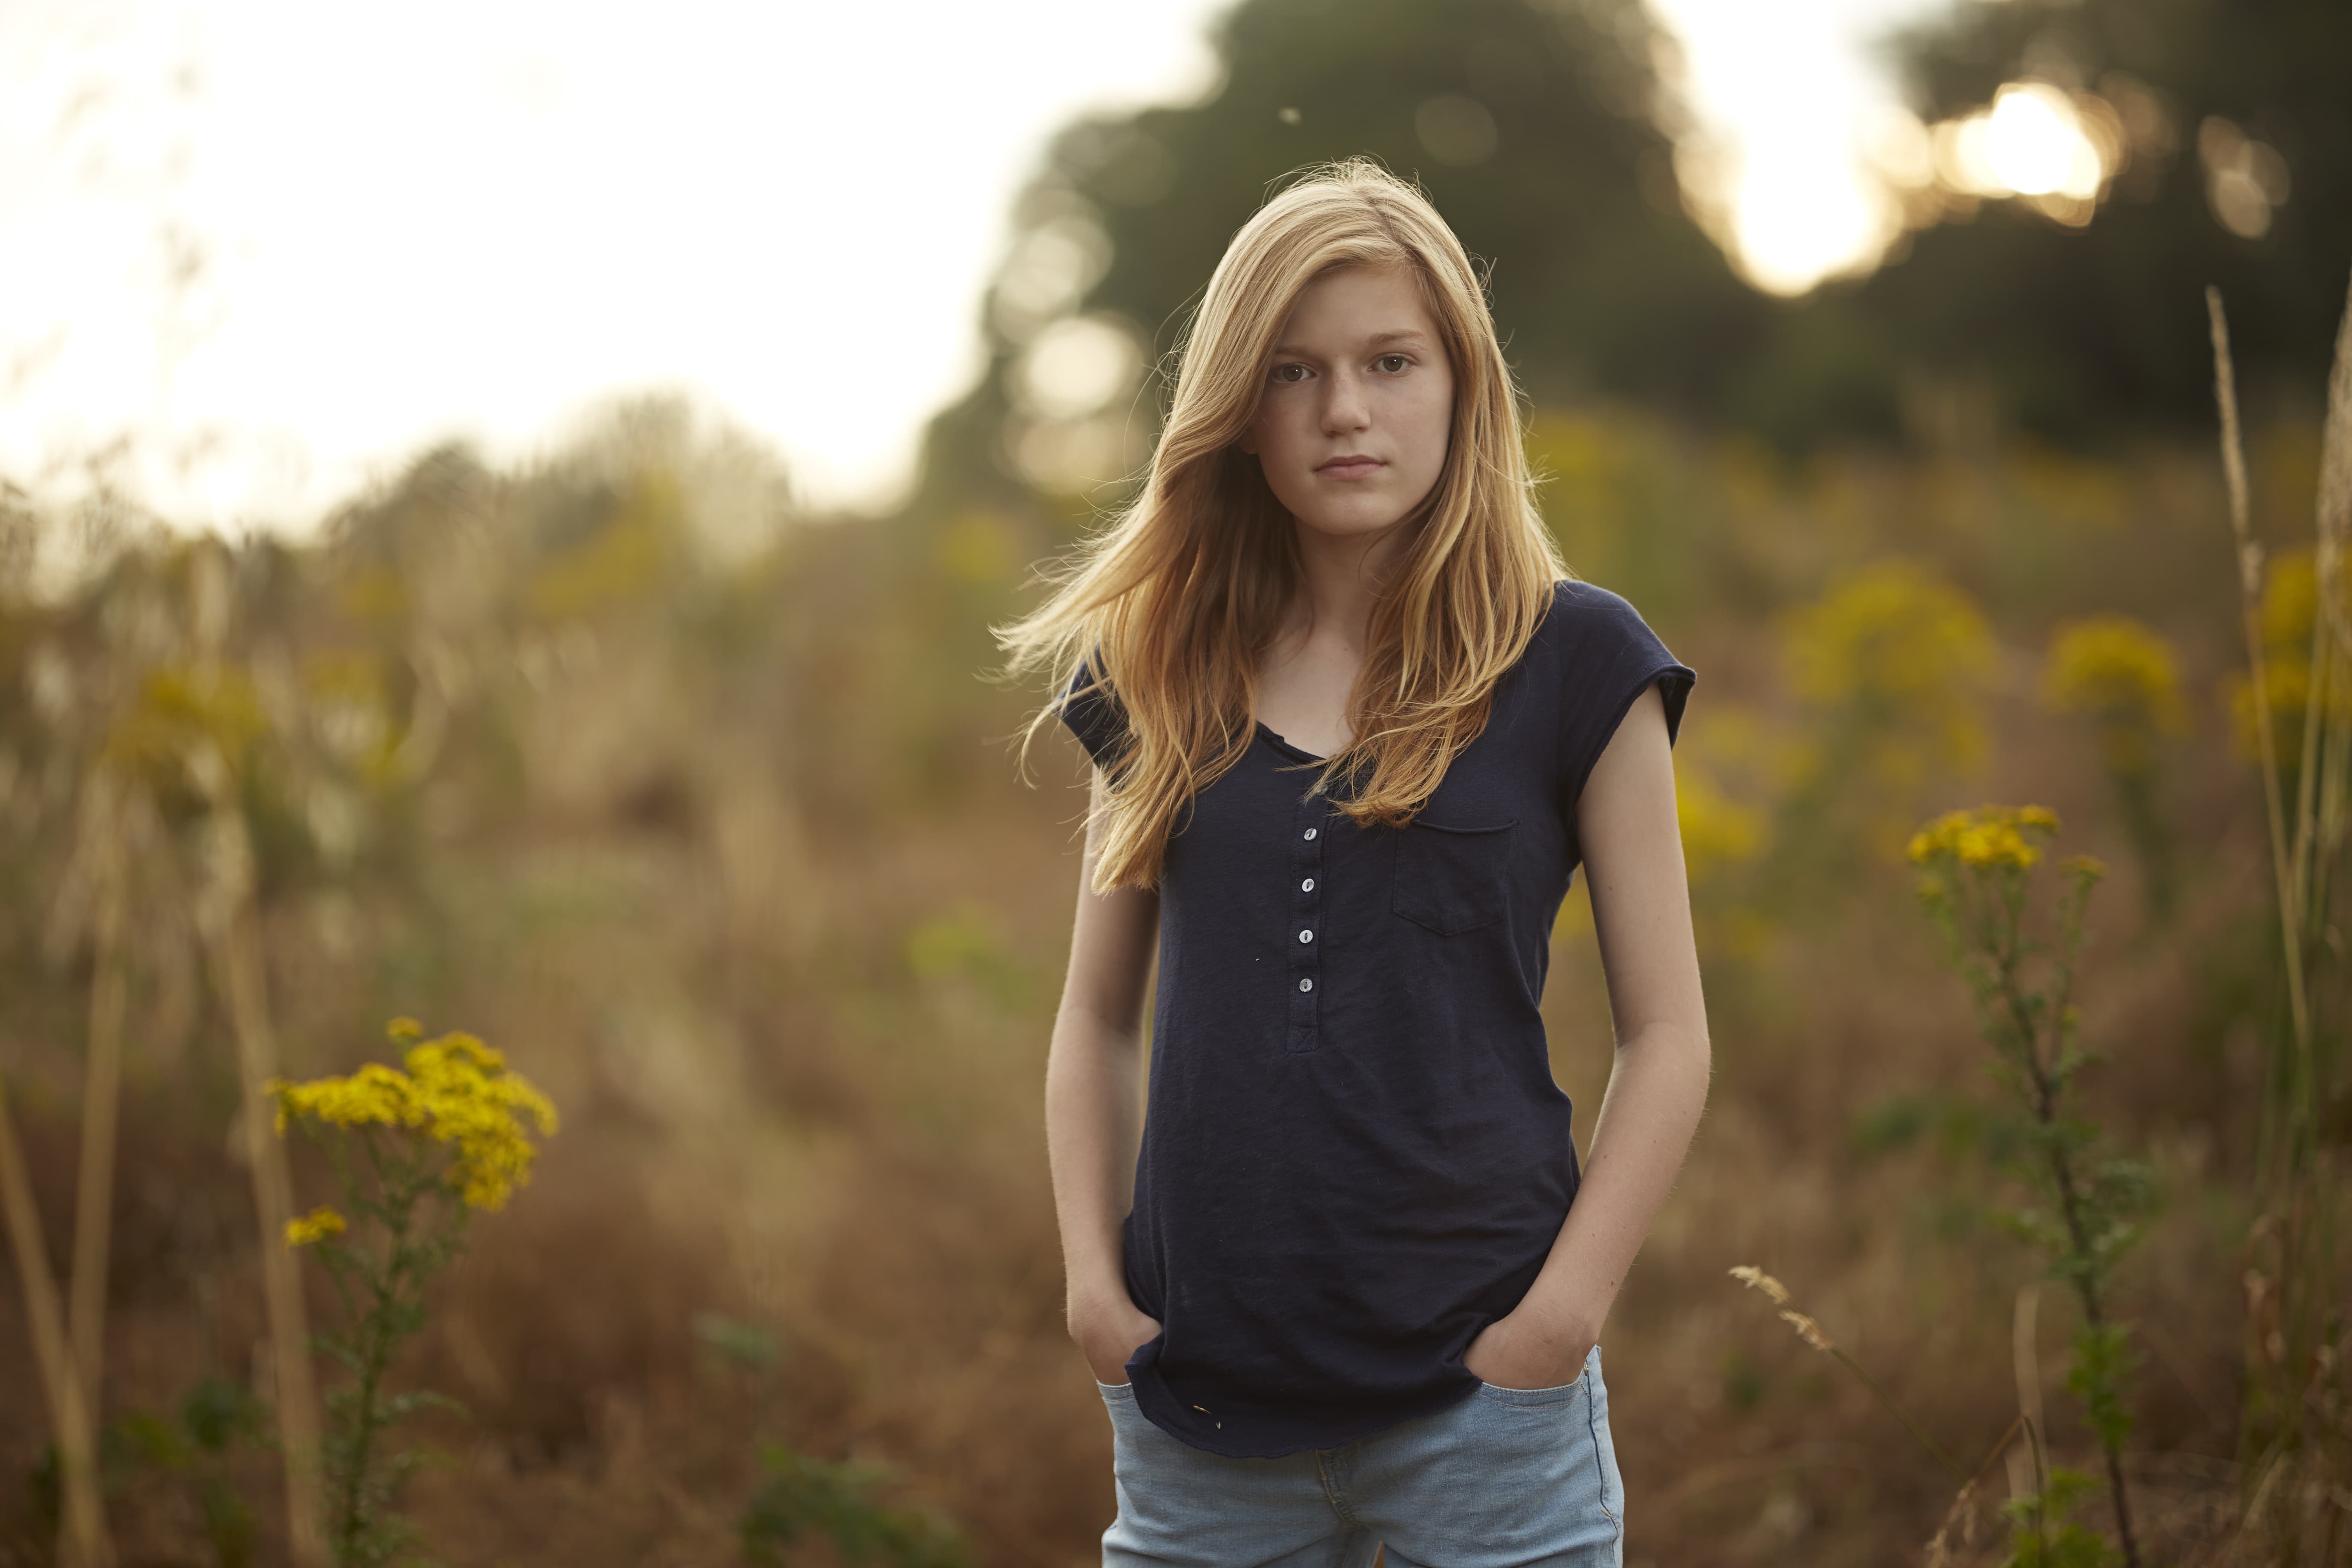
“Try and make the camera disappear – to become so familiar with the camera that you change lenses or memory cards without having to look at it, and know exactly where a menu setting is,” Drew explains. “Your destiny comes down to familiarity with your equipment.” Drew takes a similar approach to working with light, and practices taking ‘mental pictures’ all the time.
“I constantly take photos in my mind’s eye, even when driving the car or taking the kids to school. Yes I am mentally working out the camera settings I would need, but I am also trying to get a good feeling for how light falls, so I am ready to make the most of that situation in the future. When you see a billboard, think ‘how did they get that picture?’ Was it taken on an overcast or sunny day? Did they use a softbox, brolly, or hardlight? When you are able to ‘decode’ the light, that is when the magic happens.”
Drew’s favourite kit
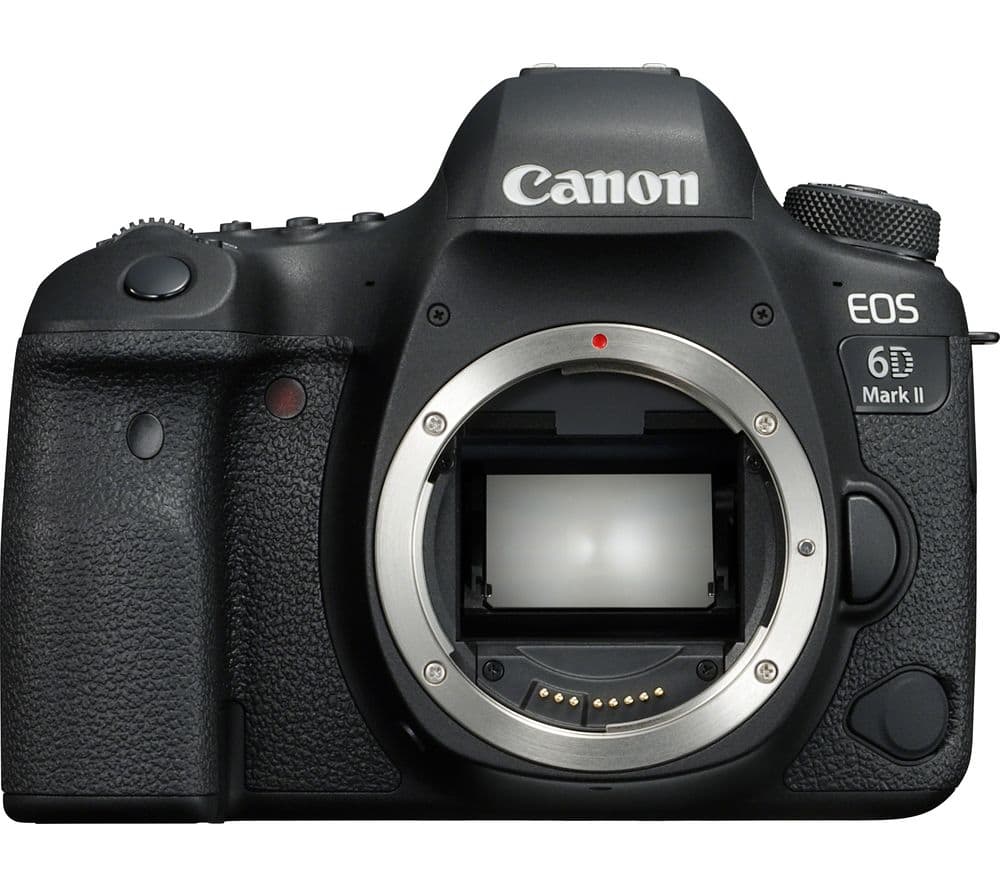
Canon EOS 6D II
|
ZEISS Otus f/1.4 85mm |
ZEISS Otus f/1.4 55mm |
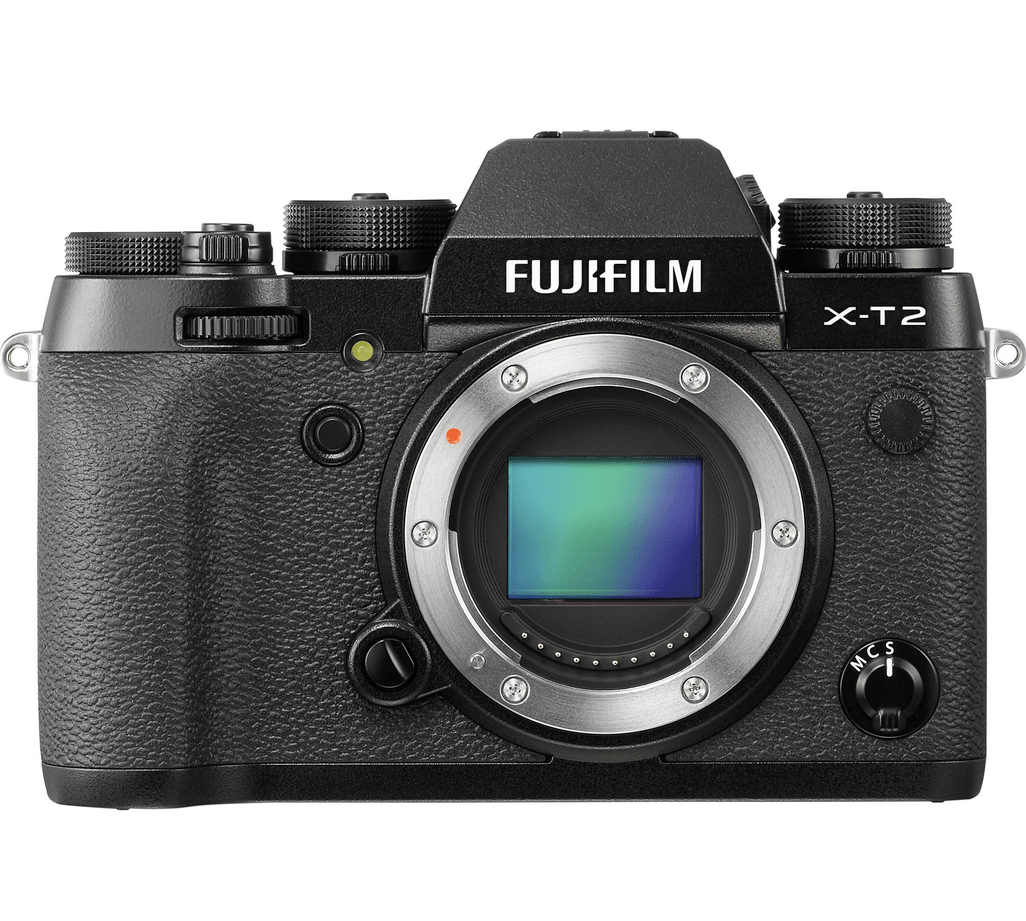
Fujifilm X-T2
|


 For more on Drew and his work, see


