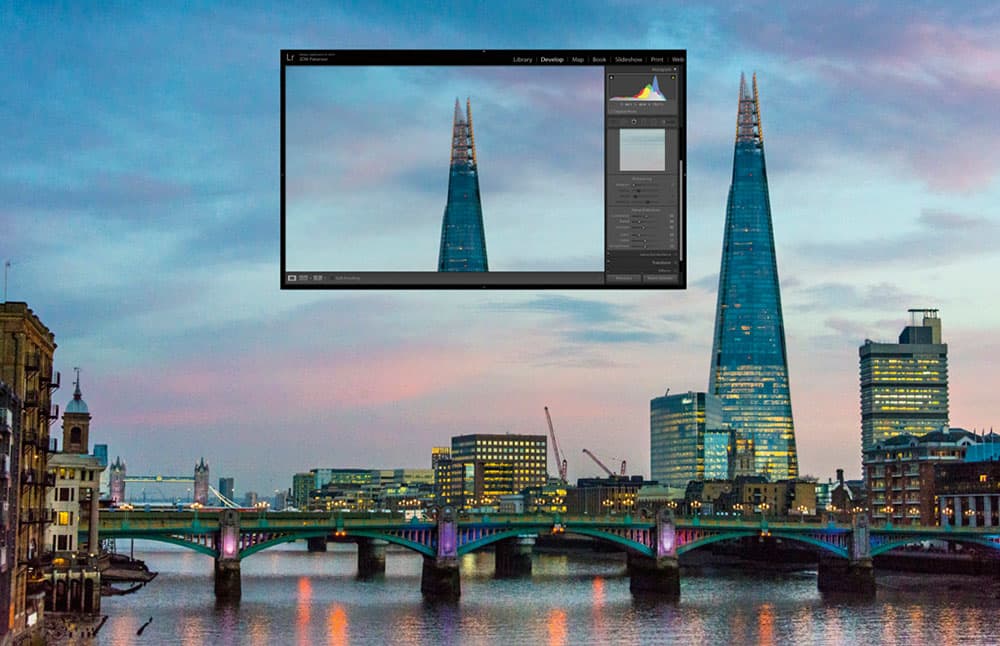
Noise reduction comes before sharpening
1. What to do first
Sharpening and noise reduction are two sides of the same coin, so it’s quite handy that the main controls sit together within Lightroom’s Detail Panel. But which to tackle first? It’s a balancing act, so there may be some back and forth, but noise reduction usually comes at the start and sharpening at the end.
2. Tackle grainy noise
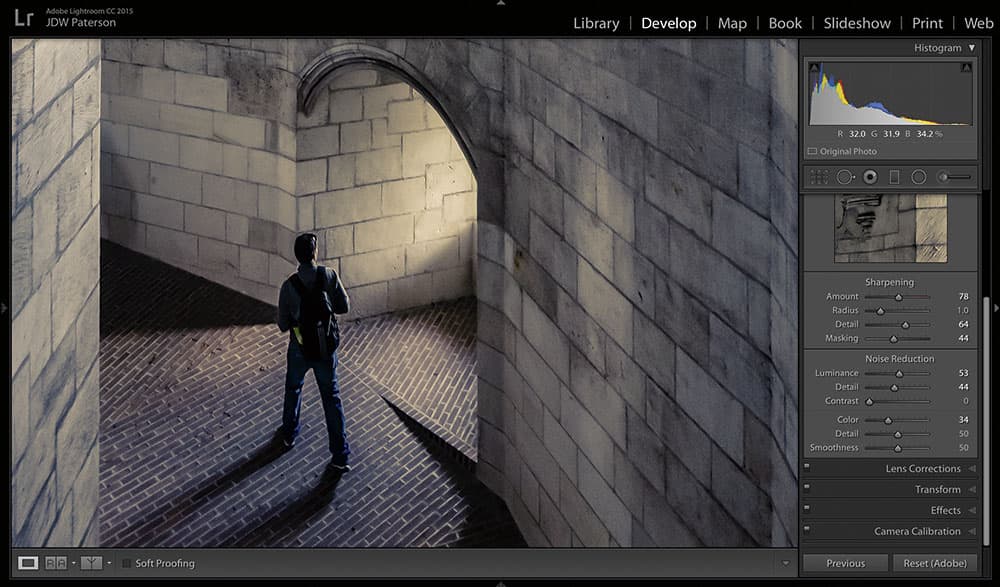
Use the Luminance slider to eradicate grainy noise in high ISO images
The Noise Reduction Luminance slider within the Detail Panel is the best tool for fixing grainy noise of the kind you’ll often see when shooting at high ISOs. Simply zoom in close to the image and adjust it until the noise disappears. Be careful not to push it too far, as it can smudge the details.
3. Choose noise over blur
Eradicating all noise is counterproductive. Noise reduction blurs detail, and sharpening amplifies noise, so it’s always a compromise between the two. But a little noise is more preferable to mushy details, so push noise reduction as far as you can without adversely affecting the most important details.
4. The Detail and Contrast sliders
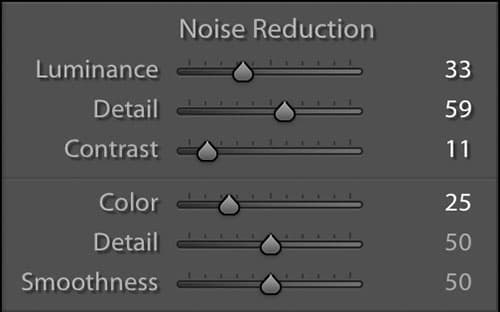
For subtlety use the Detail and Contrast sliders
These two noise sliders are more subtle than Luminance. A high Detail value emphasises detail but it can result in pockmarking. A low Detail will reduce artefacts but at the cost of fine details. Contrast comes into play when a low Detail value is set, as it forces in more edge contrast.
5. Zoom to 100%
It’s best to judge sharpening and noise reduction at 100% view. Set this value in the navigator or use the little preview box in the Details Panel. Sometimes you might want to go in even closer. A handy shortcut – Cmd/ Ctrl+Alt and plus (+) or minus (-) – lets you jump to different zoom values.
6. Fix colour noise
Start with the default setting of 25
Colour Noise is less of a problem than luminance noise, and easier to fix. The default colour setting of 25 often works, but go higher if you see blotchy spots of colour noise. Push too far and the colours may smudge, but this can be remedied with the Color Detail slider.
7. Use the compare views
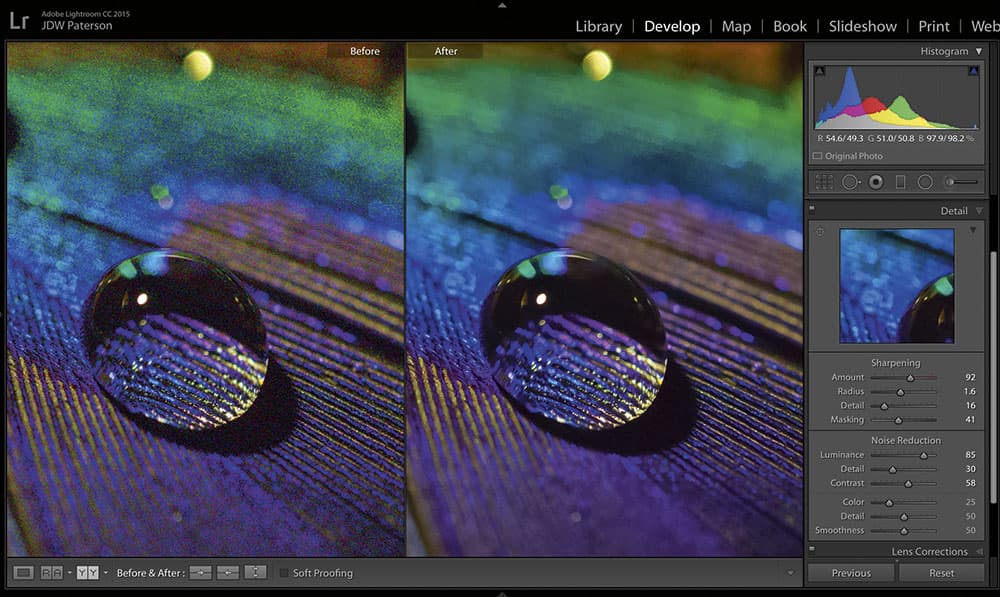
Always compare ‘before’ and ‘after’ versions as you go along
The hardest part about sharpening and noise reduction is judging just how far to go, so it can help if you compare your adjusted image with the original version to see the improvements you have made. Click the rectangular before/after view icon to cycle through different views.
8. The three sharpening stages
Sharpening is often a three-stage process. First we apply ‘capture sharpening’ to counteract the inherent softness in raw files. Next we might apply ‘creative sharpening’ to enhance certain areas. Finally, after resizing for print or export, we apply ‘output sharpening’ to optimise details for the chosen output.
9. Get a painterly look
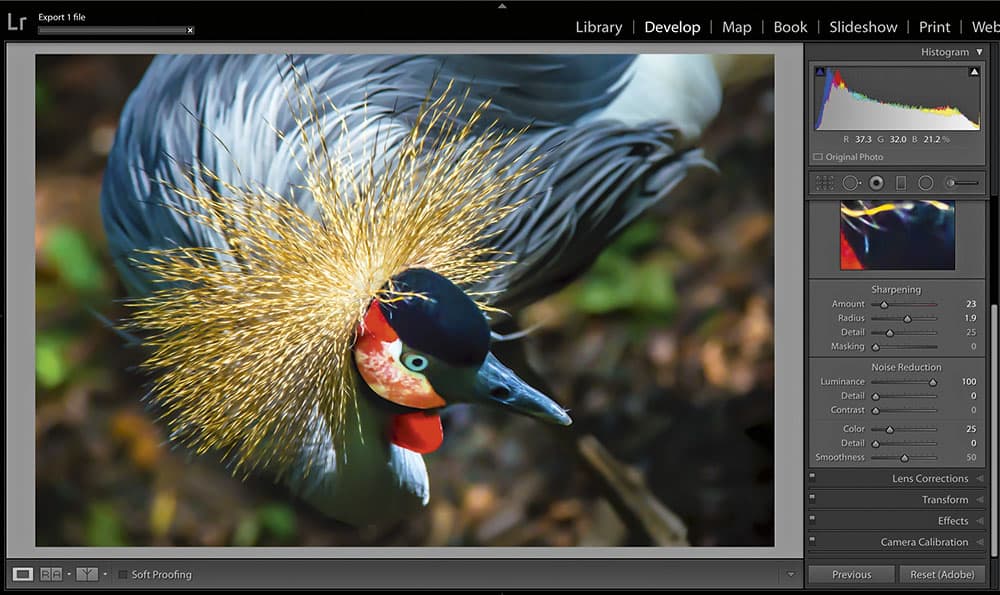
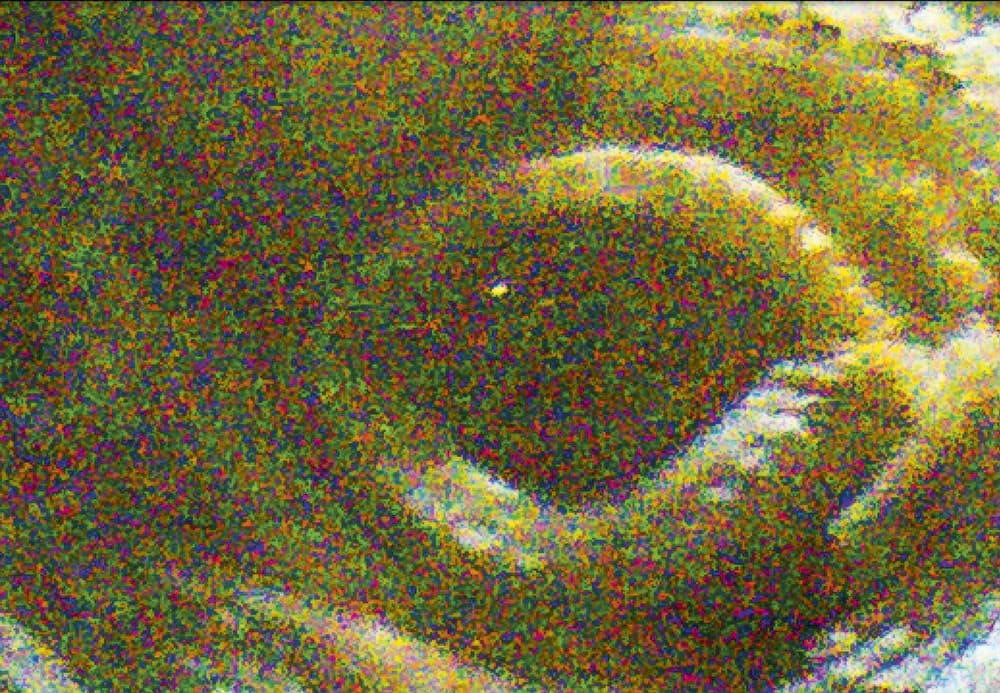
It’s easy to create a painterly look
Here’s a fun effect to try. Noise reduction results in blur and if we push things way over the top we can create a brushed, painterly look. Simply drag the Noise Luminance slider all the way up to 100, then set Noise Detail to 0. Finish off by boosting colour saturation in the Basic panel.
10. Helpful views
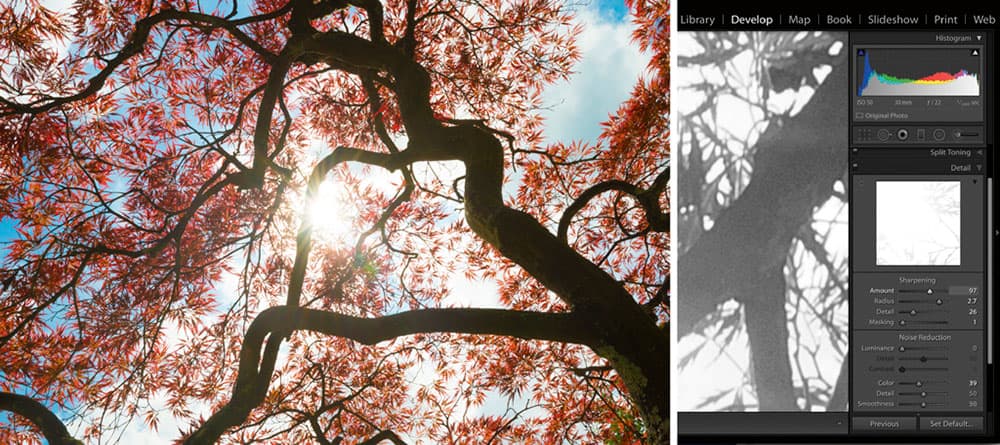
Hold Alt while dragging sliders for a greyscale view
Hold the Alt/Option key while dragging any slider in the Detail Panel (except the colour noise settings) for a greyscale view that adapts as you move the slider, helping you to judge the effects of each control. This tool is particularly useful when judging the amount of Masking or Detail for your image.
11. Sharpening for landscapes
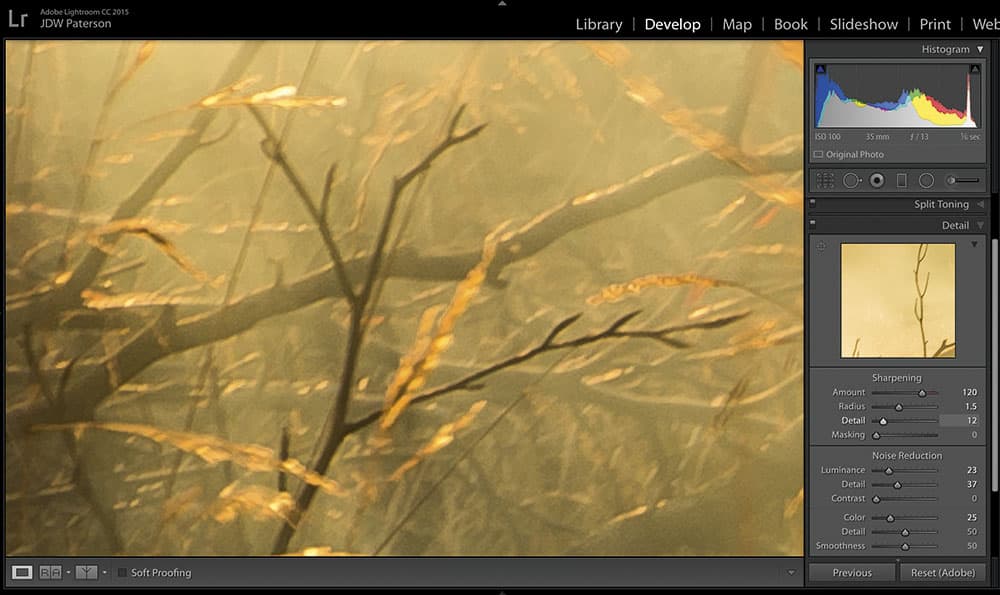
Use the Detail slider for landscapes
While the Masking slider helps to preserve areas without detail in portraits, the Detail slider is often a better choice for suppressing sharpening in landscape images. Like Masking, hold Alt and drag the slider for a greyscale view that helps you gauge the level of detail suppression required.
12. Don’t sharpen everything

Be careful about where you apply sharpening
For portraits or images like this, we really don’t want to sharpen the detail-free space, as this amplifies noise. The Masking slider lets us confine the sharpening to the important parts. Hold Alt while dragging it to the right – areas that appear in black will be excluded from sharpening.
13. Typical sharpening values
The Amount slider sets the overall sharpening strength. In general, we keep it in the range of 80-130, with Radius between 0.8 and 1.5. Subject is a major factor – landscapes and detail-rich images tend to need a higher Amount setting and a lower Radius, while portraits require a lower Amount and higher Radius.
14. What is sharpening Radius?
Sharpening increases edge contrast. An ‘edge’ is where lighter pixels meet darker pixels. The pixels on one side get lighter and those on the other side go darker. The Radius slider controls the distance from the edge – in pixels – in which the contrast change occurs. This is why, if we push Radius too far, we can get halos.
15. Sometimes noise is good
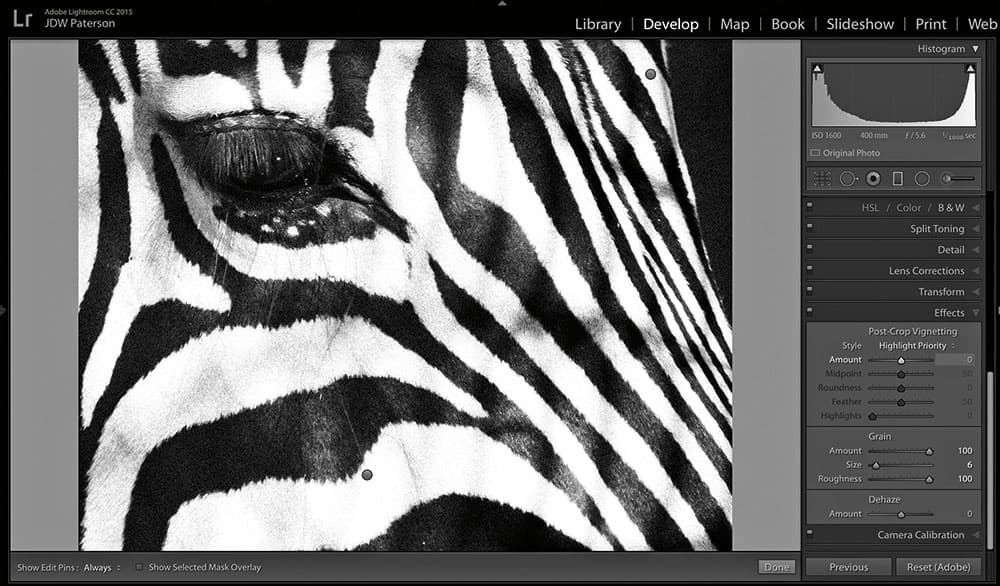
If an image is slightly out of focus, a little noise can help give it the illusion of sharpness. Noise can also help prevent unsightly banding in areas of tonal gradation, such as skies or studio backdrops. It can also be used for creative effect. Add extra noise with the Grain sliders in the Effects panel.
16. Check with printers
If you’re sending images out to a third-party printer, then check with them beforehand to see if they apply their own sharpening (often the more mainstream or high street printers do). If so, then skip output sharpening in Lightroom. The last thing you want is for sharpening to be applied twice!
17. Sharpen selectively
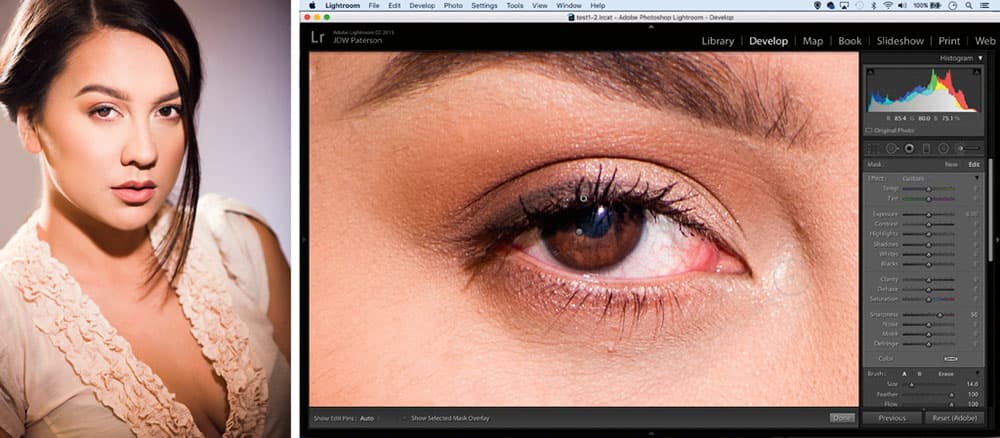
Selectively sharpen eyes with the Adjustment Brush
We rarely want to sharpen everything in the picture; just the important parts, such as the eyes in a portrait. The Adjustment Brush lets us selectively paint in sharpening. Grab it from the toolbar, load with sharpening, then carefully paint over areas. You can hit O to toggle a mask that shows where you’ve painted.
18. Speed up your workflow
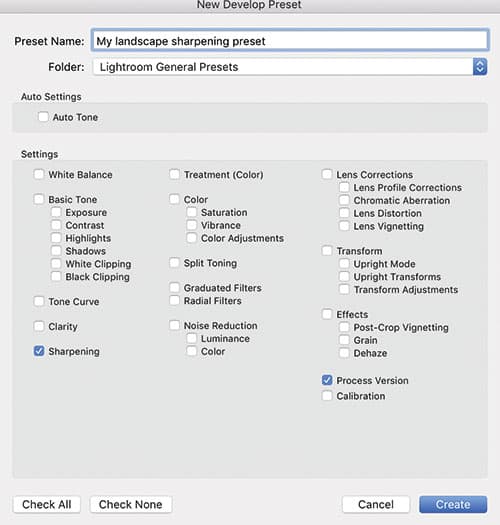
Once you hit upon a good combination of sharpening or noise reduction, why not make a preset? Click the plus icon in the Preset Panel to the left of the Develop Module to make presets, then check the relevant settings. You can apply your presets when importing new images via the Import dialogue.
19. Sharpen for print
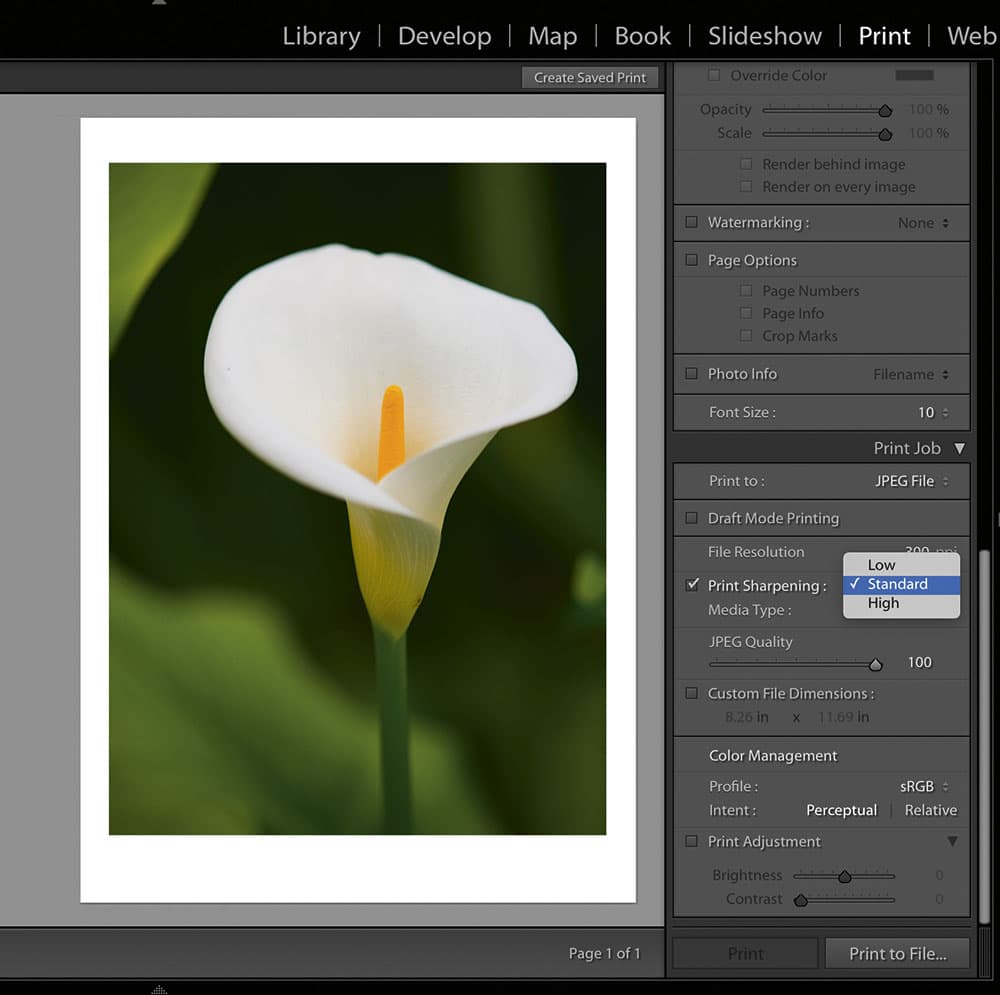
When making a print or exporting to JPEG, you should apply output sharpening in the Export dialogue or Print module. It looks overly simplistic – we set strength to low, standard or high – but these settings are tailored to your output and resolution, and under the hood they’re built around a sophisticated sharpening engine.
20. Change the defaults
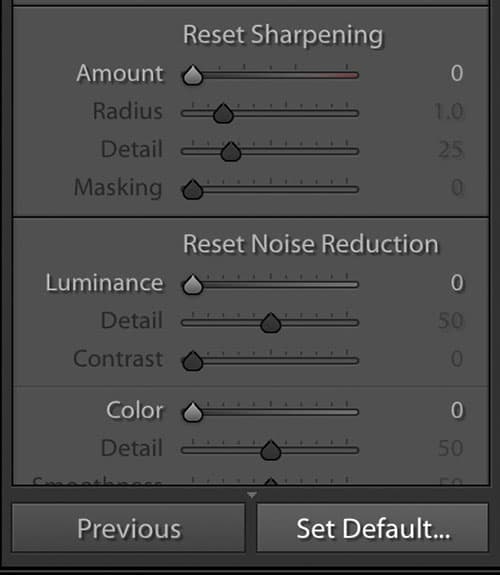
By default, Lightroom applies a small sharpening amount of 25 to raw files (but it does not apply this to JPEGs). If you like, you can tailor the defaults to your needs, or turn them off. First, hit the Reset button. Next, input your new default values, then hold Alt and click the ‘Set Defaults’ button at bottom right.
James Paterson
James is as skilled a photo editor as he is a photographer. His work has appeared in countless magazines and books, and in 2014 he was appointed editor of Practical Photoshop magazine. His subjects range from portraits to landscapes, architecture and underwater scenes. For James, Photoshop is more than just a work tool. Visit www.patersonphotos.com.

