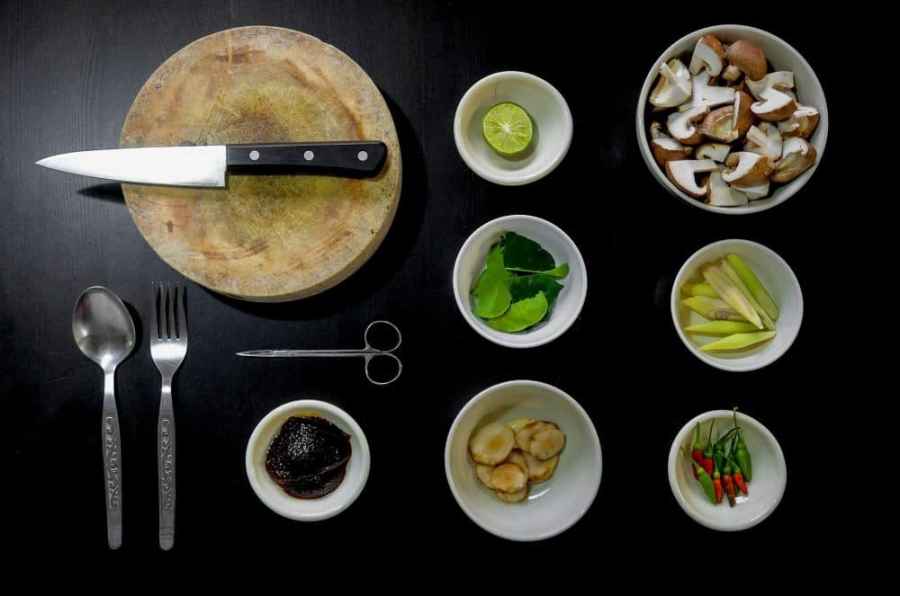
It started with photographing our dinner for Instagram, but now short recipe videos are a staple of social media. Here’s how to make sure your short food film sits at the top table.
Ok, so you have your recipe. You’ve got your ingredients and you have tried and tested your cooking method (You have tried it, right?). Now to shoot your recipe video, but what exactly should you do?
Here’s our advice on getting started filming food.
Natural light
There isn’t a great deal of difference between photographing food and filming it for a video. In that regard, to keep things looking as fresh and natural as possible, use daylight to light your shot. Some lights will look very unnatural in the way that they illuminate the scene, so the simplest thing to do is avoid the problem altogether and use natural daylight.
Obviously you want as much light as possible, so work out when the daylight will be at its brightest, but not coming directly through your window creating harsh shadows. This may be a little more tricky than it sounds, and it may mean that you don’t even shoot in the kitchen. You may end up preparing your food on a dining room table. You will also need to make sure that your shadow isn’t in shot, so carefully position yourself so that you can film, but not get in the way.
Struggling for light or have some deep shadows? No problem. Use large sheets of paper or card as a reflector to bounce light on to the scene. This will soften any shadows, whilst still looking natural.
Location
If you have had to shift rooms you may need to look around at what may be in shot and consider the angle that you film at. This shouldn’t be a problem in the kitchen, but having a sofa in the background may look odd. If you can’t get unwanted clutter out of the shot, then find an angle that hides it. You can even use this creatively. Try shooting straight down from above.
Also think about the look and feel and how this will work with your recipe. If you are making cream scones then a nice rustic wooden table will work well. In fact worn wooden tables just look good for filmming pretty much anything on. However, it does create certain aesthetic and feel. If you have a modern recipe then consider bright clean white titles surfaces, and even a brushed metal. The surfaces you chose to create your video with will have an effect on the overall look.
Shoot plenty of B-Roll… then shoot some more
It is probably best if you have someone else actually making the meal, after all it can be difficult to cook and film at the same time. And besides, you don’t want butter/oil/flower etc covering your nice shiny camera.
With someone else creating the culinary masterpiece you are free to film everything. A macro lens can be very useful here. Get close-ups of food boiling, knives cutting, grinders, err… grinding. All of these small details help to tell the story and provide valuable footage that you can use to cutaway to.
Frame rate and colourf you can, I would suggest using a fast frame rate. A quick look on TV shows that many adverts show food being prepared in slow motion. This allows us to see exactly what is going on, and it adds a level of fascination. Try shooting at 50 or even 100fps to allow you to slow the footage down.
As you know by now, it is worth shooting footage as flat as possible. This gives you more tones to colouring your footage. Again, the current trend for food videos seems to be to record very natural, flat looking footage. However, if you are creating a recipe full of colour in a very bright surround, don’t be scared to turn up the saturation and make the colours really pop.
Be inspired
There are a huge number of food videos out there, so perhaps the best advice is to watch and learn. I don’t mean learn the recipe, try and switch off from that. Look at how the video is edited. Look at the colour and crop and learn write some notes on which shots you would like to use.
Tell a story
The key to any video is telling a story. To keep people interested there needs to be some sort of narrative. For a recipe this is easy. The creation of the meal is the story, but think about how you want to tell it, and also how long you want it to be. In a world where Instagram and Vine offer us just a few seconds to tell a story, make sure that what you are showing is concise, and to the point. You can include all the ingredients at the very end in lieu of credits. Remember, even on these shorts videos people can pause and read what they need to, and you can always include a link to a page for more details.


