
All images by Jake Hicks
We are bombarded by thousands of images every day. Many of these we instantly forget, but some catch our eye and it’s those images that we remember. So how can we make sure that our portrait images are the ones that get noticed and are remembered?
The next time a photograph catches your eye, take note of what it is that attracted your attention. It could be any number of things, such as an image that tells a story or an image that makes you look at it a little longer because your eye has to do a little more work. It’s these types of photographs, the ones that give our eyes a bit of a workout, that I want to explore.
There are many ways to achieve this ‘visual workout’, but I want to look at a number of in-camera techniques that are often the most successful. You can get interesting results with software and apps, but certain looks can never truly be recreated with filters and plug-ins alone, so good old fashioned camera tips and tricks are a great place to start.
One of the most successful ways to create interesting in-camera results is through lens distortion. The basis for this technique is using anything that distorts the light as it enters the lens. This involves shooting through a variety of transparent objects, such as glass and plastics, or using an even more creative solution to get the desired results.
Here are some of my favourite ways to create interesting and arresting images that make use of lens distortion…
The world around you

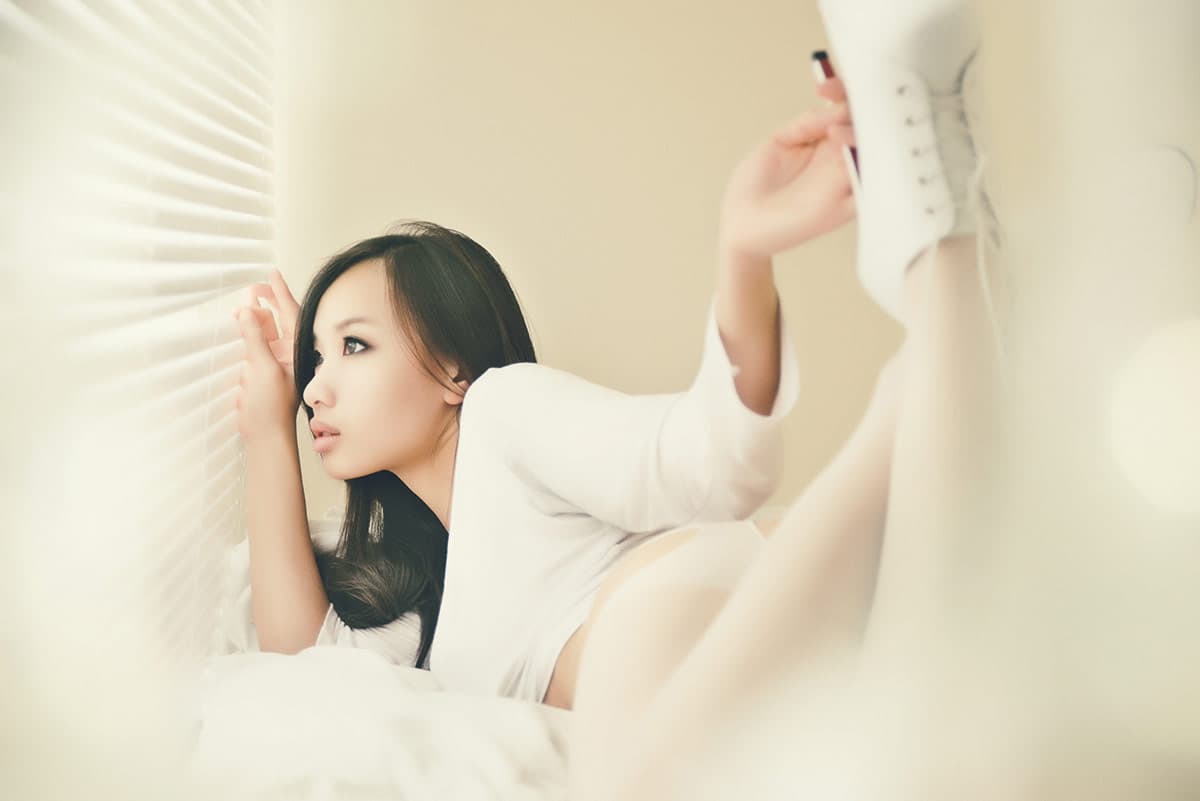
This shot was taken through some net curtains and available glassware. A shallow depth of field ensures the foreground elements are completely out of focus
Let’s start with the easiest technique, which involves you taking a look around you to see if there is anything that you think you could use to shoot through or around. Maybe you could simply recompose a shot so that something nearby is included in the corner of the frame. A glass door, a shiny chair or even something reflective like bare metal will all create interesting results, so long as you abide by one simple rule – a shallow depth of field.
If your whole scene is in focus it is going to be too busy, and generally an object that is in focus closer to the camera lens will always dominate the subject that is in the background. However, if you set your camera to a shallow aperture of around f/2.8 or wider, then so long as you focus on your subject in the background, the foreground will be thrown into a lovely soft focus, meaning that the viewer’s attention will always go to your subject.
Crystals
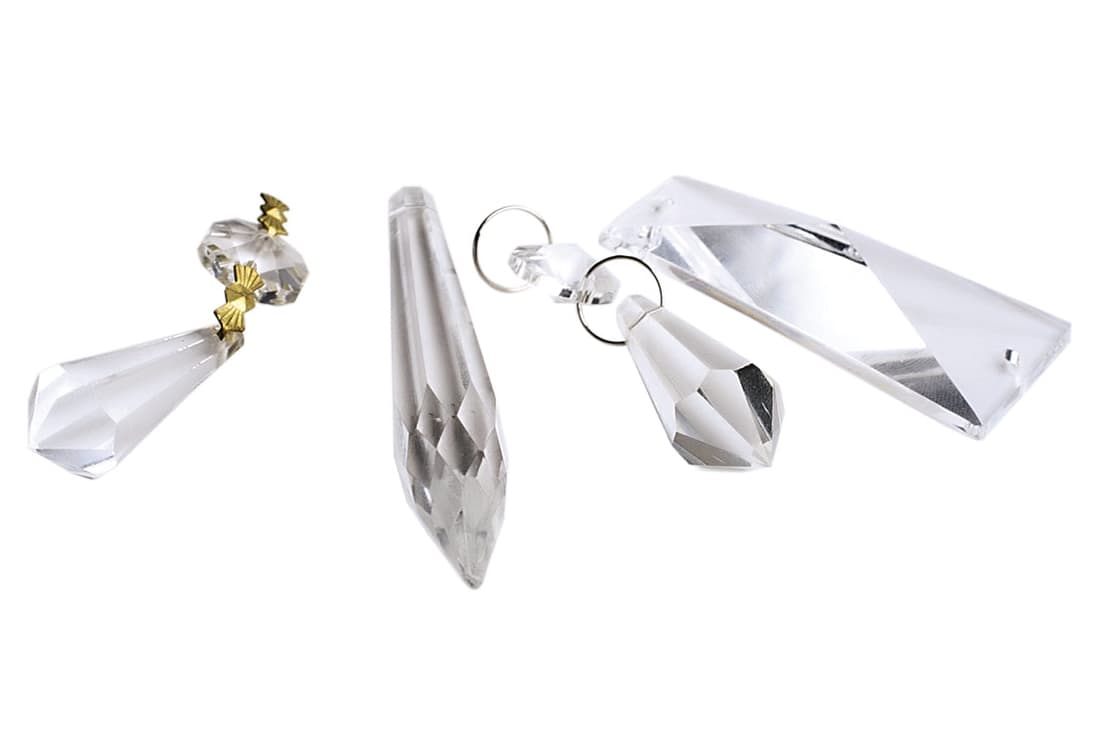 Crystals produce a slightly more distorted look than a prism. By simply holding a crystal, or several crystals, directly in front of your lens, you can create some gorgeous colours and bokeh effects. For the best results, try to get your hands on some antique crystal. This slightly older crystal was coated in a very thin film of lead, which produces gorgeous rainbow colours as you look through it.
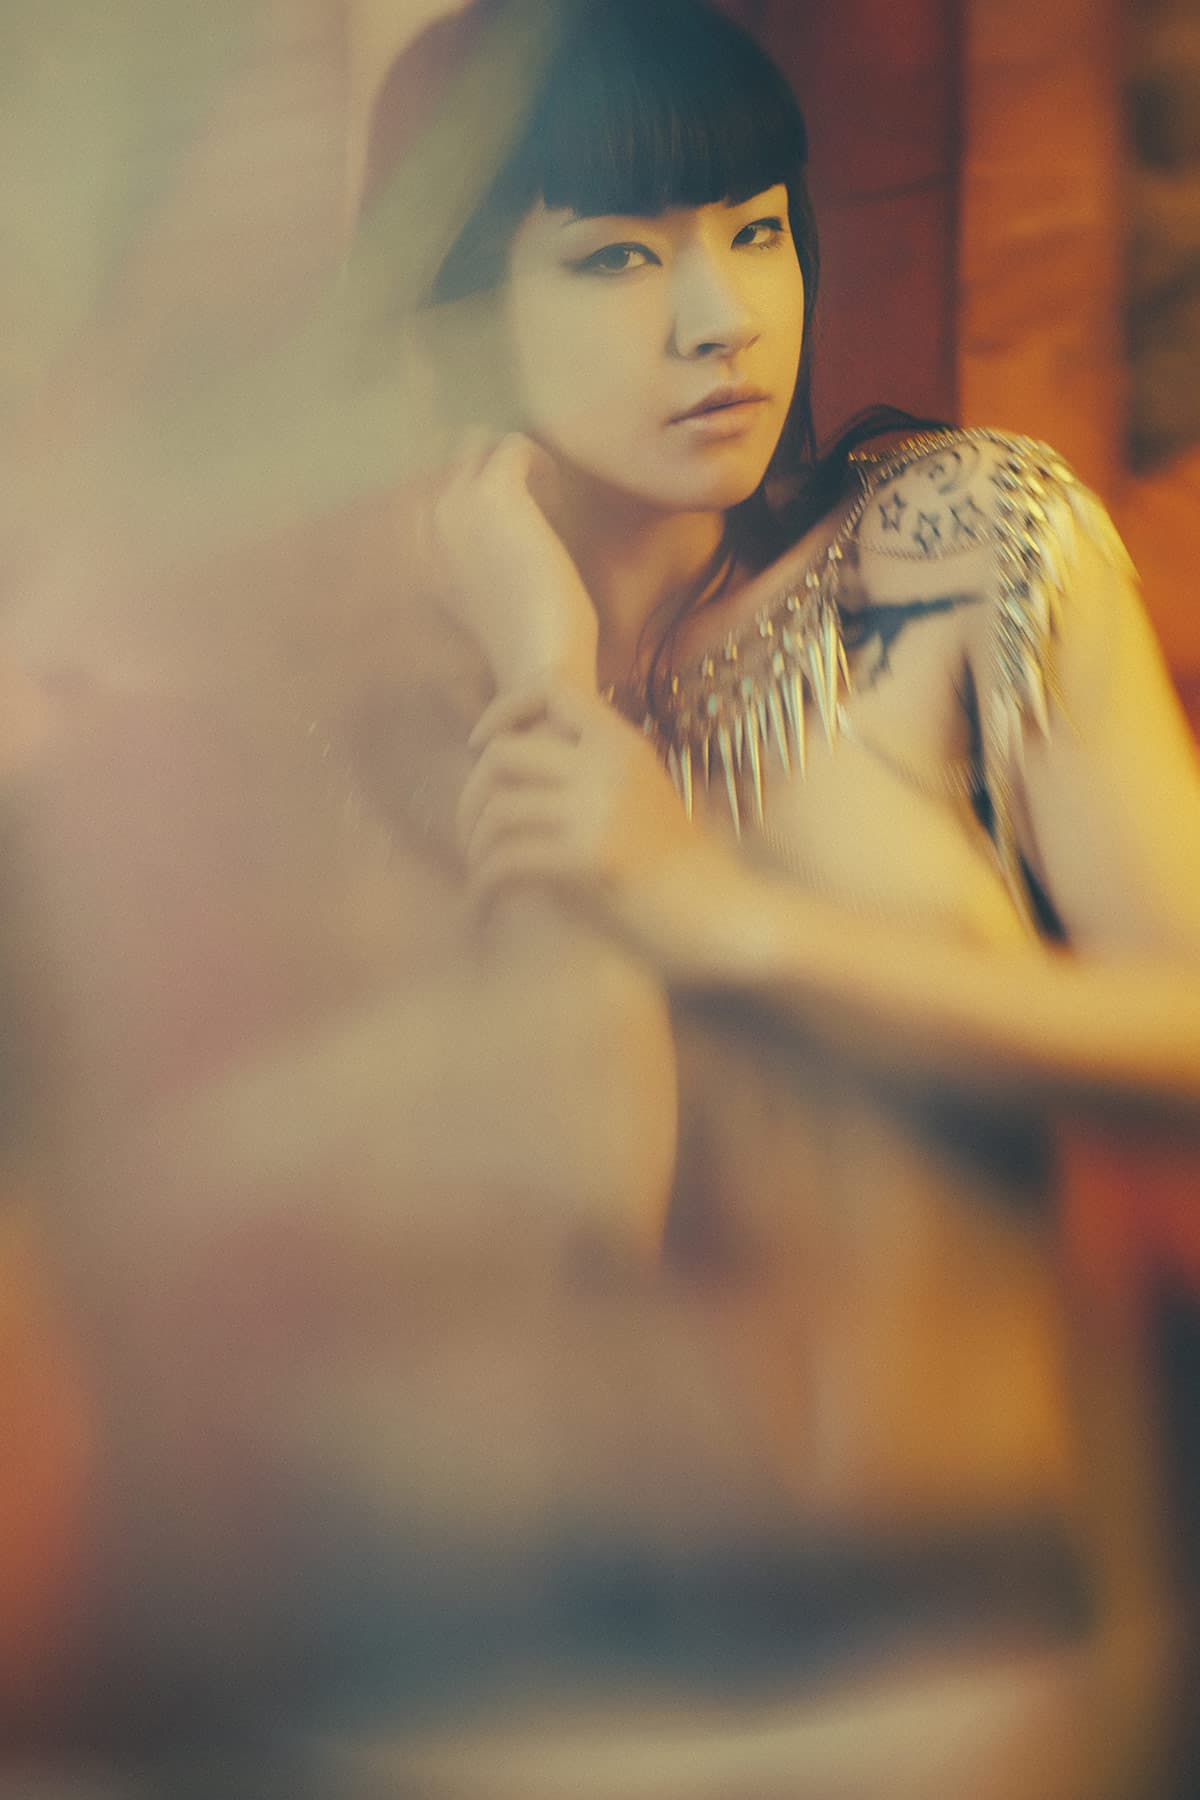
This shot was taken between two crystals held either side of the lens. By shining light directly at the crystals, you can create additional colours and highlights in the foreground
The glass prism
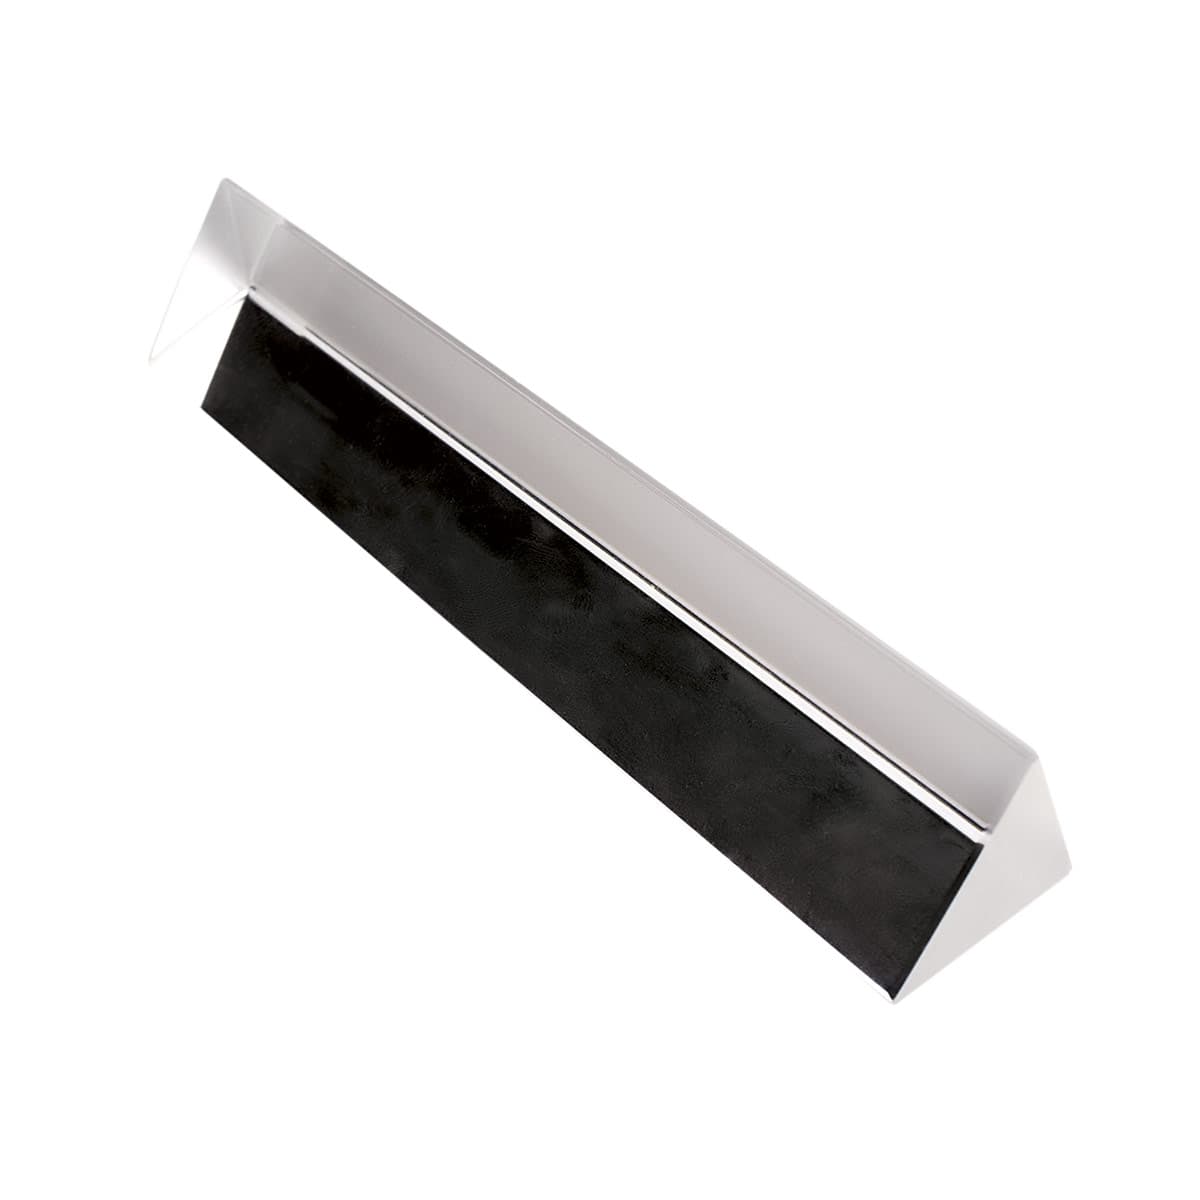 This is one of the easiest lens-distortion techniques to implement. Keep a glass prism in your camera bag and when you’ve found the shot you want to take, simply hold the glass prism in front of your lens. As the light enters the prism it will refract and show the lens a sliver of a different scene. If you don’t like the image the prism is showing, you can simply rotate the prism until you find a look that you do like.
In this shot the prism is held over the top half of the lens. The reflection is the top half of some Venetian blinds that are just out of shot, which is bleeding into the frame and adding depth and interest to the image
Wine glass

A humble wine glass or tumbler can be held in front of the lens to refract and distort the light. Try to find glass that has patterns cut into it or interesting stems, as these will produce the best results. One tip when using these is to try to have some light shining towards the lens as well, because this will catch on the facets of the glassware and cast highlights and sparkles onto the image.
By simply holding up a patterned wine glass to your lens, you can create striking refractions and distortion. Ensure you have some light directed back towards the lens
Optical imperfections
Distortion techniques are fun to play with, but can be overpowering if not used sparingly. To avoid this, use a lens that displays optical imperfections or quirks rather than some of the modern expensive pin-sharp lenses we often use. While there are some old lenses you can experiment with, some purpose-built optics have distortion already built in, so every shot you take will have an individual look.
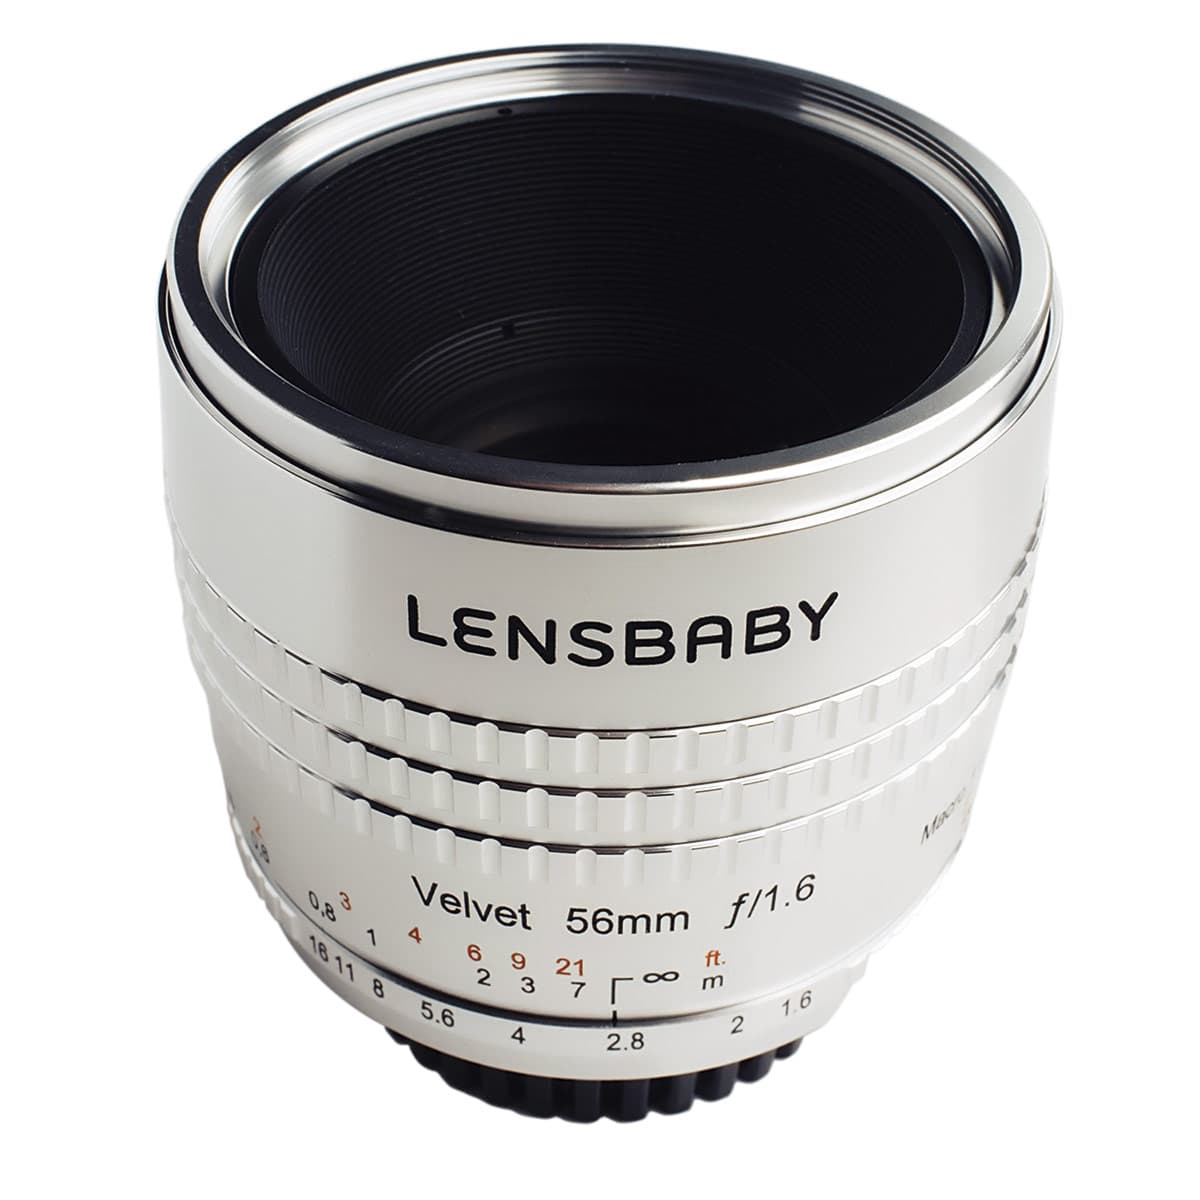
Many modern lenses don’t have those individual quirks that can enliven an image, but Lensbaby may well have combined the best of both worlds with its new Velvet lens]. The Velvet 56mm has all the build qualities and functionality you would expect from a modern lens, but with the added bonus of its ability to capture a more nostalgic and interesting image. It has an artistic feel, and with a sharp centre and softer edges it is reminiscent of some vintage lenses.
Also, at some of the wider apertures, this lens creates a gorgeous milky look that acts like an in-built diffuser but without the loss of contrast, so in the right lighting you can create some truly engaging images.
Using specialist lenses like the Lensbaby Velvet can produce images that don’t distract from the subject, leaving you with a very interesting yet clean and uncluttered image
Diffusion filters
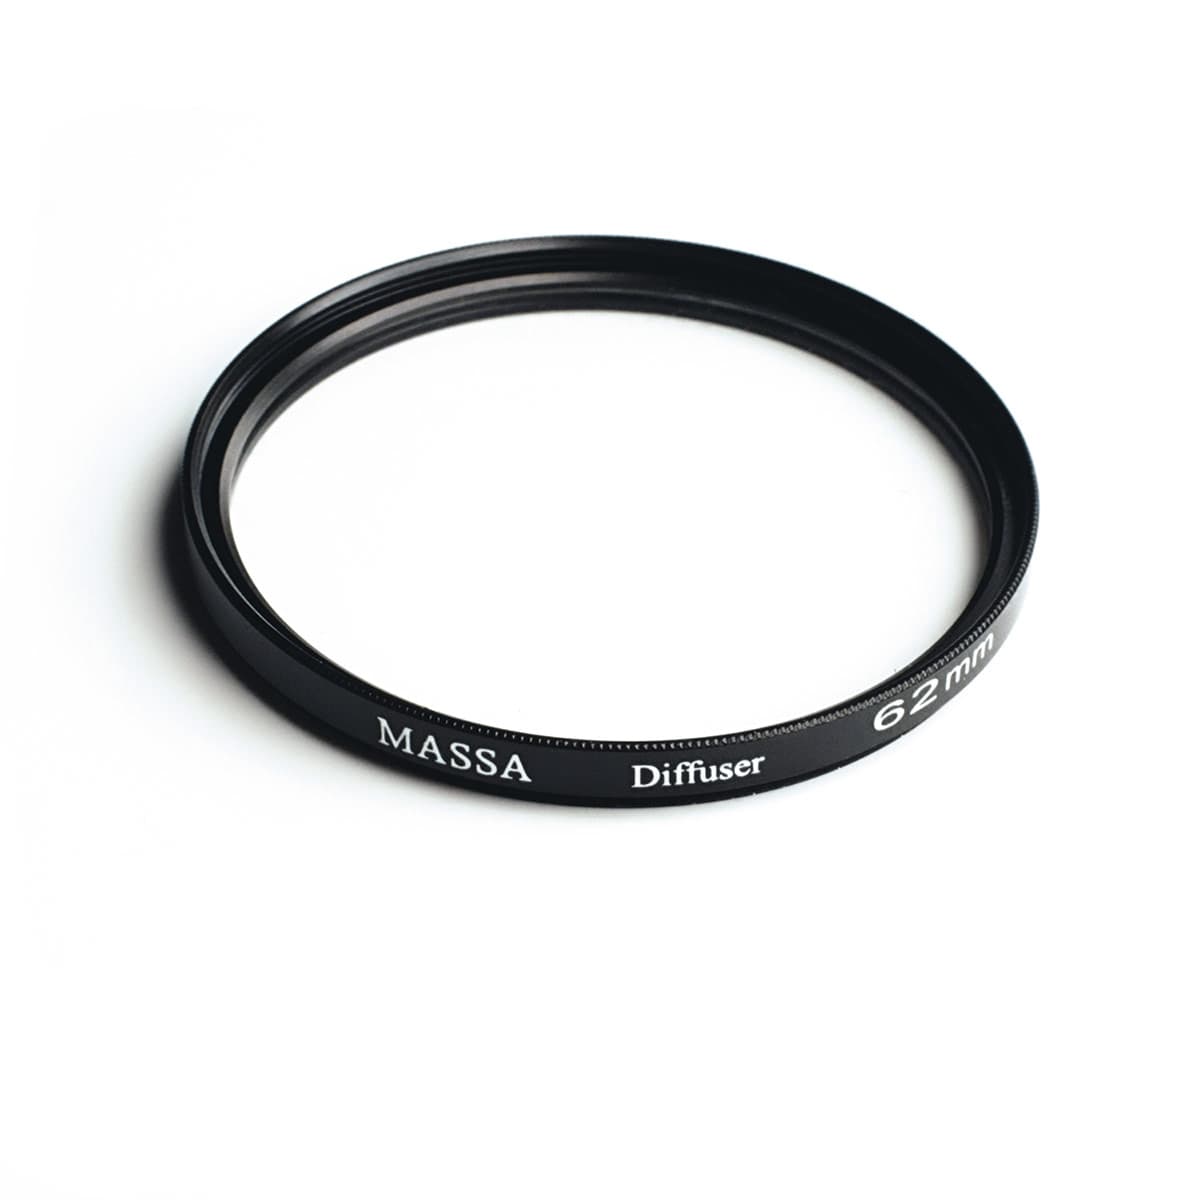 Lens filters have become less popular since the introduction of digital photography, and some photographers feel that software alone can replace a lens filter. This is not true and sometimes the simplest choice is often the right one, as screwing a filter on the front of your lens is far quicker and easier than trying to recreate the look in Photoshop.
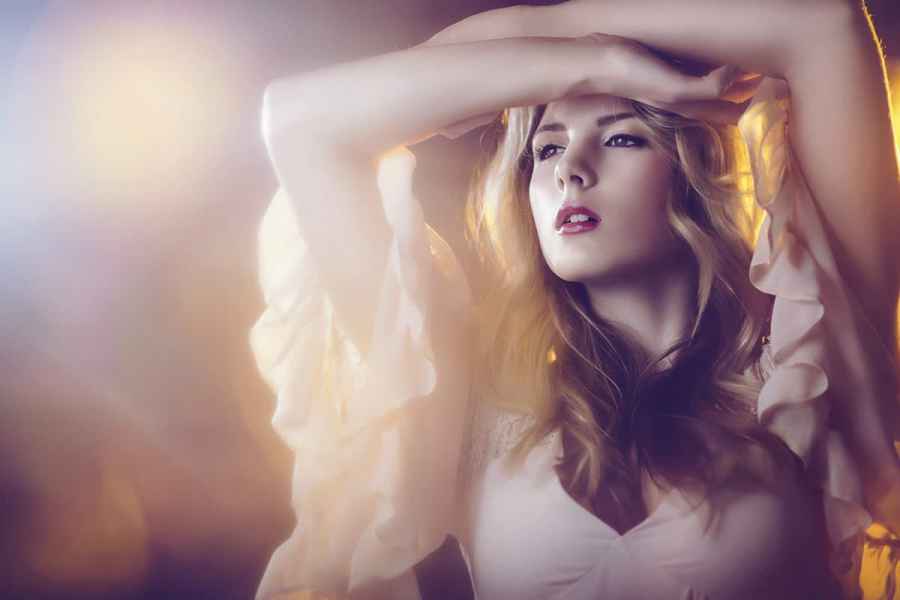
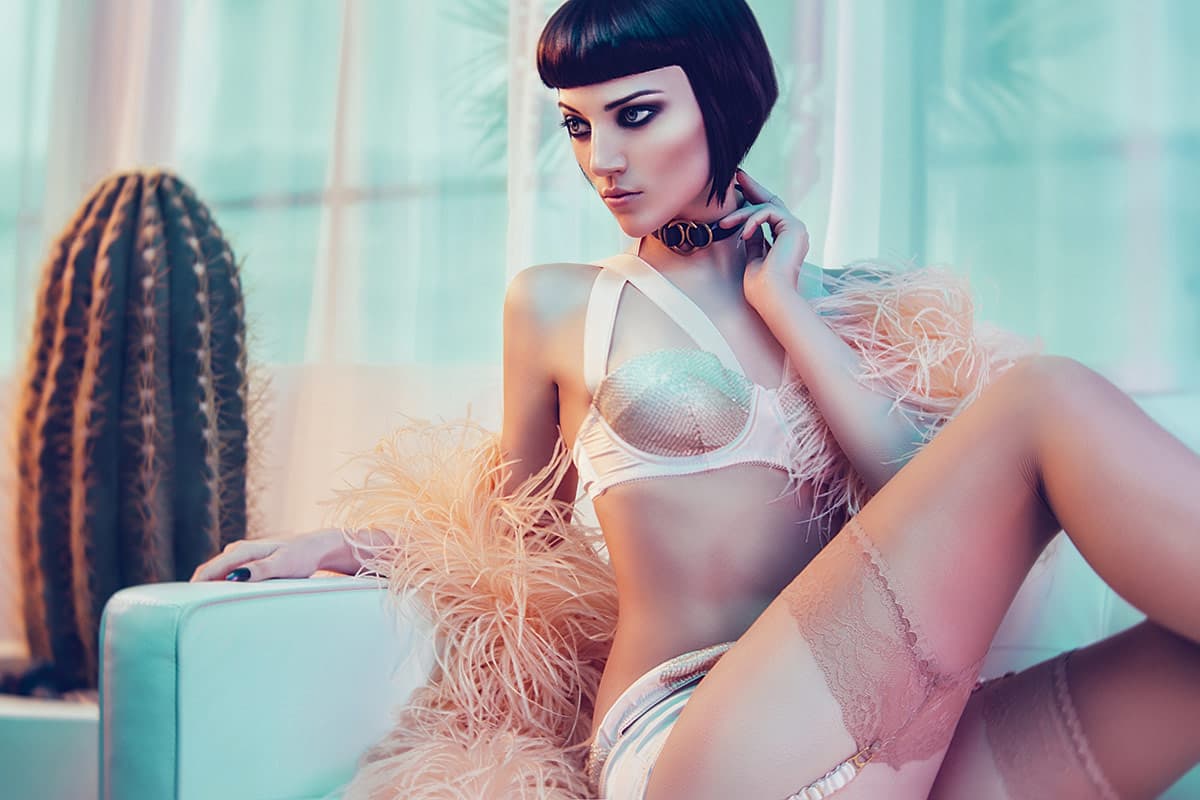
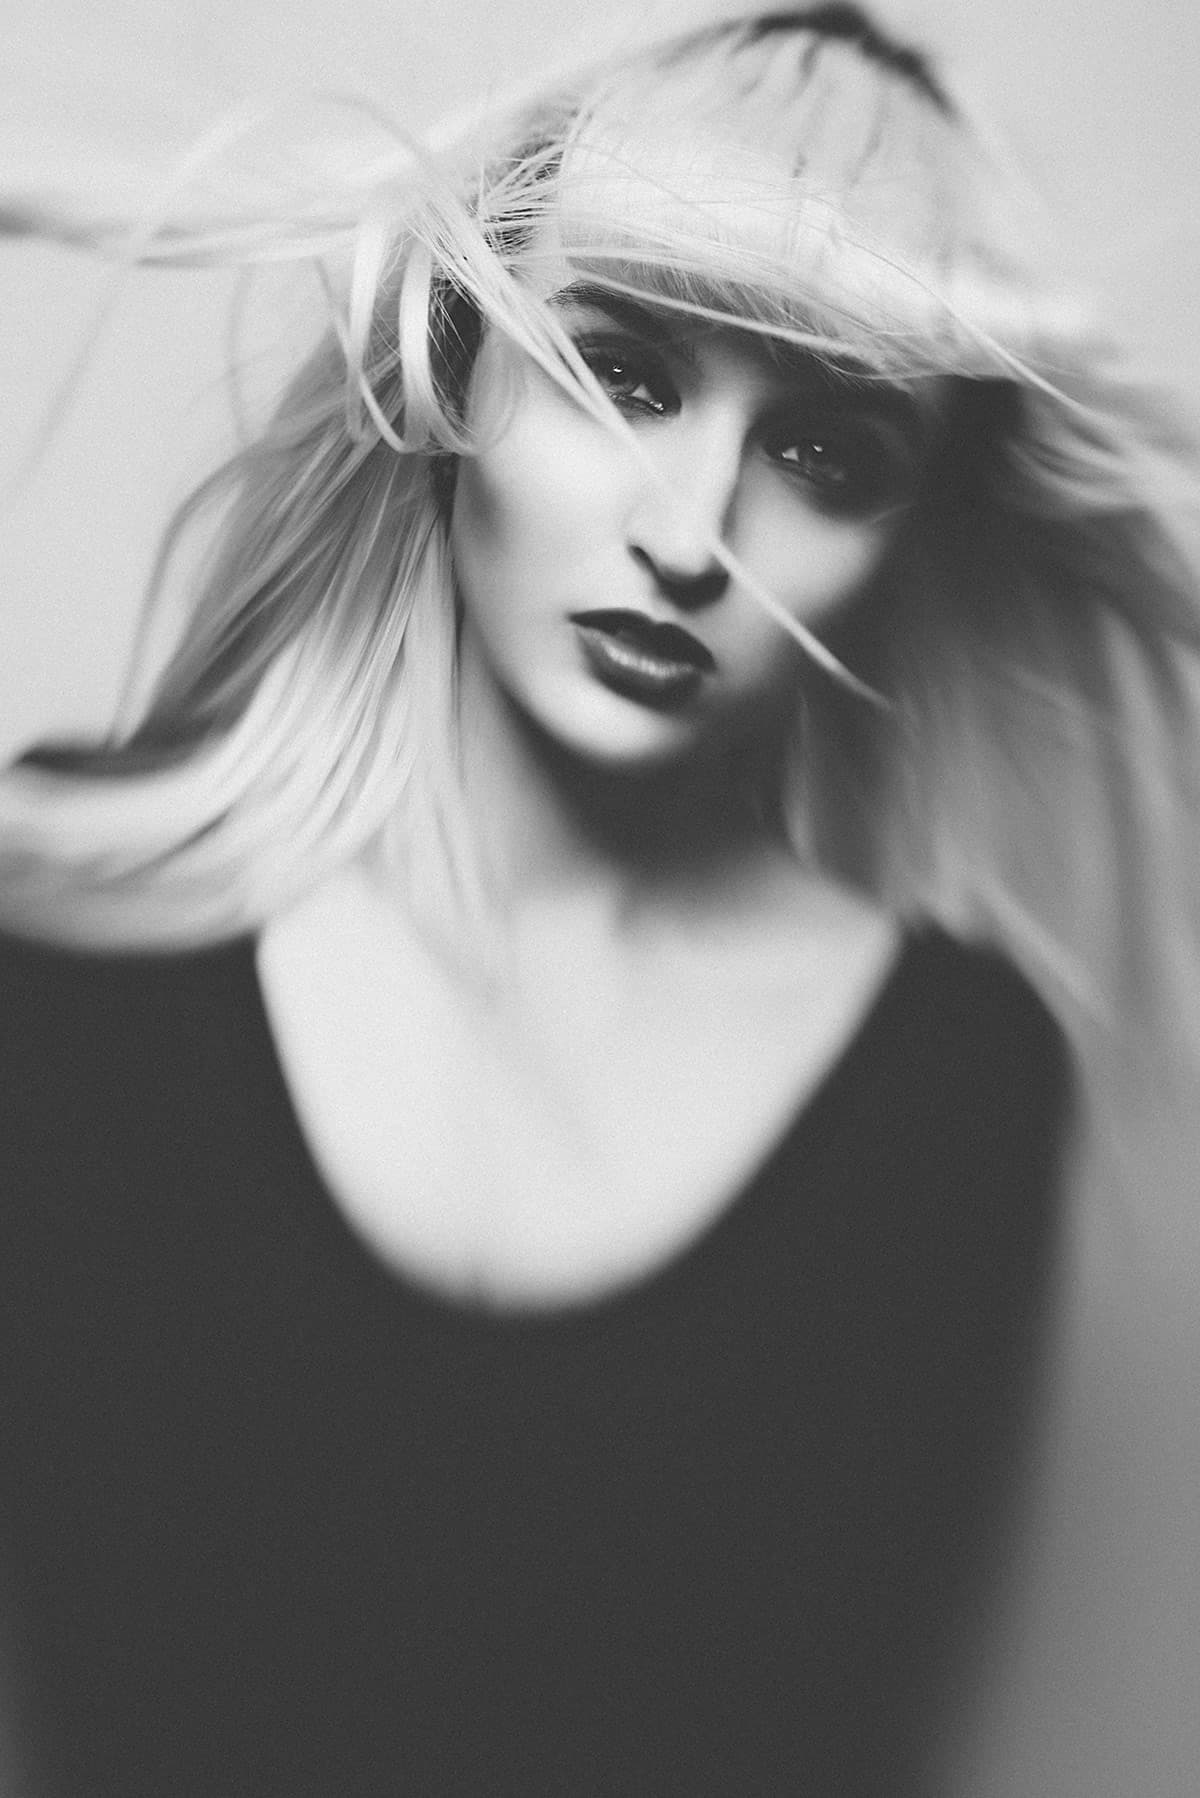
I often carry around several diffusion filters in my bag, and once these are screwed onto my lens they scatter any light that enters the lens into a soft diffuse glow. This effect can be very useful in a studio if you want to add interest to your background through the introduction of lens flare.
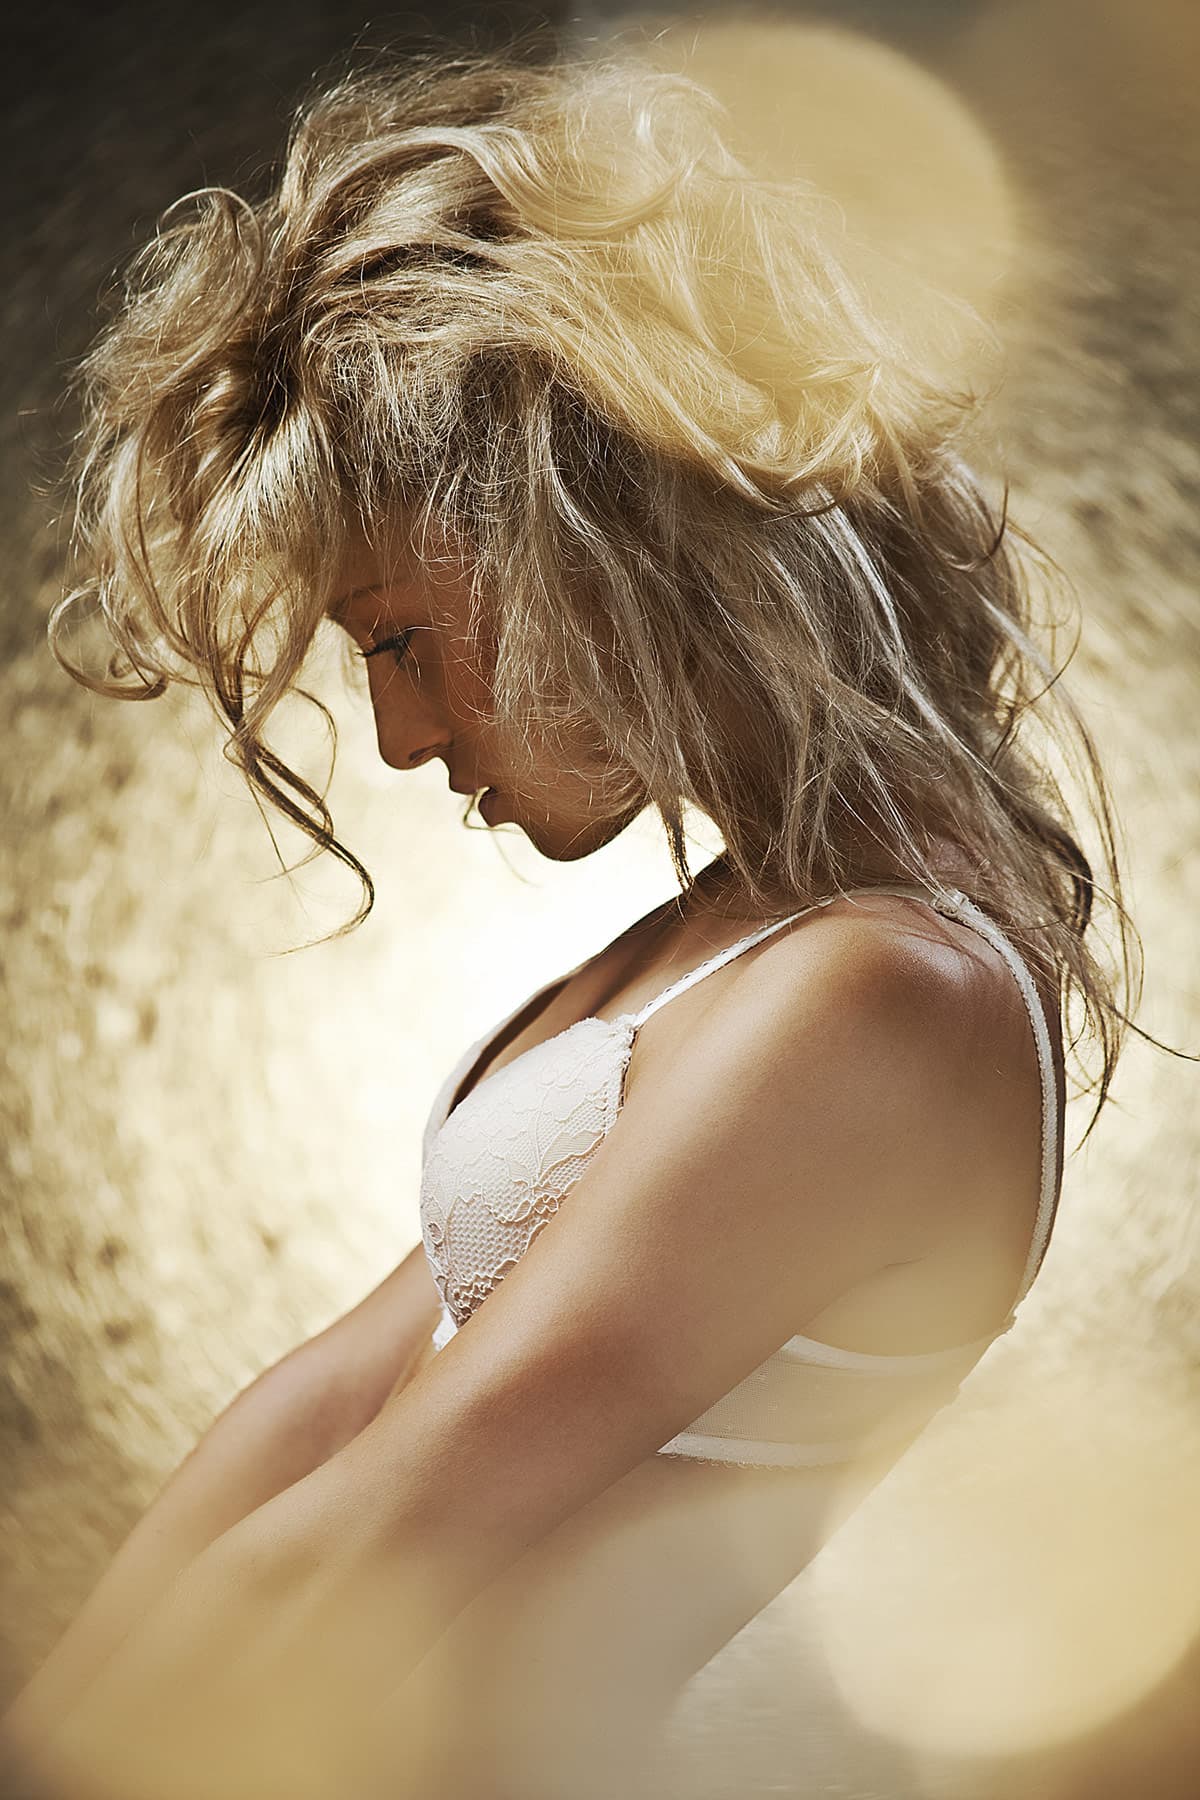
By simply screwing a diffusion filter to the front of your lens, you can scatter the light that enters it to produce a lovely soft glow around the subject
Lensbaby
Shooting through various transparent objects is a great way to experiment with lens distortions, but if you want to get more consistent results every time you may want to invest in the right tool for the job and get the lens itself to do the hard work for you. Thankfully, specialist companies like Lensbaby can fulfil all your artistic desires when it comes to lens distortions and there are a host of specialist lenses for every occasion.
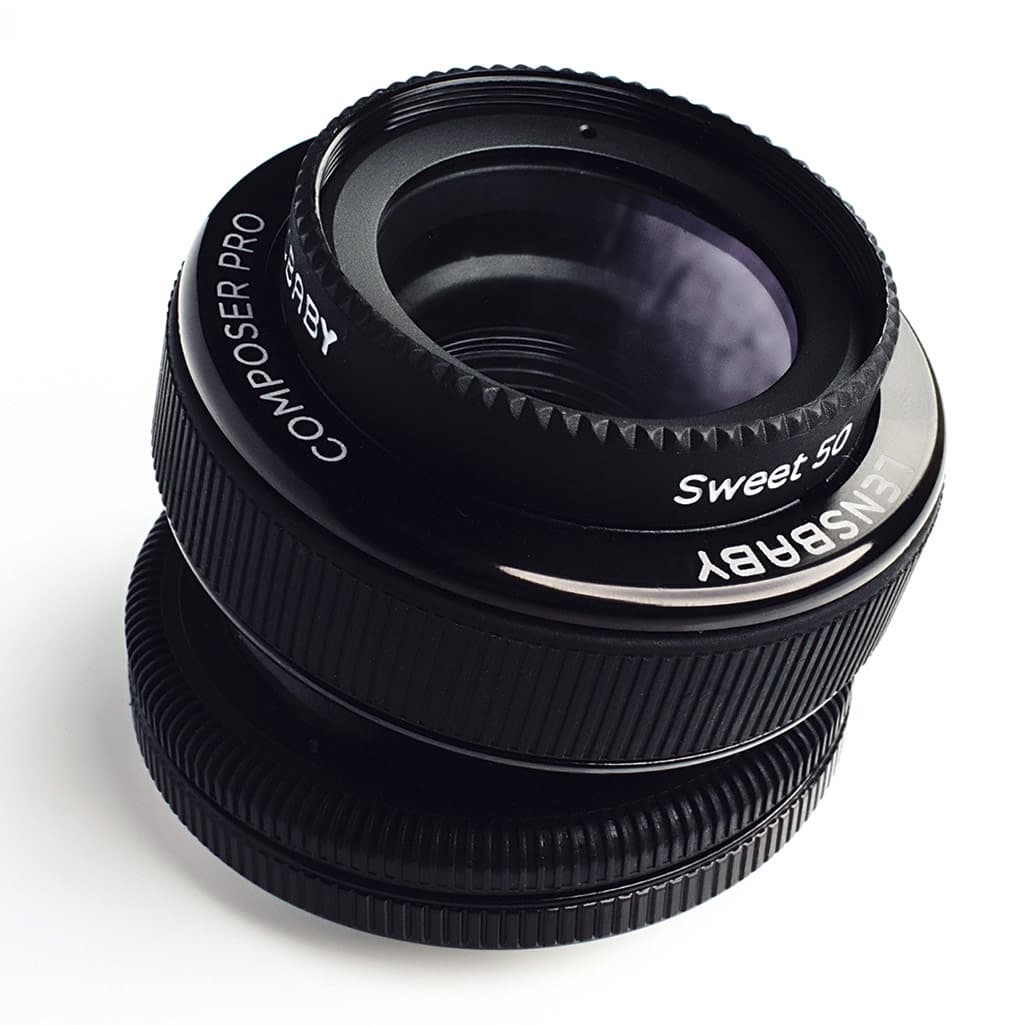
One of my favourites is the Lensbaby Composer Pro Sweet 50 optic. I have used this lens for many years to create dramatic portraits, and with a little practice it can create some very interesting results quickly and easily. The Composer Pro works by splitting the lens barrel on a ball joint, resulting in a tilted plane of focus. This means that you can focus on a person’s face, and then tilt the lens to throw the bottom half of the image out of focus. It’s great for leading the viewer’s eye through an image.
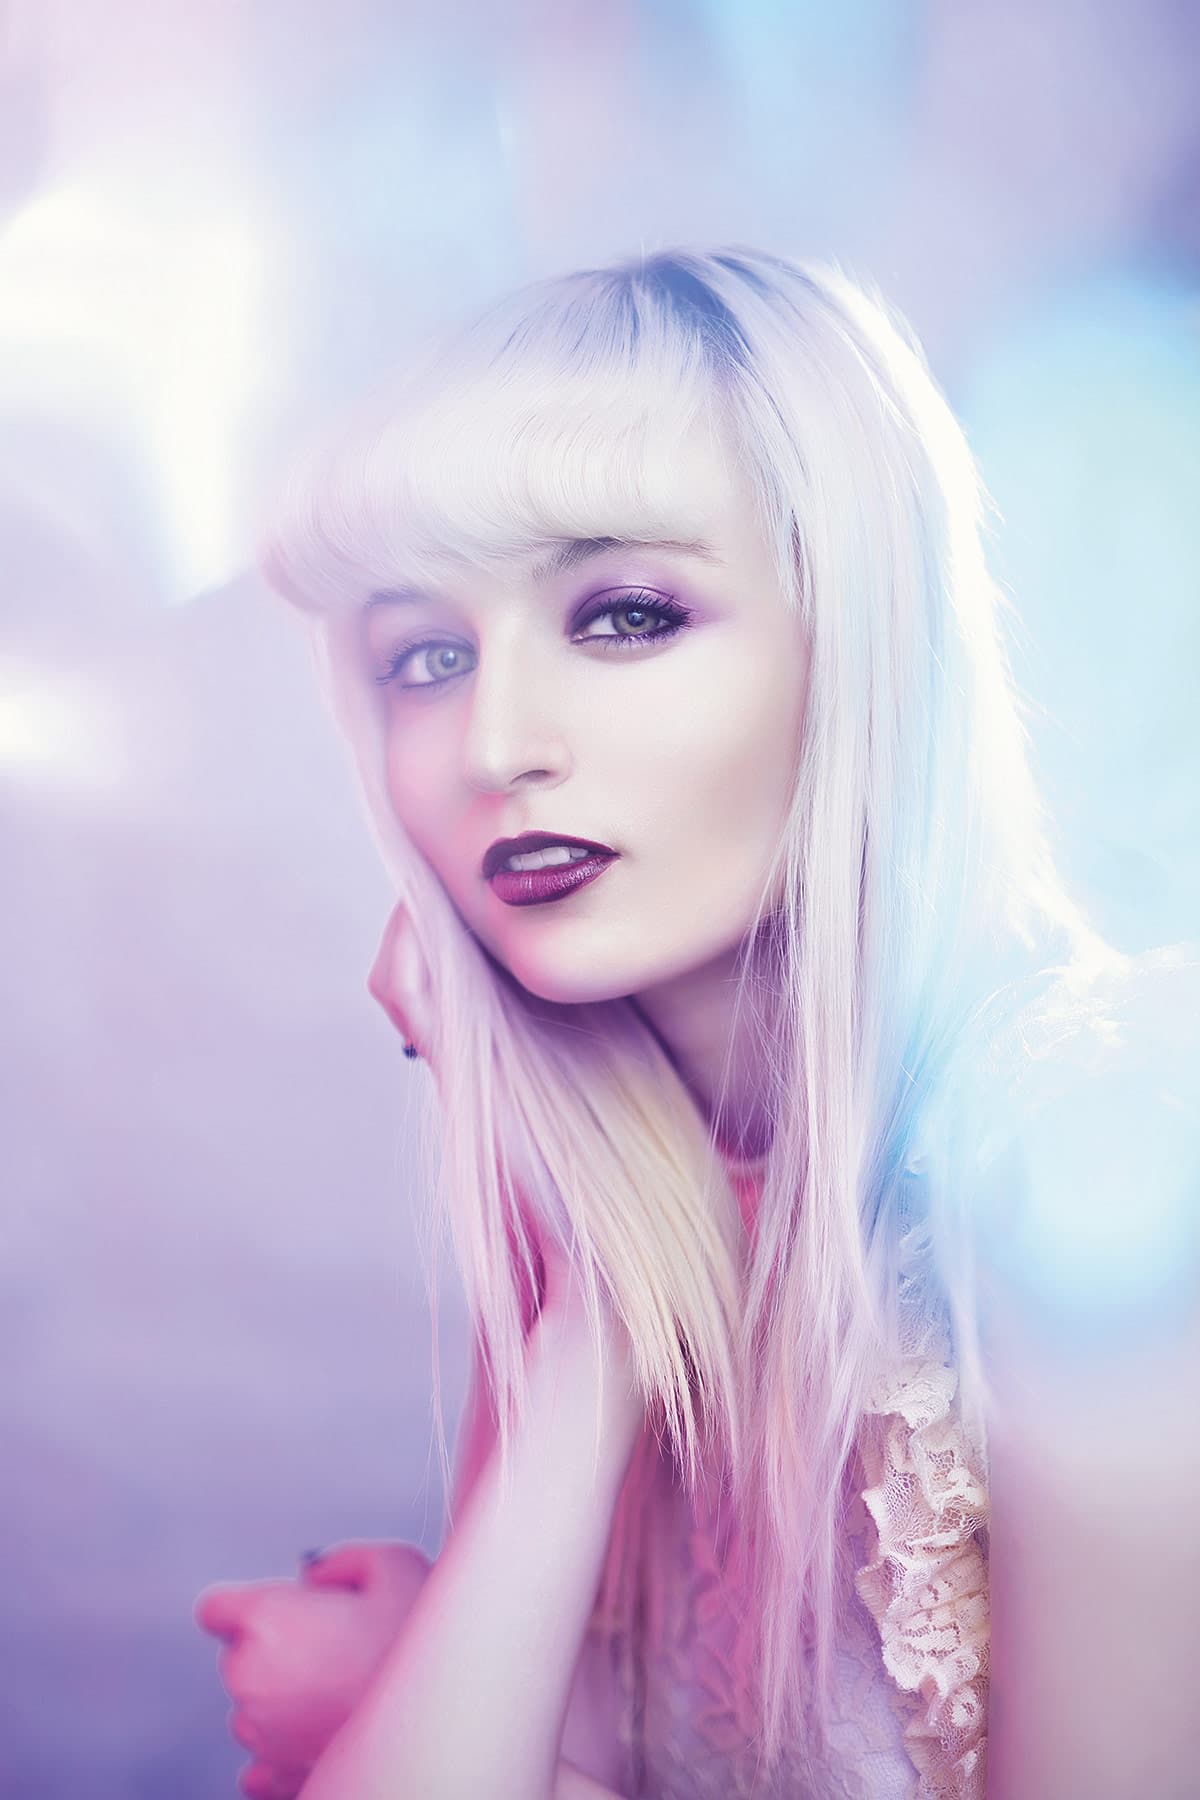
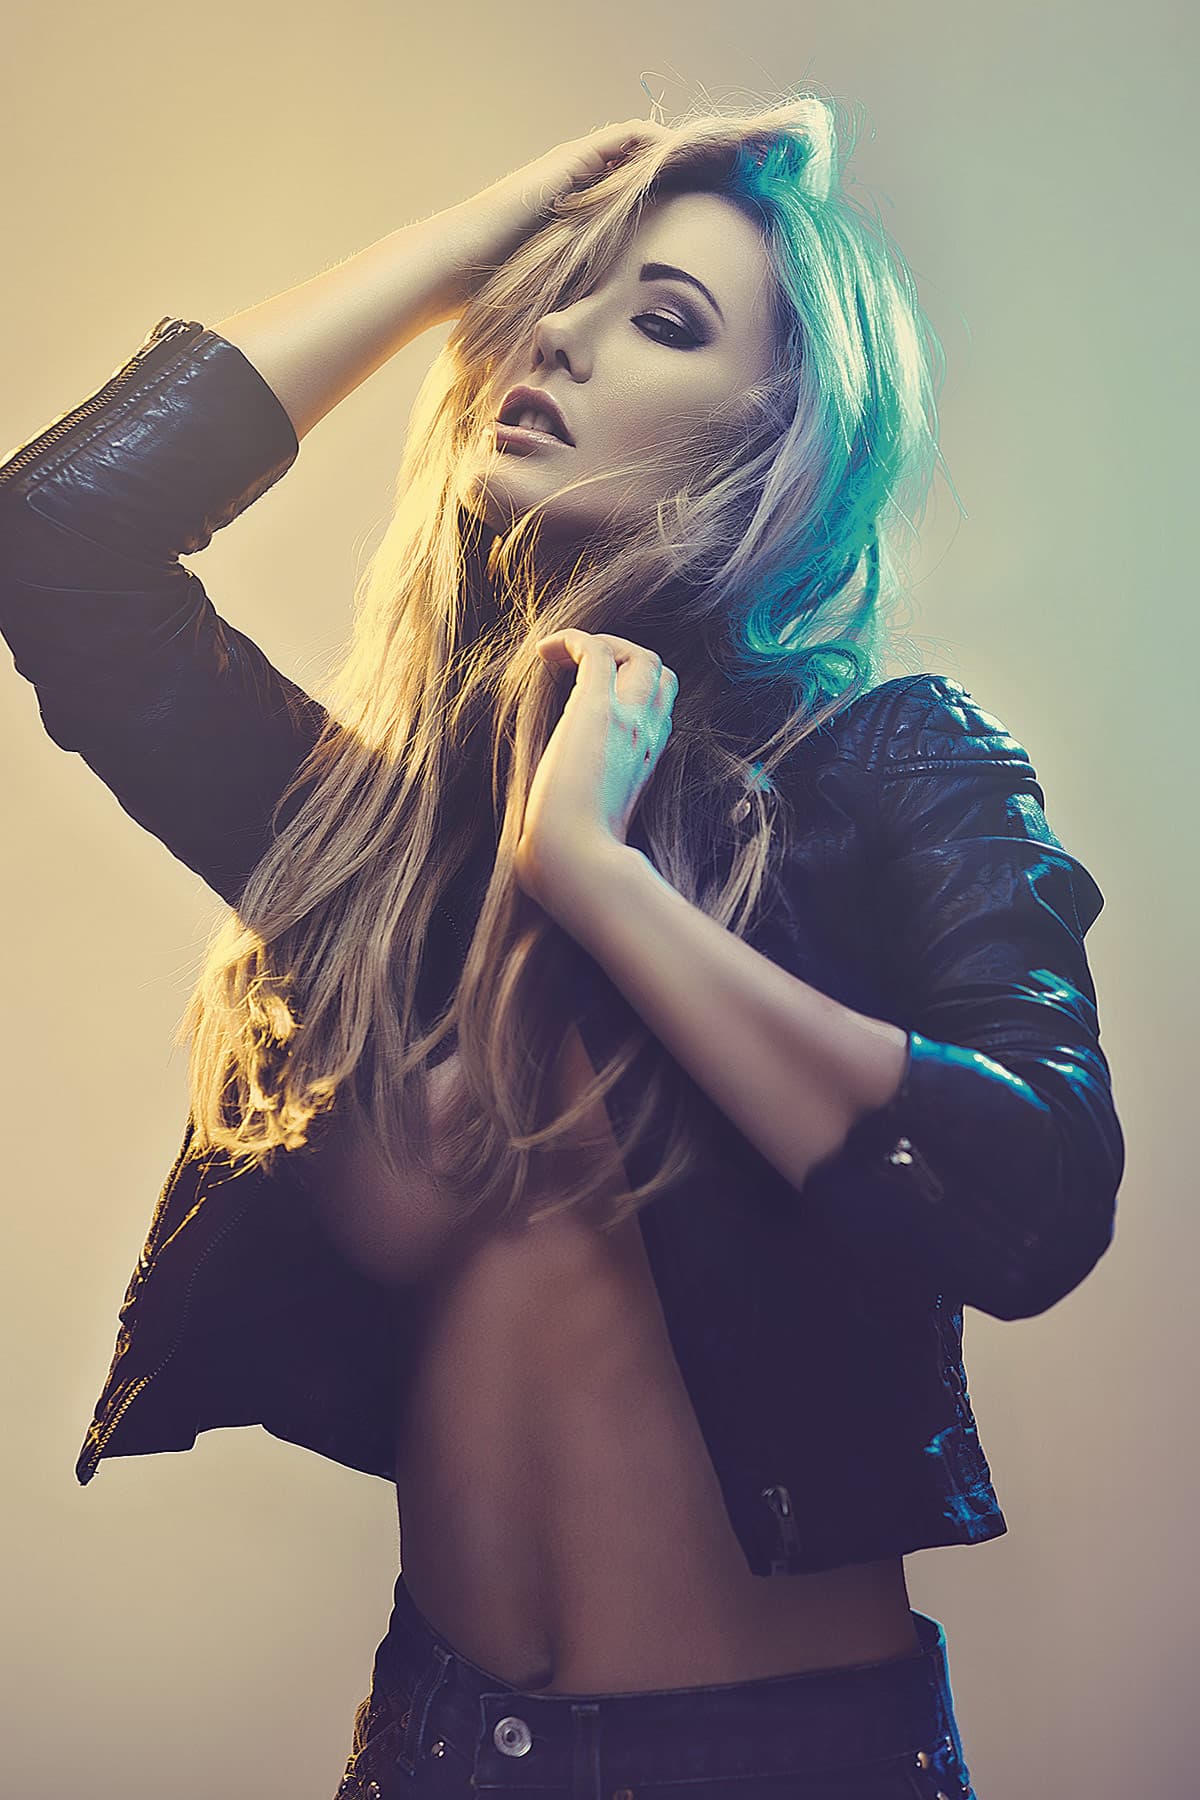
The Lensbaby Composer Pro is used here to draw the viewer’s eye up to the subject’s face. By tilting the lens, you can throw the bottom half of the image out of focus, leaving the main subject unaffected
Jake’s top tips for DIY distortion
1. Depth of field
If you are planning to hold items in front of your lens like crystals and prisms, you have to shoot with a very shallow depth of field. If you don’t, then both your subject and your distortion object will be in focus, resulting in the viewer’s eye being confused as to what to look at.
2. Focal lengths
When you are trying to throw your foreground objects out of focus, it can be easier to achieve this with a slightly longer lens. I wouldn’t try this technique using a lens any wider than 50mm on a full-frame camera, as doing so may mean that your scene is too busy and it will be harder to get the smooth and creamy soft-focus foreground objects you’re after.
3. Direction of light
Whether you are using objects that you have to hold in front of the camera, like crystals and glassware, or simply lens filters, you will achieve more interesting results by shining light back towards the lens. By shining light into the lens you are effectively lighting the object you are holding. This will create highlights and sparkles that appear as bokeh in your final image.
4. Experiment
Don’t be afraid to try different objects to shoot through, and if you’re shooting with a shallow depth of field and lighting it correctly nearly anything can be used to great effect. Objects that work well are those that are transparent in some way and that are faceted, such as wine glasses and other glassware. The designs on glassware create highlight interest in the foreground of your shot.
5. Be judicious
When trying to create interest in a shot through lens distortions, think about what you’re trying to achieve. Are you just trying to create depth or are you trying to lead your viewer’s eye through an image by hiding distractions? Holding objects in front of the lens can create interest and mystery, but just be careful they don’t overpower the subject.
Jake Hicks

Jake Hicks is a fashion and hair photographer based in Reading, Berkshire. Known for his bright and bold lighting techniques, he regularly runs workshops for Bowens International. www.jakehicksphotography.com
Jake offers five tips for recreating his stylish portrait look…
Get the look
1. Set up the lighting
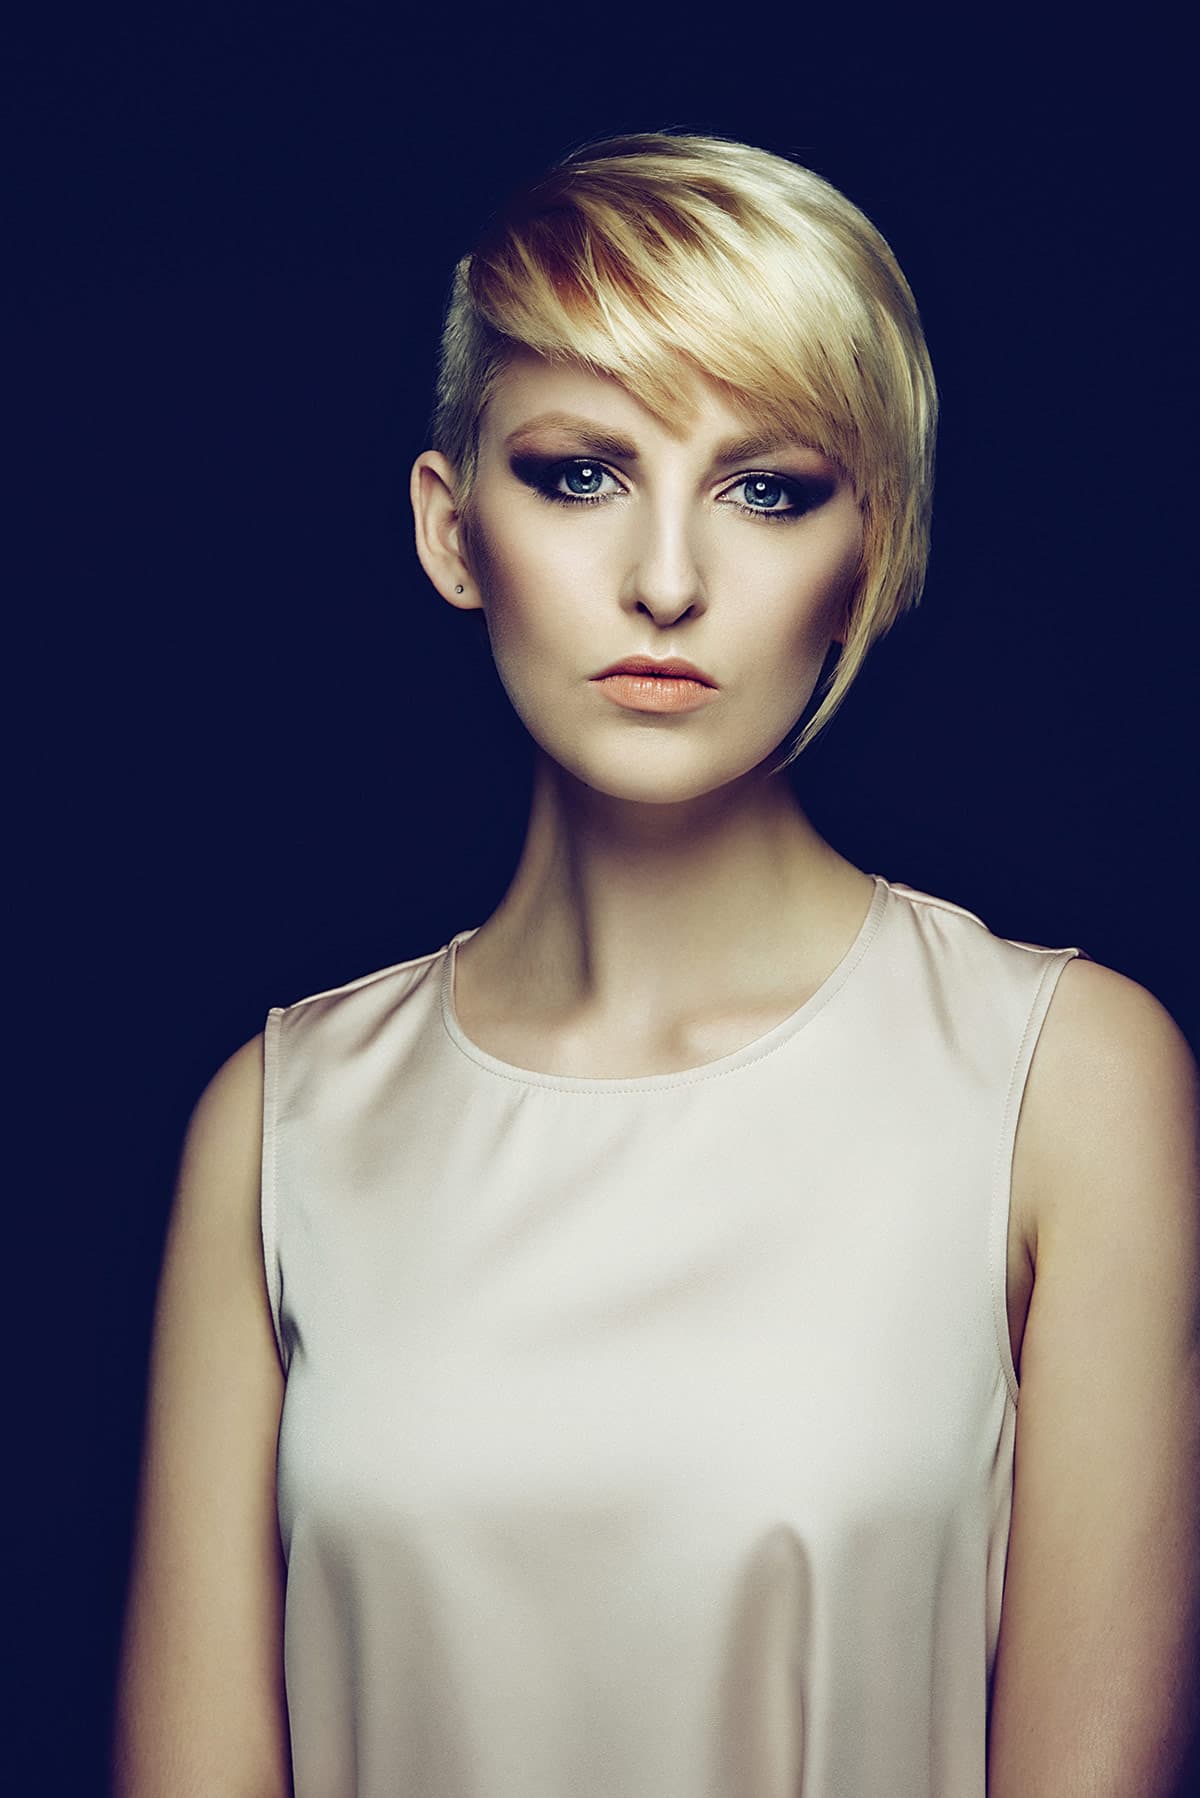
I’ve used classic clamshell lighting here with one Bowens beauty dish above and a small softbox fill-light below. You will need to add some light that will not only help to add shape to your model, but will also shine directly into the lens.
2. Direct light
As we are trying to create flare, it is important that light shines into the lens but is just out of shot. Here I have positioned two gridded flash heads behind the model that are pointing back towards the camera and lighting the model’s hair.
3. Add colour
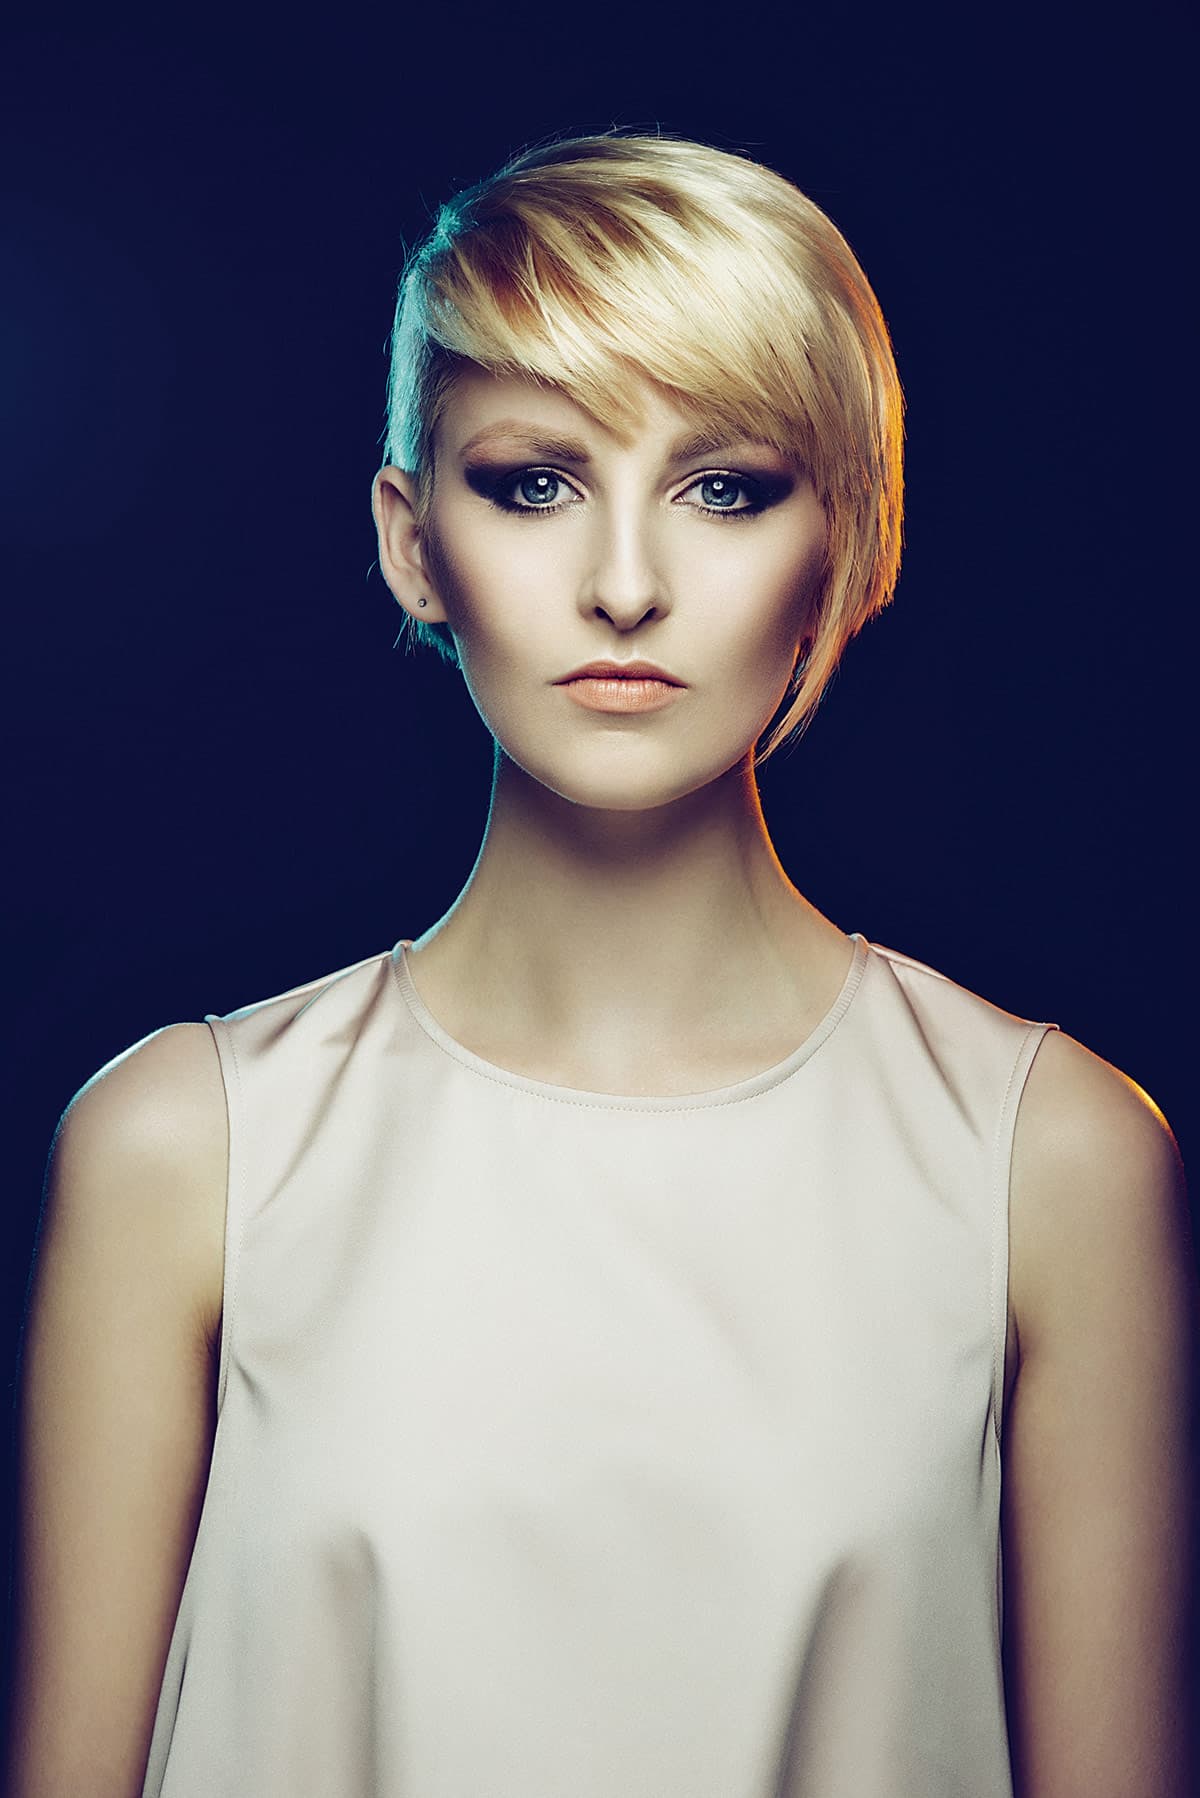
To introduce some interest and colour to the shot, I have added coloured gels to the two backlights. I have used orange and blue as they are complementary colours and work well together in an image.
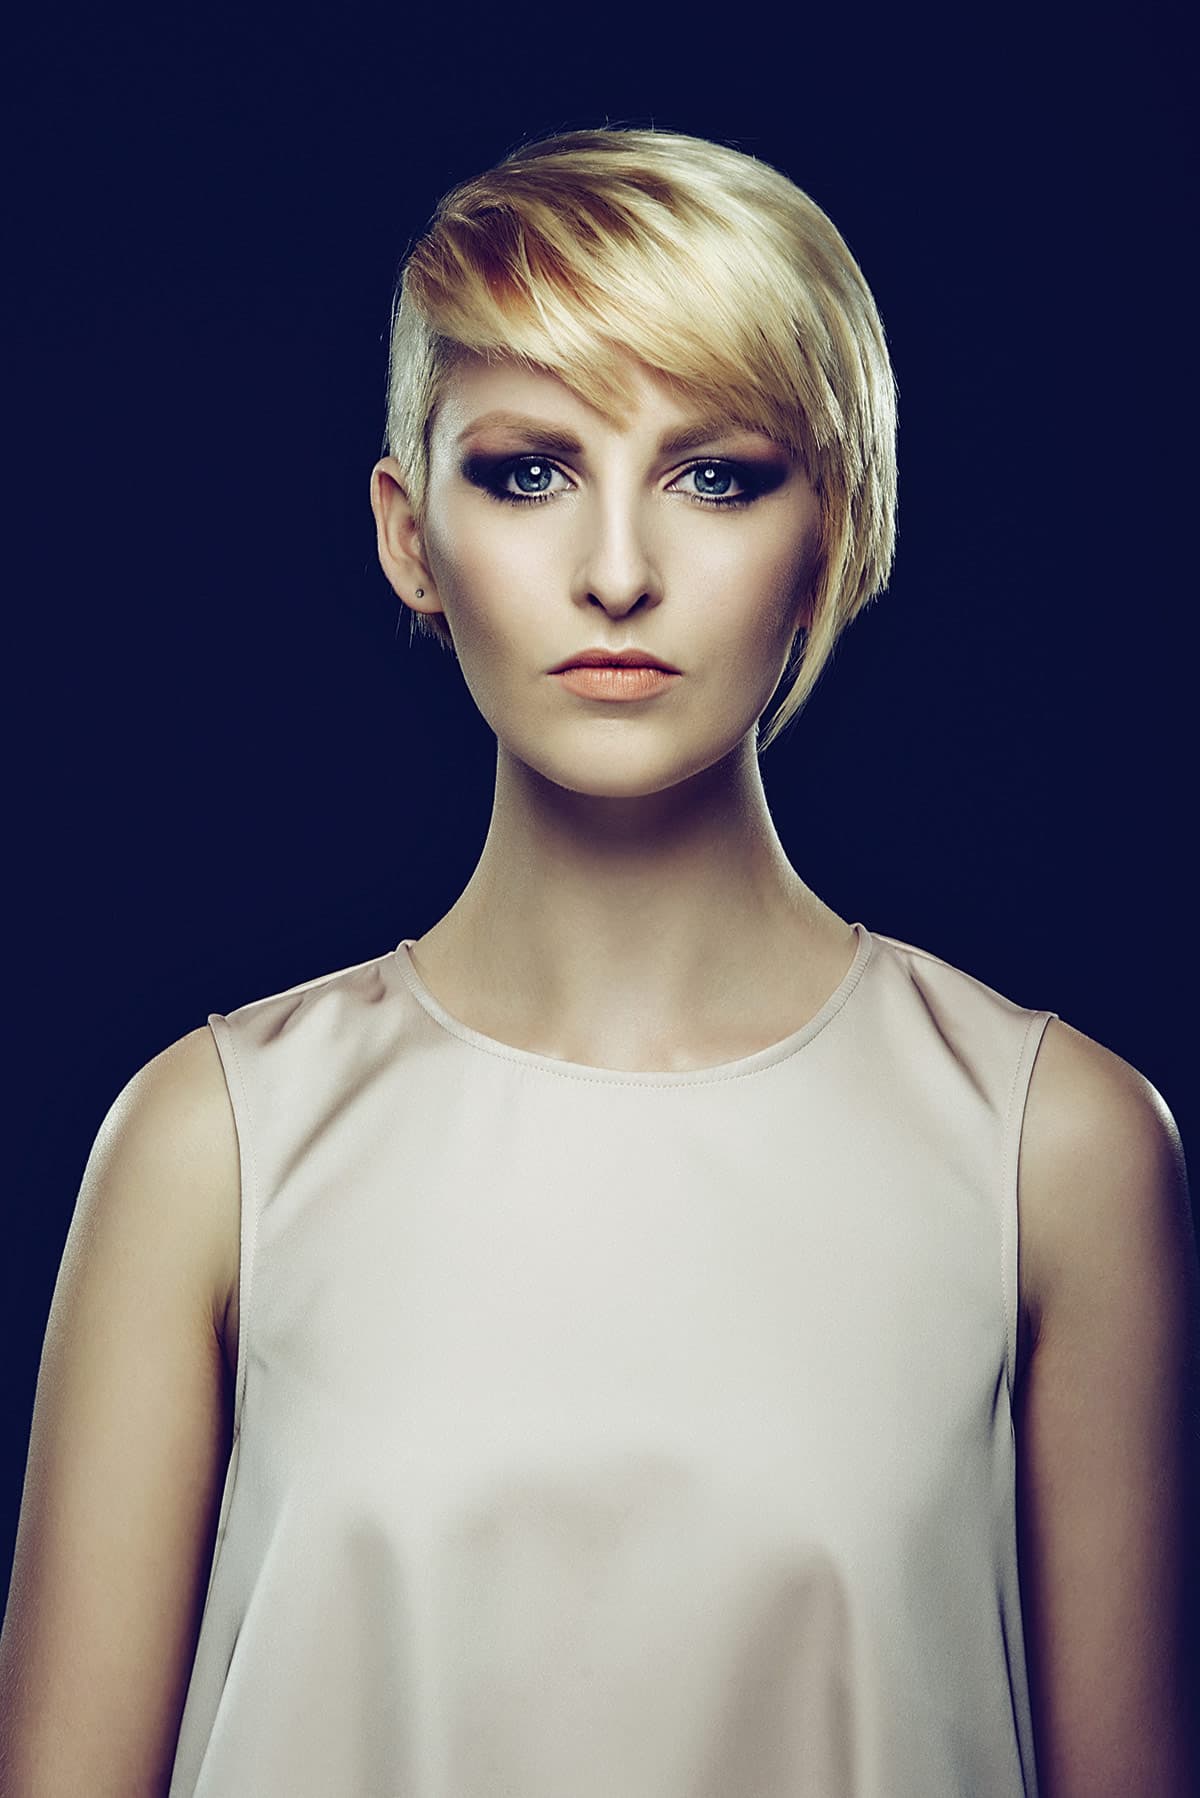
4. Diffusion
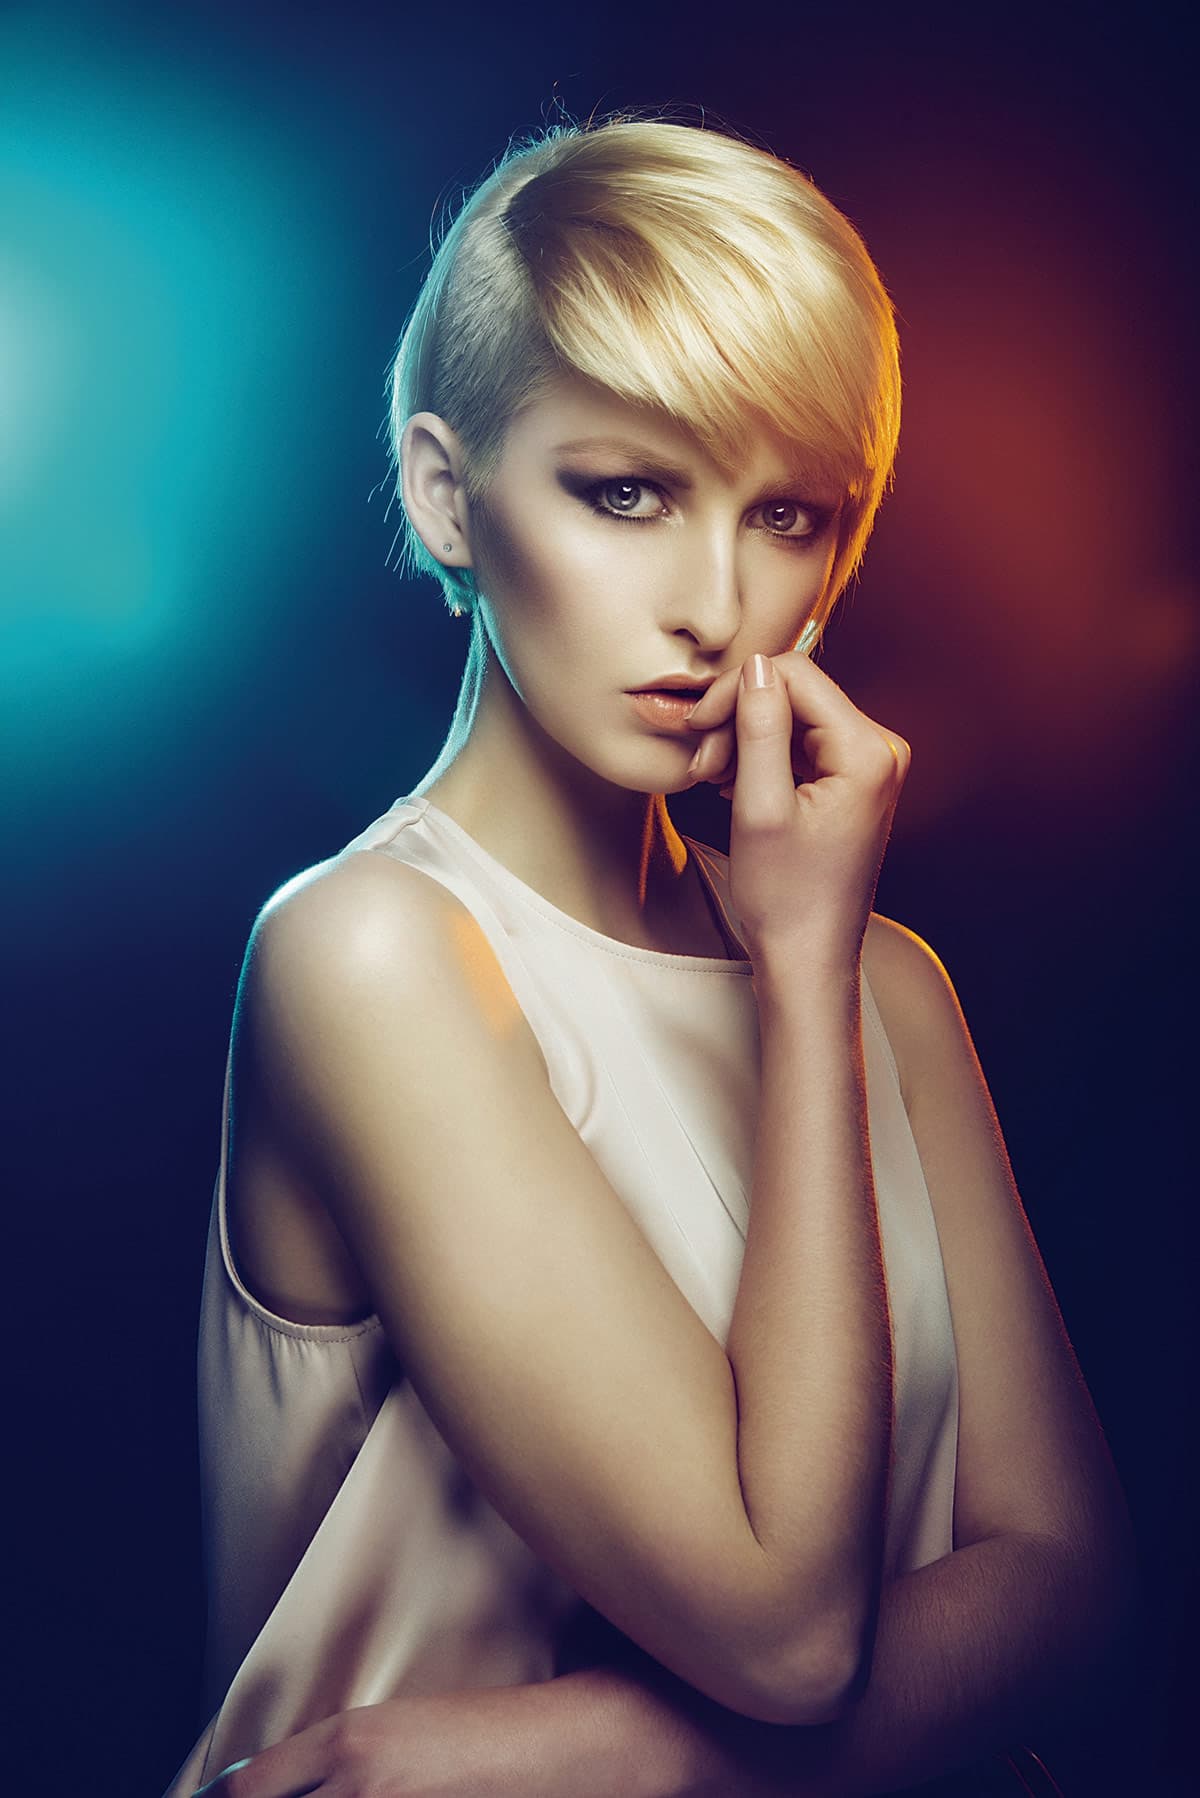
Now the fun begins because all I have done here is add a diffusion filter to the lens of my camera. The diffusion filter is scattering the coloured light as it enters my lens, giving this fantastic flare effect.
5. Shoot-through
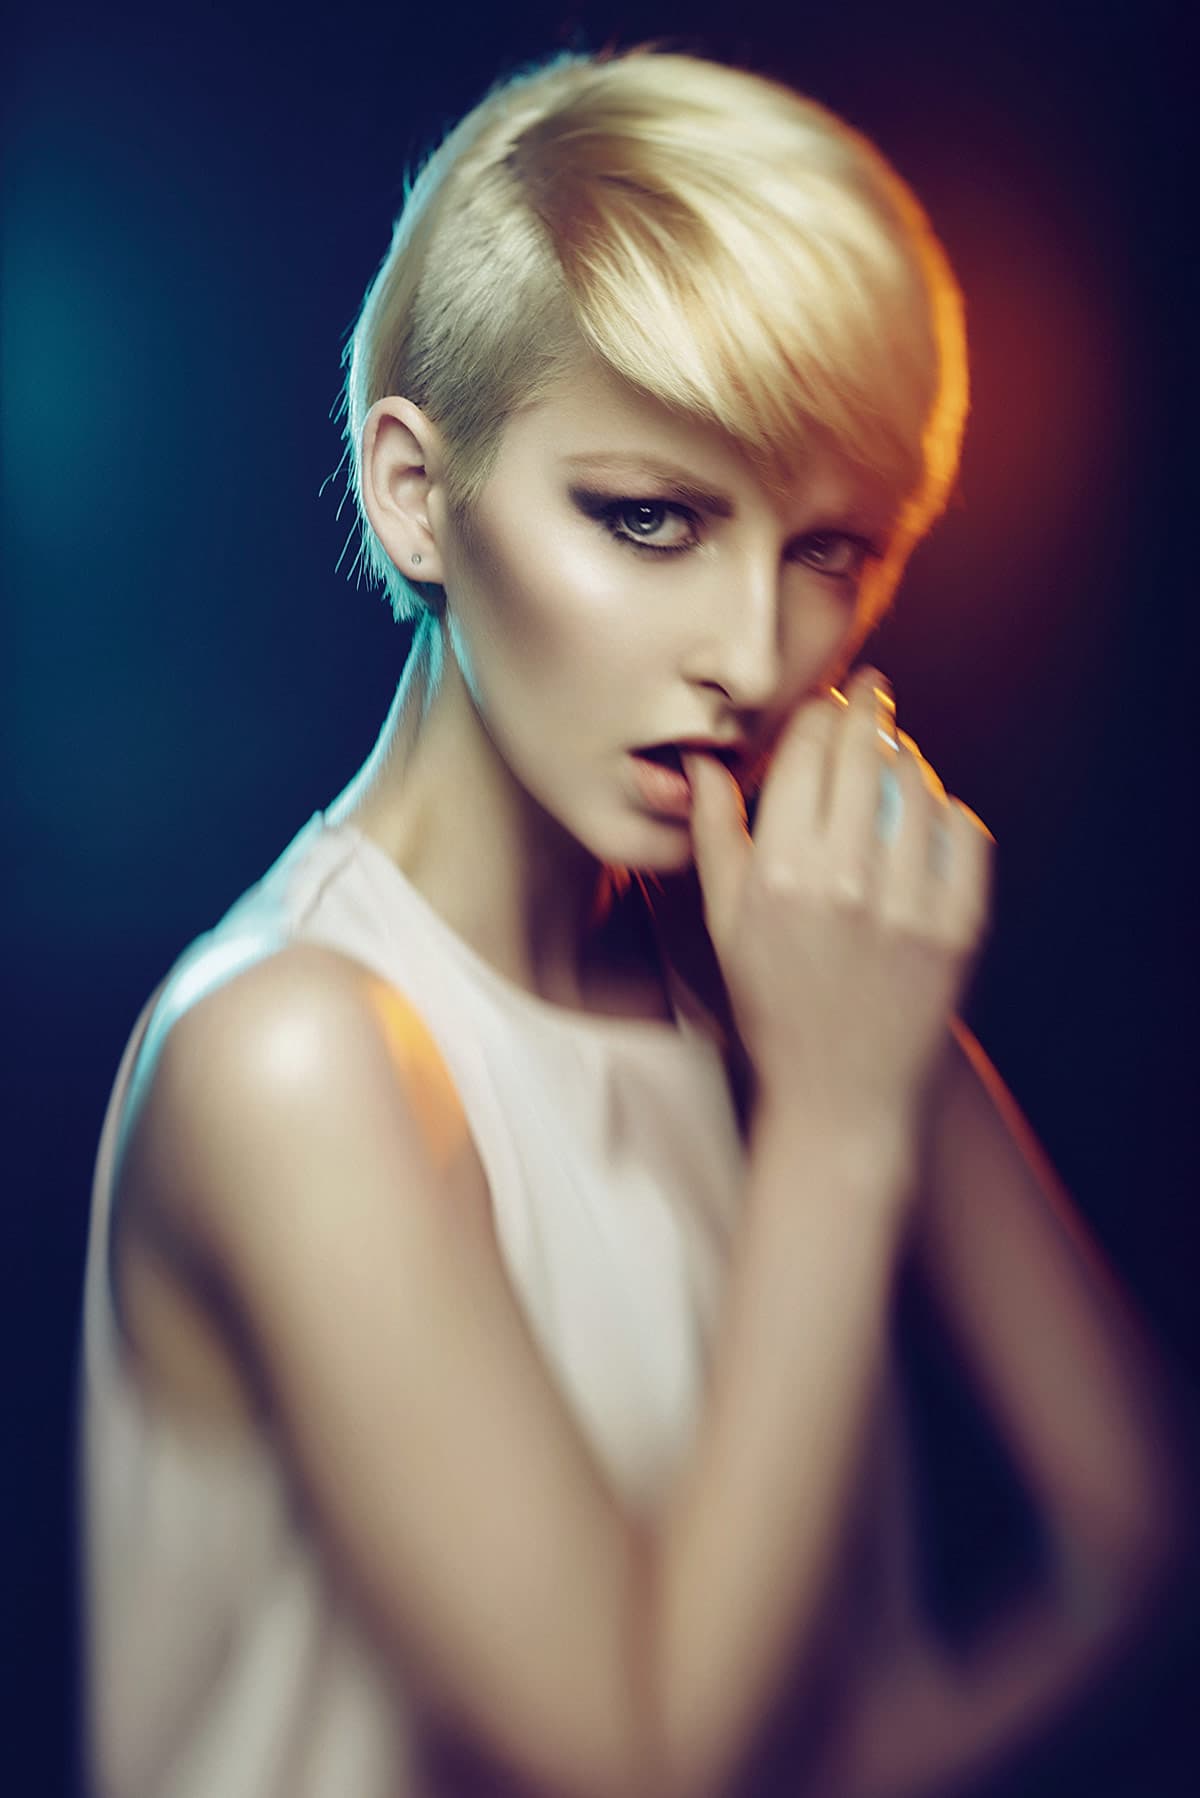
To finish off the look, I have used the Lensbaby Composer Pro Sweet 50. You can see how it blurs the bottom of the image, drawing the viewer’s attention right up to the focused area of the model’s eyes.


