1. Catalog
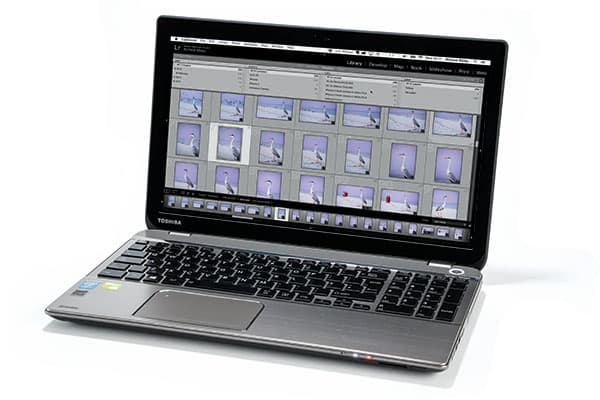
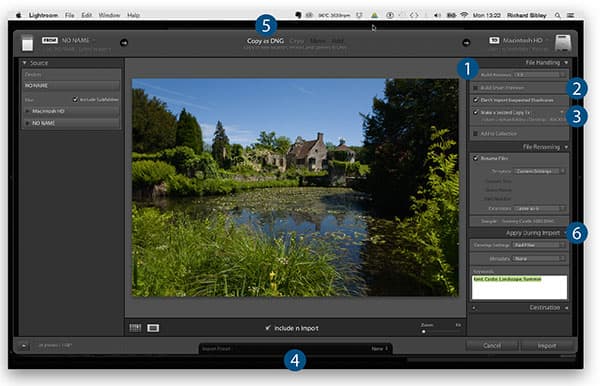
The Catalog is where all your images in Lightroom are stored, but you can have more than one. While most people have just one Catalog file, you may want to have two. In this way, you can ensure that you find your images with ease by having a range of Catalogs for, say, personal images and work images. You’ll just need to remember to load the correct Catalog when you start Lightroom. This can be done by selecting File>Open Catalog. Keep in mind that the Catalog file also allows you to quickly access the last images you imported, and it is also where you can access the Quick Collection – a temporary method of grouping your photographs.
2. Publish Services
If you keep an active presence or portfolio on a photo-sharing site, then Publish Services can save you a lot of time. By entering your login details and preferences you can export images to sites like Flickr, Behance, 500px and Facebook simply by selecting images in the library and clicking on the service. Publish Services uses the standard Export module, so it means you’re able to constrain the size of the image and even add a watermark automatically – a great timesaver when you’re dealing with a lot of photos. There are many online websites and services that now support Lightroom’s Publish Services tool, and you can find these by clicking on the ‘Find More Services Online’ button.
3. Keywording
It isn’t very exciting, and can be time consuming, but correctly Keywording your images can save you a lot of time in the future and make it possible to quickly find and curate the images in your Catalog.
You can create your own list of keywords by looking at each image and adding relevant words. After a while Lightroom will start to suggest other keywords based on ones you’ve previously added. However, to speed things up even more, you can download lists of keywords and load them into Lightroom. Visit www.lightroom-keyword-list-project.blogspot.gr to download lists, including bird species and foundation words.
If you have a number of images of the same subject, you can also add keywords to batches of images by selecting the images in the library window and then clicking ‘Sync Metadata’. Make sure that the Keyword box is ticked and the keywords have been added.
4. Metadata
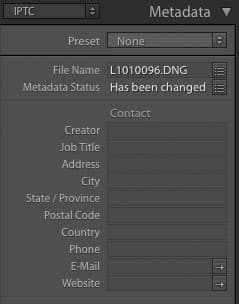
If entering a competition, it can be useful to add your contact information to the image metadata
Metadata is more than just a list of the settings used to take the image. For example, you can add your contact details to an image, as well as copyright information. This can be useful when sending photos to people, particularly if they’re being published or entered in a competition. If your image has GPS data contained within it, Lightroom will also automatically add the name of where it was taken. It’s certainly worth spending some time looking through the Metadata tab to find out how to make it work best for you.
5. Library Filter
The Library Filter is an incredibly helpful tool for finding specific images in your Catalog. It allows you to apply its settings across your entire Catalog, or set them to only work on a specific folder. Our suggestion is to use the different attributes and metadata to filter the images. Colour coding can also be useful – for example, you can tag images that need editing as red, images that are finished as green and images where editing is in progress as blue. Filtering for all the blue images will then allow you to quickly see files you’ve already started to work on.
6. Smart Collections
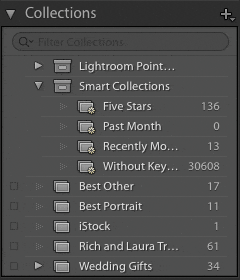
Smart Collections can help organise your Library
Collections are just that, collections of images you’ve filed together. Remember that creating a Collection won’t move any images on your hard drive and the images will only appear as a Collection when in Lightroom. The images that form Collections can be from different folders on your computer – they could even be on different drives – and an image can also appear in more than one Collection.
Even more useful are Smart Collections. These Collections are created depending on certain variables. For example, you could create a Collection called Best Landscapes 2014, where images have the keyword ‘landscape’, are rated five stars and were taken in 2014. Any images that fit these criteria will automatically be placed in this Collection. There are many different ways search rules can be applied, so the possibilities for creating Smart Collections are almost endless.
Martin Evening’s expert tip
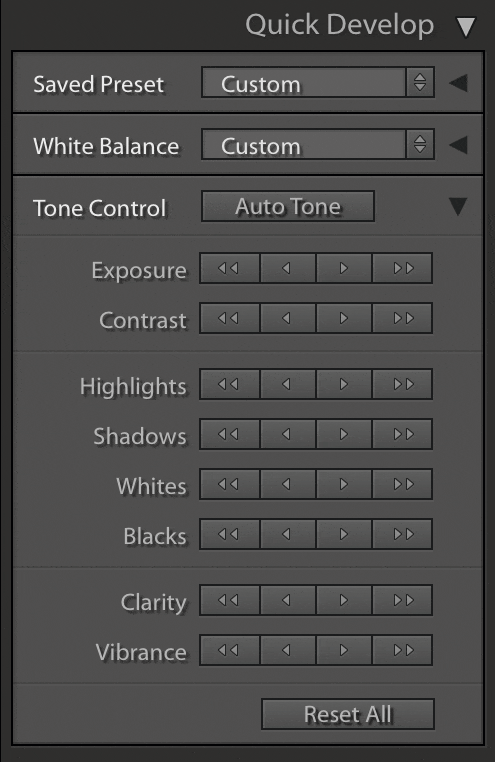
The Quick Develop panel can be a great way to make the most of your time when editing.
It is used to apply some of the essential Develop panel adjustments to a single image or multiple images, allowing basic adjustments to be made without you having to switch back and forth from the Library module to the Develop module.
The simple button controls can be used to apply quick adjustments to images when reviewing a large number of pictures from a shoot. These button adjustments are applied relative to the current settings. This means that if you make a selection of images and click on an Exposure button to make the photos lighter, it applies a lightening adjustment that is relative to the current Exposure setting, rather than applying the same exposure setting to all the selected photos.

