

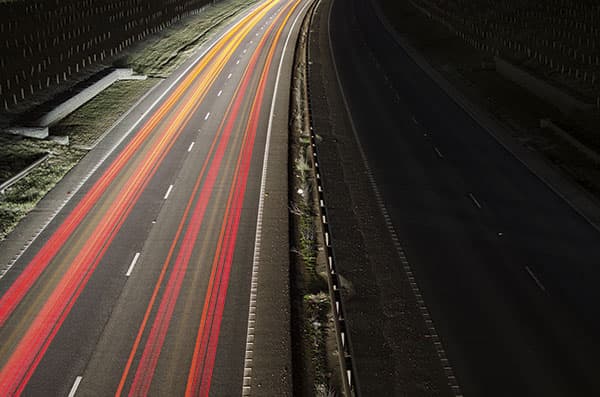
Before
This is an unusual photograph by Benjamin Sapsford, because only one lane of traffic was open when it was taken. The light coming from the headlights of the cars heading away from the camera lit up the road and kerb, but the overall illumination was quite dark. This meant it was possible to process the photograph to achieve a low-key effect, in which the red light trails could be made to stand out more brightly. The following steps show how I was able to apply a series of localised adjustments to contrast – by selectively darkening and lightening. This achieves a dramatic photograph in which the red trail lights contrast sharply with the road surface.
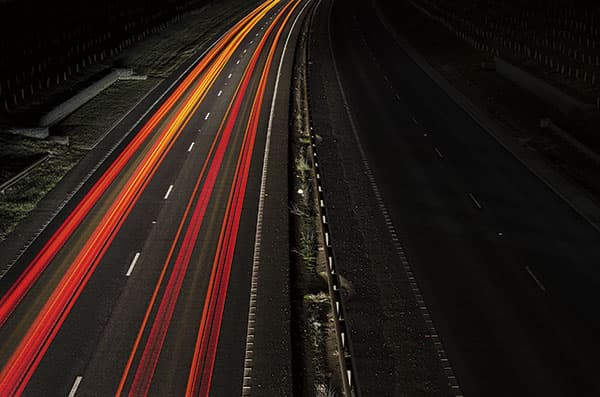
After
1. Darken the side of the road
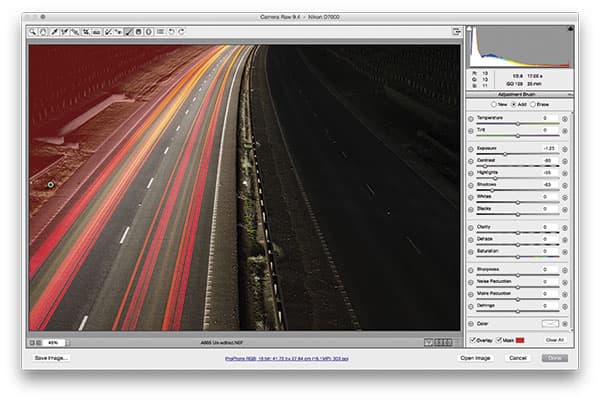
In this first step I wanted to darken the kerb, which I did by selecting the Adjustment Brush. Here, I applied an adjustment that included a negative darkening Exposure, a negative Highlights and a negative Shadows adjustment.
2. Add contrast to the road
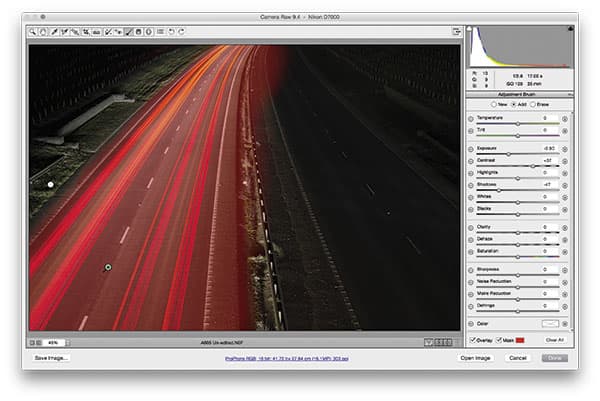
I then added a second Adjustment Brush group. Here, I painted over the road and applied a positive Contrast adjustment combined with a negative Shadows adjustment. This added more contrast to the red tail-light trails.
3. Add Graduated Filter adjustments

Last, to balance the tones, I selected the Graduated Filter and added an adjustment to the bottom to lighten the Exposure. I then added a darkening Exposure adjustment at the top of the image.


