
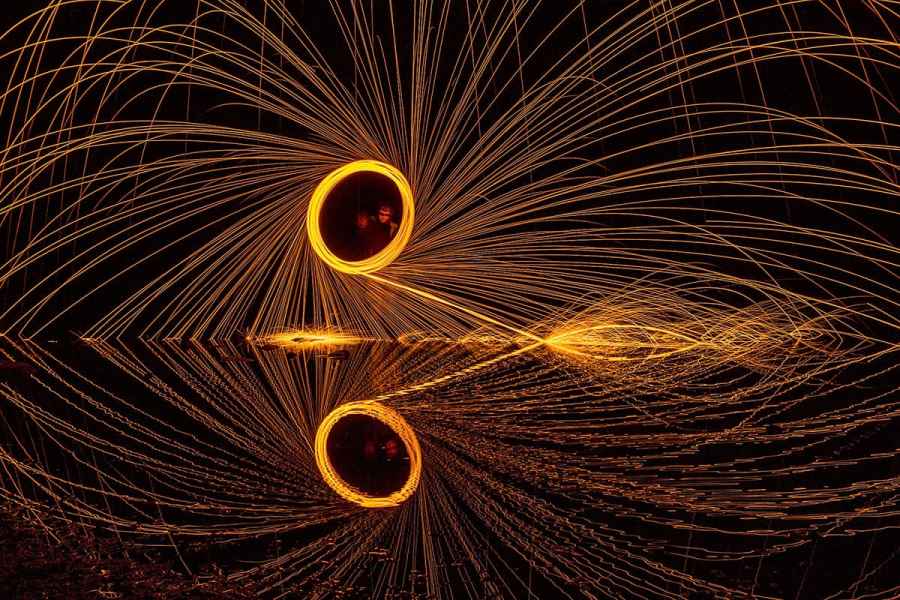
Before
This is a fine example of a long-exposure shot of burning wire wool that captures the beautiful pattern created by the sparks. Darren Flynn photographed it with the light reflecting in what looks like the edge of a pond, so capturing a mirror image of the reflections. However, be careful when photographing fire. Some photographers have damaged the landscape or buildings trying to capture this type of effect.

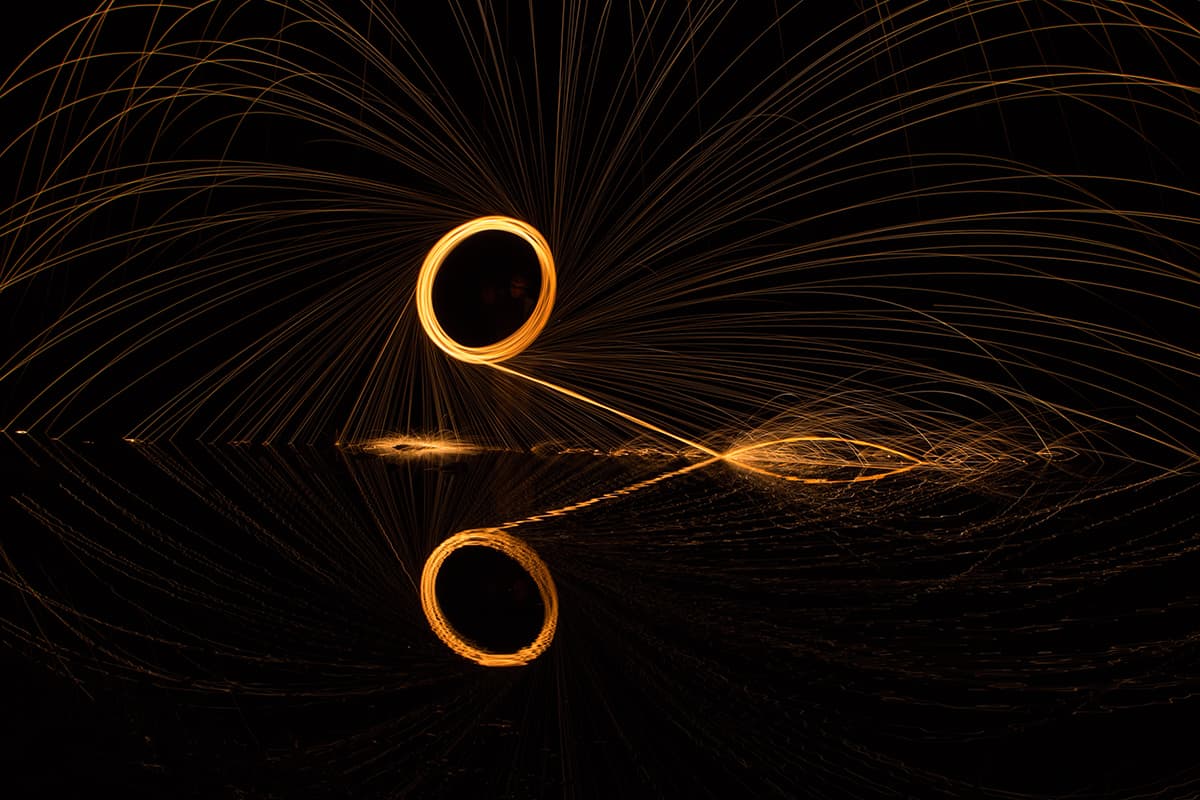
After
1. Basic panel adjustments
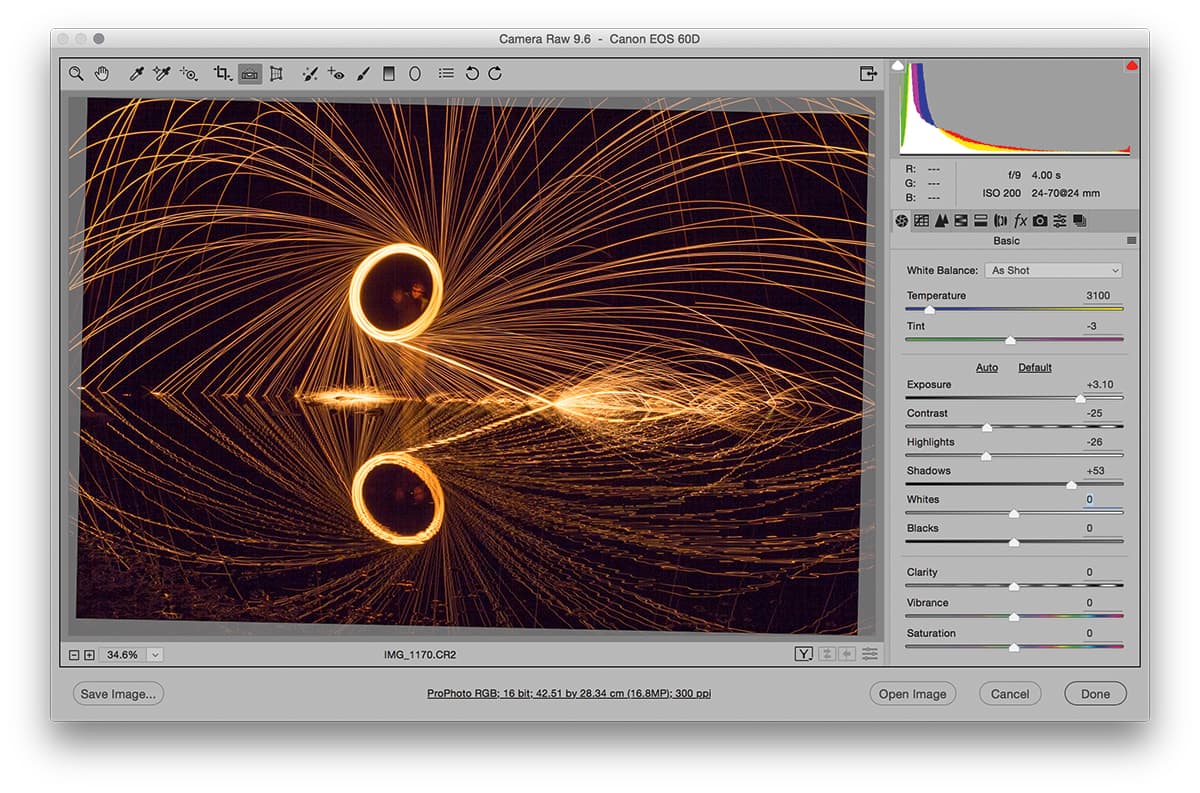
I opened the raw image in Camera Raw and went to the Basic panel. Here, I set the Exposure slider to +3.10 to lighten the image and reveal more detail in the trail of sparks. I also darkened the Highlights slightly and increased the Shadows slider amount.
2. Straighten the horizon
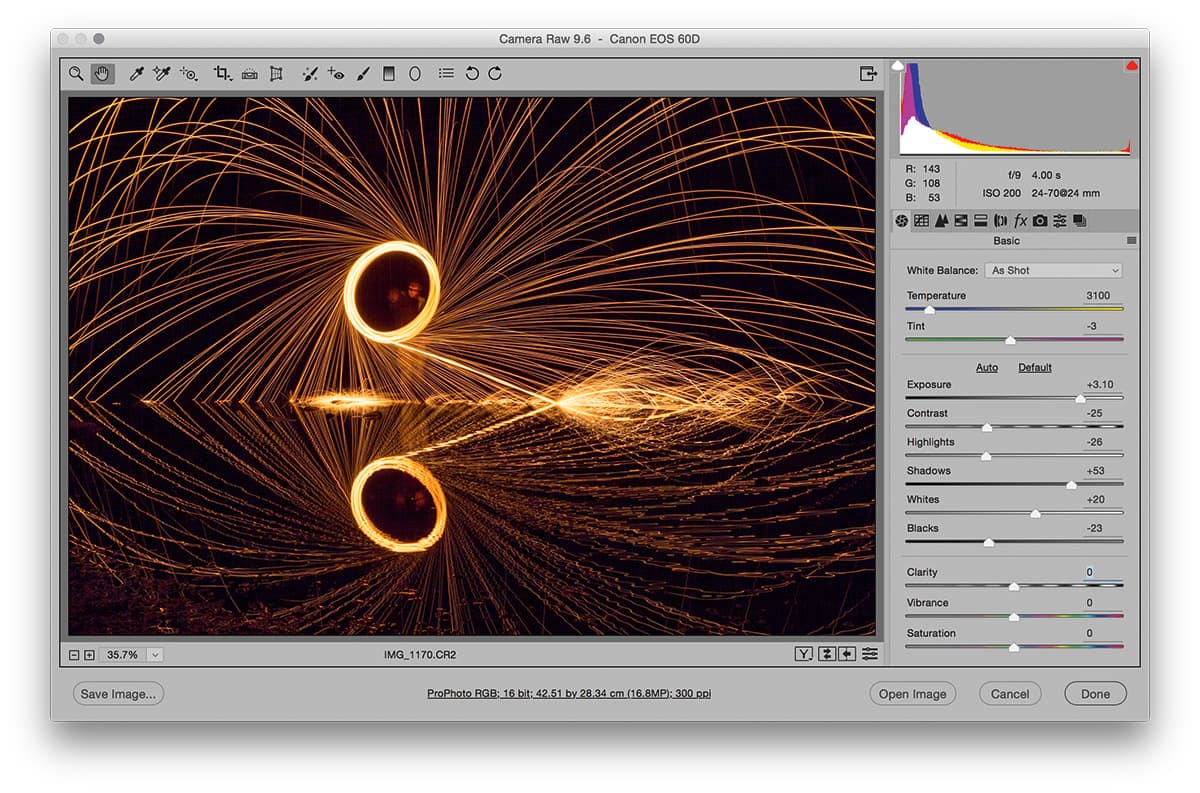
In this step, I selected the Straighten tool and dragged across the image to straighten it. I then fine-tuned the Whites and Blacks sliders. I dragged the Whites slider to the right to allow the brightest portions to hard clip. Similarly, I dragged the Blacks slider to the left to hard clip the blacks.
3. Final tone adjustments
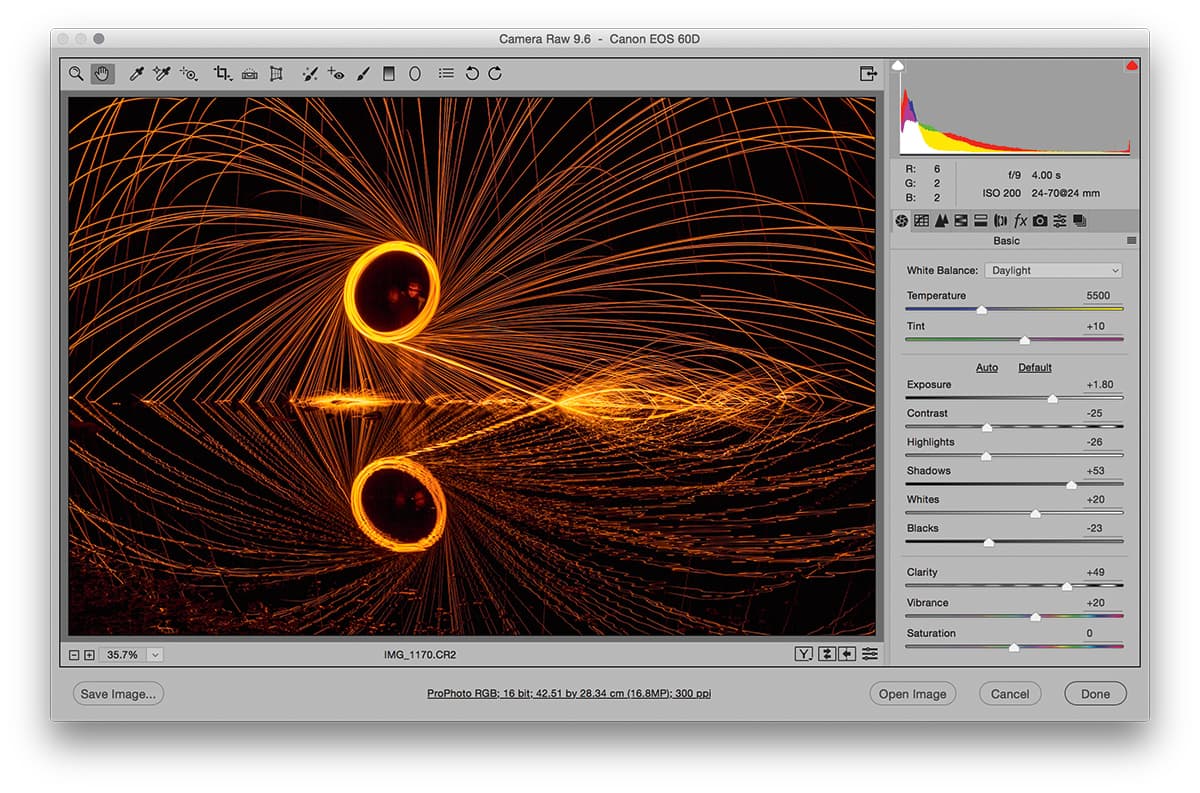
In reviewing the adjustments I had applied so far, the scissor shape that was so strong in the original was now lost. I therefore chose to reduce the Exposure slider setting to -1.80 to darken the exposure. At the same time, I boosted the Clarity and Vibrance to add more definition and colour to the spark trails.


