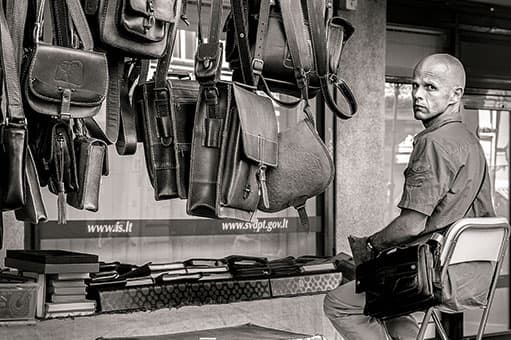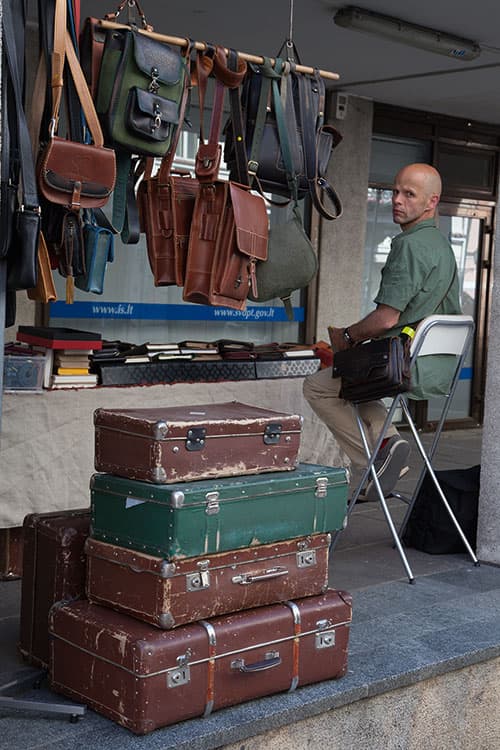
Before
Here we have a scene, taken by Steve Halliday, of a Lithuanian market seller, where the main interest is the texture of the leather bags and battered old suitcases. When you straighten the verticals and tighten the crop there is a strong composition that ties the image together. Normally, you might think that the person in this photograph is placed too far to the edge of the frame, but in this instance he fills the space on the right quite neatly.
The task here was to add light and shade that would help emphasise the compositional elements. I deliberately aimed for a dark, soft-contrast, base-level image setting upon which I could add a series of localised adjustments that added lightness and contrast. I then finished off by converting the image to black & white.
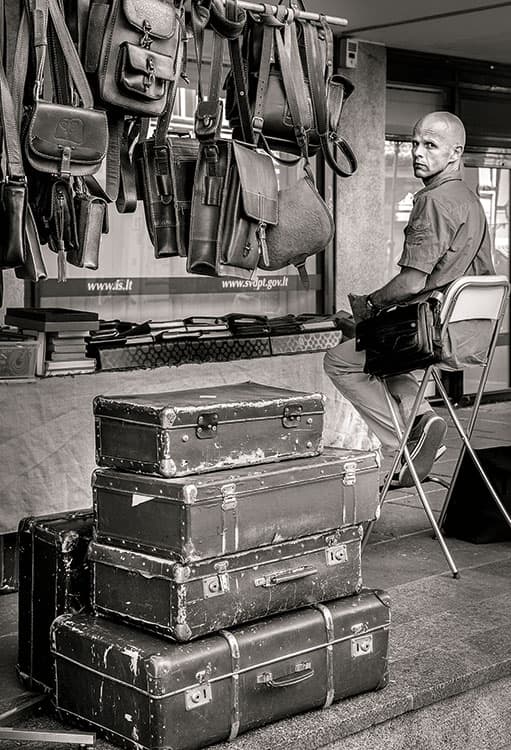
After
1. Apply Basic panel tone adjustments
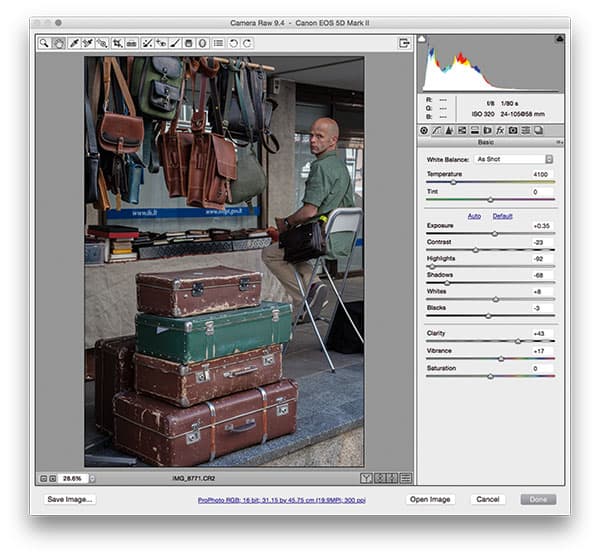
I began by applying a Vertical Upright adjustment via the Lens Corrections panel, and cropped the photo top and right. In the Basic panel I lightened the image, reduced the Contrast slider and darkened the Shadows to produce a soft-contrast ambient light effect.
2. Add Radial Filter adjustments
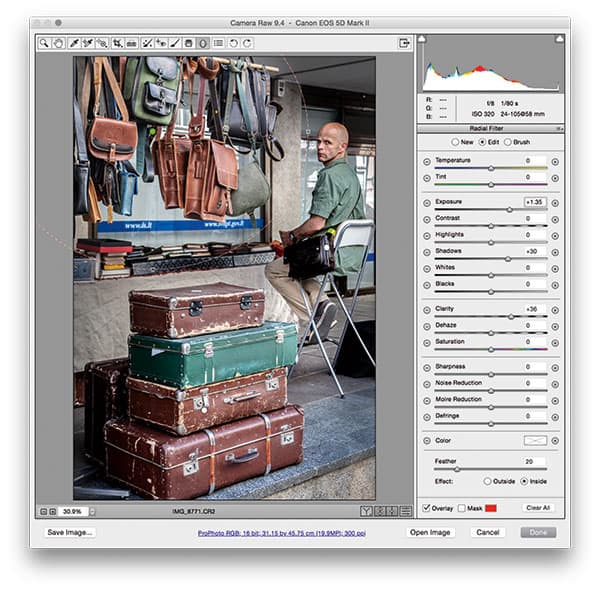
I then added a couple of Radial Filter adjustments. With the one you can see selected here I added a +1.35 Exposure adjustment along with +30 Shadows and +36 Clarity adjustments. I added a similar adjustment to the stack of suitcases below.
3. Convert to black & white
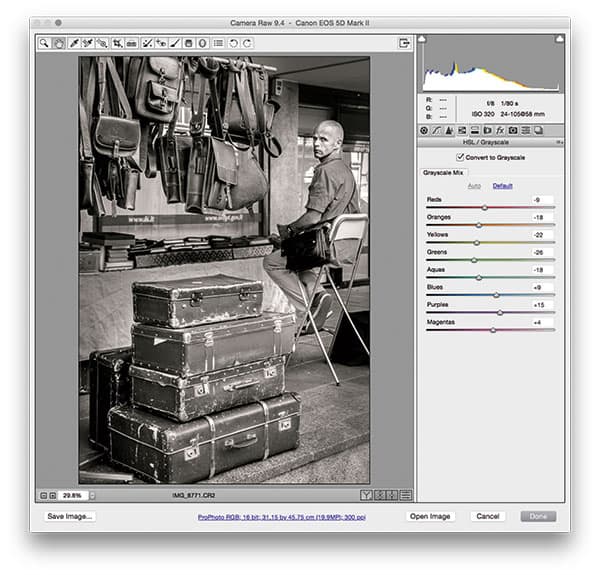
I continued adding further Radial Filter adjustments using the same settings that I applied in Step 2. I added one adjustment to the side of the suitcases plus another to the man’s face. Finally, I went to the HSL/Grayscale panel where I converted the photograph to black & white.

