

I have absolutely no idea what the symbolism of the two performers in this photograph represents, but it livens up this wedding shot.
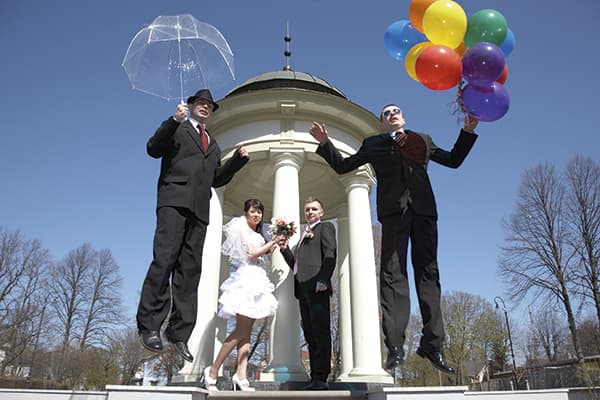
Before.
Wedding photographers are always faced with the problem of how to balance the exposure of a white dress with dark suits, so it’s odd that they’ve been more resistant than most to the benefits of shooting raw and the ability to recover fine detail in the shadows and highlights, intensifying the colour.
This image was shot by Jevgenijs Scolokovs as a JPEG using fill-in flash to soften the scenic contrast. However, it’s still not possible to retrieve any of the fine detail in the bride’s dress, but we can do something about the shadows. The original Jevgenijs sent us was converted to black & white, but I thought it would be a good idea to change it back to colour and enrich it.
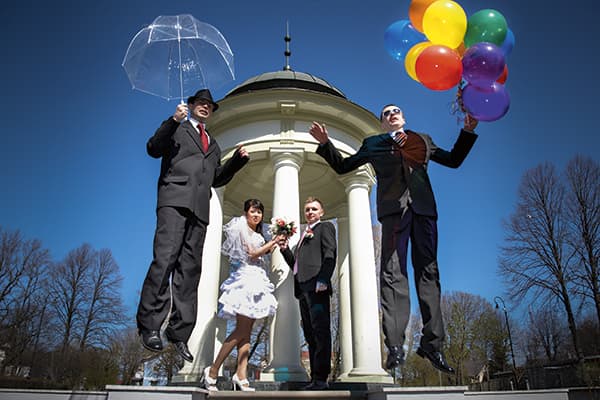
After.
1. Increase overall contrast
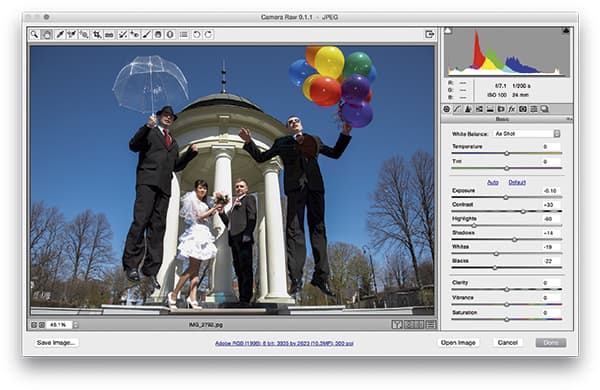 In the Basic panel I applied the adjustments shown here to increase contrast, which also happened to boost colour saturation. I set the Contrast slider to +30. Meanwhile, in the HSL panel, I darkened the blue luminance slider slightly to make the sky a deeper blue.
2. Localised adjustments
 Next, I selected the Adjustment brush and with a combination of increased Exposure and increased Shadows, applied a localised adjustment to lighten the suits’ shadows. I also applied a separate adjustment to darken the highlights on the bride’s dress.
3. Graduated filter
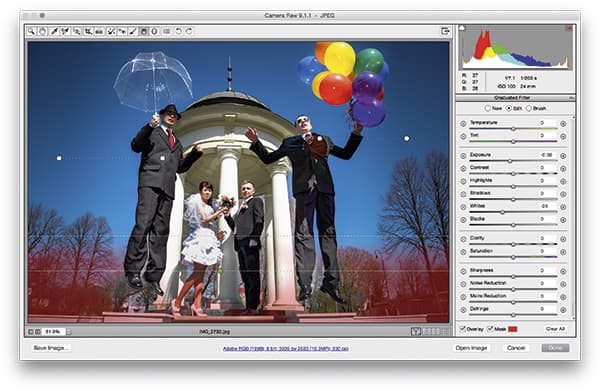 I then selected the Graduated Filter tool and added darkening Graduated Filter adjustments either side of the picture and to the bottom. I also edited this using the Brush Edit tool to remove the effect from beneath the subjects’ feet. Lastly, I added a darkening vignette.


