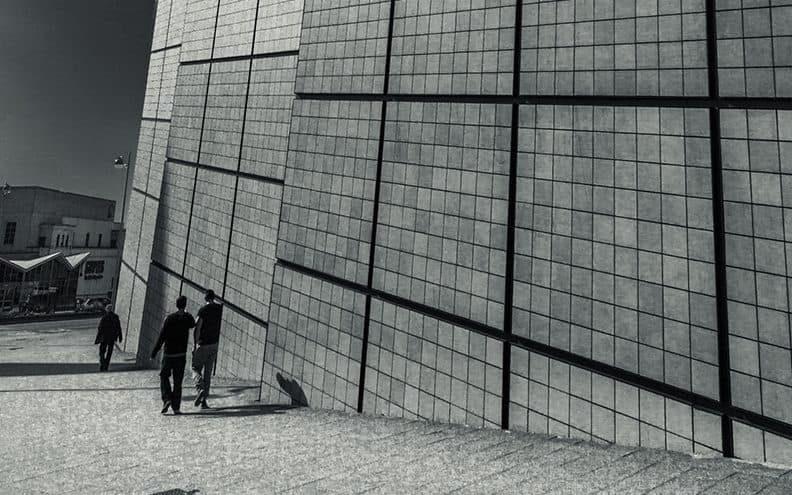
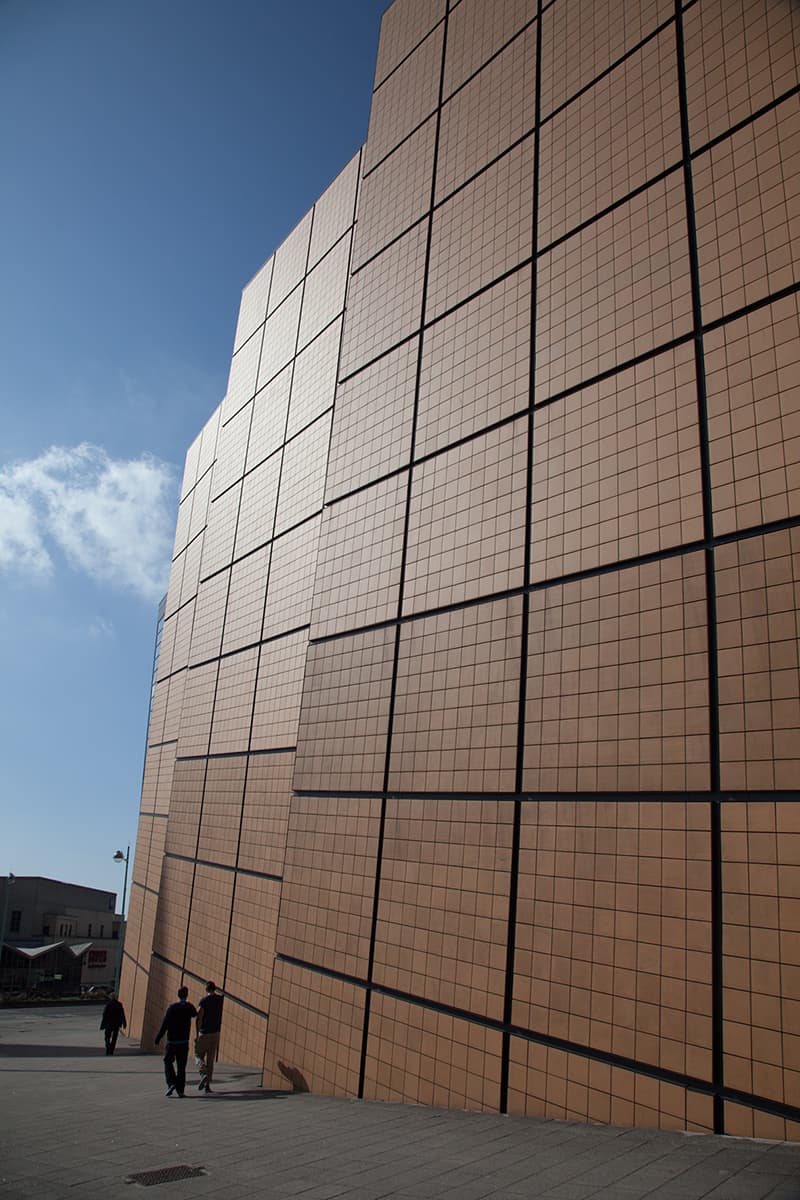
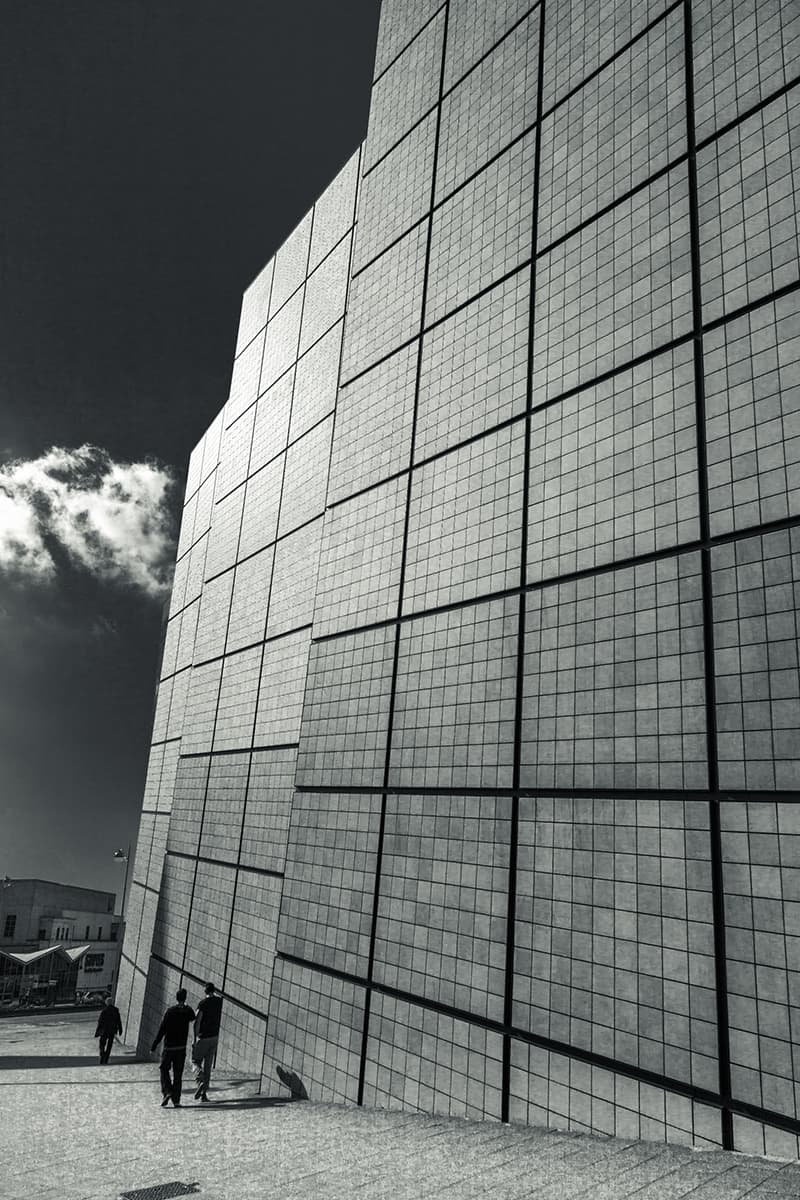
The building in this photograph by Peter Gilbert has an impressive tiled exterior that contrasts nicely with the blue sky. The people in the foreground provide a useful reference to its scale. In the black & white version I created, I wanted to emphasise the tone contrast. I achieved this by using a colour desaturation technique, instead of a regular black & white conversion. I explain more about this technique in the box below.
1. Apply basic panel adjustments
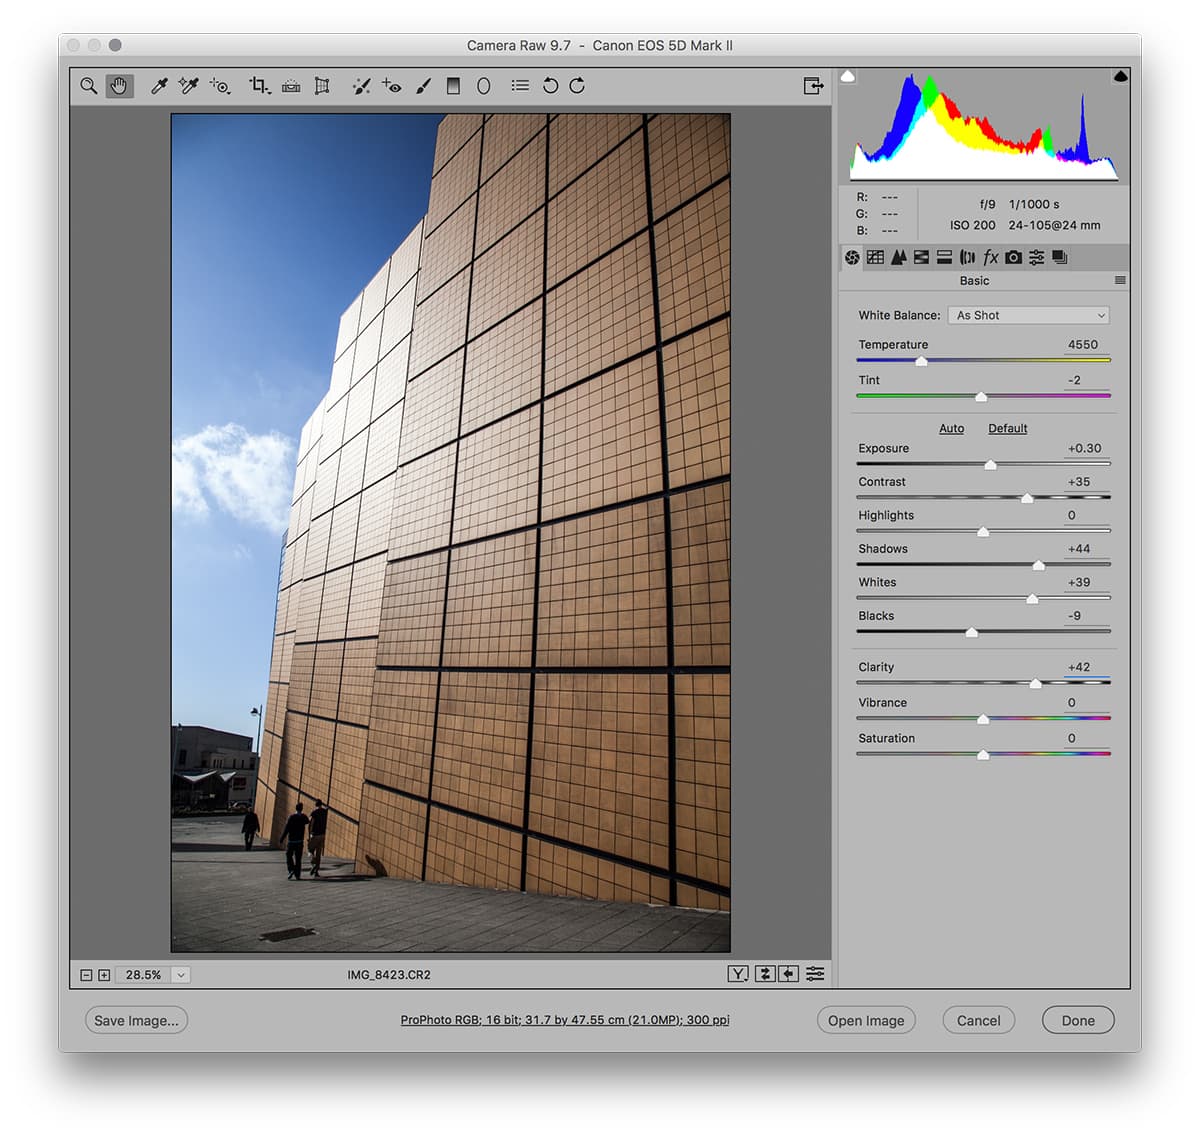
The exposure in the original struck the right balance between exposing for the clouds and for the shadows. Here, I went to the Basic panel where I added more Contrast, lightened the shadows using the Shadows slider and added more Clarity to bring out greater definition in the tiles.
2. Convert to black and white
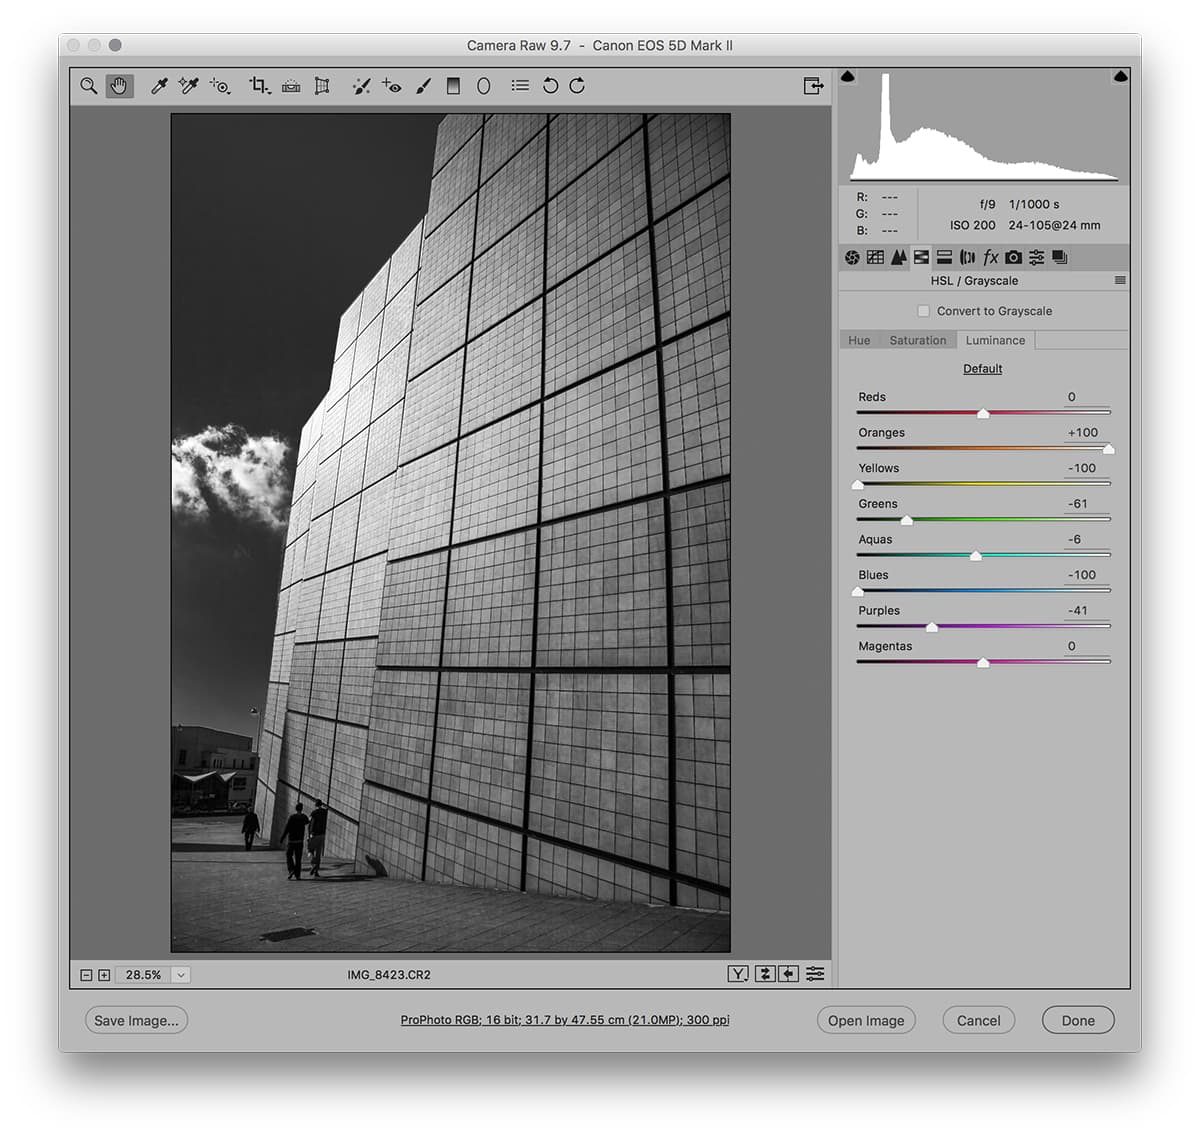
In this step I went to the HSL/Grayscale panel, where I set all the Saturation sliders to zero. I then switched to the Luminance tab, where I adjusted the individual colour sliders (as one would in Grayscale mode) to balance the tones for the sky and the tiles
on the building.
3. Add localised adjustments
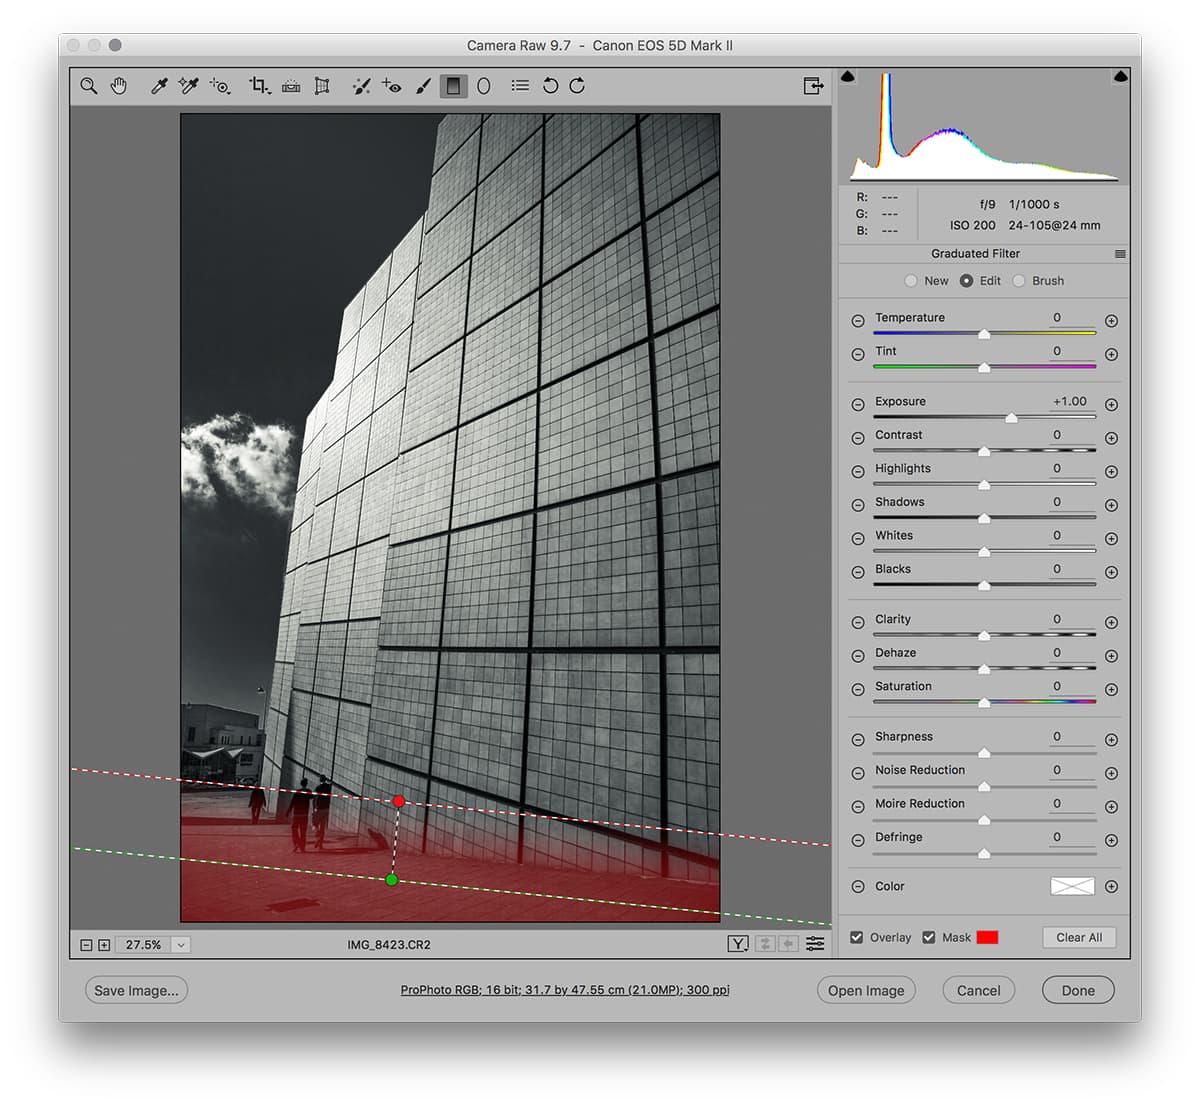
I adjusted the Saturation and Vibrance to fine-tune the black & white look. I then added a Radial Filter adjustment to lighten the building in the bottom left and added a Graduated Filter to the bottom of the image to lighten by around 1 stop. Finally, I added a Split Toning effect to the shadows and highlights.
HSL black and white conversions
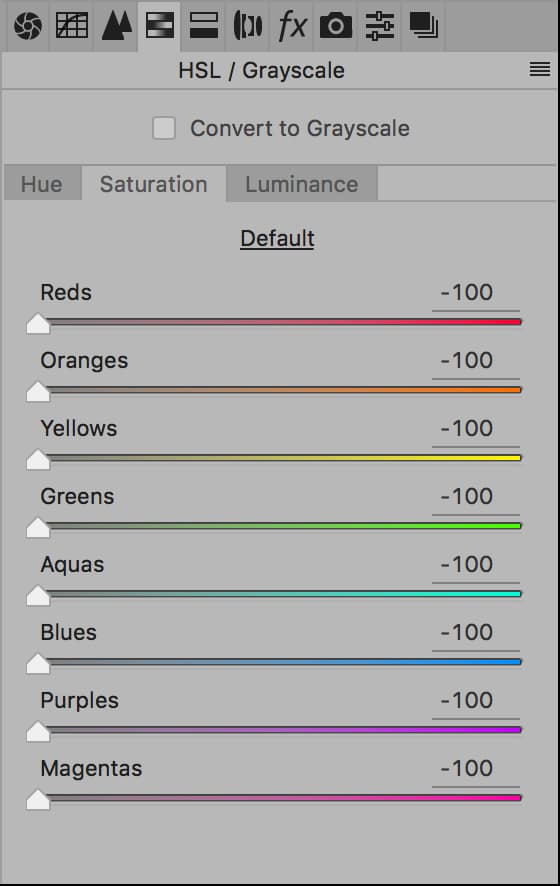
Regular black & white (grayscale) conversions are applied upstream of the Saturation, Vibrance and HSL colour sliders. This is a shame because the Saturation and Vibrance sliders can be used to produce more dramatic contrasty results.
To get around this, instead of simply converting to Grayscale, you can go to the HSL panel and set all the Saturation sliders to zero. Next, adjust the HSL Luminance sliders, as you would when adjusting the Grayscale Mix sliders. You can also adjust the Vibrance and Saturation sliders in the Basic panel.
This method works well when you want a black sky. Here, it’s best to apply a combination of a negative Vibrance with a positive Saturation slider setting.

