
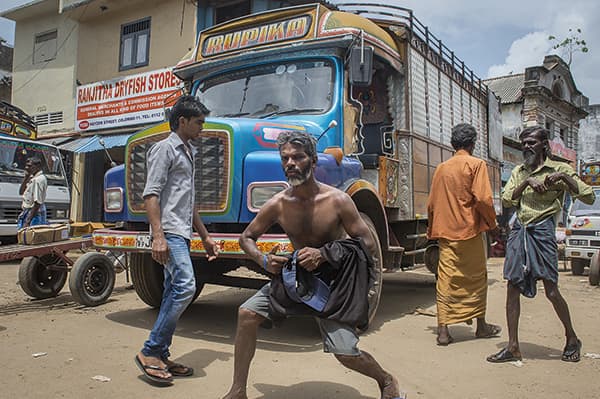
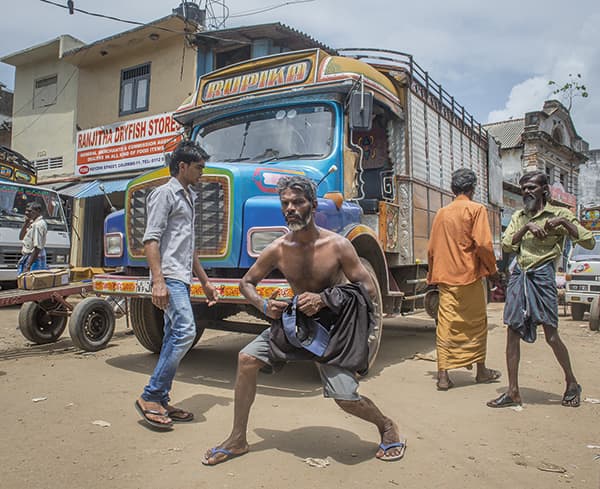
Here is a photograph by Brett Davies that has great potential. The main features here are the colourful truck and the people in the scene, so I wanted to adjust the cropping to keep the focus on these elements.
Before.
You can tell from the shadows that this photograph was shot around midday with the sun directly overhead. In fact, the Exif metadata confirms that the image was shot at 12:20pm. This is not an ideal time to be taking photographs because the sun is so high in the sky. However, with some careful editing it was possible to fill in the shadow areas and reduce the overall contrast present in the original photograph. The key here was to apply delicate tonal adjustments and, where possible, to do so locally rather than globally. It is tempting simply to raise the Shadows or Fill Light slider, but the results can often look rather artificial.
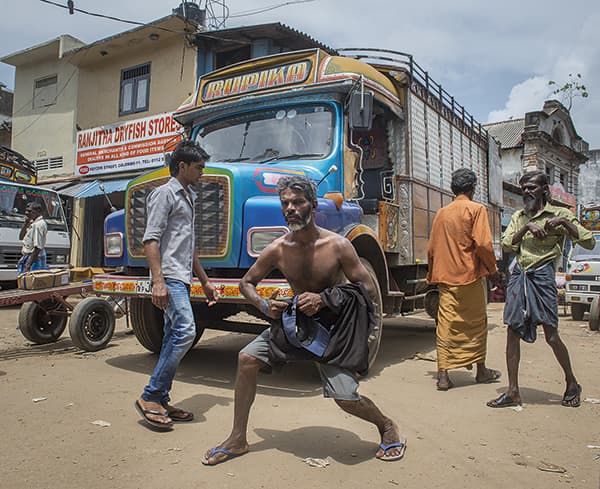
After.
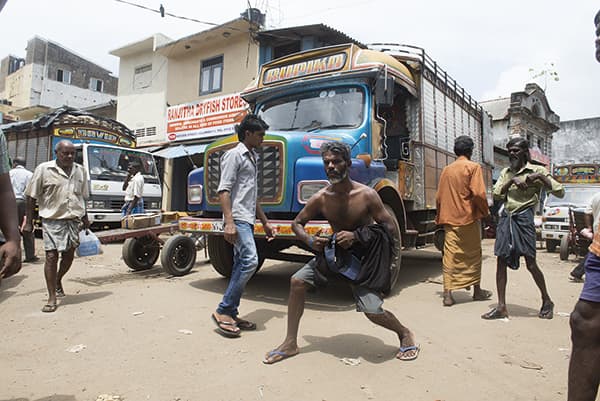
1. Apply a crop
 The first step was to crop the image. The centre of focus here is clearly the man who was deliberately posing for the camera. At the same time, I wanted to remove some of the distracting elements, such as the man who is walking into the scene from the left and the outline of the man standing on the right.
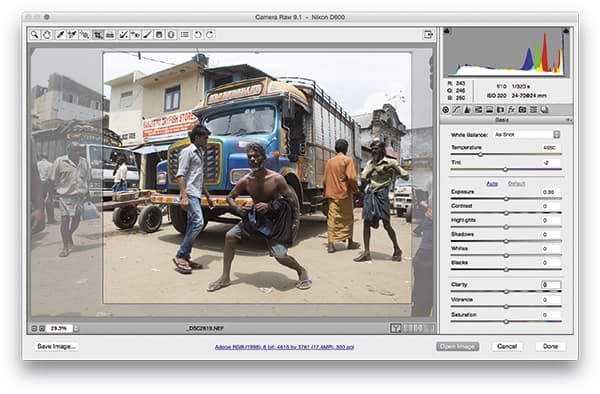
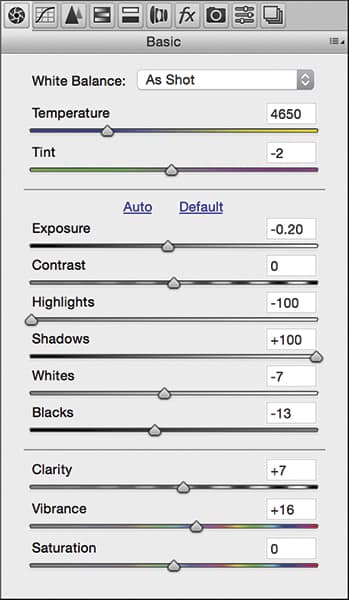
2. Basic panel adjustments
 Having done that, I went to the Basic panel and applied the adjustments shown here, where I applied a slight lightening to the Exposure slider. I set the Highlights to -100 to preserve as much detail as possible in the highlights and also applied a positive Shadows adjustment to lighten the darker shadow areas.
3. Localised adjustments
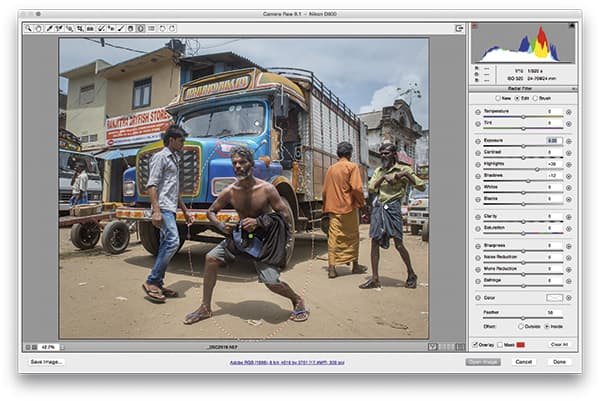 I then added a Radial Filter adjustment, set to apply an adjustment to the inside area only. I applied a positive Highlights and positive Shadows adjustment to lighten the main person in the shot and make him stand out from his surroundings. I also selected the Graduated Filter tool and added a graduated adjustment to the top section.
Shadows adjustments in Camera Raw
The Shadows slider was introduced as part of the Camera Raw/Lightroom Process Version upgrade to Process 2012. This slider sort of replaces the former Fill Light slider, in that a positive Shadows adjustment can be used to lighten the shadow to midtone areas. You can also drag the slider to apply a negative value, which can be used to apply a darkening adjustment. The range extends slightly beyond the midtones, but the greatest effect is concentrated in the shadow tone areas. Be warned that as you increase the value above a ±50 range, a Shadows adjustment will be applied via a halo mask, which can result in an artificial-looking image. For instance, in the example shown below, I applied a global +100 Shadows adjustment, which gave the image a rather overprocessed look.
Shadows overprocessed.
Shadows overprocessed panel.


