

Before
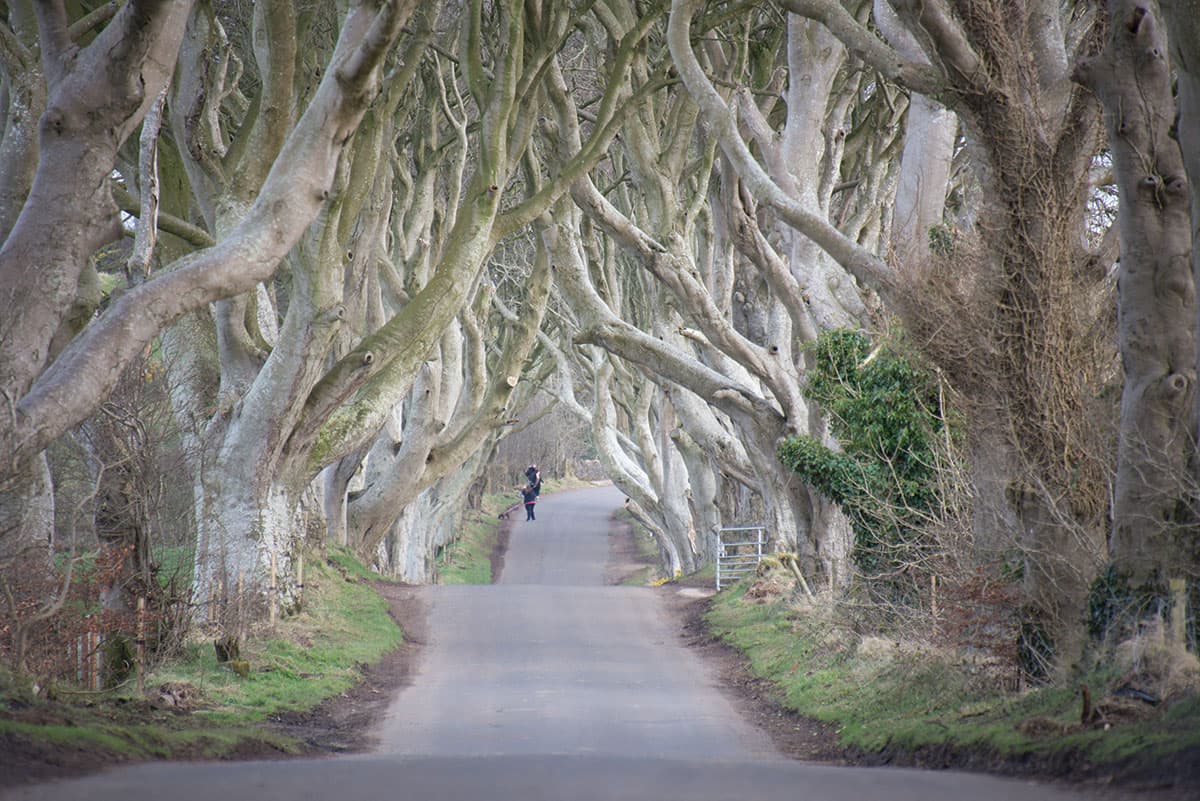
This photograph of an avenue of beech trees was taken by Andrew Wilson at the Dark Hedges near Ballymoney, in Northern Ireland. The picture was shot using a Nikon D600 with a Nikkor 28-300mm f/3.5-5.6 lens at the 300mm lens setting, and the exposure was 1/125sec at f/5.6. This was pushing the technical limits of what one could expect to capture using these settings. I assume Andrew had the vibration reduction enabled in order to reduce the camera shake. Ideally, the camera should have been mounted on a tripod, and a smaller lens aperture used to increase the depth of field. I like the final image, though, and the fact the original was shot lighter did not inhibit choosing to apply a darker processing treatment. This is because exposing to the right enables you to capture more levels of tone information, and therefore have more tone detail to edit with.
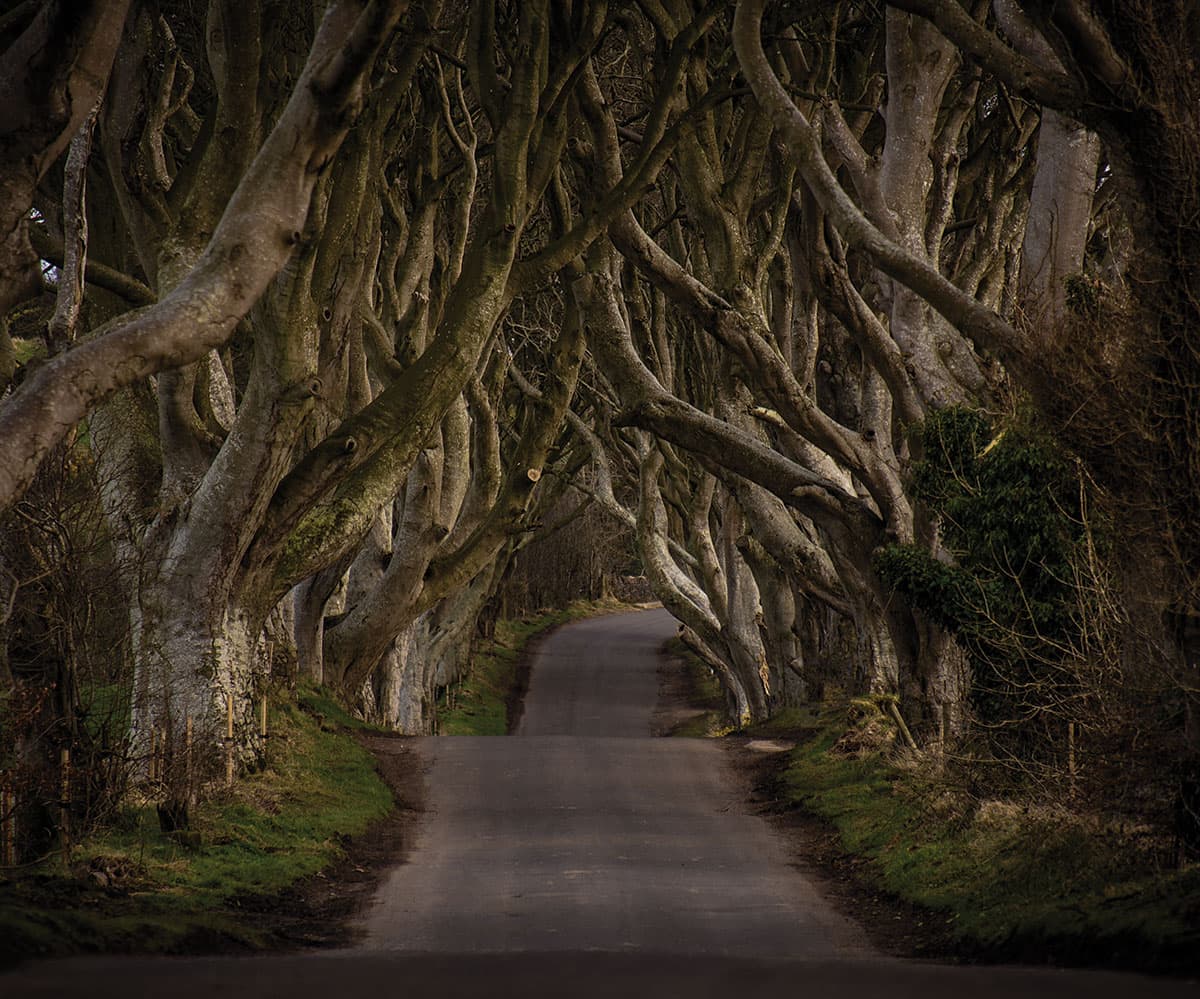
After
1. Darken the exposure
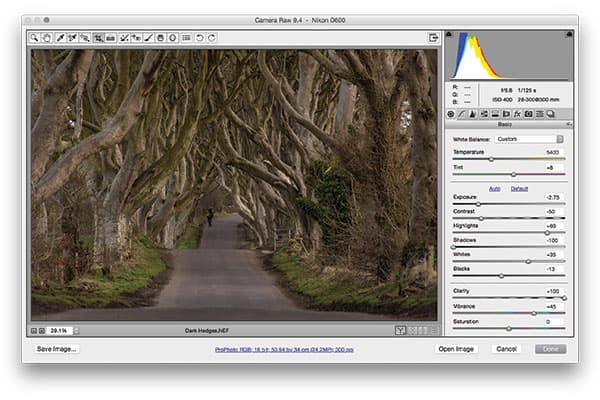
In this first step, I adjusted the Basic panel settings to darken the exposure, and set the Contrast slider to -60
to reduce the global contrast. At the same time, I set the Clarity slider to +100 to boost the midtone contrast.
I also manually adjusted the white balance to make the photograph appear warmer.
2. Add a Tone Curve adjustment
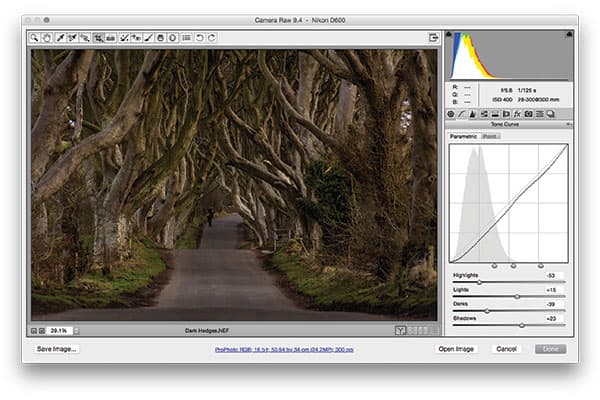
Having applied global and localised contrast adjustments in the first step, I then went to the Tone Curve panel to fine-tune the overall contrast. Here, I applied the parametric sliders settings to carefully manage the tone balance between the shadows, midtones and highlights.
3. Add a darkening vignette
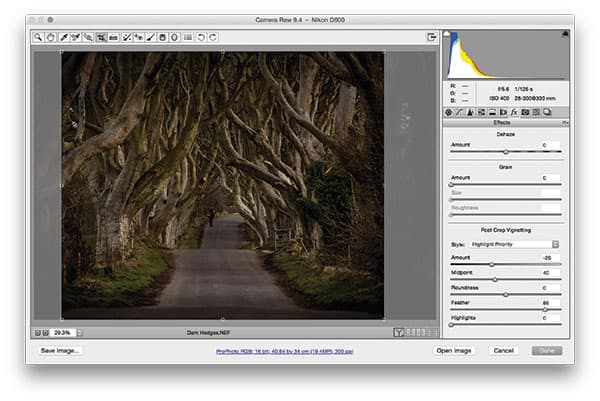
Finally, I selected the Crop tool and removed the trees either side. Next, I went to the Effects panel, where
I adjusted the Amount slider to apply a soft feathered, negative Highlight Priority adjustment that darkened the corners of the photograph.


