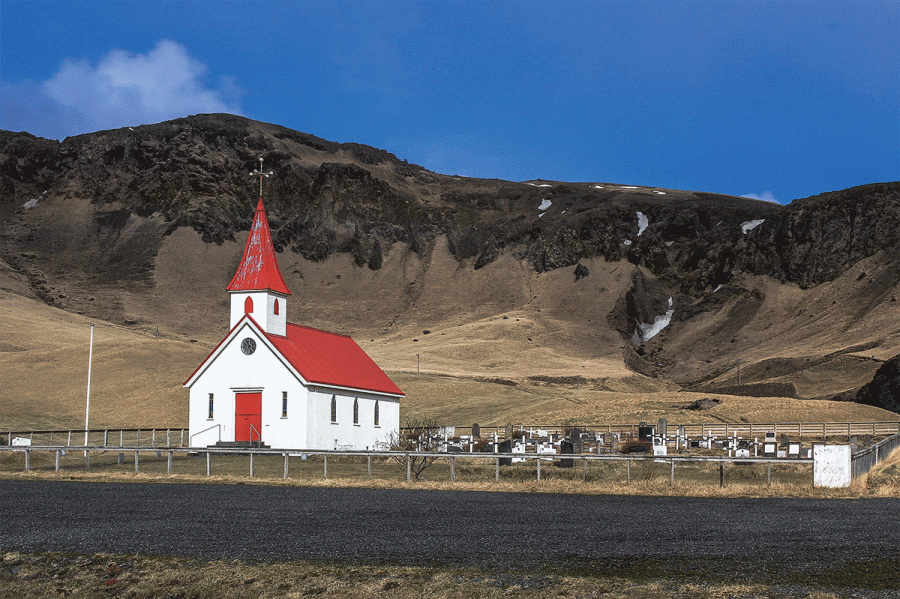
To create this photograph, Chris Meaker shot three bracketed captures, presumably with the intention of merging them together using a High Dynamic Range (HDR) blending method. You can do this by using a third-party program like Photomatix Pro, Merge to HDR Pro in Photoshop or the Photo Merge HDR feature in Camera Raw and Lightroom.

Before
The best way to prepare your images is to shoot a bracketed sequence of three, five or seven shots, adjusting the exposure by 2-stop increments either side of the normal exposure setting. When bracketing the exposures the lens aperture must remain constant and you vary the time exposure as you shoot each capture. It’s best to shoot in raw mode and it also helps if the camera is mounted on a tripod.
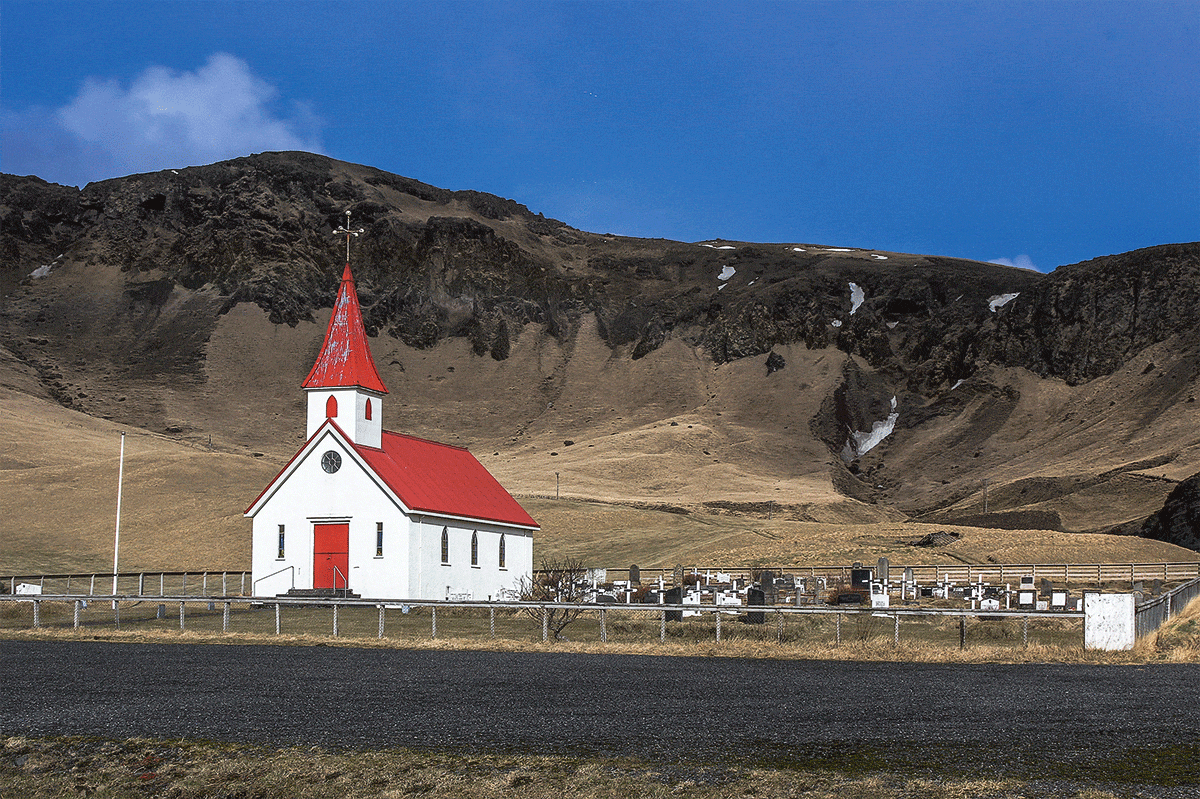
After
1. Open selected images
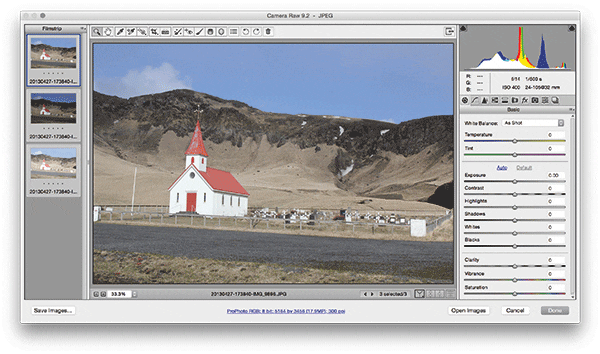
I selected the three bracketed JPEG image exposures using Adobe Bridge. I went to the File menu and chose Open in Camera Raw. This opened the selected photos via the Camera Raw dialog, opening in multiple image mode with the selected photos appearing in the Filmstrip on the left. I then selected Merge to HDR from the Filmstrip menu.
2. Set the HDR merge settings
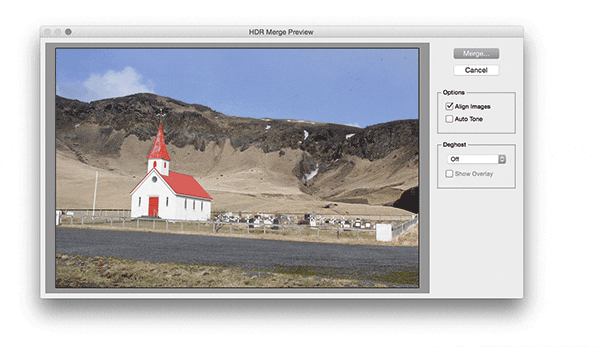
This opened HDR Merge Preview. When I checked the original bracketed photos it looked like they had all been shot on a tripod, 1 stop apart. Even so, one of the shots was slightly out of register. I therefore checked the Align Images option and left the Deghost menu set to Off. I then clicked the Merge button to blend the photos.
3. Camera Raw settings
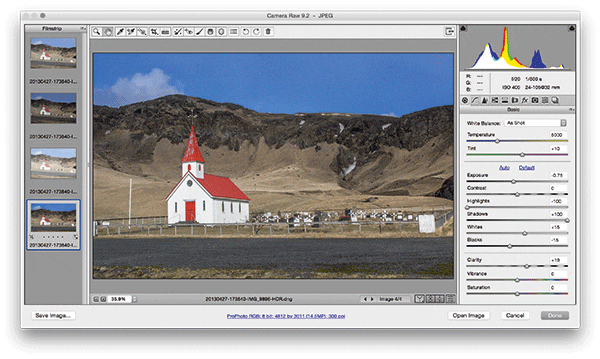
This added a Photo Merge HDR image to the Filmstrip section. I then adjusted the Basic panel settings. When editing HDR images it’s often necessary to set the Highlights slider to -100 and the Shadows slider
to +100. I also darkened the Exposure slightly and fine-tuned the Whites and Blacks. Lastly, I applied
a rotated crop to straighten the horizon.

