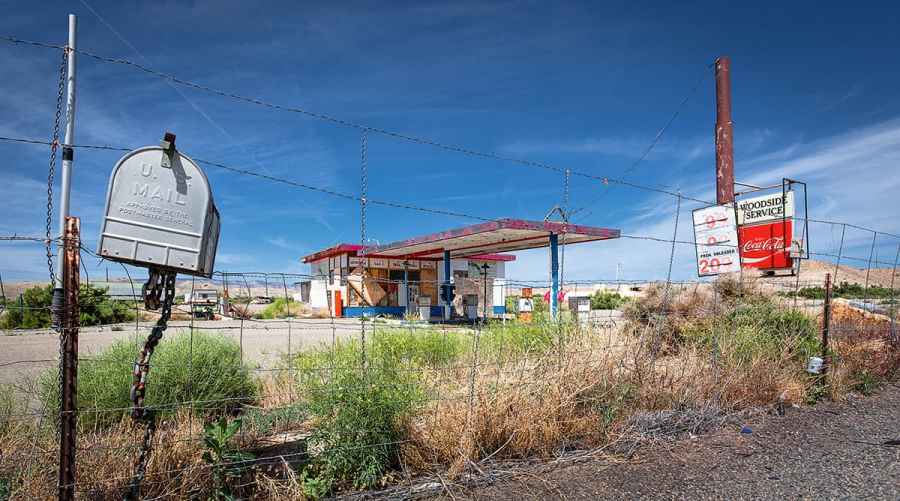
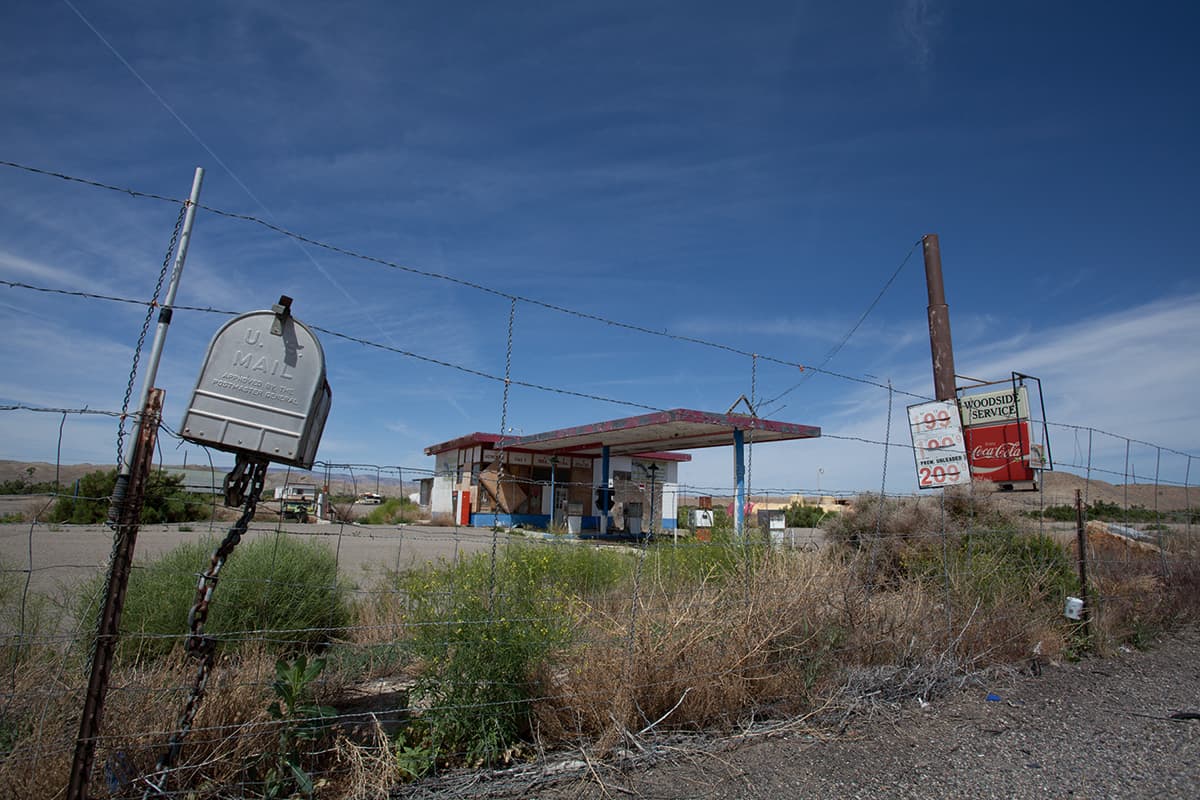
Brian Stoddart photographed this derelict gas station on Route 6/191 in Utah, USA. This image is pure Americana, featuring a classic US mailbox, a Coca-Cola sign and ’50s-style garage forecourt. It therefore suited a cinematic crop and strong colour-contrast treatment. The main problem here, though, was the keystone distortion. I was easily able to correct this by applying a Camera Raw Auto Upright adjustment.
1. Crop and transform the image
The first step was to apply a Lens Profile Correction to overcome the slight lens barrel distortion. I then selected the Transform tool and applied an Auto Upright adjustment to correct the keystone effect in this photograph and cropped the top part of the image.
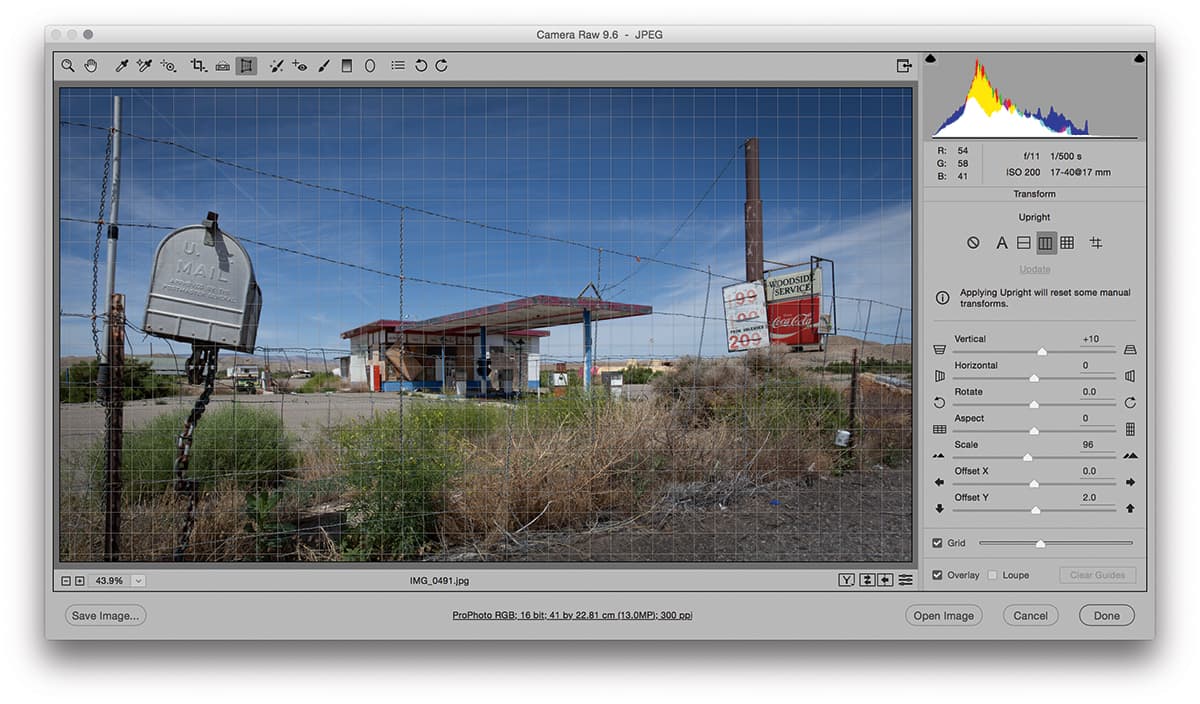
2. Apply Basic panel adjustments
In the Basic panel, I lightened the Exposure and adjusted the remaining tone sliders to optimise the tone contrast, adding some Clarity and Vibrance. In the Tone Curve panel I applied a Curves adjustment that added a kick to the midtone to highlight contrast.
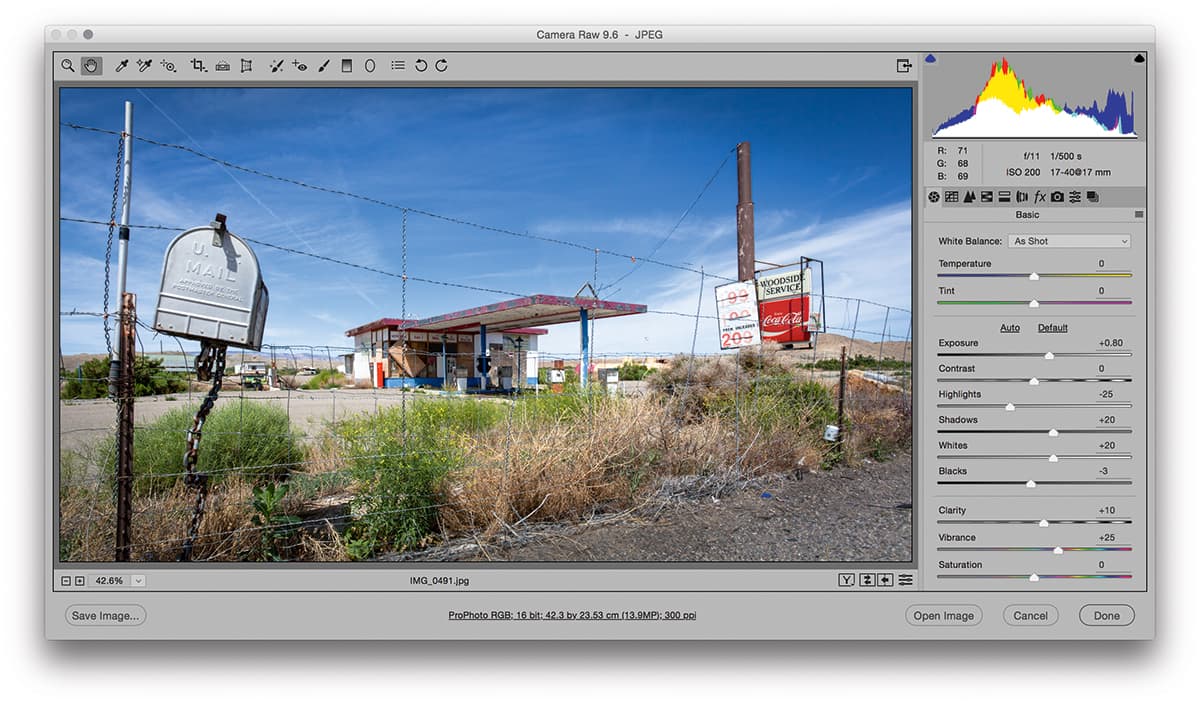
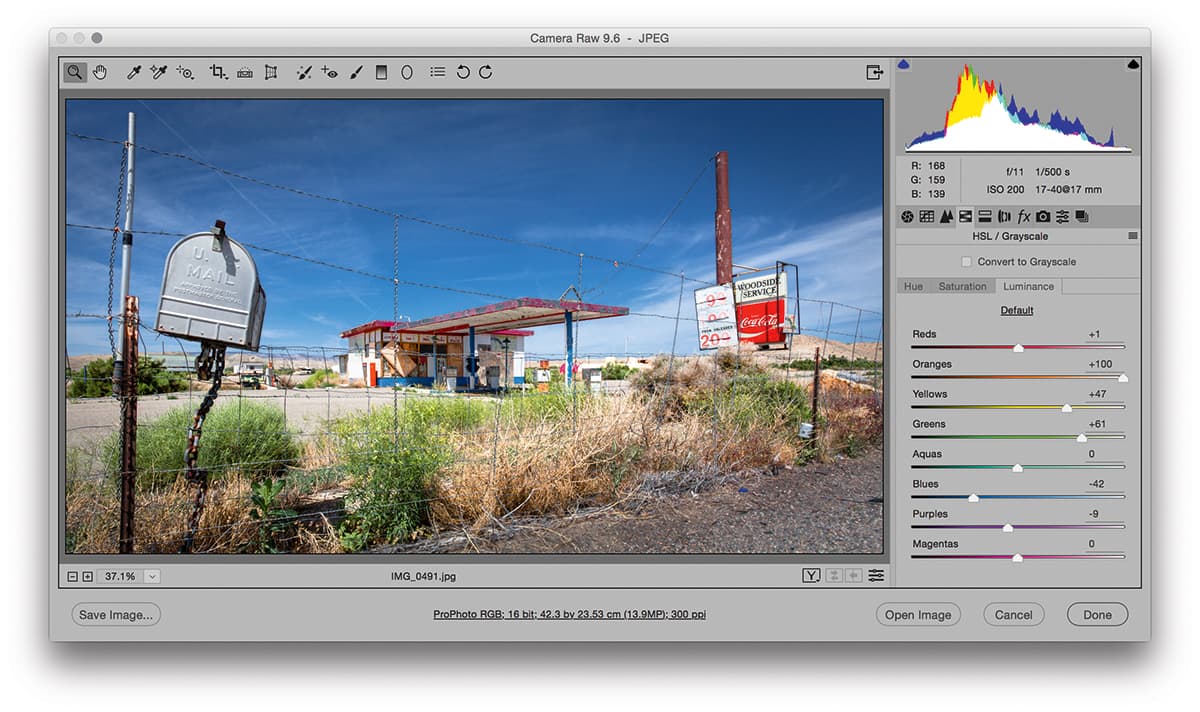
3. HSL panel adjustments
In this step I went to the HSL panel, where I adjusted the Luminosity sliders to darken the blue sky and lighten the yellows and greens. At the same time, I went to the Saturation tab and reduced the blue saturation slightly. Finally, I added a Radial Filter adjustment to lighten the gas station.
Keystone corrections
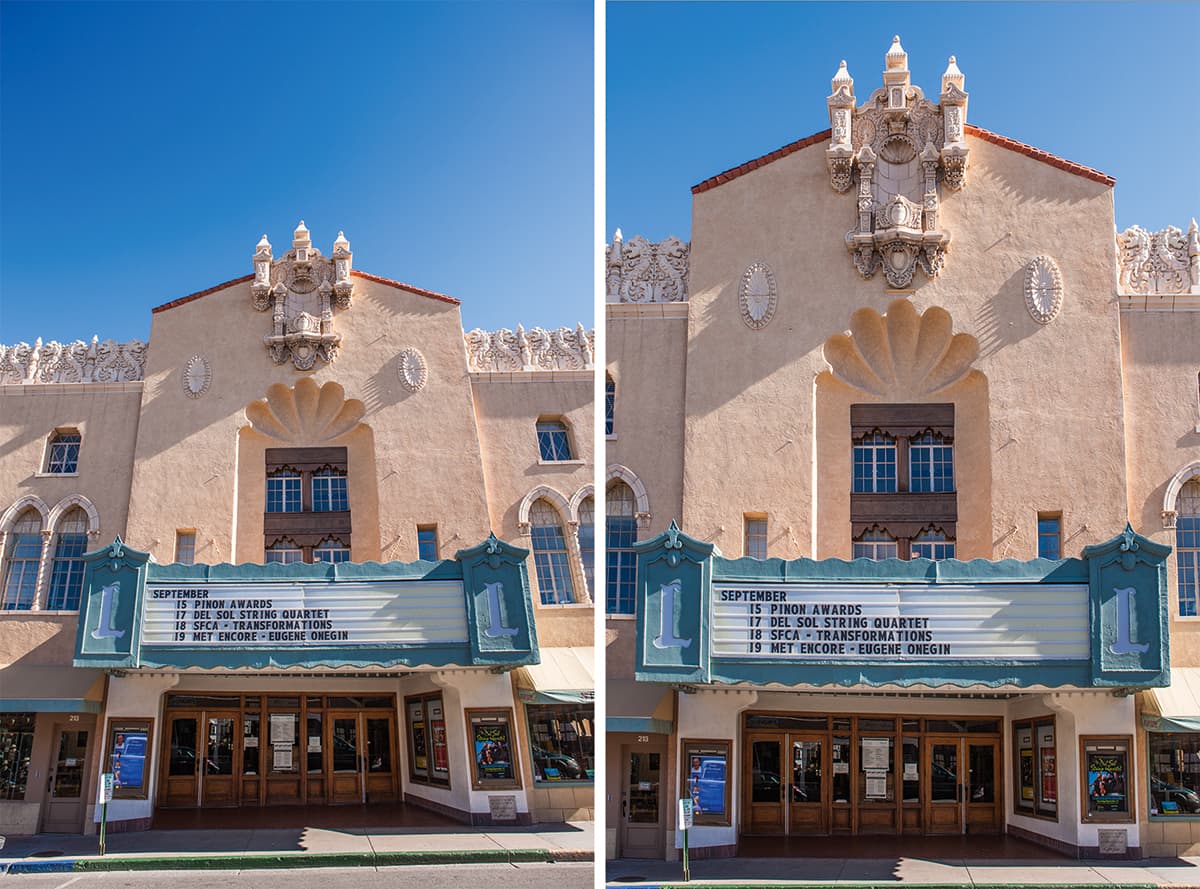
Whenever you tilt the camera upwards to take a photograph, this can result in what is known as keystone distortion, where the vertical lines converge. This will be particularly noticeable when you photograph architectural subjects or shoot using a wideangle lens.
One way to overcome this is to use a special tilt-and-shift lens, but it is also possible to correct it using the Transform adjustment tools in Camera Raw and Lightroom. However, a photograph can look odd if you aim to completely correct for keystone distortion.
In the example shown here, I applied a Transform adjustment that allowed the verticals to converge slightly.

