
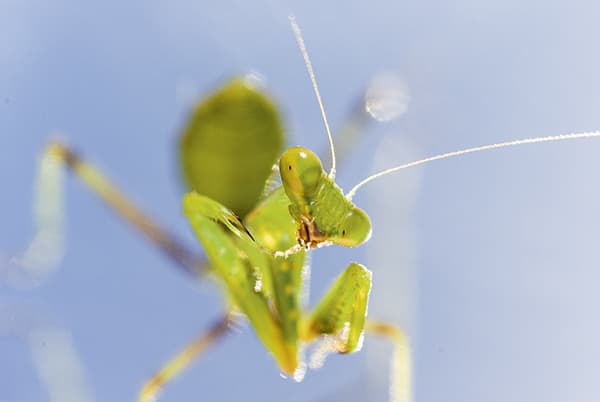
It can be incredibly difficult to photograph insects close-up. For a start, they tend to move pretty quickly, and getting your subject in sharp focus using a macro lens is never that easy. Andy Kyriacou has done well here to get this great view of a mantis head-on.
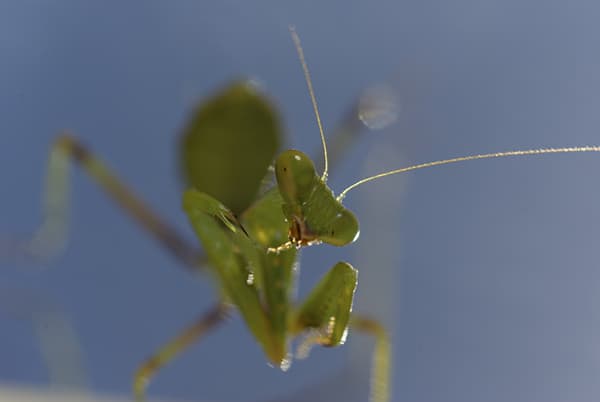
Before.
The exposure in the original was a bit dark, so it needed to be lightened up a bit, but it was also important to boost the contrast. Normally, I use the Highlights and Shadows sliders in Camera Raw to lower the contrast and open up the tones at the highlight and shadow ends. Here, I used these two sliders to do the opposite and add more contrast instead. I also used the HSL Luminance slider controls to add more sparkle by enhancing the colour luminance contrast between the green mantis and the blue backdrop.

After.
1. Lighten the image
 I began by opening the JPEG master image via Camera Raw, where I first went to the Basic panel and applied a +1.75 Exposure adjustment. The aim was also to increase the contrast, which I did by lightening the Highlights and darkening the Shadows. I also added a lot of Clarity and some extra Vibrance.
2. Apply a rotated crop
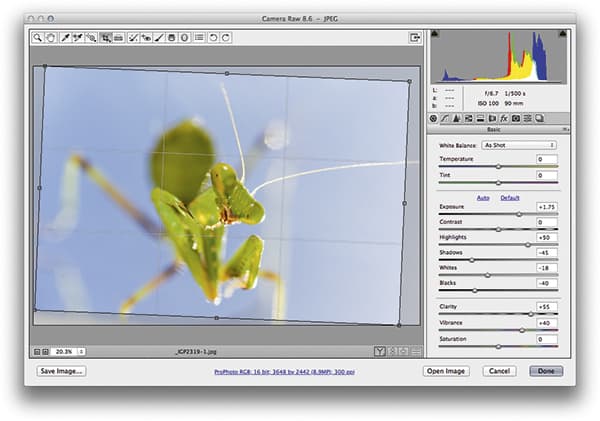 In the bottom left-hand corner there was an out-of-focus straight edge creeping into the frame, which was a little distracting. To get rid of this, I selected the Crop tool and applied a rotated crop (as shown here), adjusting the corner handles to avoid cropping the image any further than was necessary.
3. Make some HSL adjustments
 In the HSL/Grayscale panel, I selected Luminance and then the Target Adjustment tool. I clicked and dragged downwards on the blue background to darken the Blues very slightly. I then clicked on the body of the mantis and dragged upwards to lighten the Yellows and Greens.


