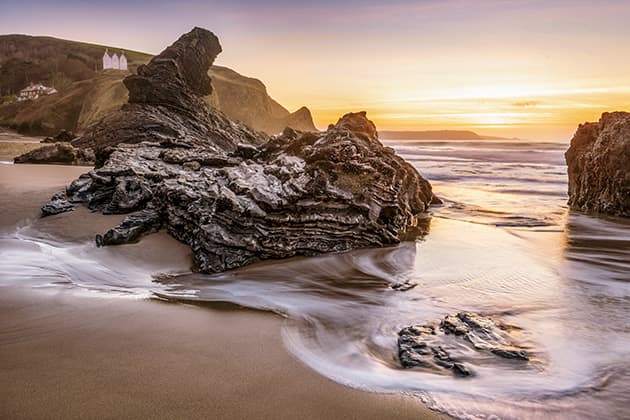
1. Get started
Lightroom’s Photomerge command makes it easy to create natural-looking HDR images or stitch panoramas. Simply Cmd/ Ctrl+click to select a set of photos, right-click them and choose Photomerge>HDR or Panorama; then work through the simple settings. Upon completion, a brand new DNG file will be saved alongside your original photos, with the suffix *-HDR or *-Pano.
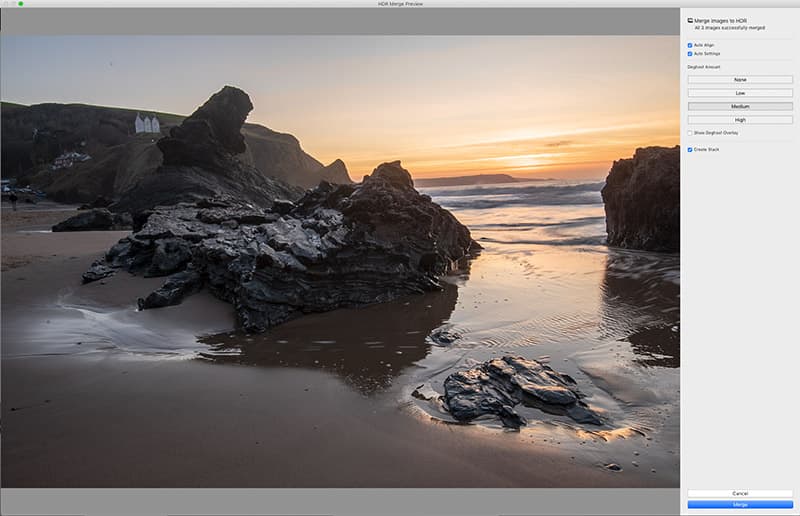
Credit: James Paterson
2. Shoot HDRs the easy way
To make an HDR image we ideally need a set of three or more varying exposures, taken with a tripod to keep the frames in alignment. The easiest way to do this is to make use of your camera’s bracketing mode, making sure it’s in Aperture Priority so that the shutter speed varies rather than the depth of field.
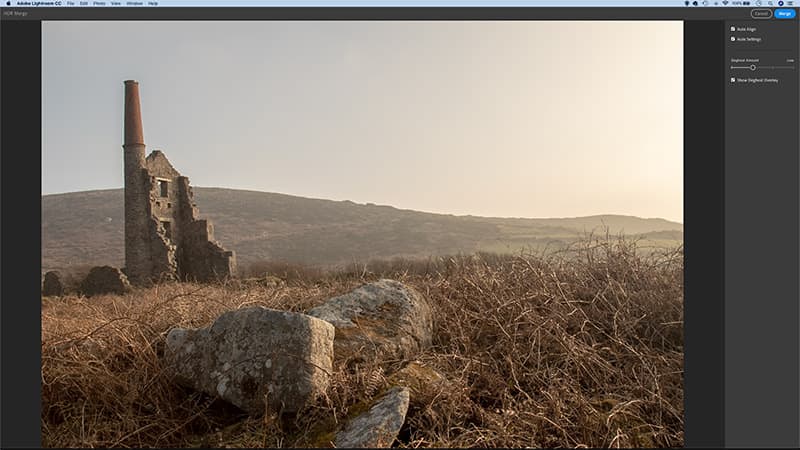
Merge files on the go in Lightroom CC using controls that are near-identical to the desktop version. Credit: James Paterson
3. Using merge in LR CC
As of February 2019, both HDR Merge and Panorama Merge as well as the combined HDR-Pano command are now featured in Lightroom CC (the cloud-based cousin to Lightroom Classic), so you can now merge on the go. The settings and controls are near-identical to the desktop version and just as effective.
4. Merge in the background
If you’re happy to run the merge command using the last-used settings, then there’s no need to enter the settings. You can quickly set off a new merge in the background. Highlight the images you want to use, then hit Shift+Alt+M (Windows) or Shift+Ctrl+M (Mac) to merge a panorama, or Shift+Alt+H (Windows) or Shift+Ctrl+H (Mac) to merge to HDR. The top-left progress bar shows the merge has been initiated.
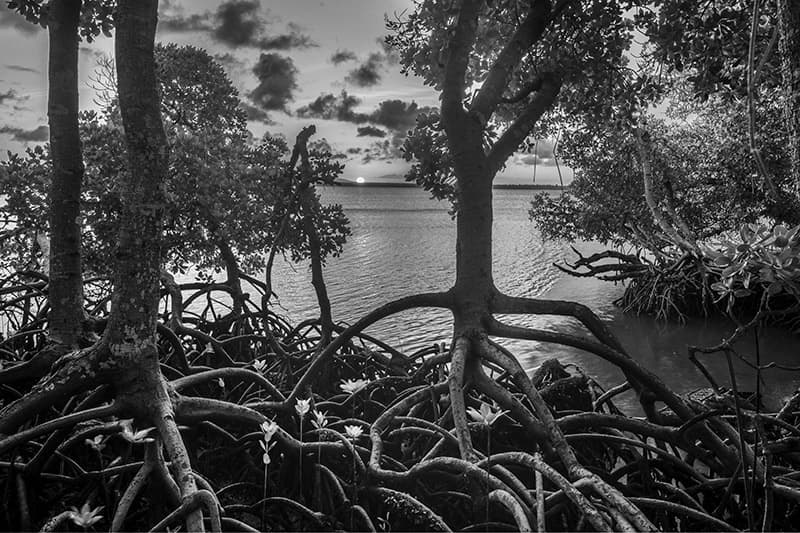
The most selected file will have a slighter brighter box. Credit: James Paterson
5. Know your ‘most selected’ file
When you select several files in Lightroom, one of them will be the ‘most selected’ and therefore given priority. If, when making an HDR or panorama, the ‘most selected’ is mono, the merged image will carry the same settings.
6. Go pro with panoramas
For greater control over panorama stitching, consider buying dedicated software like PTGui (£88 for a personal licence). This takes panorama stitching to the next level. You can choose from multiple projections and create multi-level or 360° panoramas, plus – unlike Lightroom – there’s no maximum image size.
7. 16 bit or 32 bit?
Lightroom produces a 16-bit HDR in the Adobe DNG raw format. If you prefer to work with a bigger 32-bit HDR, you can easily create one using Photoshop’s Merge to HDR feature. This will also give you the option to send the image file to Camera Raw for toning (which handily offers near-identical controls to those in Lightroom’s Develop Module).
8. Don’t waste time on adjustments
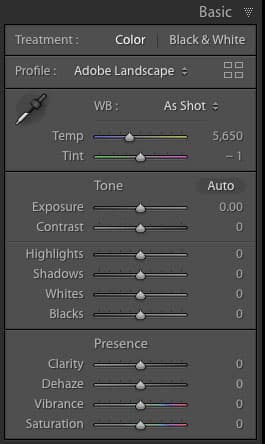
Don’t bother making adjustments to files before merging, as some will be discarded during the process. For panoramas and HDRs, local adjustments, upright settings, crops and spot healing won’t be carried over. In addition, HDRs discard exposure, shadows, highlights and contrast.
9. Shoot panoramas around the nodal point
When shooting panoramas where there are objects close to the camera, parallax can be a big problem as the swing of the lens causes the misalignment of objects. Rather than swinging, it’s best to rotate around the nodal point of the lens. Buy a dedicated tripod head for this.
Caption: James Paterson
10. Warp messy edges
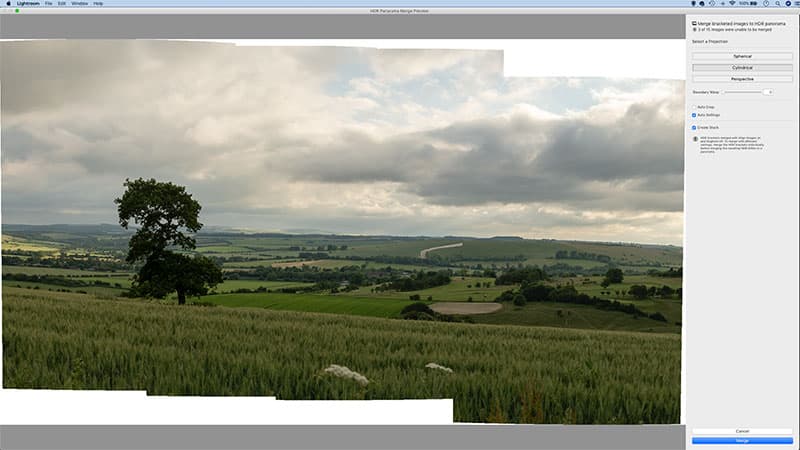
A common problem with panoramas is that the edges will often bulge and contract, which means you have to crop them off for a tidy frame. But this could result in the loss of important details. One solution is to use the ‘Boundary Warp’ slider with the Panorama settings. This automatically fills in messy edges.
11. Apply auto toning
This feature applies an automatic fix to HDRs within the HDR Merge box. It’s similar to clicking the ‘Auto’ button in the Develop Module’s Basic Panel. The setting is non-destructive in that it simply alters the basic tonal settings (usually by lifting shadows and dropping highlights), but these settings can be changed afterwards.
12. Align mismatched frames
The Auto-Align feature within the HDR Merge dialog box fixes small discrepancies between frames, caused by nudging the camera or tripod. To an extent, even bigger misalignments can be fixed. So it is possible to shoot handheld HDRs – set your camera to fast drive mode and fire off the frames quickly while bracing the camera.
Credit: James Paterson
13. Local adjustments
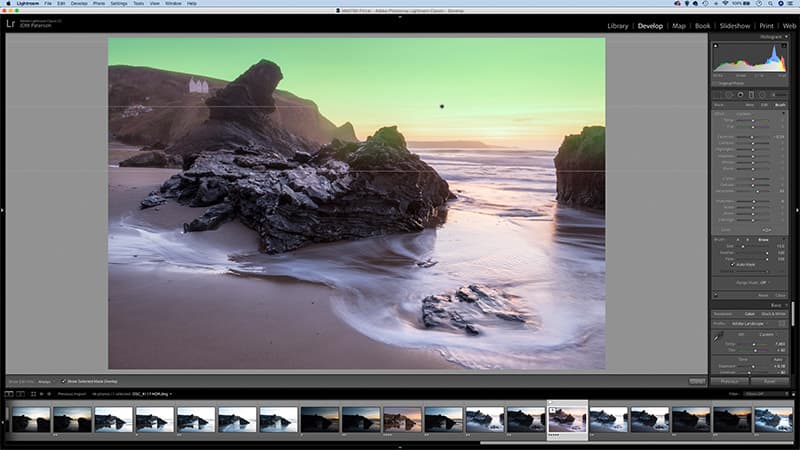
After merging photos to HDR, the results can look a little underwhelming. But by making local adjustments, you can tease out hidden details. For example, we used the Graduated Filter tool to darken and enhance a sky; we then switched to the brush (Shift+T) and erased parts of the mask that covered the land like this.
14. Pano projections
Each of these affects the way images are stretched or warped. Perspective uses the centre image as a reference, then stretches and skews the others to match it. Cylindrical maps the panorama as if on the inside of a cylinder and corrects for bowing between frames in wide panoramas. Spherical works by mapping the frames as if they were on the inside of a sphere – best for 360° panoramas.
15. The size limit
Panoramas will be limited in size to 65,000 pixels along the long side, or 512 megapixels (whichever comes first). This is plenty for most of us, but if you want to build hyper-detailed giga-panoramas from dozens of photos then you’ll need to use other stitching software like PTGui.
Credit: James Paterson
16. Try HDR plug-ins
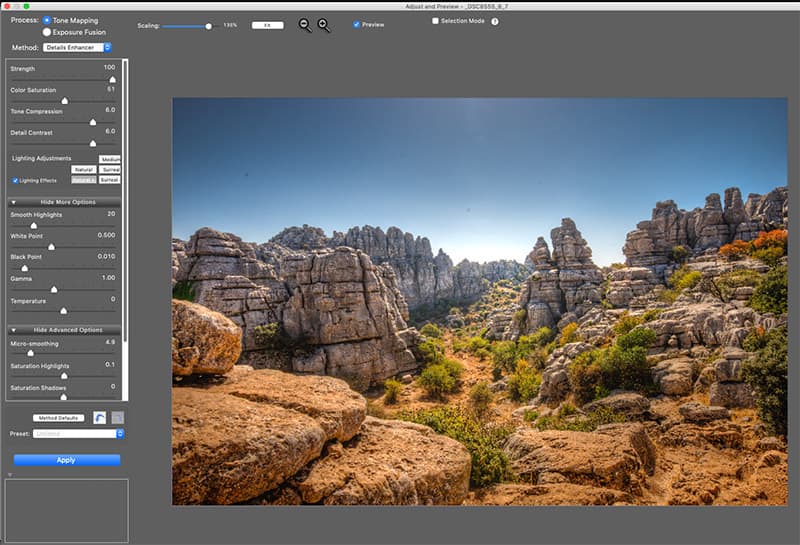
If you want to explore further HDR options beyond those found in Lightroom then there are plenty of dedicated apps out there, including many – like Photomatix here – that work as a plug-in for Lightroom, meaning you can export your images to the app with a right-click.
17. Correct for movement in HDRs
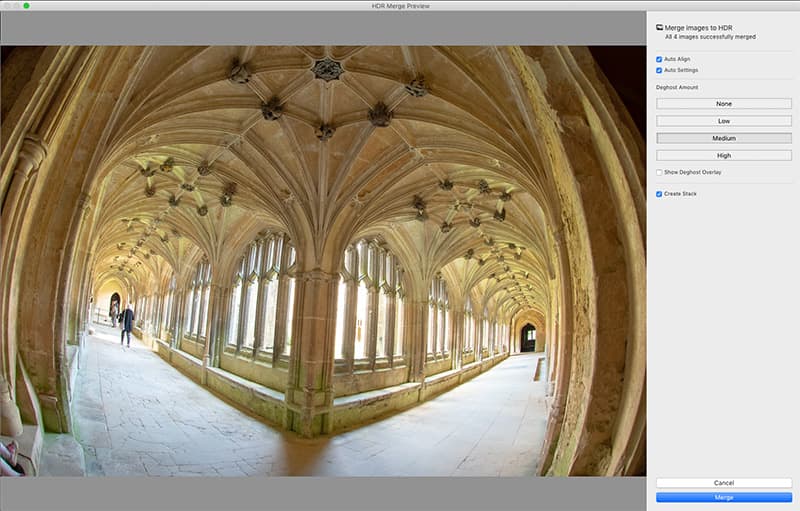
This seeks out movement and inconsistencies between frames, like blowing clouds, water or grass, and in areas where things have changed, it uses the information from a single exposure in the set, so that you don’t end up with messy areas of transparency. There are four strength settings to choose from. You can see how each affects areas of the image by enabling the overlay (Y).
Credit: James Paterson
18. Crop and correct after merging
It’s best to apply lens correction and transform settings to the combined HDR rather than attempt to make these corrections beforehand, as they’ll be discarded. However, if you’ve already spent time correcting one photo in the set, you can always sync the corrections with the HDR file once it’s merged.
19. Change the preview
The preview box for HDR and Panorama Merge can be dragged to resize it. However, for performance reasons the maximum resolution of the preview displayed within the box is only 1024px on the long edge (2048px for retina displays). As such, the image may initially look like it’s low quality.
Merge bracketed files that overlap in one go. Credit: James Paterson
20. Two merges in one
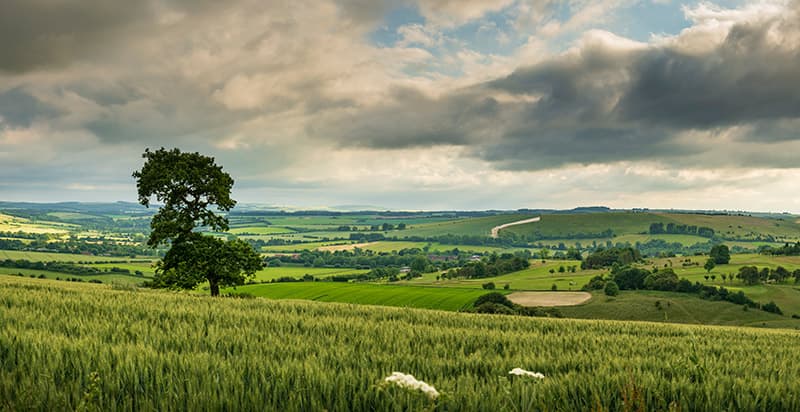
A recent update to Lightroom sees the introduction of a new combined HDR Panorama feature that lets you do both at once by merging bracketed overlapping frames into an HDR panorama. The HDRs automatically have the auto-align and auto-settings options turned on, so if you don’t want these to factor in then you’ll need to first create the HDRs manually before merging to a panorama.

