Being able to explore a new location or country is such an exciting opportunity for a photographer; seeing the world with a fresh pair of creative eyes and heading home with lasting memories and a fresh portfolio is a winning combo. But, travelling can be stressful at the best of times. Factor in luggage allowances, getting through security unscathed and keeping your kit safe and flying with expensive camera kit can suddenly seem a lot less appealing. It needn’t be complicated with a bit of forethought. Below are few tips for how to fly with camera kit and what to remember before packing for your travels. Staying organised and thinking about your kit ahead of time will help make your plane journey (and holiday) a breeze.
Flying with camera kit: Should I put my camera in the cabin or hold?
Even budget airlines allow every passenger to bring one small cabin bag person on board for free. With that in mind, it makes sense to minimise loss and damage by keeping as much kit on you as possible and taking your camera gear on as hand luggage.
Technically, there’s normally a weight restriction for hand luggage but an airline will be more concerned about the dimensions of your bag. If you’re not obviously struggling with the bag, it’s unlikely to get weighed.
Additionally, you may also be able to pay for a slightly larger or additional cabin bag. But this will vary according to the airline and the space available on the individual flight. You can always put a larger camera case in the hold to use when you reach your destination. Most dedicated camera roller bags allow you to remove and customise compartments, so you can fill a case with your clothes on the way out and reconfigure when you get there.
If flights are full and other passengers have crammed the overhead lockers with their duty-free, there’s a high risk you may be told to check your cabin bag. If this happens, you should keep cool and calmly inform a member of staff that your bag contains highly valuable items that exceeds the airline’s limit for lost luggage. It’s always advisable to get to your gate as early as possible. This gives you the best chance of getting to your seat and using a nearby locker.
Because of limited space you may find you aren’t able to store camera equipment in the seat in front of you, and many airlines make it a condition you must be able to easily disconnect and remove lithium batteries to reduce fire risk in an emergency. This is where priority boarding could come in handy.
Even with your kit nearby, it’s a good idea to pack carefully to minimise any damage if your bag falls out of a locker. Never pack cameras with a lens attached and always make use of body and lens caps for travel.
There are plenty of camera bags that are designed specifically for air travel. Although it’s also possible to purchase bag dividers if you want to repurpose a standard backpack. You can purchase standalone TSA locks to make sure your case is fit to fly and for extra security.
What camera kit should I take on holiday?
Of course, just because you’ve worked out a way to take all your camera kit away with you, doesn’t mean you have to. Getting on your plane is only your first hurdle, if you’re doing any more ground or rail travel that extra weight may soon become a burden. You might also want to think about the risks involved in carrying around high value, bulky kit – especially if you’re going to an area you don’t know, or you aren’t sure how secure your accommodation is.
Think carefully about your lens selection as this will contribute to the weight the most. Although there’s an element of guesswork, think ahead as to what you might be shooting. Try and cover your possible focal lengths. You might also want to pack a prime lens (35mm or 50mm lengths are popular) and a wide lens will be invaluable for your landscapes.
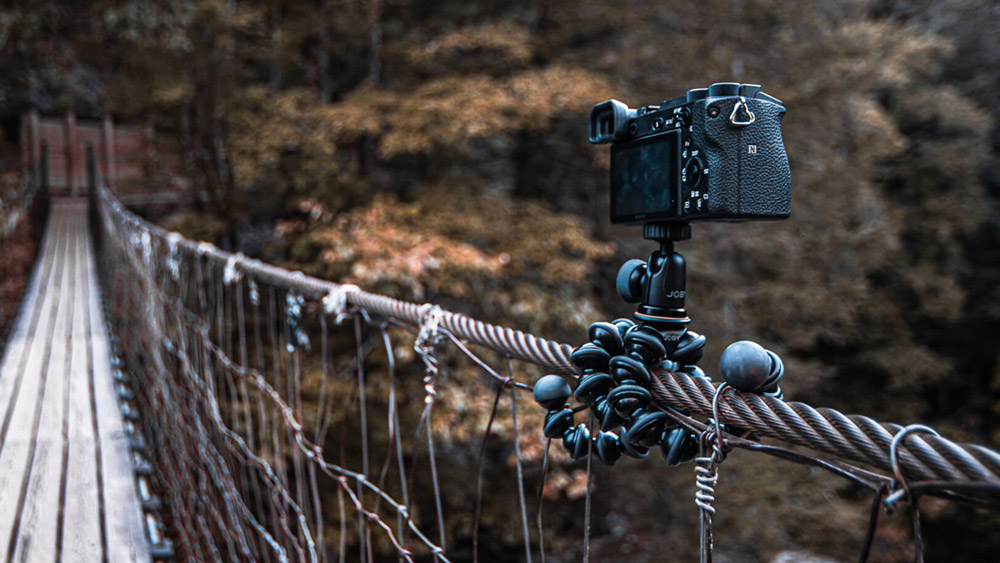
Although many cabin cases come with attachments for tripods you may these very cumbersome and cause a bit more hassle when checking in or in onward travel. It may also count as ‘bulky luggage’ if the flight is full. The Joby GorillaPod range makes for a great, versatile and lightweight alternative and there are many different sizes available to suit compact, mirrorless, DSLR cameras, tablets and accessories.
Flying with camera kit: Getting through airport security
The panicky, rushed security queue contributes so much to the stress of flying. Even the most seasoned flyer can come a-cropper and forget a basic rule that can lead to the embarrassment of having personal items sprawled out in public.
Although security have bigger fish to fry than photographers, it’s worth remembering the following for a smug saunter through the scanner…
Flying with camera batteries
Spare batteries should only ever be placed in your cabin bag, not in the hold. It’s not unusual to have a maximum limit of two, spare Lithium-ion batteries in carry-on luggage.
Always use protective terminal covers and don’t carry loose batteries with the terminals exposed together. If they come in contact, this is a serious fire hazard.
Flying with lens cleaner
This is an easy one to forget about when you’ve been focussing on your shampoos and deodorant, but don’t forget to separate your lens cleaner. You must take no more than 100ml and this should be stored in a single, transparent, resealable bag (a zip lock freezer bag is fine). You aren’t allowed to knot or tie these bags and your liquids must not exceed over 1 litre in total.
Flying with electronic devices
All electronic devices must be screened separately. When you get to the security counter it’s worth placing your electrical items such as your camera and laptop in a separate tray to the rest of your belongings to avoid any hold-ups.
Flying with memory cards
There’s very little to worry about here. There’s no danger of anything on your memory card being wiped by X-Rays (though it’s probably best to turn your camera off to avoid any accidental formatting). It’s a different story if you’re flying with film…
Getting through airport security with film
You must take extra precautions when travelling with camera film. When you send your unused or undeveloped film through a security scanner there’s a high risk it will be damaged by harmful X-rays.
Cabin luggage scanners won’t be as powerful as X-rays used to check bags going into the hold, so it’s preferable to keep your film with you in your hand luggage.
If possible, try not to load cameras before you travel and use up film before you arrive home – this should help minimise any nasty effects. Of course, one sure-fire way to make sure you aren’t affected is to get your film processed whilst you’re away as developed film won’t be damaged. If you know exactly where you’re heading you might want to research this in advance.
If this isn’t possible there are a few things to minimise the risk:
- Suggestions are that lower ISO speed film is generally less susceptible to X-ray damage. This might be too limiting for you as a photographer, but it’s worth noting.
- Keep your film in a separate, see-through bag in a similar way you pack liquids and personally hand to security for inspection. This may skip X-ray scanning altogether, although you can’t guarantee it.
- You can easily purchase lead-lined, radiation-resistant bags. They vary in price depending on the size but average around £30-£50. However, Kodak warns these bags may trigger a more thorough inspection process themselves.
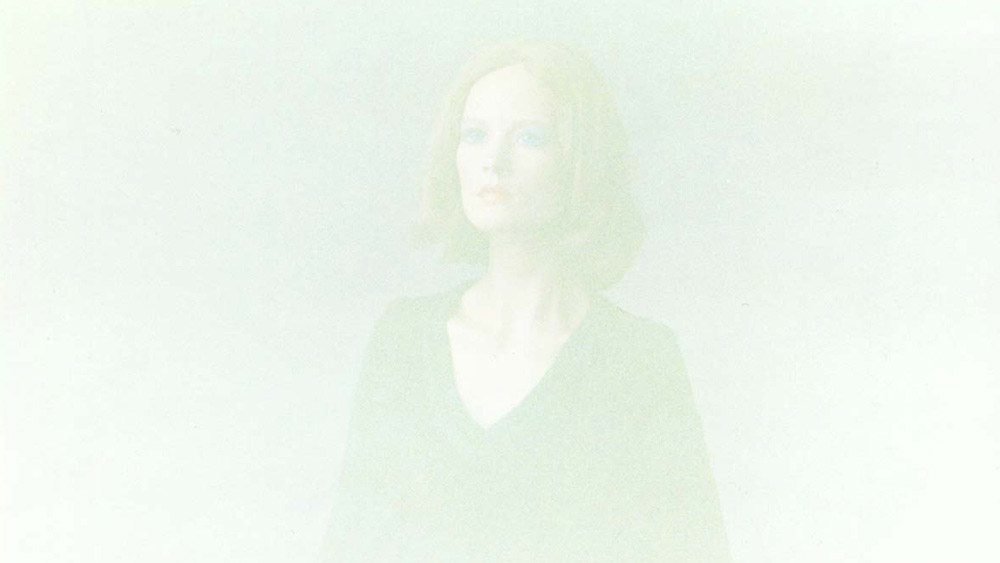
These images, provided by Kodak, show the effects of full bag scanning equipment and how they can affect camera film. Effects are shown before scanning, after one scan and after five scans.
Taking drones on an airplane
For the most part, you can use all the information above for drones. However, if you’re flying with an airline or country affected by FAA’s regulations, you’ll need to pay special attention to the Wh (watt-hour) of your drone’s battery. If your batteries are below 100 Wh, restrictions shouldn’t affect you. However, if they’re between 101-160Wh you may be limited to two batteries. As a guide, most DJI Mavic batteries are below 100Wh. For peace of mind, you may wish to purchase a Battery Safe Bag.
Top 5 Carry-On Cabin Bags for Flying with Camera Kit
Best camera cabin bag for large kit: Lowepro Pro Trekker RLX 450 AW II
RRP | £398.95 / $429.99
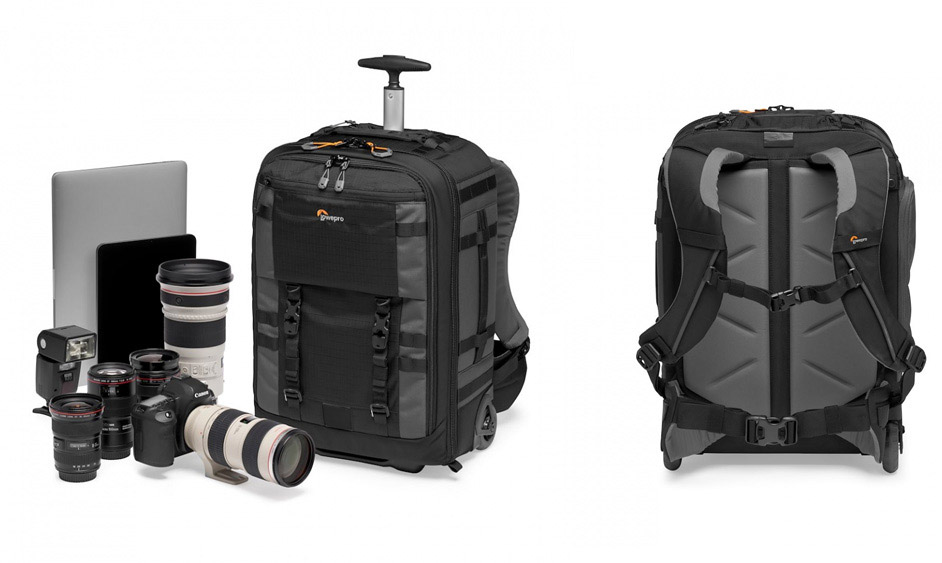
- Fits 2 Mirrorless/DSLR bodies, one with 200mm and 5-6 extra lenses
- Space for 15” laptop, 10” tablet plus Wacom
- Converts from backpack into roller and includes stowable straps and waist belt.
Most durable camera cabin bag: Manfrotto Advanced Rolling Camera Bag III
RRP | £227.95 / $249.99
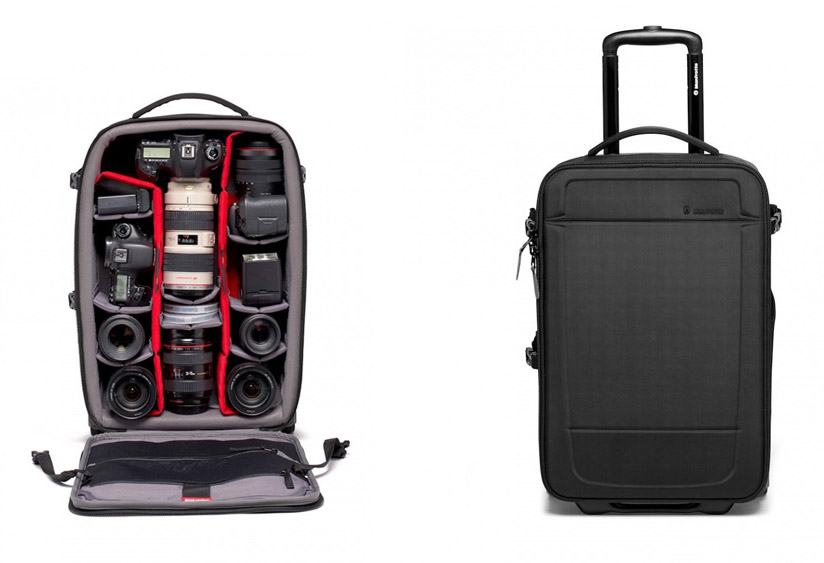
- Carries 1-2 camera bodies, 5-6 lenses and a 15-inch laptop
- Hard-shell exterior
- Heavy duty zippers
Best camera cabin bag for expeditions: Peli 1510 Carry on Case with Dividers
RRP | £392.60 / $229.95
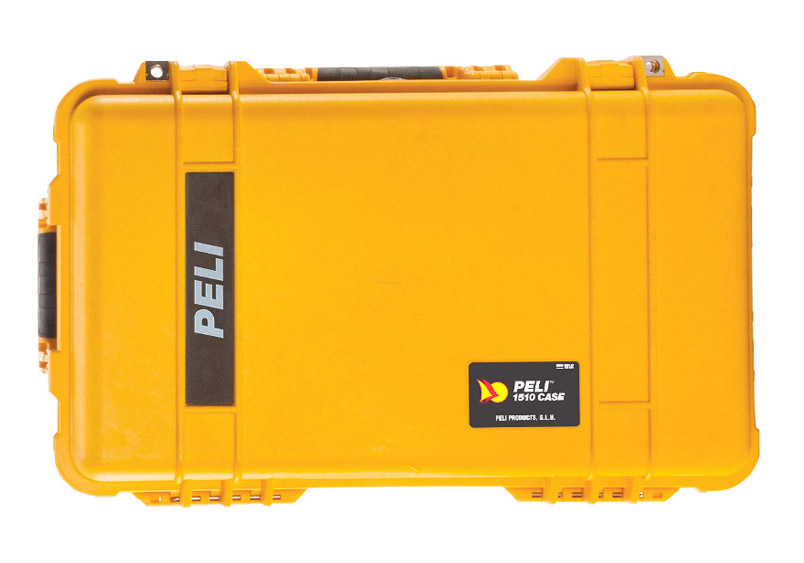
- Watertight, crushproof and dustproof
- Retractable trolley handle, top and side handles
- Automatic pressure equalisation valve to balance interior pressure
Best camera bag for US air travel: Think Tank Photo Airport International V3.0
RRP | £419 / $439.75
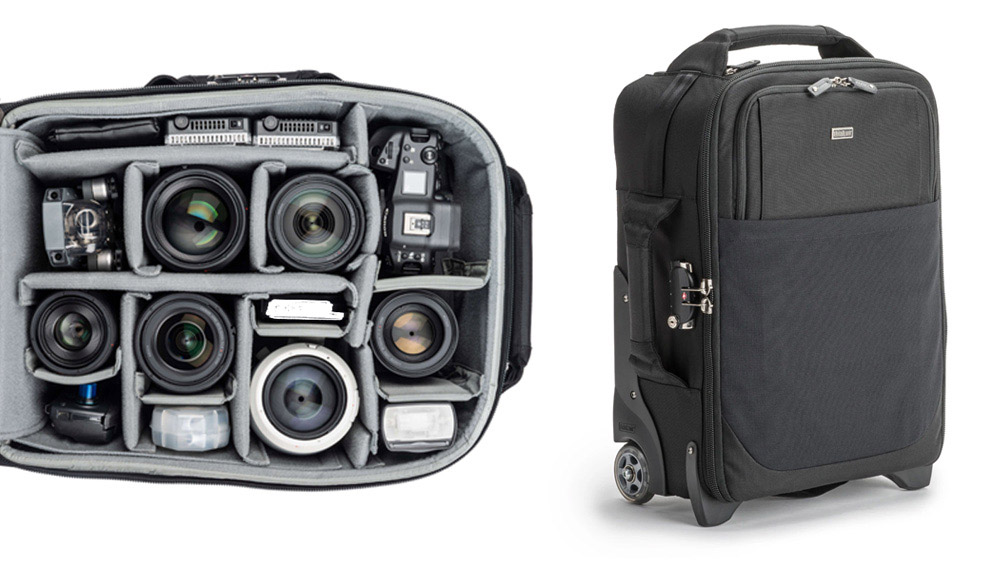
- TSA-accepted zipper locks for main compartment
- Cable lock to secure to an immovable object
- Rain cover included
Best value camera bag for air travel: Vanguard VEO BIB F27 Bag-In-Bag
RRP | £49 / $79.99
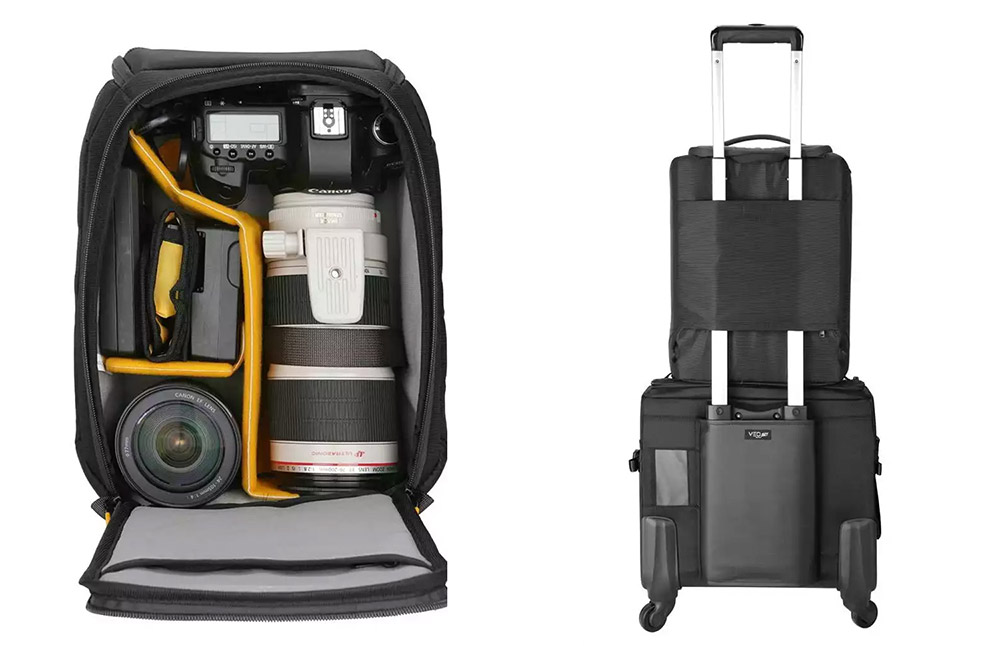
- Double purpose – used as an insert or separate, small bag
- Top handle and removable shoulder strap
- Front access to full kit
Final thoughts
The rules for all airlines vary, and your destination may affect guidance too. So make sure you thoroughly inspect the small print before you set off.
A couple of good places to start you off are:
Remember to remain polite, helpful and patient. The rules are enforced to keep everyone safe, and a good attitude will help your fellow photographers in the future.
Article by Emma Davenport. Featured image: Erik Odiin, Unsplash
Further reading
The best travel cameras and holiday cameras available now!
How to create outstanding travel photographs and where to visit
Get better adventure, wildlife and portrait photographs whilst travelling

