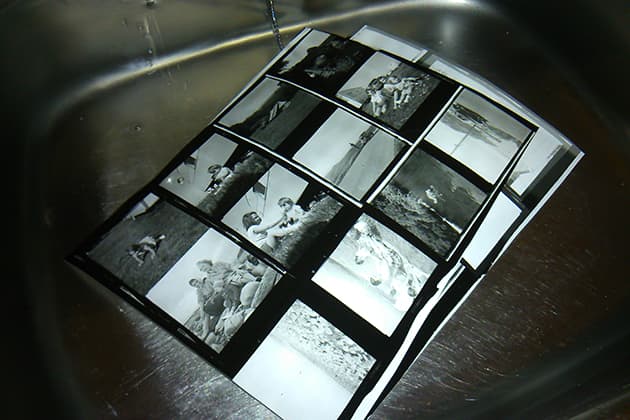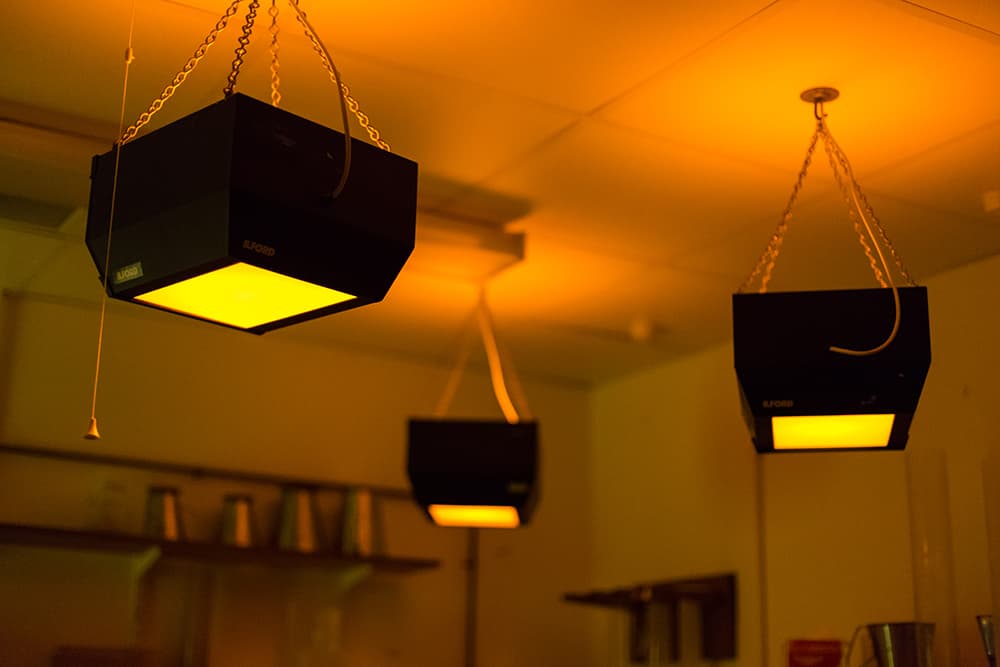
If you don’t have room for your own darkroom, consider renting one.
Selecting the right film
Ilford, Kodak, Fujifilm and countless smaller, independent brands still make film. The beauty of analogue photography is that each one has its own look and characteristics, which makes the choice often one of taste. Consider factors such as exposure latitude (how forgiving of under or over exposure your film is), and versatility of processing. Consult the manufacturer’s data or forums such as the APUG, www.apug.org.
Getting films processed
There are many colour film processing and developing services on the high street, and most offer an additional scanning service. Black & white film requires a more specialist processing service but there are plenty of options available including the Ilford Lab (www.ilfordlab.com). Emulsive has a growing list of labs recorded on an interactive map, which you can see here.
Developing your own film
Developing and processing your own film is easy once you get the hang of it. The equipment required is minimal and includes a small spiral tank, chemicals and something to open the canister with. A changing bag comes in handy for loading spirals in darkness, but it’s not essential. If you have a room you can throw into total darkness that’s great, as the extra space comes in handy. Practice loading your spiral in the dark with a scrap of film.
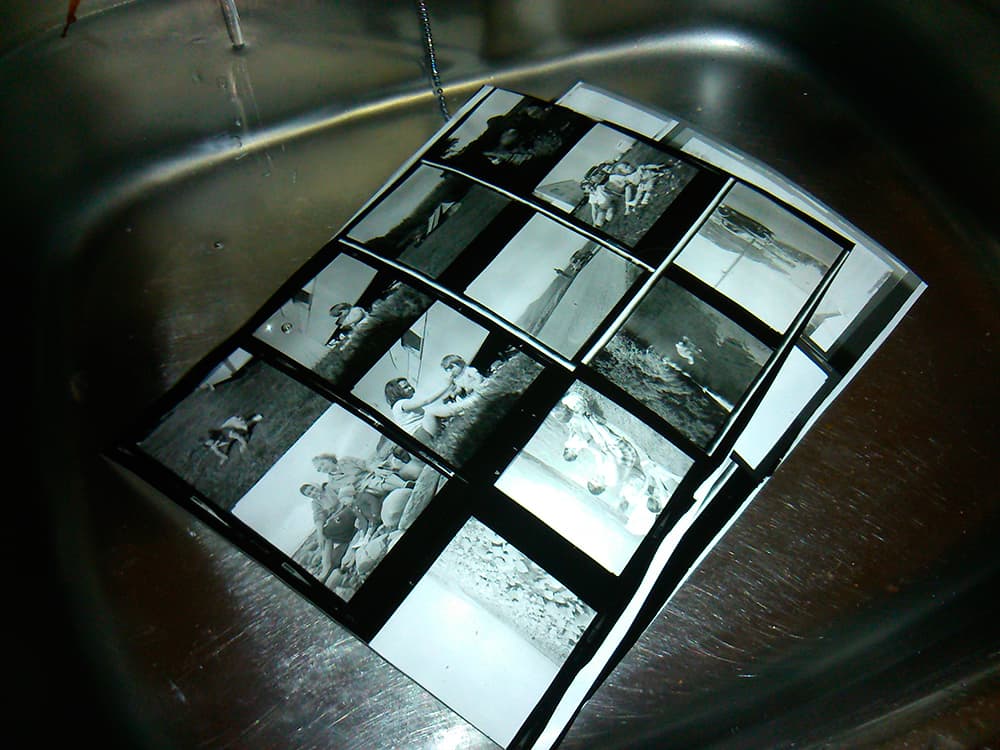
You don’t need a great deal of space to set up your own darkroom, but a reliable source of running water is preferable.
Using chemicals
Photo chemistry covers everything from paper and film developers to fixers and toners. Developers are usually specific to films or papers, but stop bath and fixers are often universal, so check manufacturer’s websites for recommendations. If you’re starting out, opt for a liquid concentrate developer, stop bath and fixer. These are easier to mix than powders and will get you up and running quickly.
Avoiding contamination
One of the biggest mistakes people make is contaminating the processing solutions. Getting fixer or stop bath in your developer will ruin it and cause staining on your prints. If you are using tongs don’t put them in the next tray – always release the print and put the tongs back in the original tray.
Choosing the right paper
There are two main types of photo paper, Resin-Coated (RC) and Fibre-based (FB). RC is the best for beginners and while FB offers the ultimate in image quality, it’s harder to handle. Papers come in a variety of surfaces and tones including glossy, pearl, lustre, matt and semi-matt, as well as cool, warm and neutral tones. To begin with use RC paper in a neutral tone.
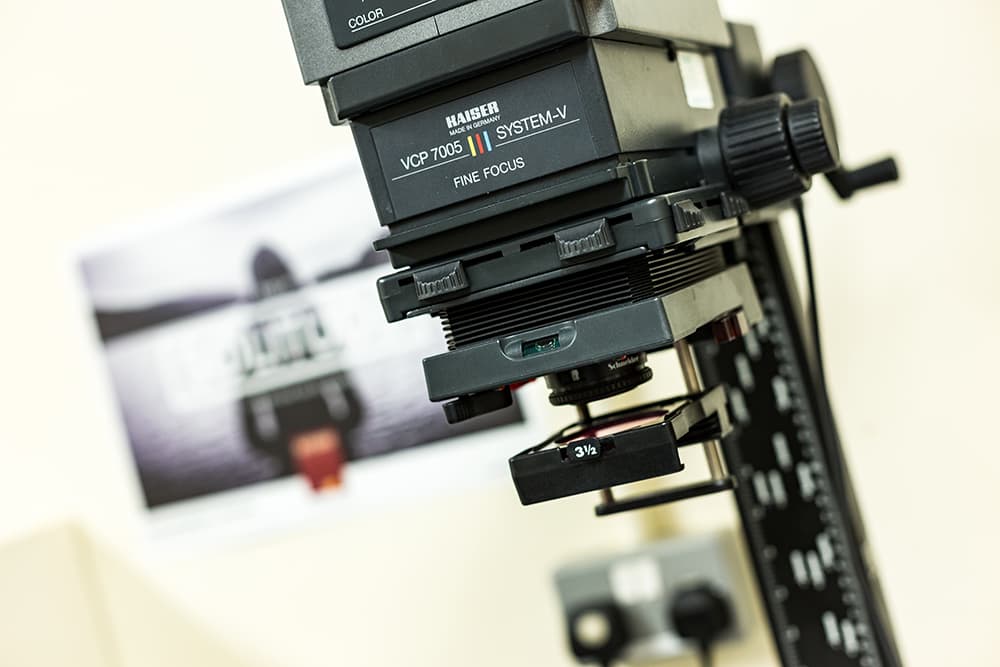
New enlargers are still being made, but you can also purchase great second-hand models.
Choosing an enlarger
Look for an enlarger that accommodates 35mm and 120 negatives with 50mm and 80mm lenses, and make sure it comes with a power supply and timer unit. Check the movement on the column is smooth, and the focus mechanism works properly. Buy a good-quality easel and a focus finder.
Variable contrast papers
Variable contrast papers are more versatile than fixed contrast papers, but unless you have a variable contrast printing head you’ll need a set of variable contrast filters too. Alternatively a colour enlarger head can be used by adjusting the yellow and magenta filtration. Dedicated filters such as Ilford Multigrade filters will give the widest contrast range, and are speed matched with predefined grades (so easy to use). Multigrade filters work with black & white enlargers and colour enlargers in white light mode.
Where to go for advice
Online resources for film lovers include Emulsive (emulsive.org), I Still Shoot Film (istillshootfilm.org) and APUG (apug.org).
Matt Parry is an award-winning travel photographer and regular contributor to magazines. He recently joined Harman Technology (Ilford Photo) as their marketing manager.
Neil Hibbs has been working in the analogue photo industry since 1988. As both the lab and technical services manager at Harman Technology he can often be found in the darkroom offering advice to photographers. Visit www.ilfordphoto.com
Setting up a minimalist darkroom
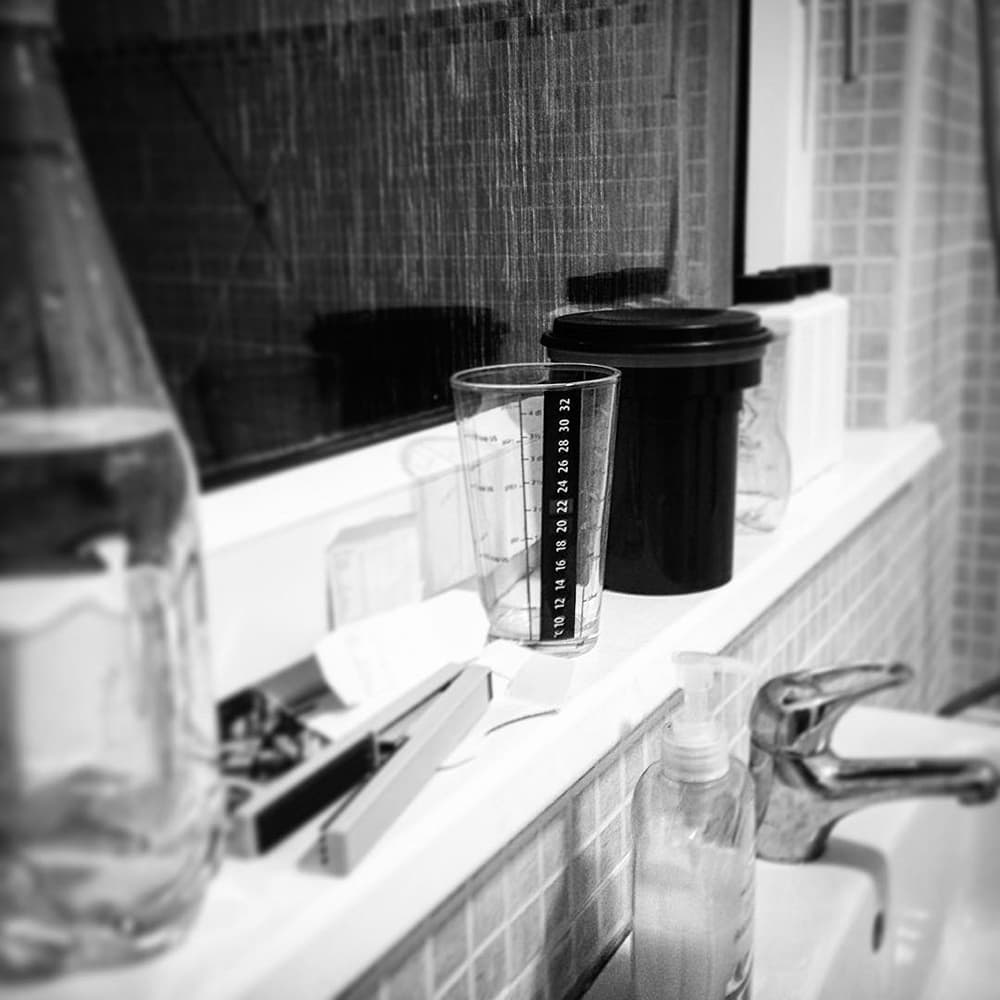
Working in the bathroom will allow you access to water and a window for ventilation.
Before I set up a tiny developing station in my bathroom, I didn’t feel I could experiment with different kinds of film or push-processing. Failure was too expensive, and it was getting embarrassing trying to explain what I was hoping to achieve to my local film lab. With a desire to cut down on the cost and waste of using film, and excited to get into the chemistry side of it all, I set out to find the minimum I would need to start developing my own photographs.
- I wasn’t impressed by some of the starter packs available – they seemed to come with a load of stuff I didn’t need, or could find lying around the house. I started out with a Paterson daylight developing tank, a kitchen measuring jug with an aquarium thermostat stuck to the side, a large syringe (minus the needle) for measuring out chemicals and a cheap negative scanner.
- A lot of equipment can be improvised. I use bulldog clips from my office stationery cupboard to hang my films up to dry. I use the bottle opener on a penknife to crack into my film canisters. You do not need to buy collapsible chemical bottles, film clips or canister openers.
- The hardest part of developing film is getting it out of the canister, onto a reel and into the developing tank in the dark. Practice with the lights on and a roll of film you don’t need. Spend an evening watching TV and putting film on and off the reel until you can do it on autopilot.
- Changing bags can be fiddly when you’re starting out. If you have a cupboard under the stairs it’s probably dark enough with the lights switched off at night. Block up any cracks with towels. Once the film is in the tank, the chemistry can take place in the bathroom with lights on.
- Set some realistic objectives. Start with a small art project, not with an irreplaceable film from a friend’s wedding. For starters develop some forgiving 35mm black & white film (Ilford HP5 Plus is a good choice for novices).
- Once you’ve mastered the process, move on to medium-format film or paper prints. Completing a simple project well is much more rewarding than making mistakes on work your local lab could do easily. There are still things I take to the expert at my local film lab.
Simeon Smith is a digital creative with an analog heart. He produces music and videos in south Wales, and carries a 1938 Leica IIIa camera everywhere. He spends too much time on Twitter and Instagram (@_simeonsmith). Visit www.awonderfulkindofimpossible.co.uk.
Darkrooms for hire
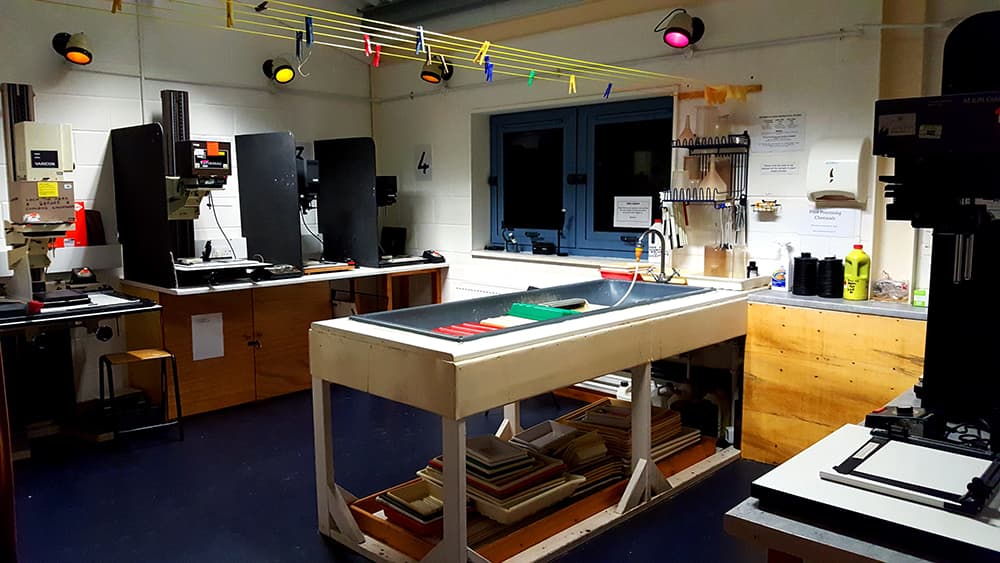 St Pauls Darkrooms, Bristol
Whether you like to print on your own or in a group, St Pauls Darkrooms can accommodate your needs. Facilities include black & white and colour enlargers, and a film development area. www.stpaulsdarkrooms.wordpress.com.
Photofusion Photography Centre, London
Photofusion has technicians on-hand to help you hone your printing skills. You can’t process your films on site, but the team offers a film processing service. www.photofusion.org.
Street Level Photoworks, Glasgow
Street Level Photoworks runs exhibitions and education programmes, as well as providing access to a darkroom equipped for black & white processing and developing. www.streetlevelphotoworks.org.
The North London Darkroom, Tottenham Hale
The North London Darkroom opened to members in 2012. You can produce fibre-based prints up to 20x24in here, and process black & white film too. www.londondarkroom.com.
Some Cities, Birmingham
Whether you’re an experienced practitioner, or you’ve never used a darkroom before, the darkroom at Some Cities is a welcoming space for all abilities. You are encouraged to book a workshop or participate in a private tutorial, but for many photographers the basic induction will suffice. www.some-cities.org.uk/darkroom.
Rapid Eye, Shoreditch, London
Photographer Lee Williams founded Rapid Eye in 1996 as an affordable colour darkroom and film-processing facility, where artists could experiment with ideas and techniques. Here you can hire one of three darkrooms, each equipped with colour enlargers. www.rapideye.uk.com.

