The average interchangeable-lens camera is today so advanced that many of the things it offers will perhaps never be called upon by the average user.
While it’s likely that many of these options will be preferred at their default settings, it’s possible that those small quirks you find inconvenient can be ironed out with just a few button presses.
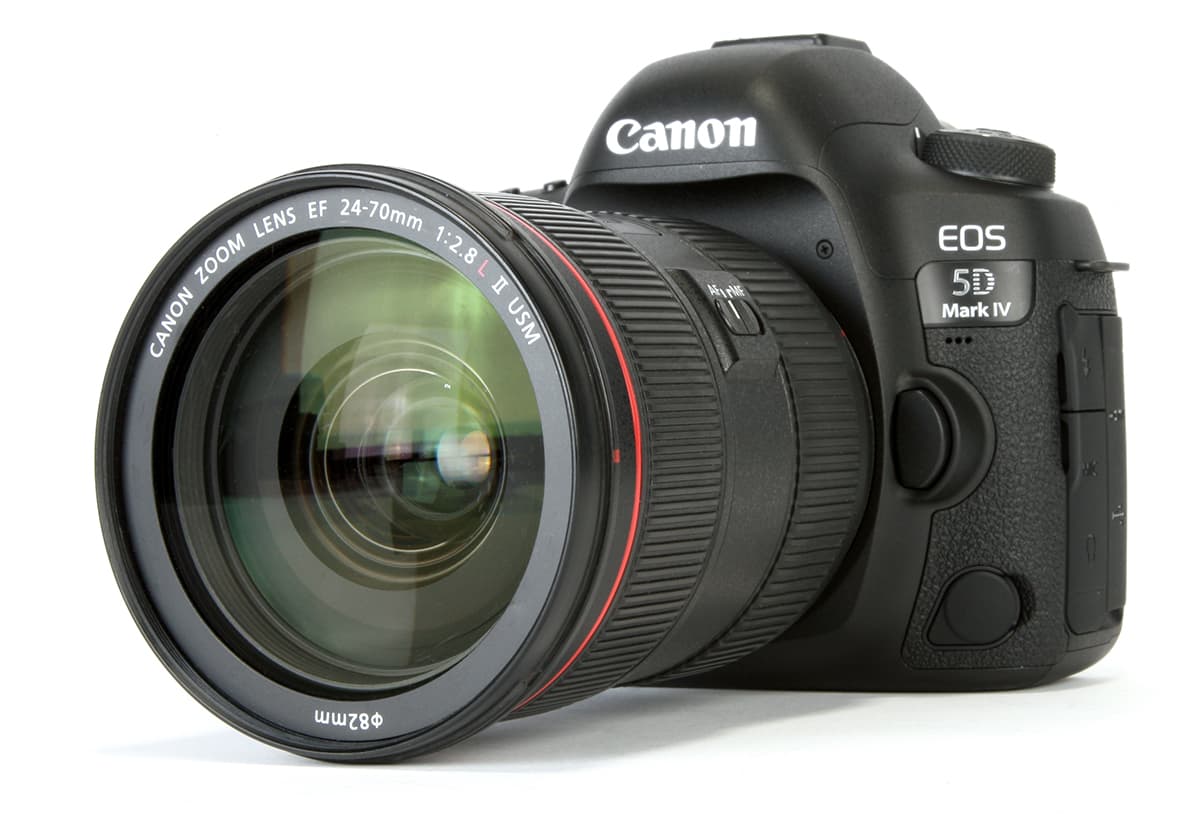
In the first of a two-part series, we investigate what’s possible using the Custom Menu and look at when you might want to adjust these options. We’ve used the menu of the recent Canon EOS 5D Mark IV as a guide to what’s available on the Canon EOS system, although it’s worth bearing in mind some of the described features may be different or may not appear on models elsewhere in the line.
1. Exposure
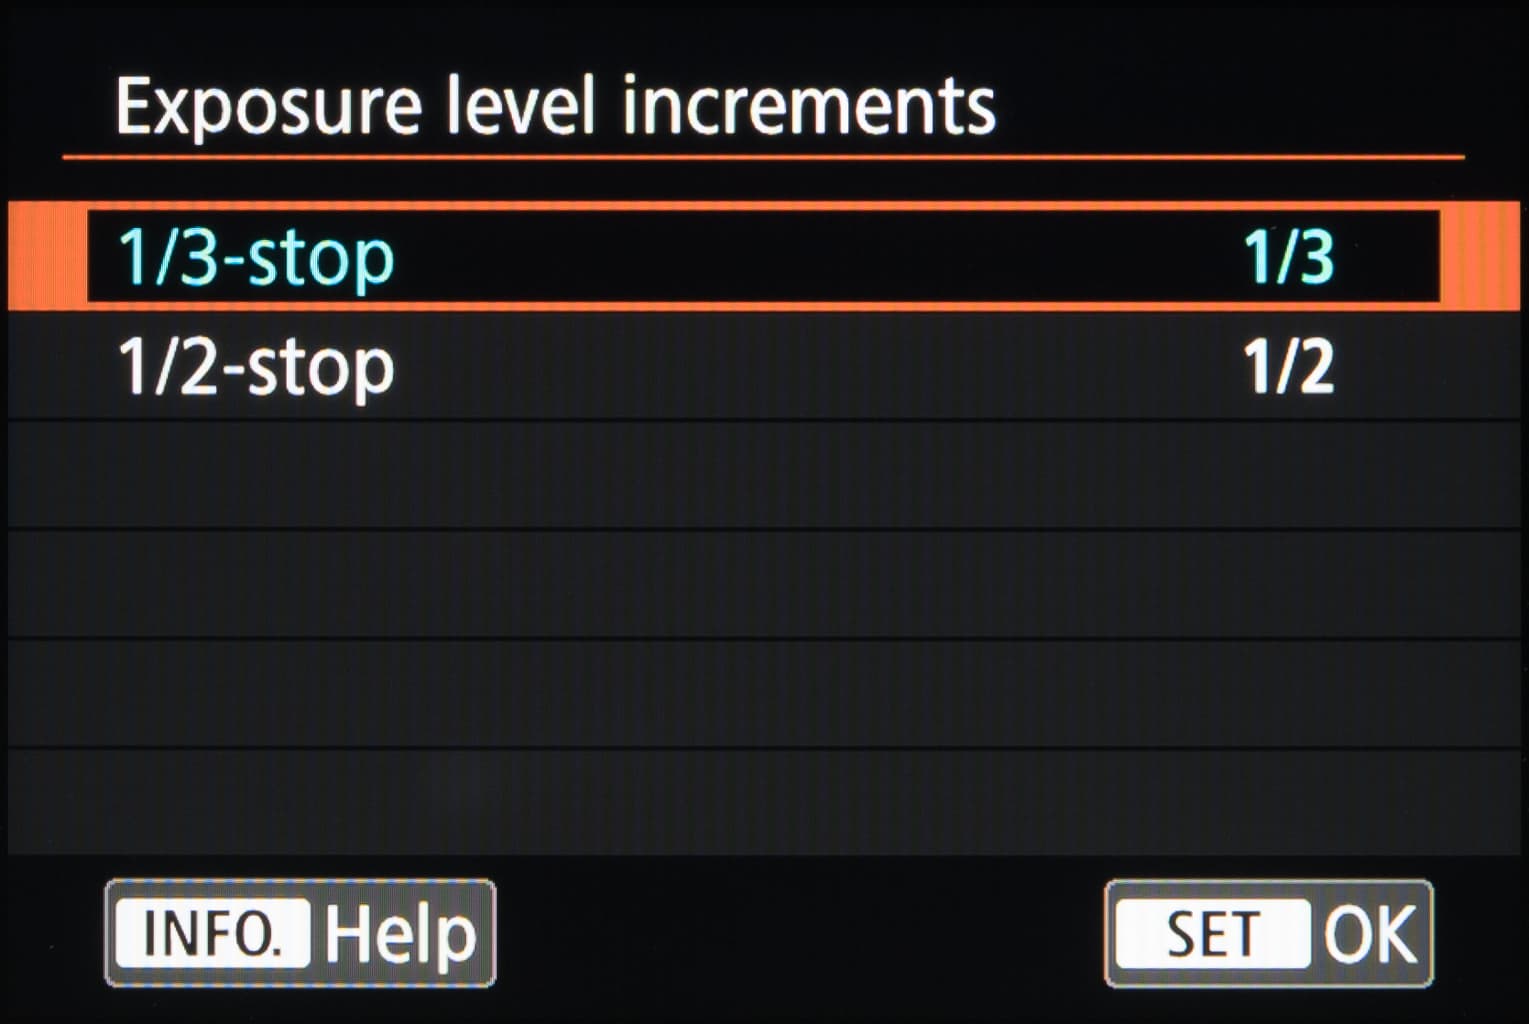
Exposure Level Increments
Most cameras can have their exposure settings regulated in 1/3-stop increments, whether you’re setting shutter speed, using exposure compensation or something else. If you find this to be too fine, however, you can alter this to work in 1/2-stop increments instead.
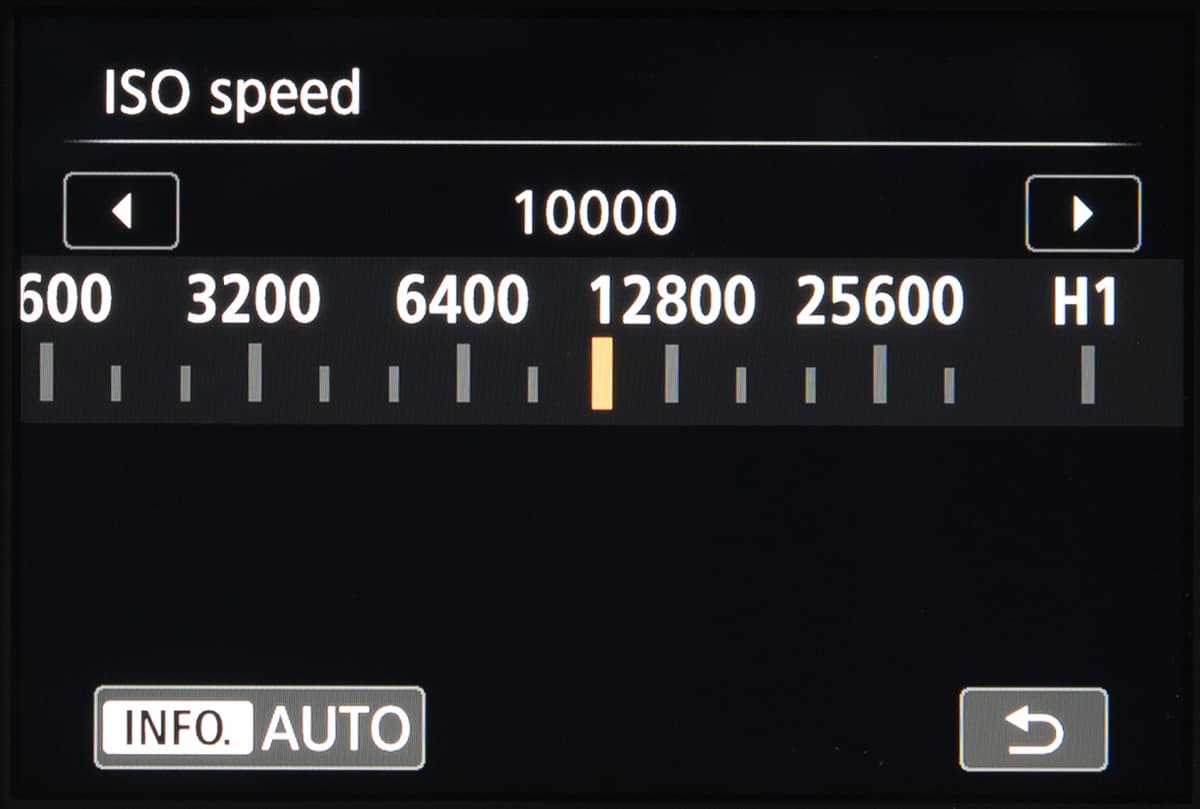
ISO speed setting increments
If you don’t fancy using any of the 1/3-stop ISO settings such as ISO 160 and ISO 500, this option will let you adjust sensitivity in whole-stop increments instead. It won’t, however, have this effect when ISO Auto is selected, nor will disable the use of a maximum sensitivity that’s not a whole-stop ISO (such as ISO 32,000).
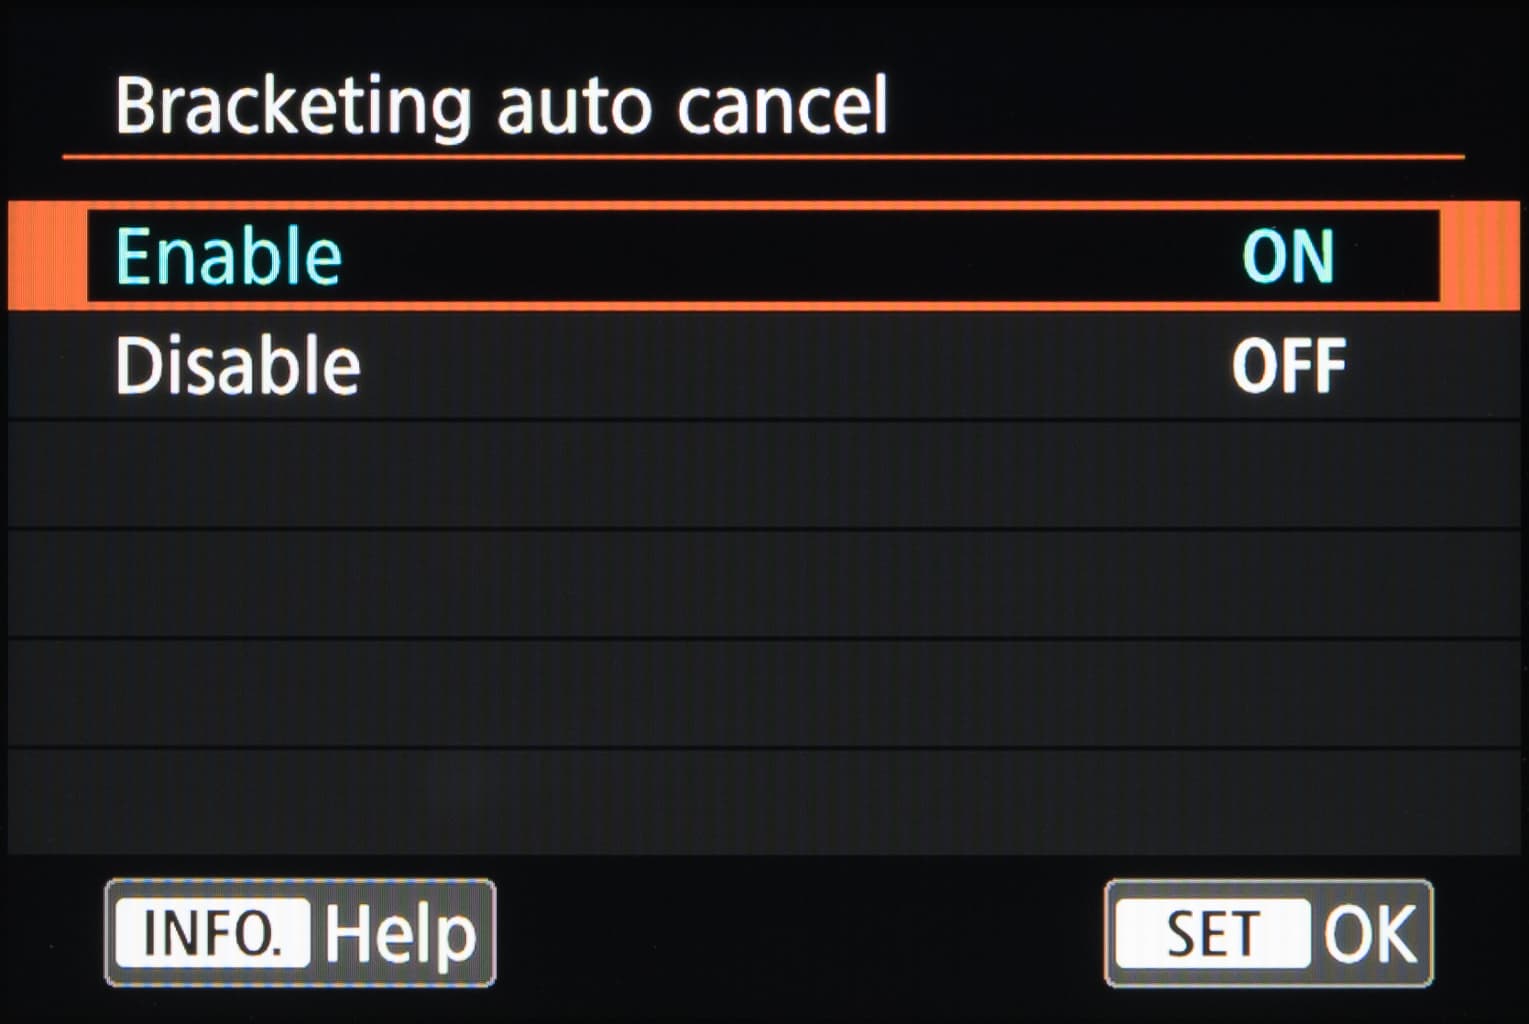
Bracketing auto cancel
Powering off the camera normally has the effect of cancelling any bracketing option you’ve selected; this setting allows you to specify whether you want this to be the case. You may find this useful if you tend to use bracketing with some frequency but are in the habit of turning off your camera to conserve battery life.
Bracketing sequence
Canon’s DSLRs set to a bracketing option usually first capture the standard image before capturing the two additional frames. If, however, you would prefer for the camera to sandwich the standard frame in between the additional ones, you can use this option to set the sequence in either direction.

Bracketing is useful in scenes with a wide dynamic range, and you can change the order in which images are captured
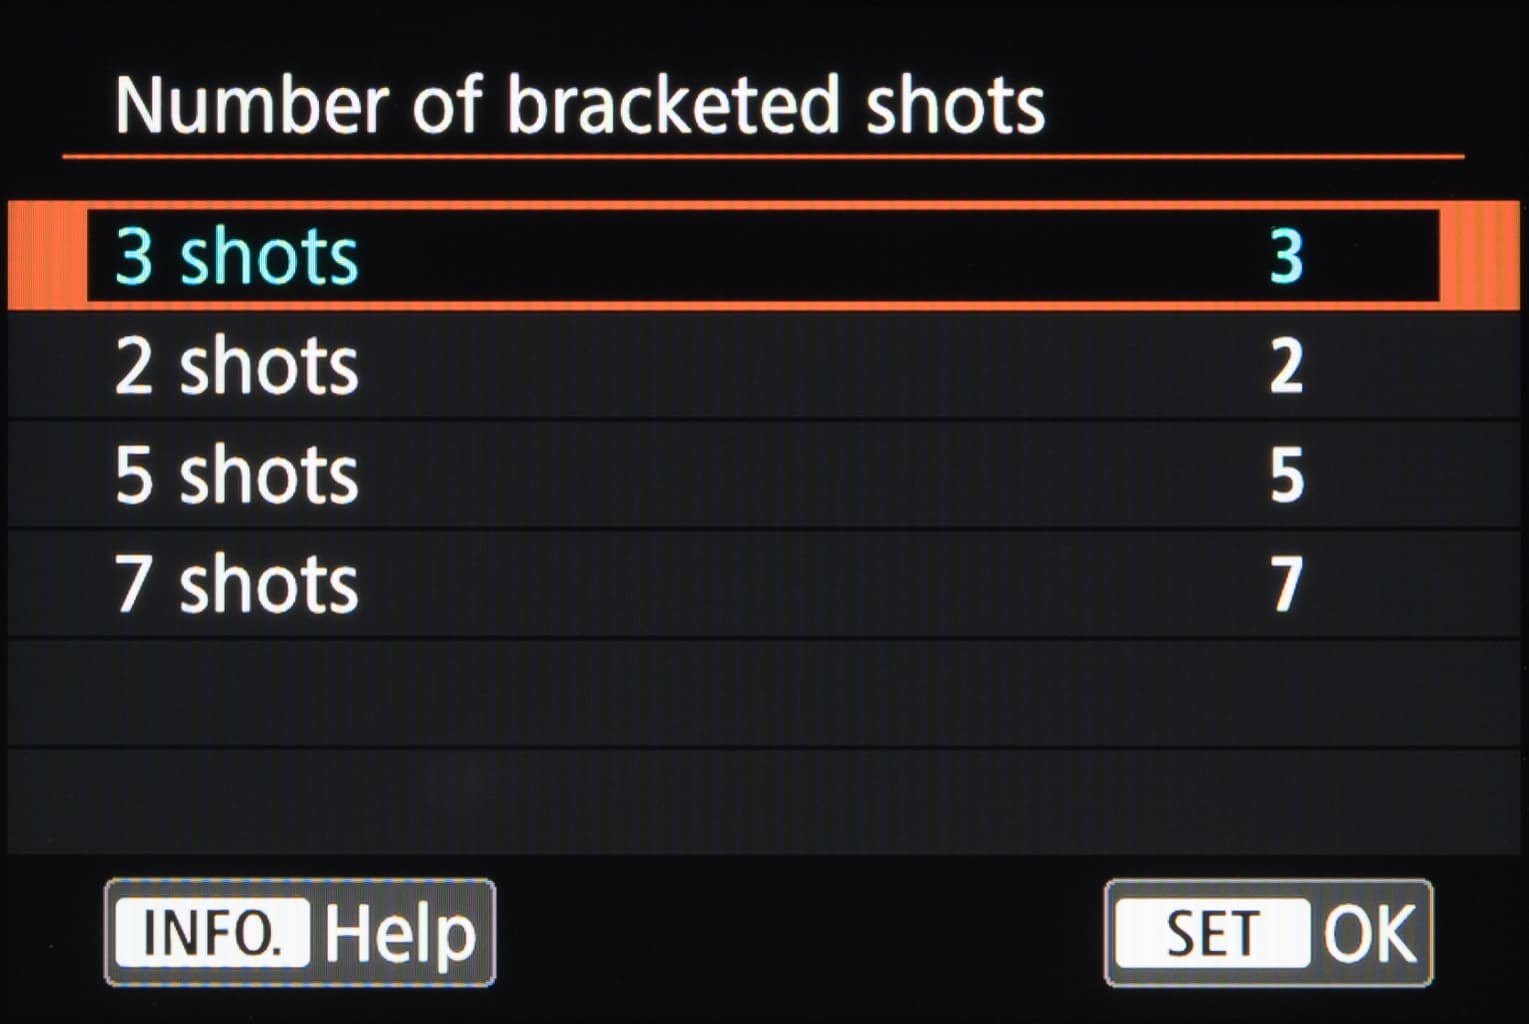
Number of bracketed shots
When using bracketing for exposure or white balance, the default number of bracketed images will be three: one standard image and one on either side of this. You can, however, capture two or four additional images, with whatever bias you’ve selected applied to an even greater extent, to make a total of five and seven images respectively. Alternatively, you can set this to two images in total, which removes one of the additional images of your choosing.
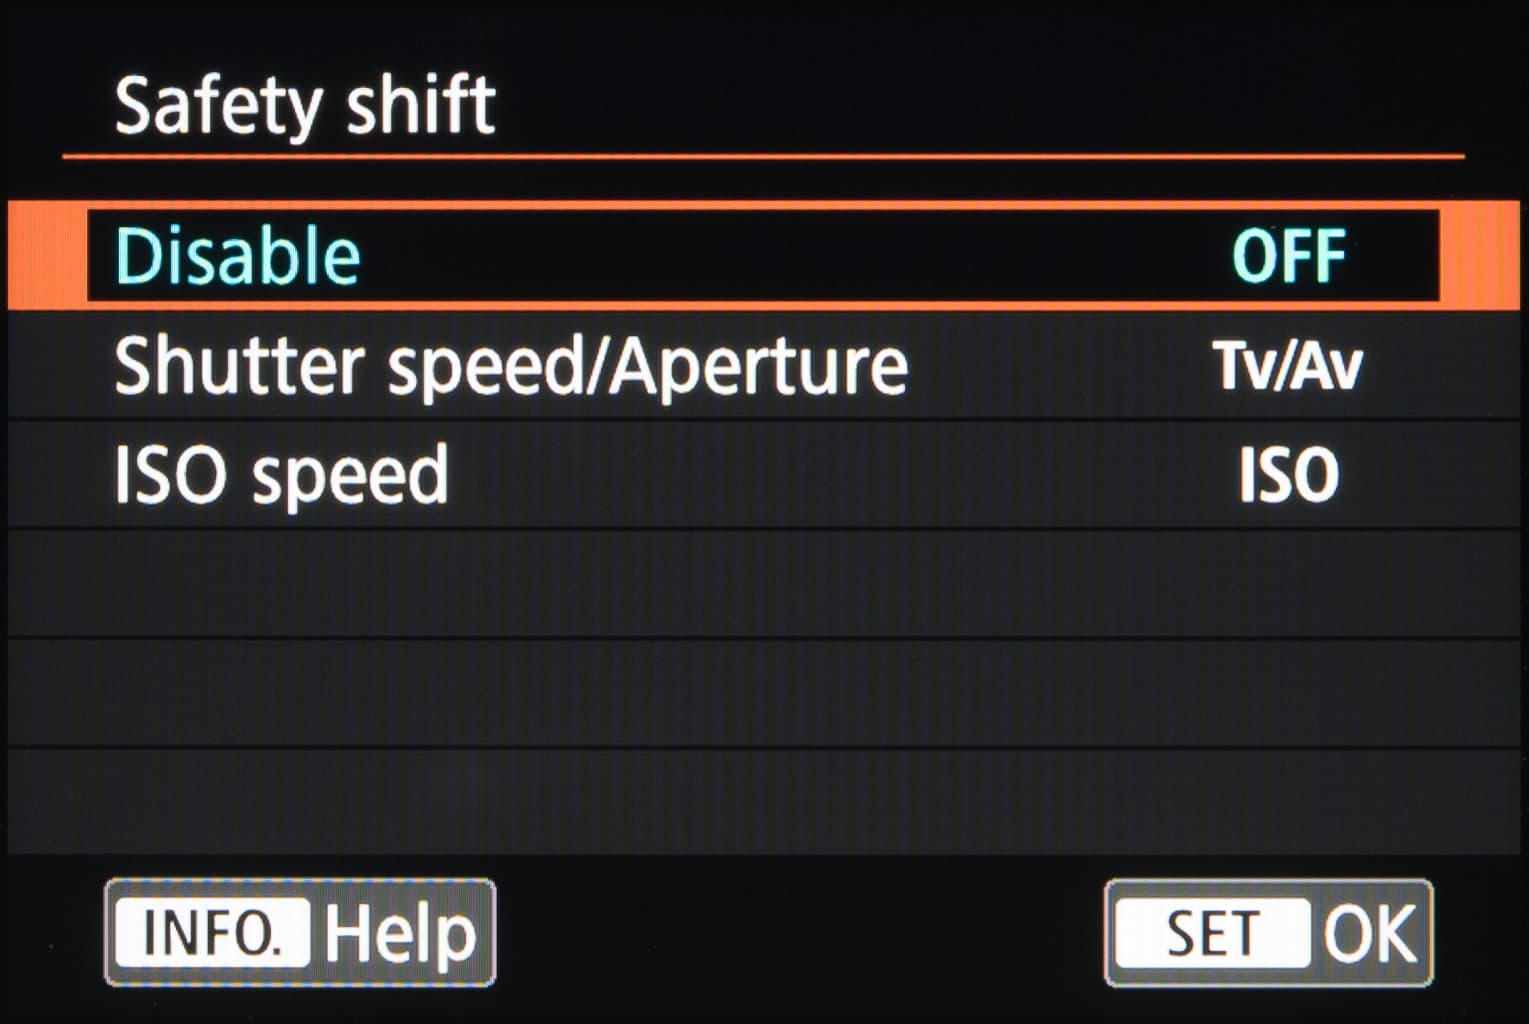
Safety shift
Ever try to capture an image and see the shutter speed or aperture flashing? Your camera is telling you that it cannot manage do so within aperture range or shutter speeds available at your chosen settings. This option adjusts the manually selected value in either Tv or Av modes to get around this, although you can also choose to apply this to the ISO settings instead.
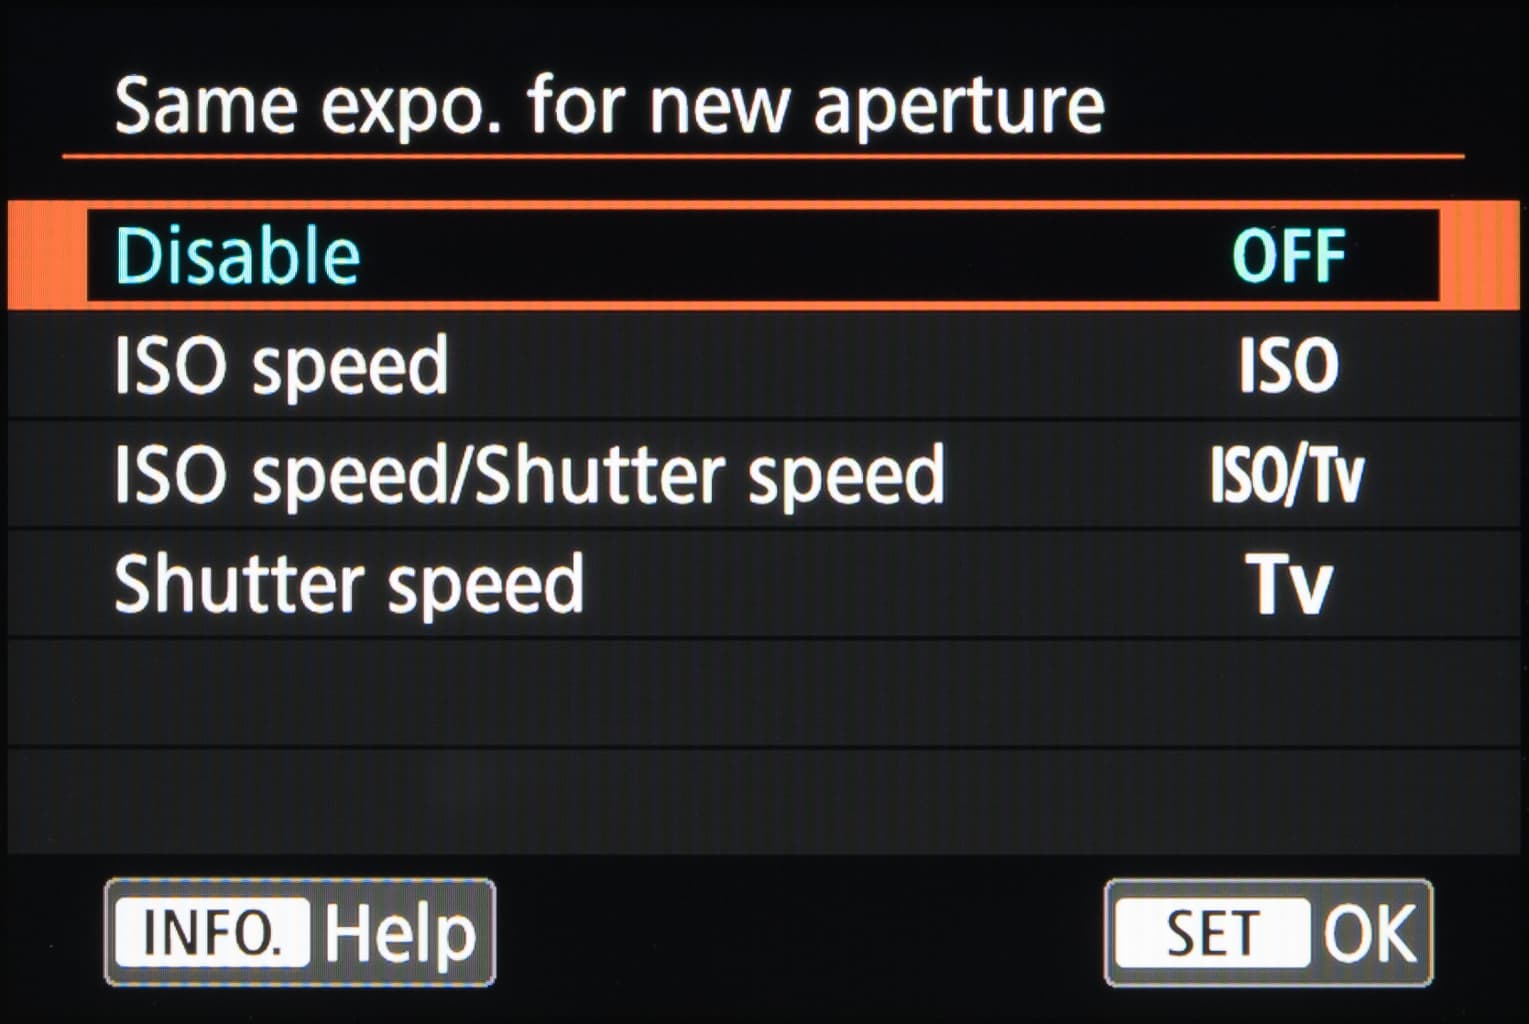
Same exposure for new aperture
This option maintains the same exposure in the manual exposure setting whenever you have a different maximum aperture to work with. This could be because you’ve changed the lens to another or you’re using a zoom lens with a variable maximum aperture, or alternatively when using an Extender, and you can specify whether the ISO, shutter speed or both change to compensate for this.
2. Exposure
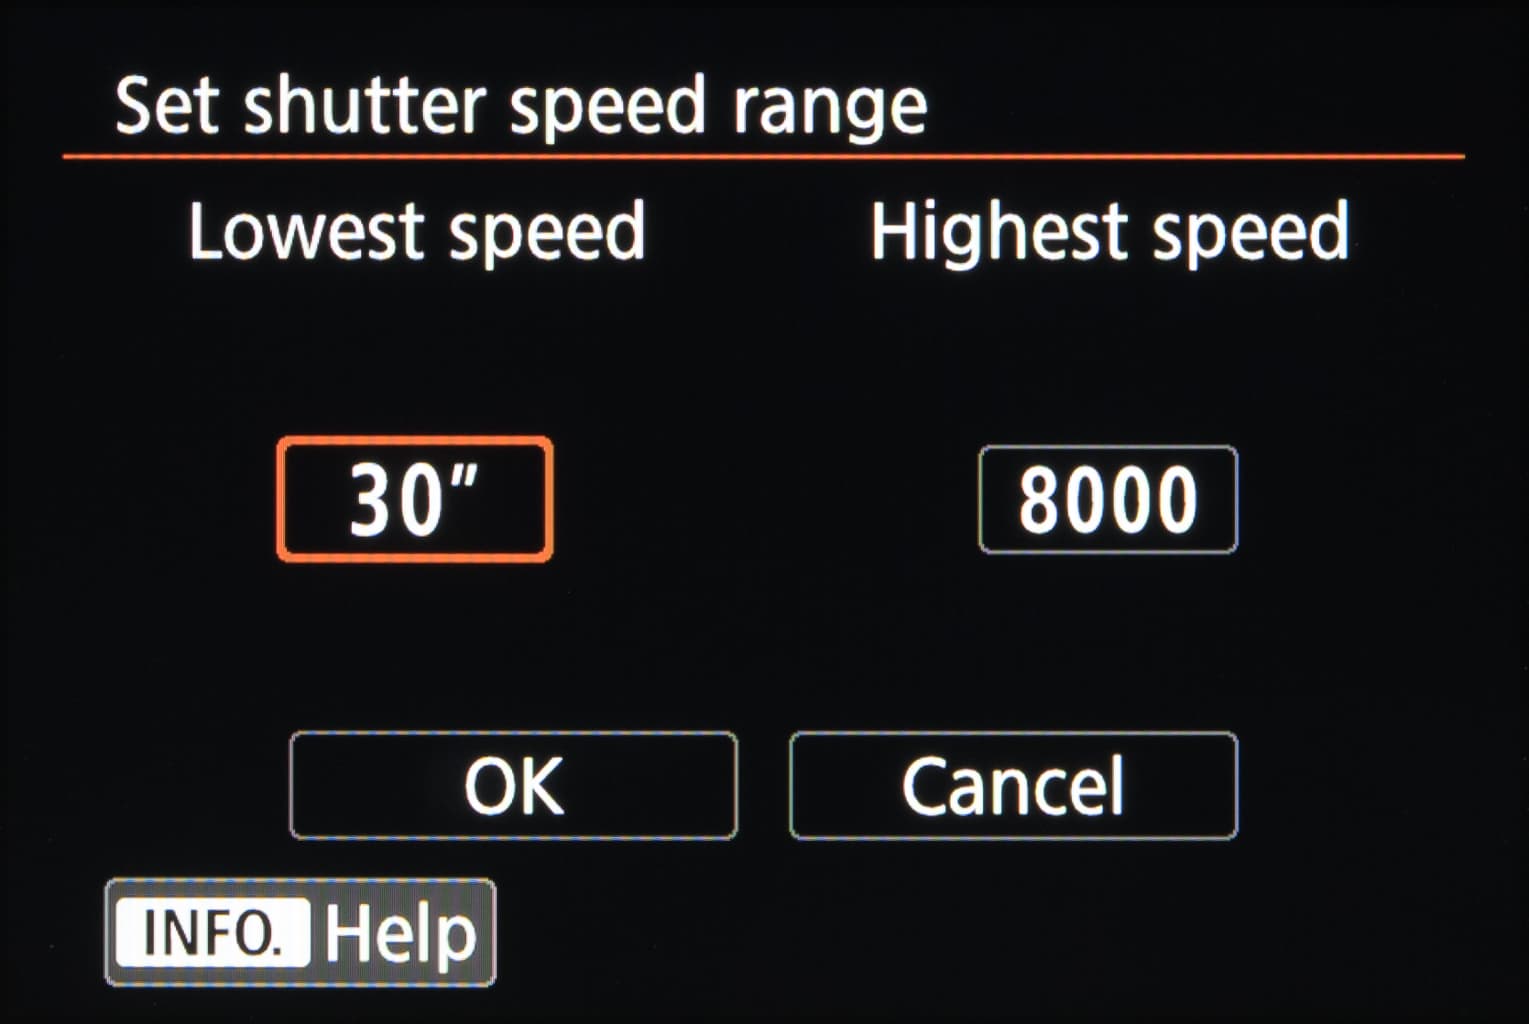
Set shutter speed range
If you don’t want shutter speed to either drop below or rise above specific points, you can specify this here. This remains effective when setting the shutter speed manually or when using an exposure mode that allows the camera to decide this. Setting a minimum shutter speed could be useful when using a specific lens, or when capturing any kind of action over a prolonged period of time, while setting a maximum shutter speed could be useful when shooting longer exposures and a specific effect is desired.
Set aperture range
In the same way that you can set minimum and maximum shutter speeds, you can do the same for aperture. You may find it useful to do so if your lens to be particularly soft at wider apertures, or if you want to reduce the extent to which diffraction affects your images at smaller ones.

You can close off part of your lens’ aperture range, such as the very widest few apertures, to benefit image quality
Display/Operation, Others & Clear
3. Display/Operation
Warnings ! in viewfinder
Without the benefit of an electronic viewfinder, sometimes you may end up capturing images at settings you didn’t realise were still left on, such as monochrome or when you’ve adjusted white balance in some way. Activating this will show an exclamation symbol in the viewfinder and on the rear LCD – and top-plate LCD if your camera has one – if any of these are still on, and there are five separate options to which this can be applied. This is particularly useful if you don’t tend to shoot raw files, where such issues can be easily corrected.

It’s easy to forget you still have certain settings such as Monochrome enabled, but Canon’s Intelligent Viewfinder can warn you of this
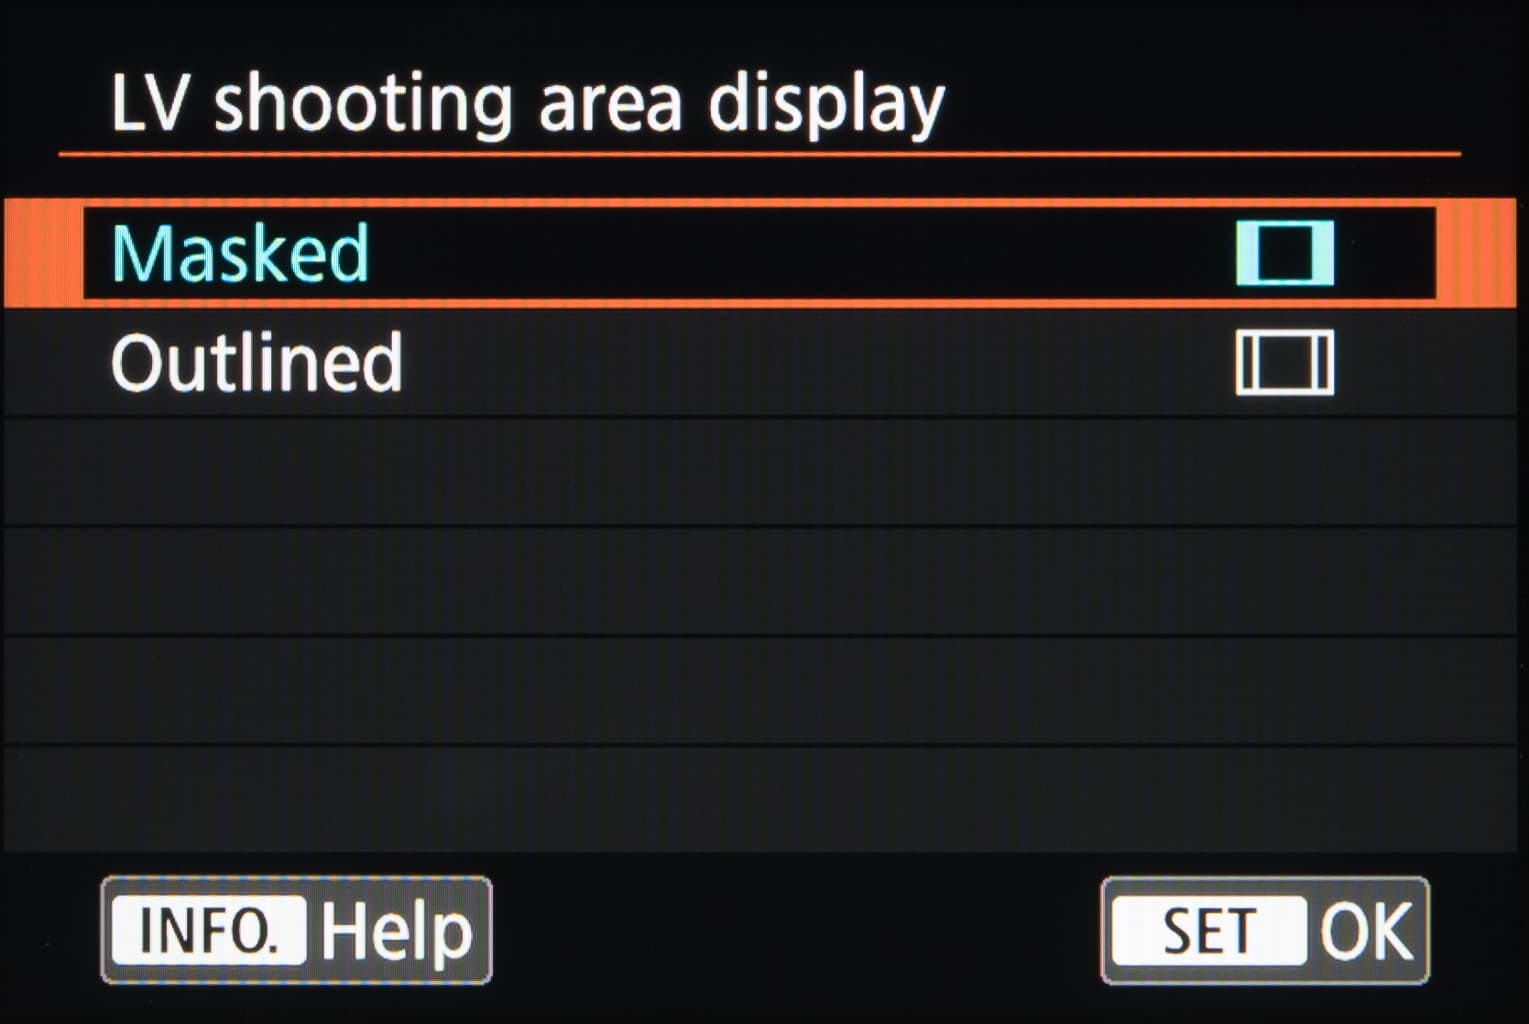
LV shooting area display
Composing images when using live view can be awkward if you choose to use a non-standard aspect ratio such as 16:9 or 4:3. This option lets you specify whether redundant areas or segregated with a line or masked off to make them less visible.
Dial direction during TV/AV
Anyone who’s become accustomed to the direction in which exposure settings change when a command dial is rotated one way and the other will know how frustrating it can be when a new camera has things the other way around. Fortunately, if you find this to be the case you can remedy this with this control.
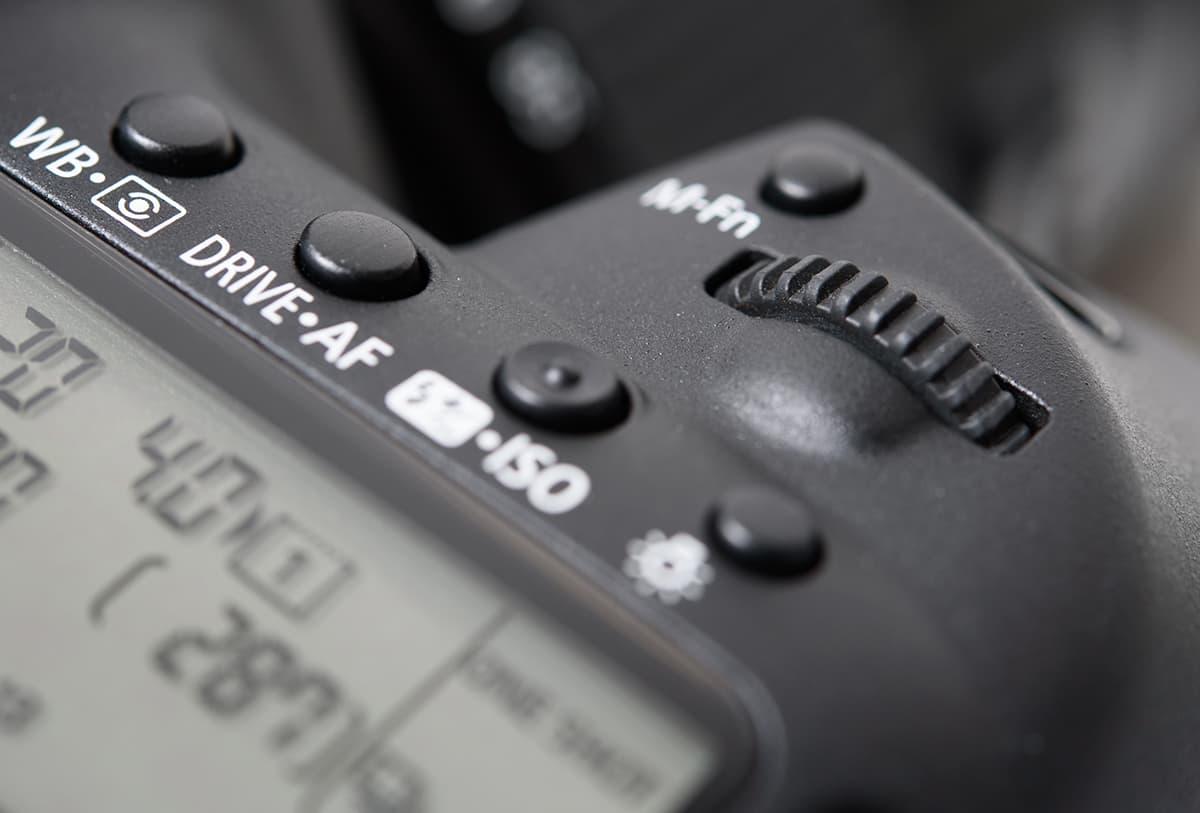
You can reverse the operation of the dials when shooting in Aperture Priority or Shutter Priority modes
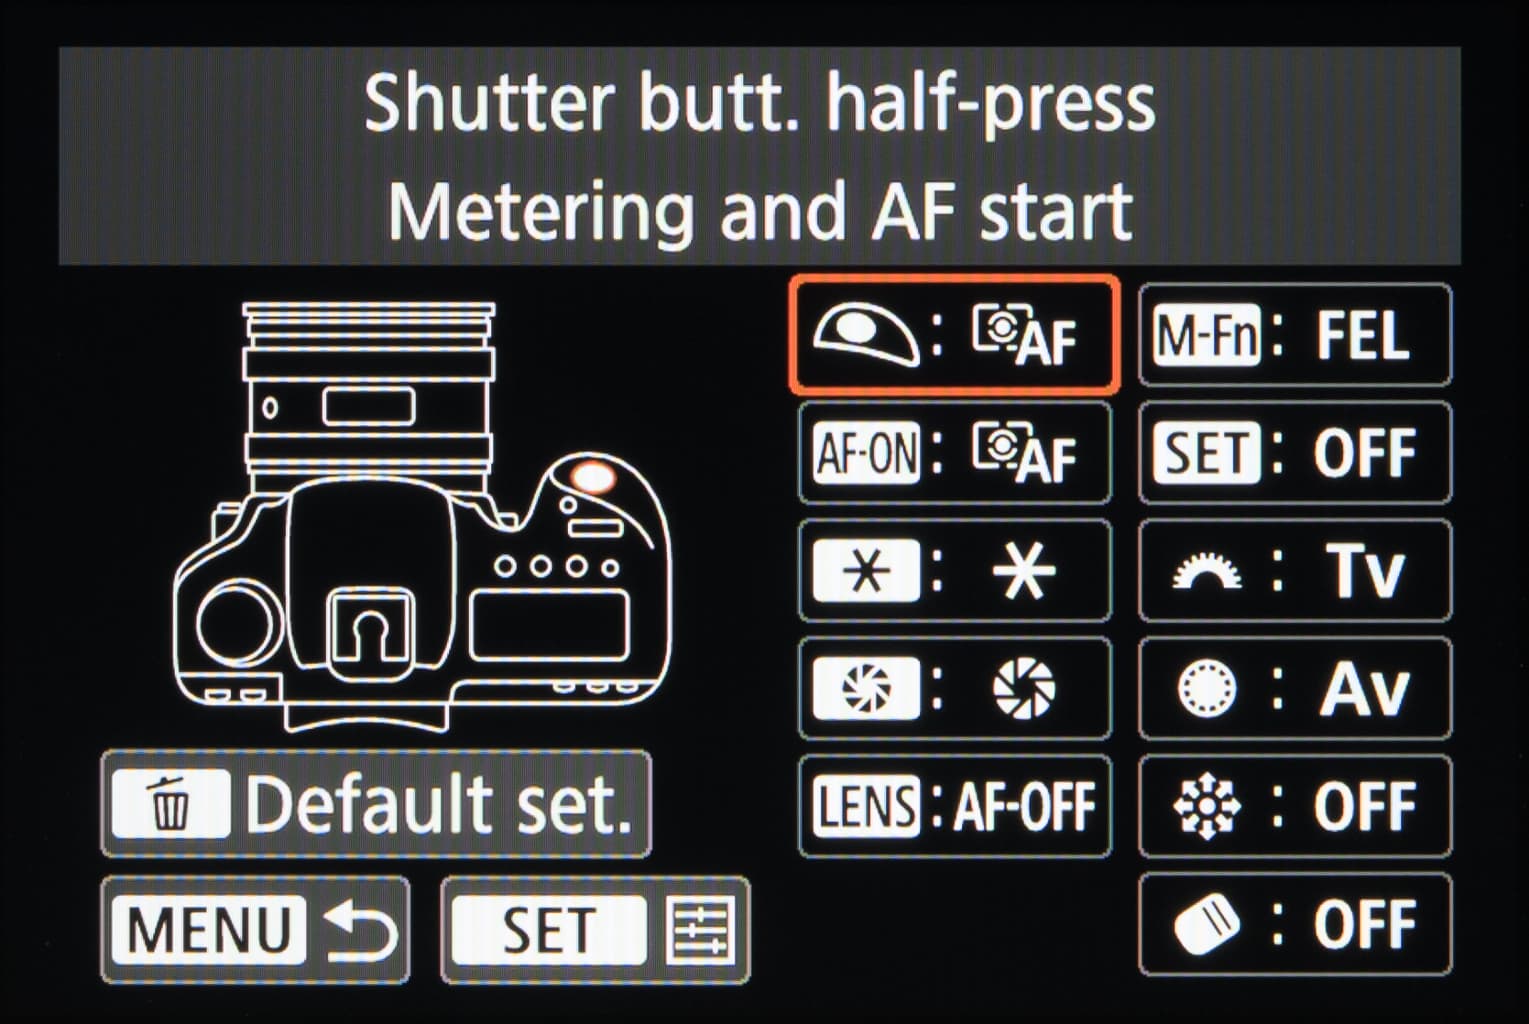
Custom Controls
You can customise many of the camera’s controls to perform specific functions so that they either fall more easily to hand or simply perform as you would prefer. This option shows the controls that can have their functions altered and the options available to each, and also lets you quickly reset these all back to default settings.
4. Others
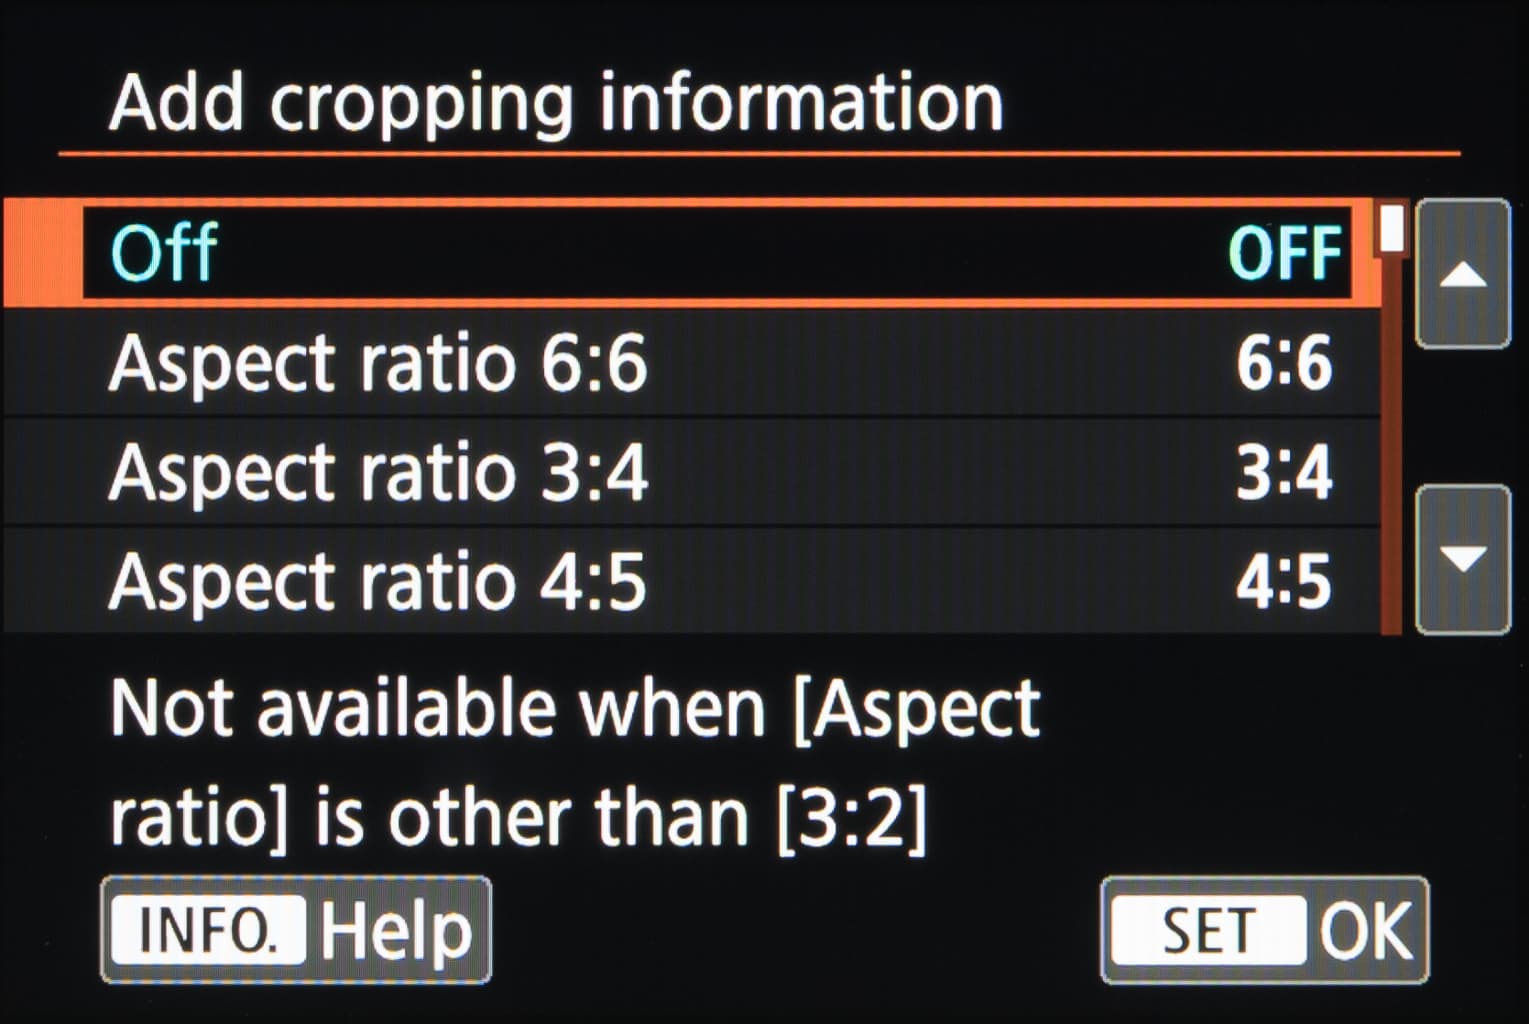
Add cropping information
When using live view it’s possible for images to be composed with an aspect ratio of your choosing but for the images to be recorded onto the card in its standard 3:2 ratio. If you enable this option, images have information on the aspect ratio of your choice appended to them, which is subsequently recognised by Canon’s Digital Photo Professional program when editing.
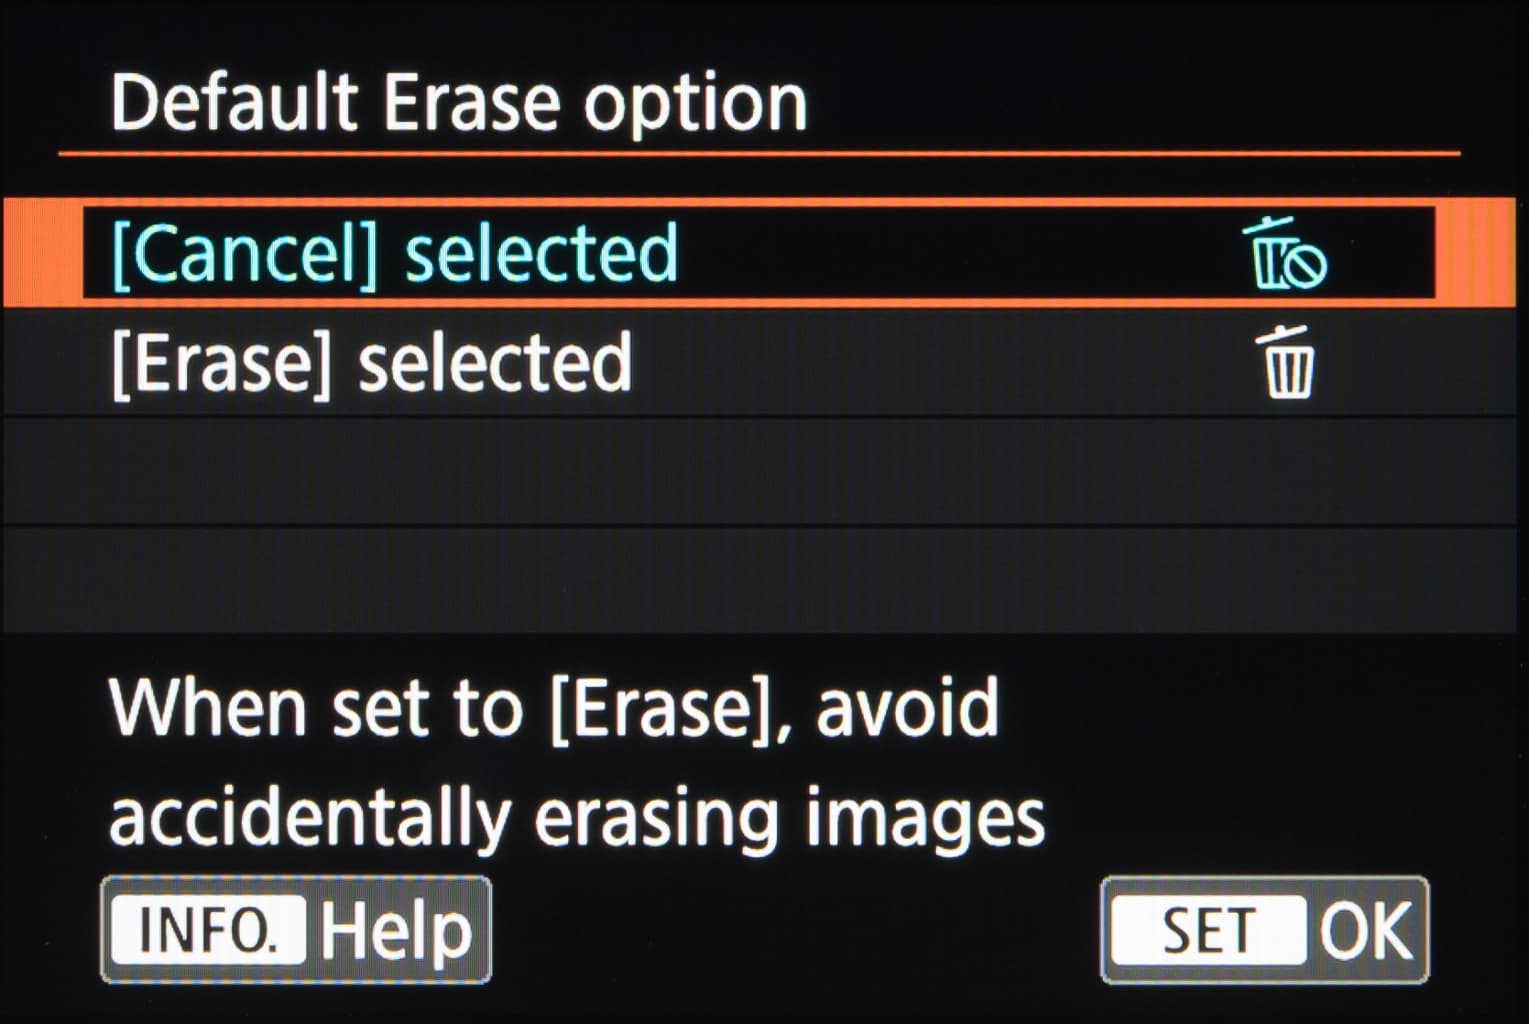
Default Erase option
When deleting images, the camera presents the Cancel option as the pre-selected choice and the Erase option next to it. As this requires you to manually select the Erase option it prevents you from accidentally erasing images, although if you find this unnecessary you can choose Erase as the default option.
Retract lens on power off
An option only applicable to gear-driven STM lenses, this specifies what happens to the extended inner barrel of a lens when the camera is powered off.
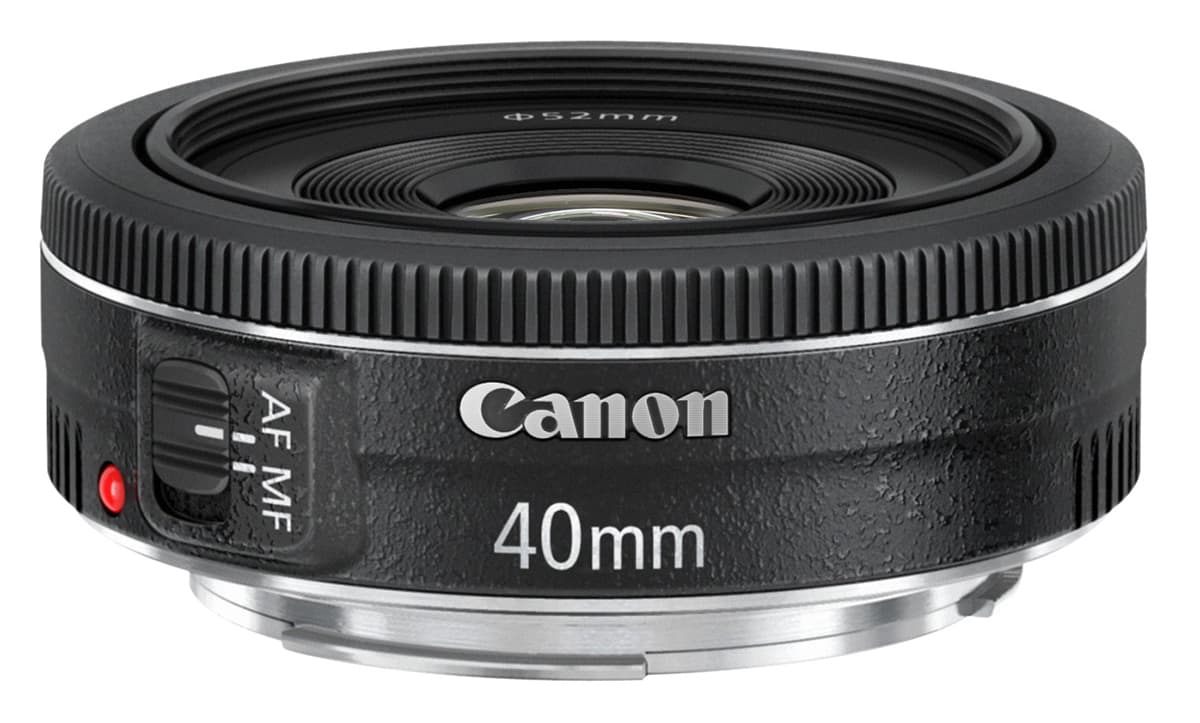
STM lenses include the EF 40mm f/2.8 STM released in 2012
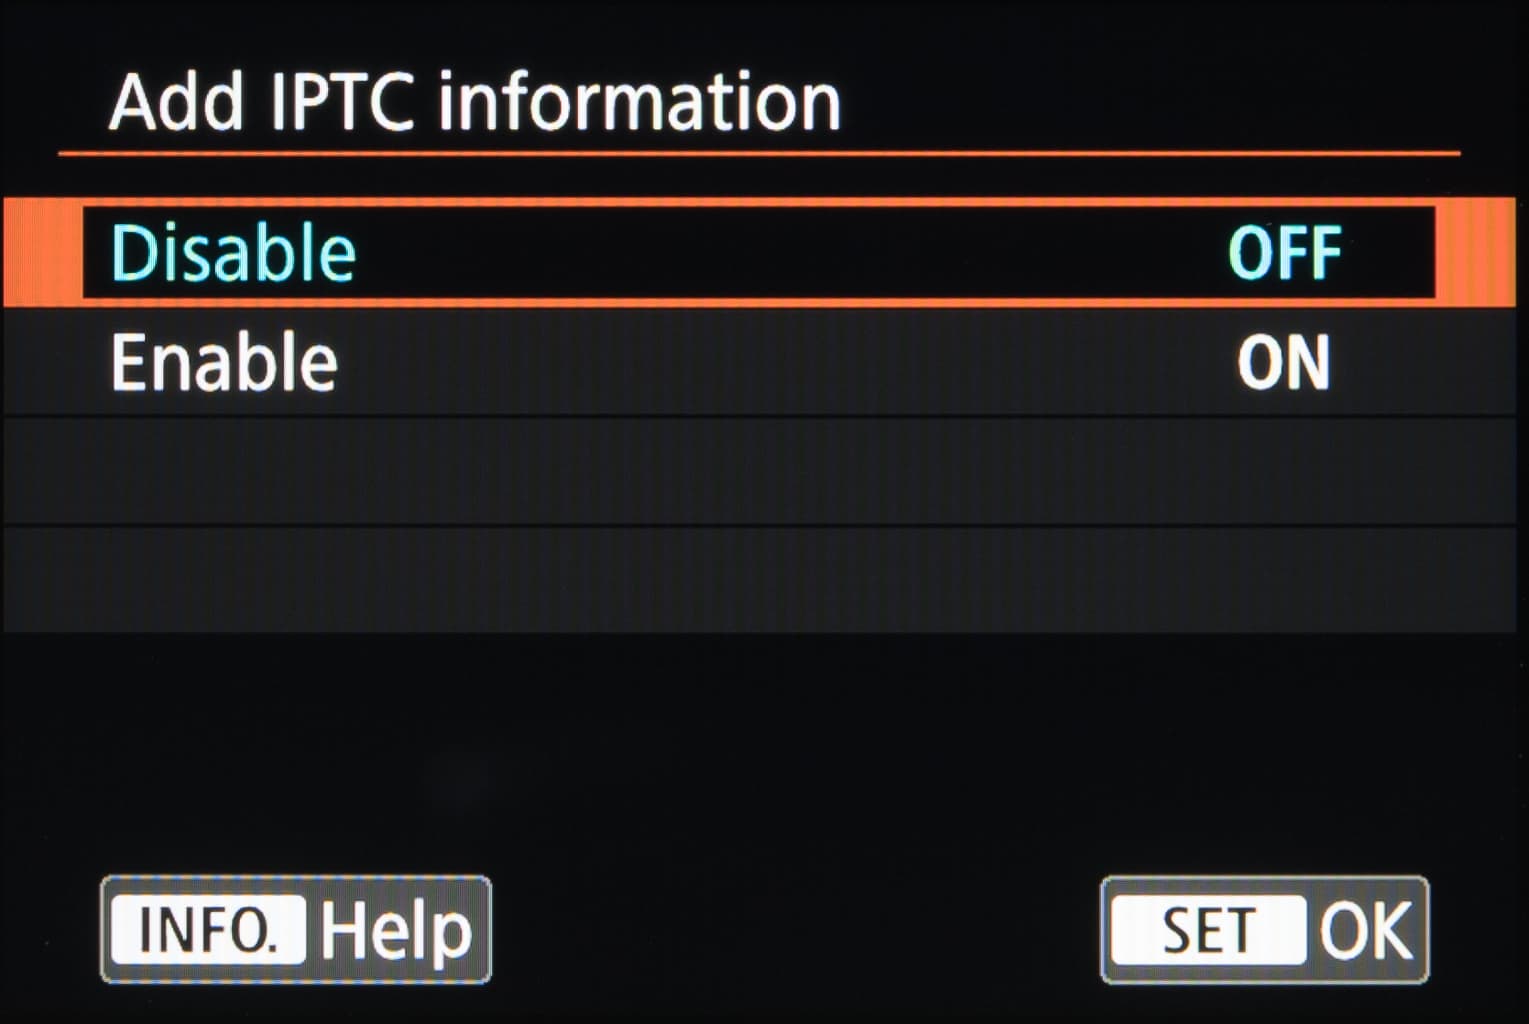
Add IPTC information
Information Press Telecommunication Council (IPTC) information lets you store a broader range of information about an image, such as descriptions of the subjects within it and information relating to the photographer. This is useful for news agencies, image libraries and for archival purposes, and you can append this using Canon’s EOS Utility program.
5. Clear
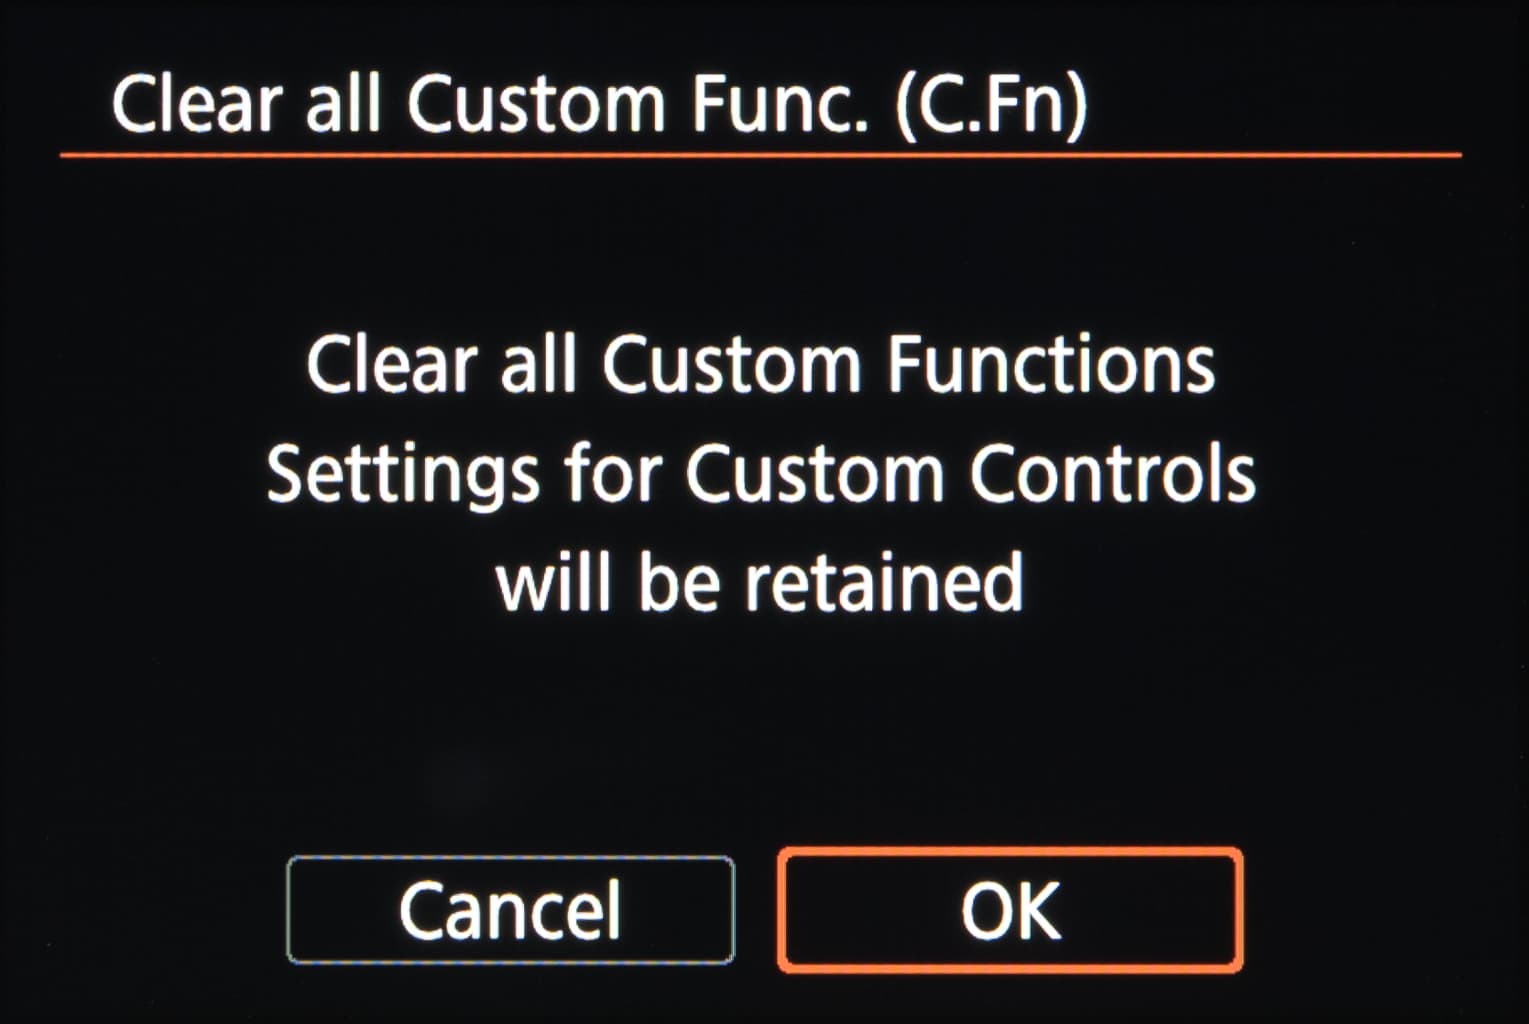
Clear all custom functions
This option simply resets all Custom Options back to the default settings, with the exception of the Custom Controls which will remain as they are. Any IPTC information you’ve entered will also be retained, although this will be disabled.
