1. Know your camera
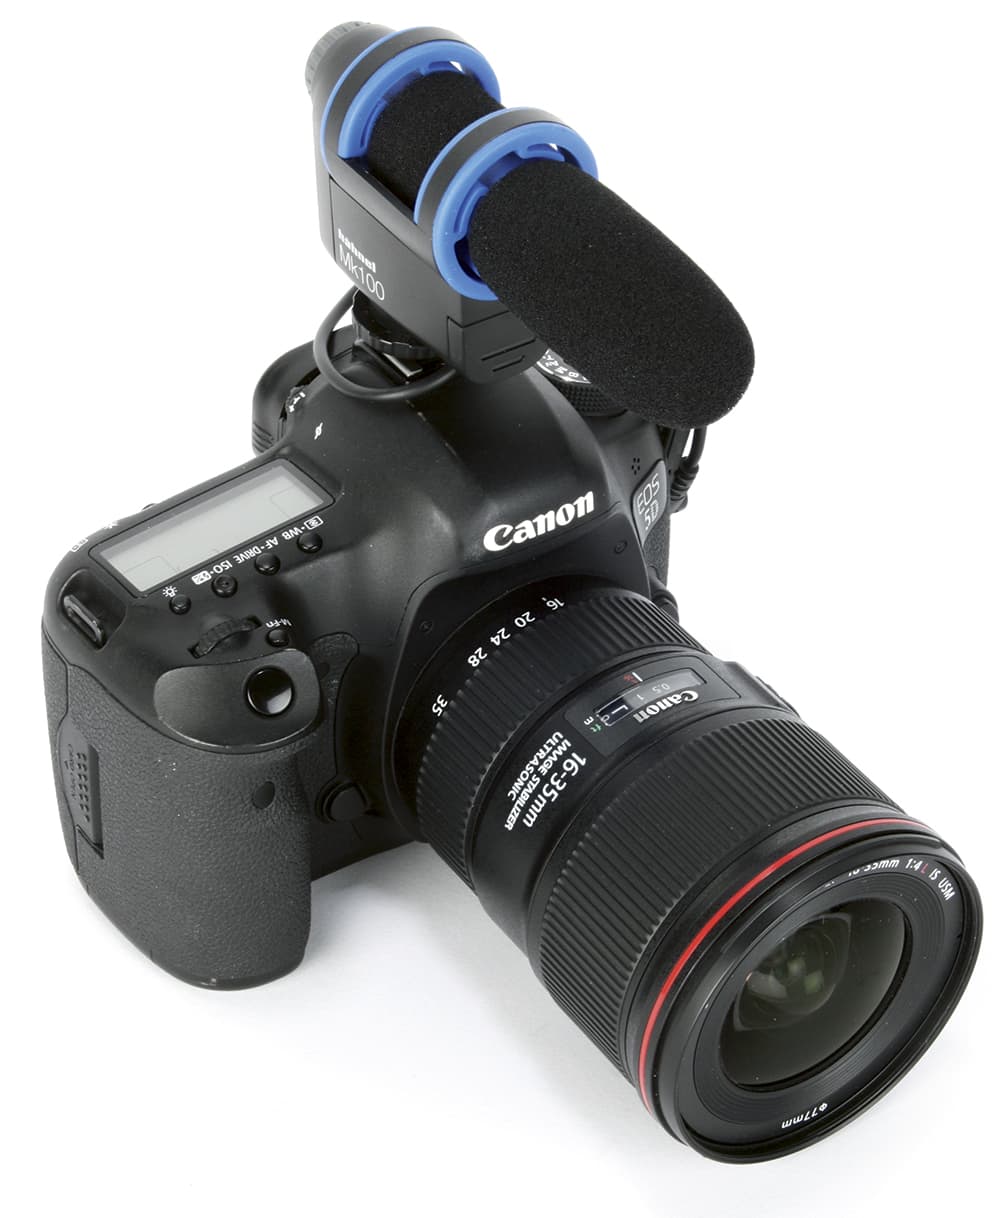
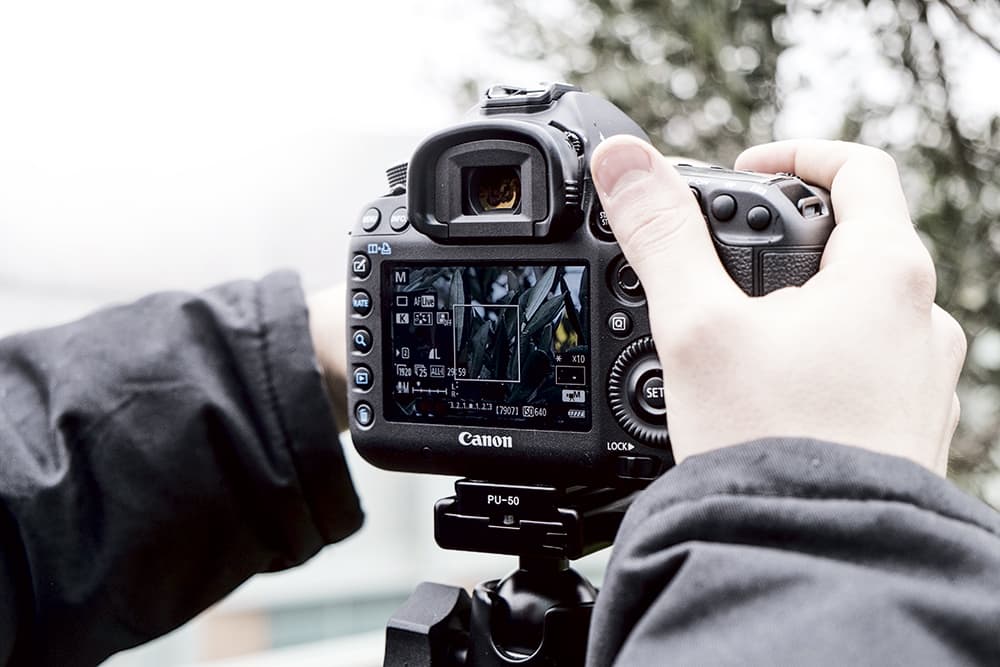
Before you even step out of the door, you should have your camera set up. When you are out filming, the last thing you want is to be searching through the menu trying to find something or having to change a setting. Spending some time learning how your camera works, and how to get the best footage from it, will ensure that you come home with the quality footage you are after.
2. Power and space
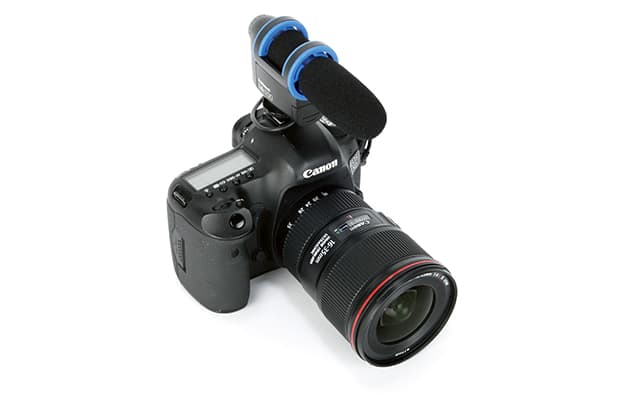
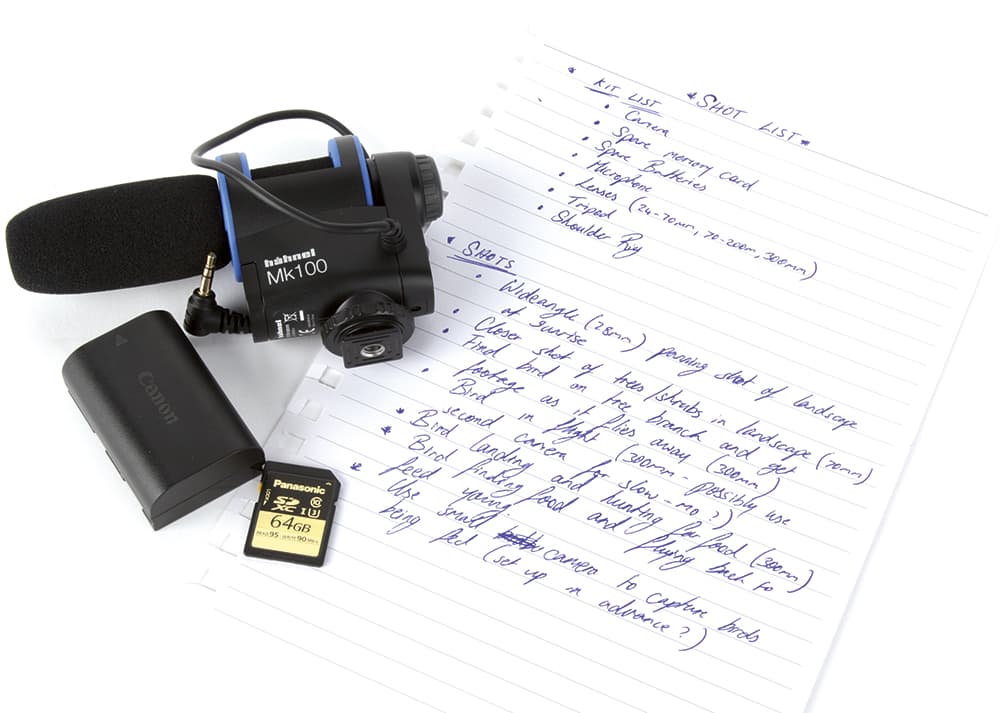
Recording video will eat through your batteries, so make sure you are carrying at least one spare. It is worth testing your camera before you leave so you know how long you can record before the battery dies. Also, turn your camera off when it isn’t in use – recording and keeping the screen powered will cause the battery to drain. Switch the camera off completely if you aren’t recording to help preserve the battery life.
Similarly, high-definition video can take up a lot of storage space. The latest 4K video footage requires fast cards, so look for those with a UHS-III (U3) rating, which should be capable of capturing this footage. For standard 1080p footage, UHS-I (UI)cards will suffice. Always take a back-up card with you as you may end up shooting more than you thought. Some cameras give an indication of how many minutes of video can be captured with the remaining space on the card.
3. Shoot what you enjoy
A lot of photographers have the desire to shoot video, but simply don’t know what to shoot. They think that everything must be a fictional narrative story, but in truth videography can be whatever interests you, and an obvious place to start is with whatever you take photographs of.
If you like wildlife photography, try shooting a wildlife video. If you like travel photography, make a short video of the places you are travelling to. Remember that what enthuses you is bound to interest other people, so don’t be scared – just go out and shoot what you are familiar with.
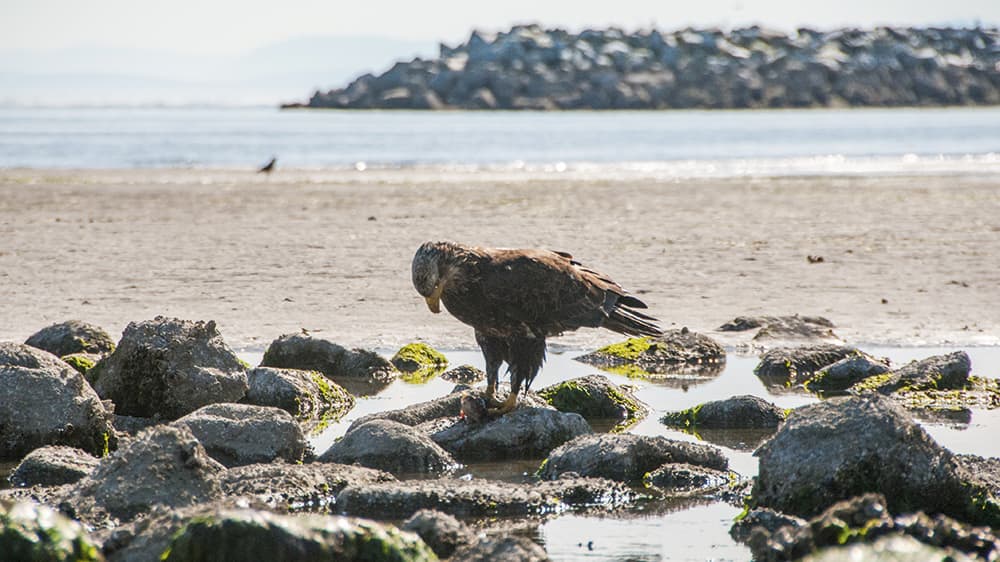
Shoot whatever interests you – if like wildlife photography, make a wildlife video. Photo by Richard Sibley
4. Tell a story
Before you even start a project, think about the story that you want to tell. A good story should have a very clear beginning, middle and end. Make sure you know the story you want to tell and think about the shots you will need to illustrate this.
Your story could be a ‘day in the life’ tale of a person or an animal. Think about how the day starts and ends. Alternatively, it could be a story of how a bird feeds its young. What is the start, middle and end to this story, and what shots would you take?
5. Make a shot list
Once you have your story, think about all the shots you’ll need to tell it. Consider the main scenes and, if possible, add some of the close-ups and B-roll (see tip 7) that you will need. Having a list may seem old-fashioned, but it ensures that absolutely nothing you need is missed.
6. Establish the scene
Establishing shots form the footage that tell the viewer key information about the scene and location. They help to establish where the action is taking place. For a wildlife film this could be some wideangle footage of a field as the sun comes up. After this establishing shot, the viewer then knows where any following footage has taken place and what time of day it is.
7. Take plenty of B-roll
In film terms, B-roll is the extra footage that helps to add detail and character to a film. For example, if you are filming the groom writing his speech before a wedding, film an establishing shot of the groom in a room, get some closer footage over the groom’s shoulder of him writing away and then try getting some B-roll footage that you can cut in. This could be a close-up shot of the pen on the paper, the groom’s eyes as they scan what he has written or some scrunched-up rolls of paper where he has discarded previous attempts.
All this footage adds character and detail that makes it more interesting than just a close-up shot of the groom writing his speech.
8. Don’t just shoot the obvious
Just as with stills photography, think about how you can use angles creatively to make your footage more interesting. While it is fine to take establishing shots from eye-level, try to get additional footage from higher or lower. You may not end up using all this footage, but if you don’t shoot it, the moment may be gone and you may not get another chance. Look for alternative angles and options, particularly for your B-roll, so you have you plenty of options to make the edit more interesting.
9. Keep it to 10 seconds
This isn’t a hard-and-fast rule, but try not to have any single clip last longer than 10 seconds. Of course, you can do this when editing, but try to think about how you can shoot plenty of interesting clips that are all shorter than 10 seconds and assemble them together. You may only use a couple of seconds out of the 10, but chances are there will be few times you will want your clip longer than 10 seconds.
Don’t just hit record and film away. Shoot a 10-second wideangle establishing shot, a 10-second standard-length shot and numerous 10-second close-ups as your B-roll. You will then have a far more interesting 30 seconds than if you had been continuously recording and zooming in.
10. Less is more
Just because you can do something, it doesn’t mean that you should. It is easy to get carried away with lots of panning shots, or zooming all the time, but this can make your footage look amateurish. Keep your use of these effects to a minimum.
11. Keep it steady
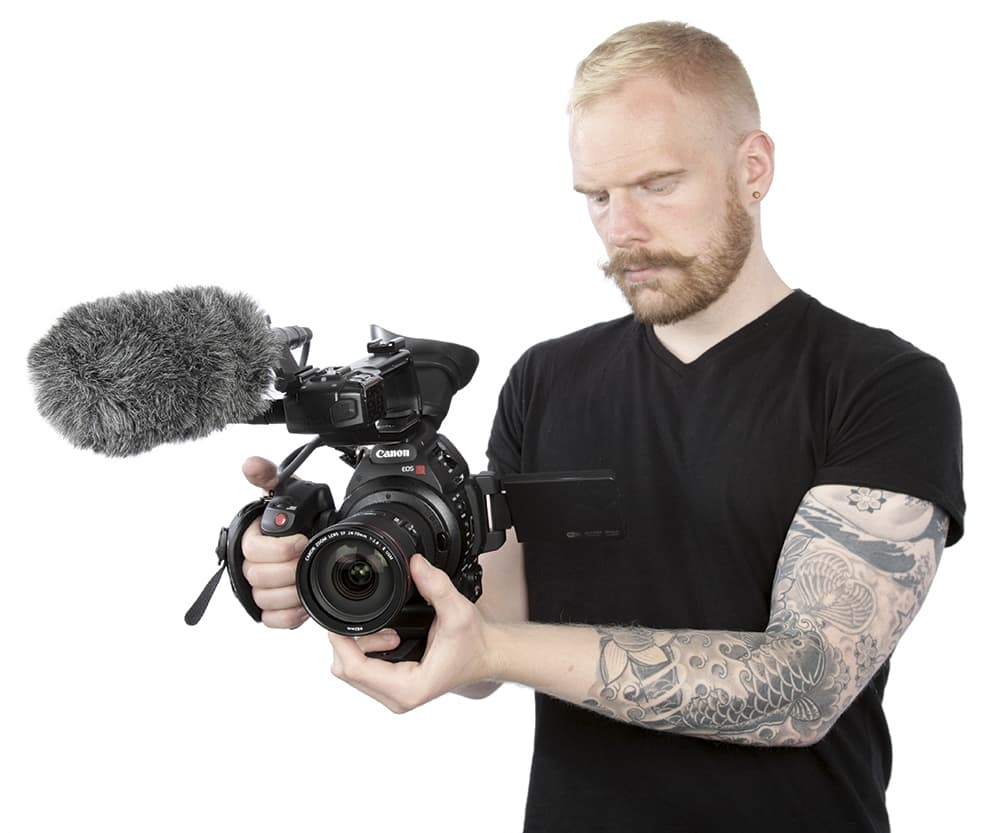
No one wants to look at shaky footage, so make sure you have some kind of image stabilisation switched on in-camera or on the lens. Ideally, you should be using a tripod or other support.
12. Manually focus
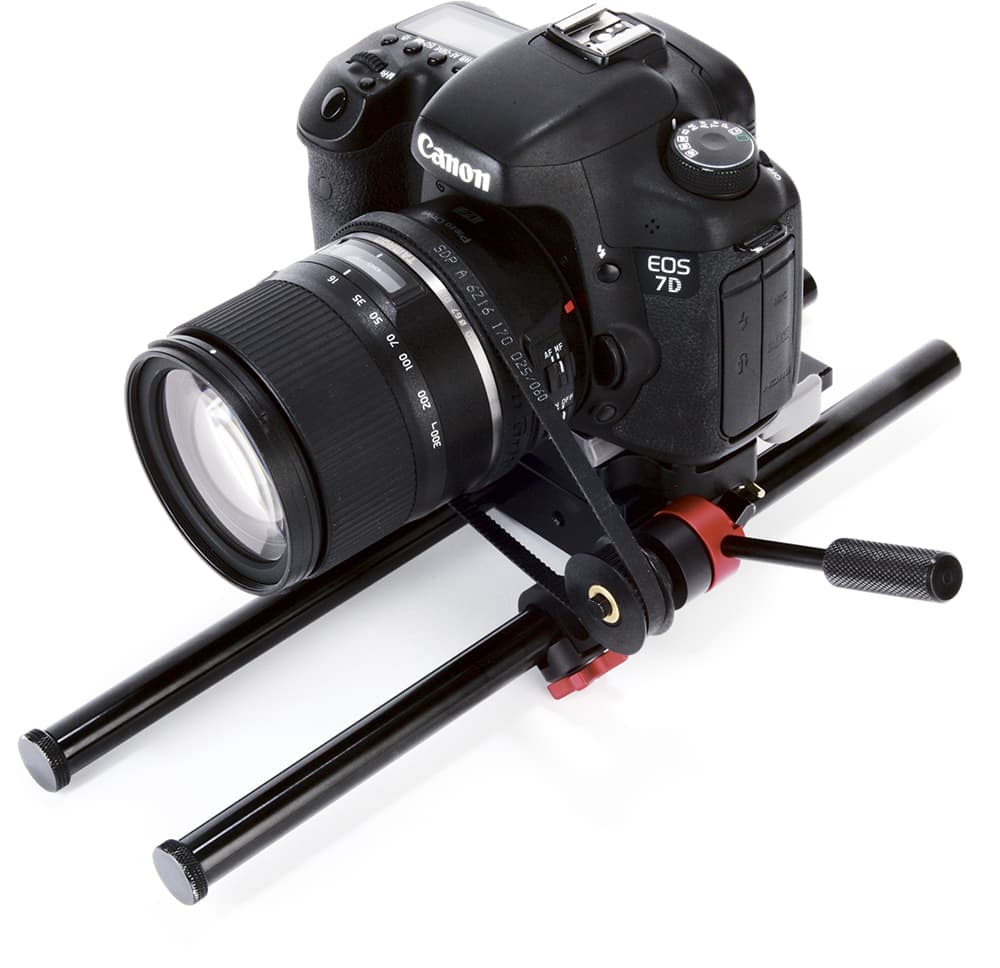
As intelligent as camera autofocus systems are, using them for video will generally lead to the camera hunting back and forth during filming. Switch your camera to manual focus and, as a rule, lock the focus at the beginning of the recording. Moving the focus during recording is known as focus pulling and is a real skill. There are devices called focus pullers that make it far easier, as they allow you to mark two points of focus on a lens and then shift between them.
So if you want to switch between one subject talking to another halfway through recording, make sure you know the exact two points of focus so you can move between them before you start recording. It can be very difficult to make these switches of focus smooth, which is why a focus puller is used, and why professional video lenses have very large focus rings.
13. Check your focus
Always double-check focus. It is the most common mistake to make when you are starting out, and nothing can correct it once it has been shot.
14. Use an elastic band
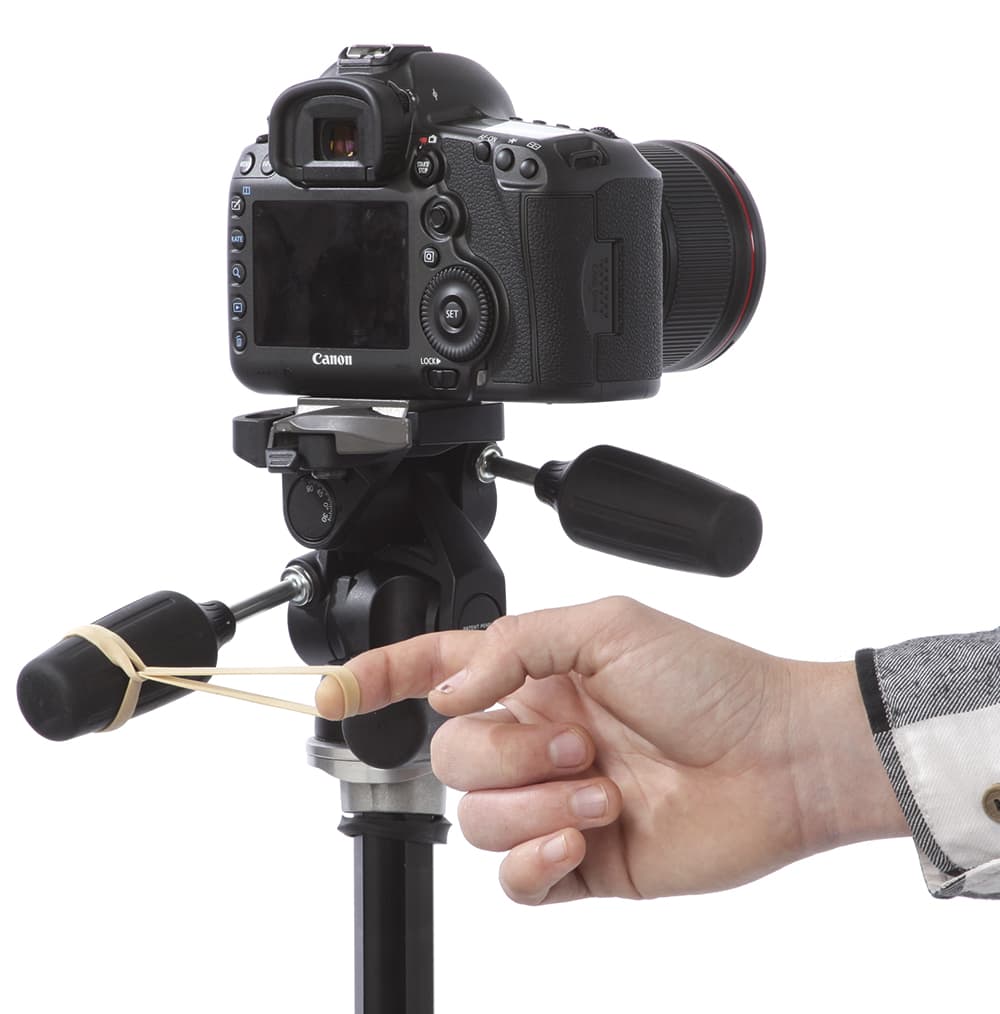
One of the most useful things that can help your panning shots is a simple elastic band. If you have a panning head that doesn’t pan particularly smoothly, tie an elastic band to the panning handle and pull on it. The band should create a nice even tension that will make the movement very smooth, even on an inexpensive head that doesn’t offer variable resistance.
15. Compose video as you would a still image
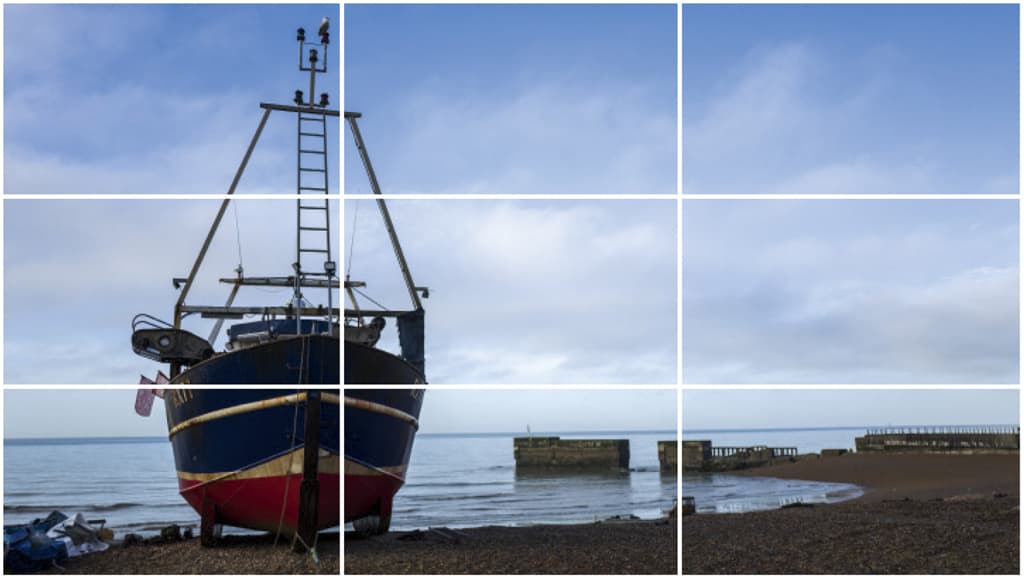
Although you are dealing with moving footage, the principles of composition are the same for both stills and video. Remember the rule of thirds and make sure key elements are on the third intersections. Also look for leading lines to help balance images and lead the eye across the frame to the principal subject.
If the subject of your images is moving across the frame, think about where they are starting and also where they will finish. If possible, make a mark on the floor or note a point in the landscape that will help them know where to stop, or help you to decide where to stop filming or panning. Again, if you have the chance to practice this, then it may be worth making a mark on the tripod head to note where the pan should start and stop. A chinagraph, chalk pencil or some stickers can often be useful for this.
16. Think about light
Just as you would with still images, think about how your scene is lit. Use a fill-in light where you need to and avoid shooting your subject with their back to the sun.
17. Practise with still images
If you haven’t got much in the way of video footage, then a good place to start learning the skills you need when structuring a story and editing your work is by using still images.
Think about how you want your story to start and how you want it to end. What details do you want to show? Think about how to show your images in an order to make the story interesting. Most editing software will allow images to pan across, so you can see how these visual effects will work. You can also practise the timing of cuts to music or audio, and how to place transitions. Travel images are often a good option to practise with, as you will naturally have a narrative of the trip and hopefully plenty of variety.
18. Enjoy editing
If you don’t enjoy editing your video this will show in the editing process. So if you are feeling tired of editing or are having a bad day, get away from the computer and give yourself a break. Being stuck in front of a computer screen for hours at a time isn’t much fun and can make you a little blind to what you have already done. Take a break and revisit your work later. Looking at an edit with a fresh pair of eyes can help you when you refine and tweak it.
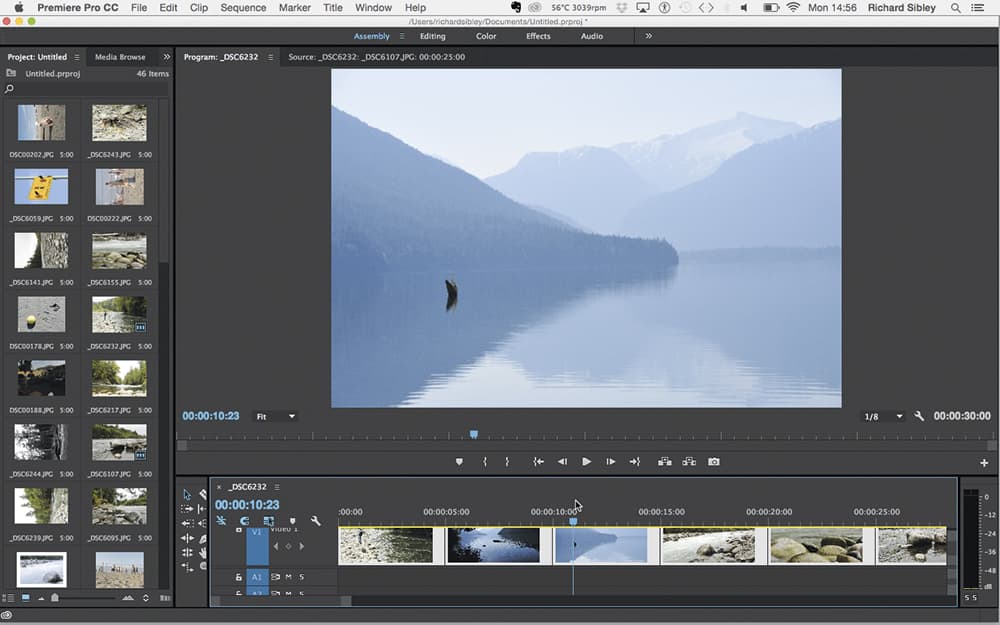
19. Edit a rough version quickly
Once you have all your footage, don’t start the full editing process straight away. Get the essential video clips on the timeline and edit them together. Make a very rough cut of the essentials, and when you have that in place start to fine-tune by adding more B-roll footage, refining the cuts and adding transitions.
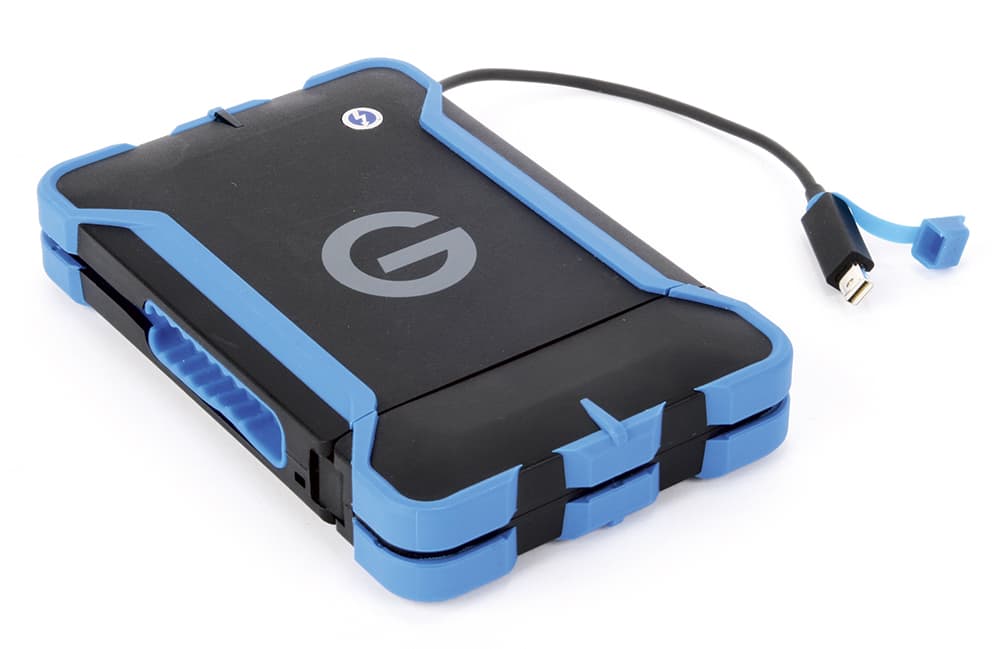
20. Keep your video on a separate hard disk
It is best to edit your video on an external hard disk drive, connected via a fast USB 3.0 or Thunderbolt connection.
As the computer’s internal disk is also used to run the software and operating system, having it spin back and forth looking for video footage will slow things down. So long as you are using a fast external hard disk and connection, an editing video stored on an external disk will be far quicker.
21. Back up, back up…
Just as with still photos, if your hard disk dies you could lose everything so make sure that your videos are saved to at least two places.
For lots more tips on how to produce amazing video, visit thevideomode.com

