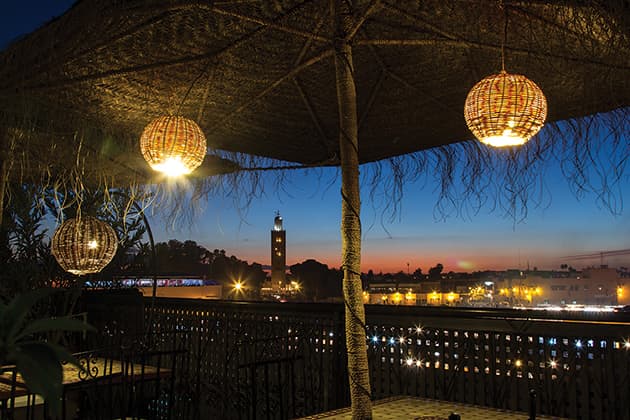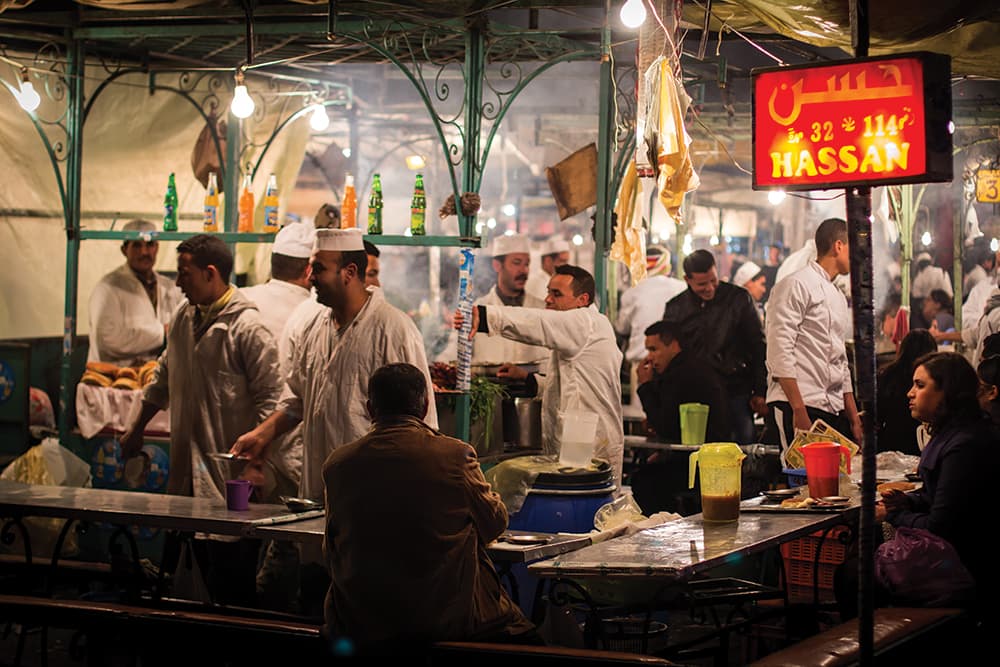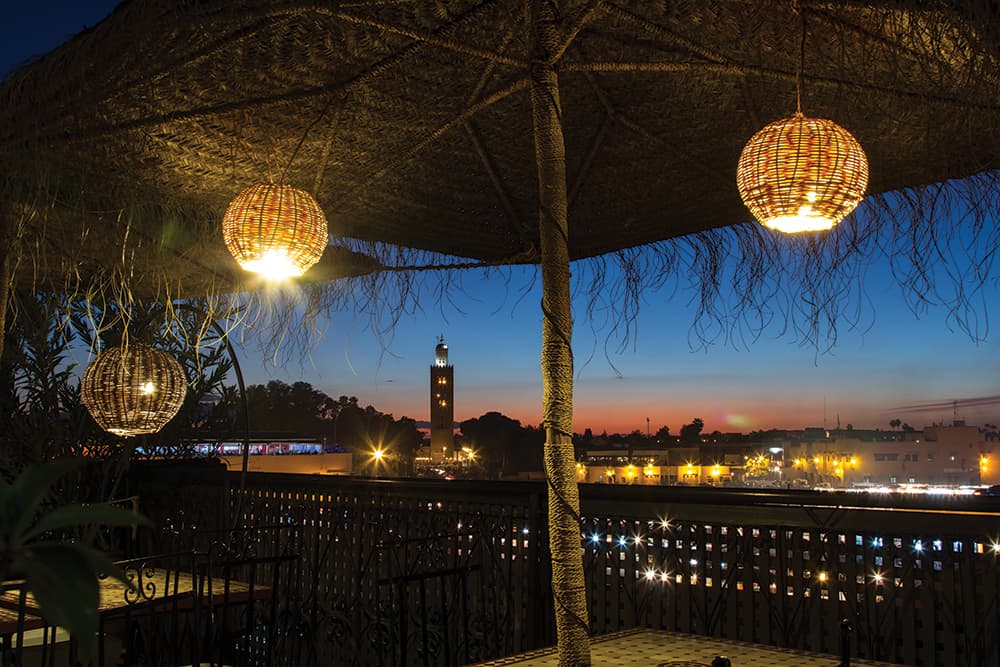
With a wealth of subjects, city breaks to spots like Marrakesh in Morocco are perfect for the photographer. All images by Matt Parry
From an early age, travel has been in my bones. I’ve been fortunate enough to see many wonders of this world, but the more I see, the more my wanderlust keeps me wanting more. Over recent years, photography has become a huge part of this experience and is now a major factor in how, why and where I travel. But with just 25 days of holiday each year, how do I feed these addictions? One answer is city break photography.
I love exploring a new city. I’m fascinated by the differences in architecture, culture, traditions and landscapes, but also the people who live, work and visit there. Put simply, I love anything and everything that makes a certain destination unique. I find it very cathartic visiting a city for the first time, getting under its skin and seeing what it has to offer. I also love returning to familiar cities in different seasons or with different photographic goals. Either way, city break photography offers excellent opportunities to build up a diverse portfolio of shots for the aspiring travel photographer.
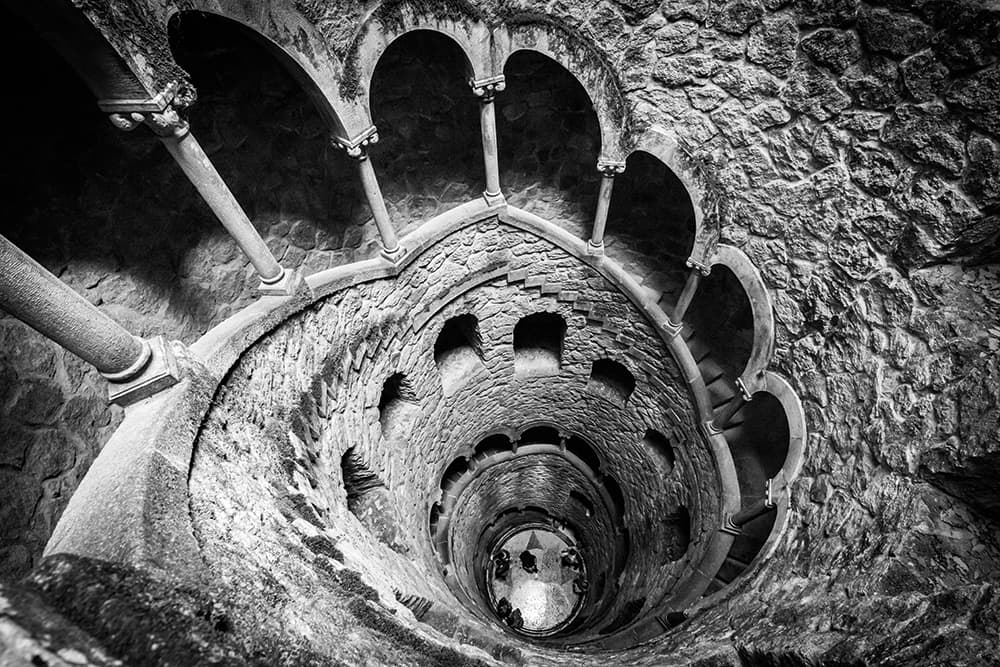
Look for details and patterns in buildings your visit, such as these wells at Quinta da Regaleira, Sintra, Portugal
In Britain, we are lucky to have Europe on our doorstep, with its eclectic mix of modern cities as well as historic towns, idyllic countryside and even dramatic coastlines for those wishing to get out of the city for a day or two. With budget flights and a whole host of regional airports serving almost every part of the continent, it is relatively cheap and pain-free to jump on a plane and begin your journey of exploration.
Planning and preparation
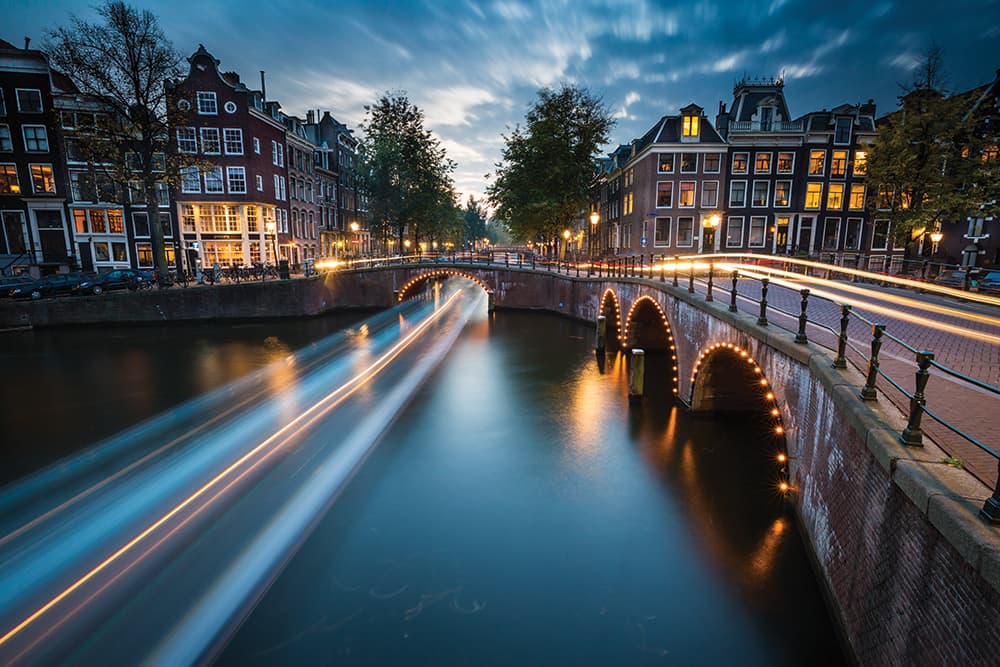
City streets like this one in Amsterdam in the Netherlands can take on a whole new appearance once the sun sets
Having found some bargain flights and a great deal on a hotel, you can start planning the photographic element of your trip. This is where Google can come in handy. Google Maps, Street View and Google Images are all useful tools for helping to identify the locations you want to visit, local public transport, walking distances, the ideal location to base yourself and so on. I find the ‘My Maps’ feature in Google Maps a particularly useful tool to plot this.
Planning is also important for increasing the likelihood of being in the right place at the right time. Getting up early in the morning gives you a better chance of beating the crowds and catching the optimum light, while getting to your chosen sunset location early will ensure you are ready and waiting for the best of the colours in the sky. Tools such as The Photographer’s Ephemeris (photoephemeris.com) will help you work out where and when this will be, by showing both the direction and times of the sunrise and sunset.
What you take and what you leave behind is also important. If, like me, you shoot with a DSLR, whenever you board a plane with your gear you need to consider carefully what you pack. Most low- cost airlines charge an exorbitant sum to place a piece of baggage in the hold, so many travellers on short city breaks opt for just a carry-on. This isn’t always practical for photographers, and it often requires us to make a compromise between our photographic equipment and the clothes we take.
Some airlines are also starting to weigh hand luggage, so spreading the load or costs with a travelling companion can help, and it may mean leaving a lens or two behind. In addition, many city breaks will be spent walking or on public transport to get between the sights so your ‘walk-around’ kit should also be light enough to carry for long periods of time – a lesson I have learned the painful way!
When working through your pre-trip planning and research, think carefully about the city you are visiting and try to set yourself some photographic objectives. This will help you prioritise and achieve the shots you want once you are there.
If time permits, I do a recce of my target locations with the intention of returning at a different time of day or in better weather conditions. Sometimes, I even have time to try a different style of shot or shoot from a different vantage point.
When I return, I take only the equipment I need to accomplish those objectives on that particular day and leave the rest in the hotel or at home.
Out and about
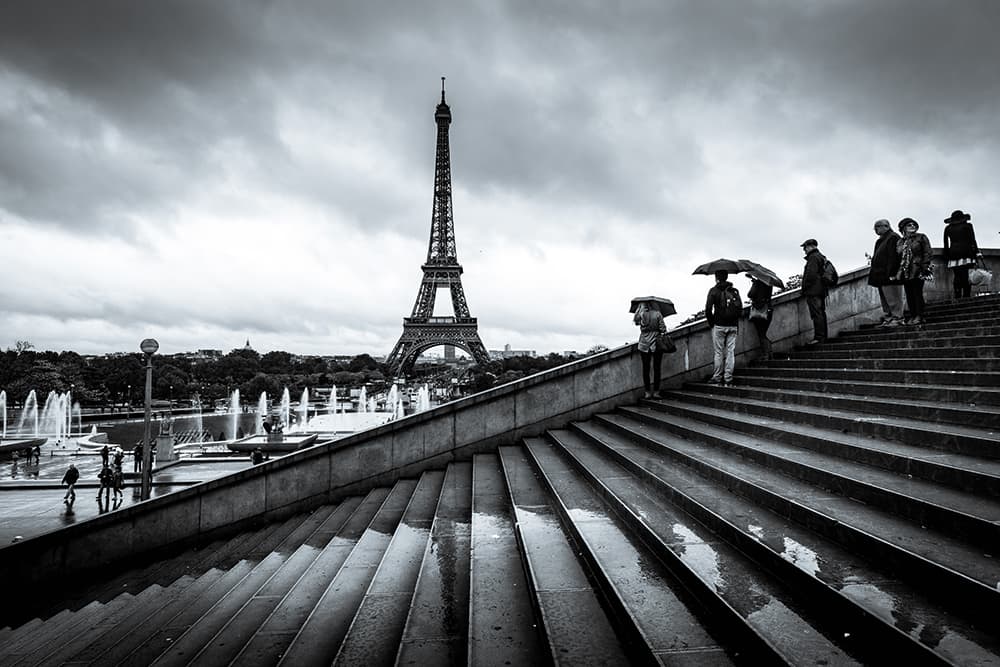
With popular destinations like Paris, think about trying alternative views
When exploring a city during the day, I typically only carry my camera body and one lens (normally a wideangle 16-35mm or a standard 24-105mm zoom). If I’m at a destination for several days I might use a different lens each day. I’ve found this way of working really useful for capturing completely different shots of the same location as it makes you think harder about composition and subject matter.
In the evening, I usually have a specific destination in mind for sunset/blue hour/ night shots. At these times I take my tripod, filters and other lenses. This is without question my favourite time for shooting. I love cityscapes at night when the buildings are lit or where the inclusion of movement, such as traffic trails, can give an extra dimension to an image that it’s not possible to achieve during daylight hours.
Avoid the obvious
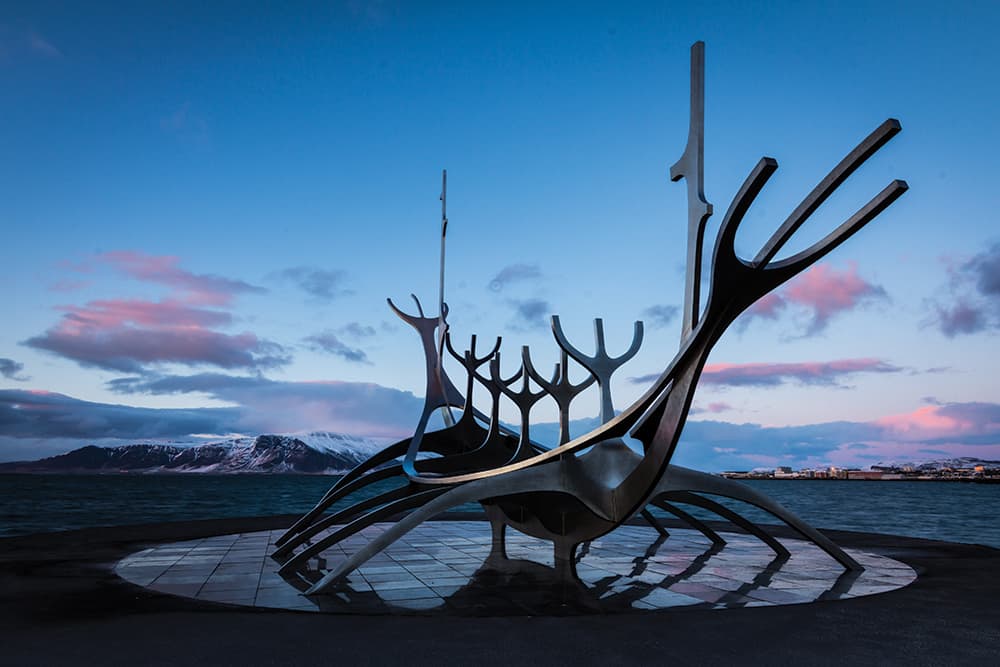
The Sun Voyager sculpture in Reykjavik, Iceland
It is very easy to ‘collect’ average snapshots of cities and their famous buildings and monuments. It is often hard to avoid replicating the clichéd shots that inspired you to visit that city in the first place. I’ll admit that I have shots like this in my own portfolio. However, like landscape photography, where changing light, seasons and weather make the difference between average and outstanding images, shooting cities is ultimately no different.
I would encourage you to plan and prepare your trip as much as you can – map out your photographic targets and set yourself some objectives. However, most importantly, explore, experiment and enjoy the experience, and you will soon see your images starting to improve.
Camera settings
Being a travel photographer requires you to be a bit of a jack of all trades, as you’ll be shooting disciplines as diverse as street, landscape, night and portraiture. I like to travel as lightly as possible yet remain flexible to what I may encounter. I therefore have two main approaches to shooting cities.
Day
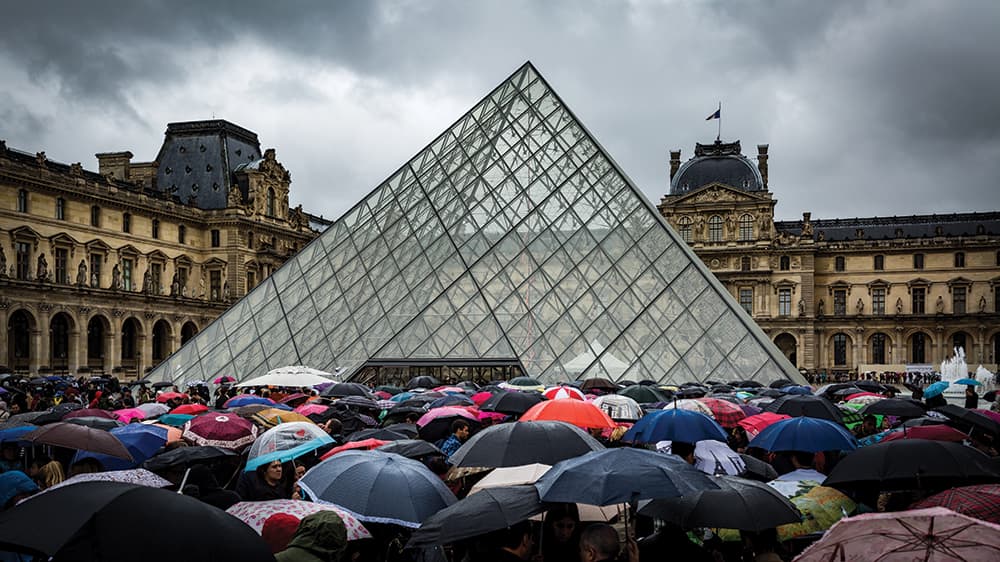
Day and night (below): different conditions require different settings
During the day, I shoot in aperture priority mode, auto ISO and raw. I change my aperture depending on what I’m shooting and how much available light there is. I don’t use flash and also like to keep my processing as simple as possible, so I rely on natural light and the low-light capability of the camera in order to recover details when shooting scenes with high contrast.
Evening
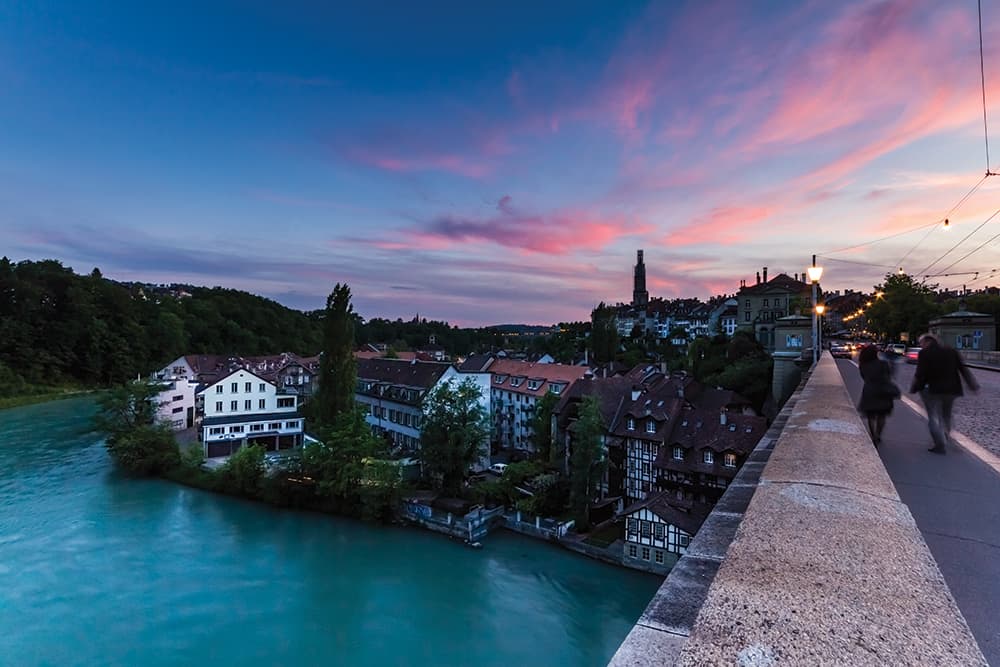 When shooting in low-light conditions, such as dawn, dusk and night-time, I typically have specific shots in mind. I use a tripod and shoot in manual or bulb modes (depending on the exposure time needed) and use live view for composition and manual focusing. With the ISO fixed to 100, I adjust the aperture and exposure length to create the image I want in-camera.
Shooting icons
 There’s a reason why iconic sights are so popular. They are impressive, but they have been photographed to death. So what can set your photo apart from the others and make the difference between a snapshot taken by a tourist and one that stands out from the crowd?
Try to look for a unique angle or vantage point such as a reflection or the back of someone’s phone. Visit at different times of the day, such as sunrise or sunset, when the light is softer and there is colour in the sky, or at night when the area is lit up.
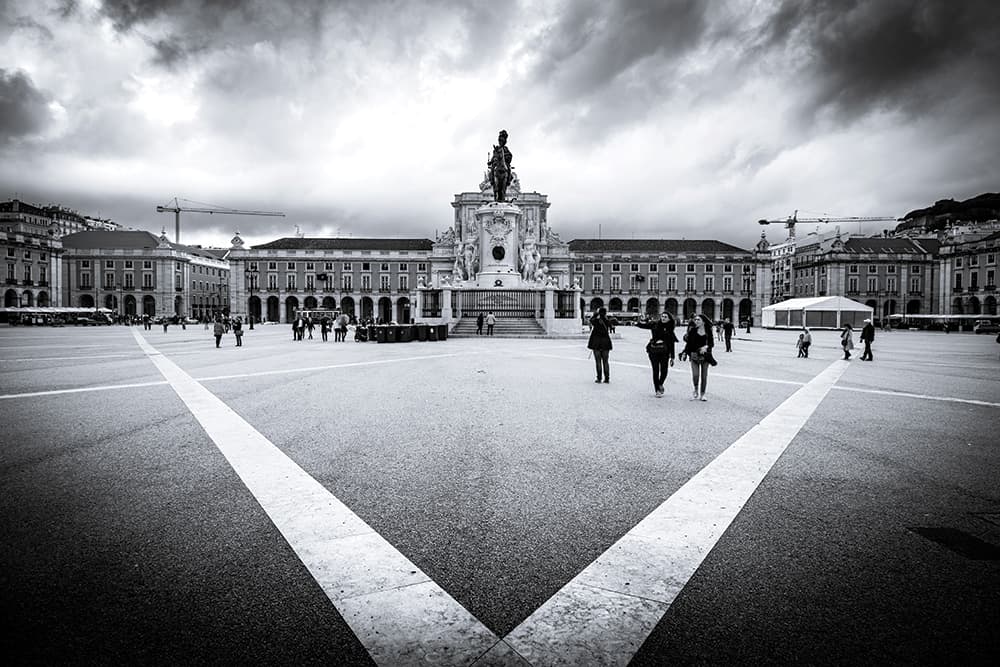
Include people in your shot to add foreground interest. Consider abstracts by looking for details or features that are often overlooked. Don’t be put off by clouds or bad weather, such as in the shot above taken in Lisbon, Portugal. They can add drama to a scene that has often been pictured with blue skies and sun. Take multiple shots from different angles, focal lengths, orientation and apertures so you can be selective about which ones make it into your portfolio.
Matt’s tops tips for city break photography
1. Don’t be put off by crowds
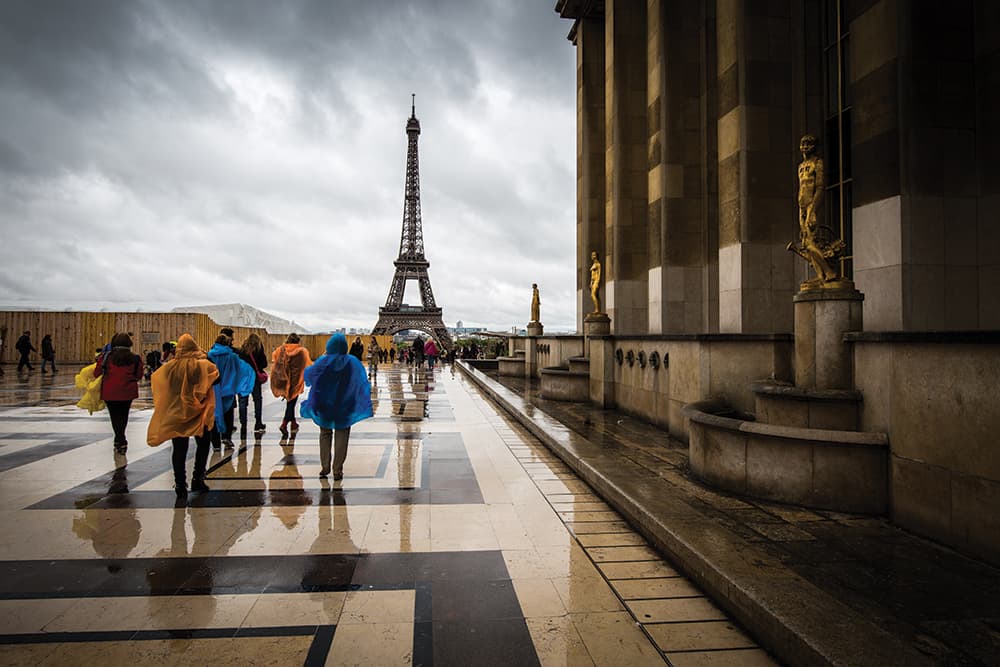 Certain locations can be popular destinations, attracting visitors from all over the world. The downside is they can get crowded. So why not use the crowds as part of your composition? Tourists can often add interest, scale, context or a focal point to a shot.
2. Think further afield
Don’t limit yourself to Europe. North Africa is a relatively short flight away, yet cities such as Marrakesh in Morocco or Sousse in Tunisia can offer cultural differences often associated with long-haul destinations. They’re ideal for adding people shots to your portfolio.
3. Look closer to home
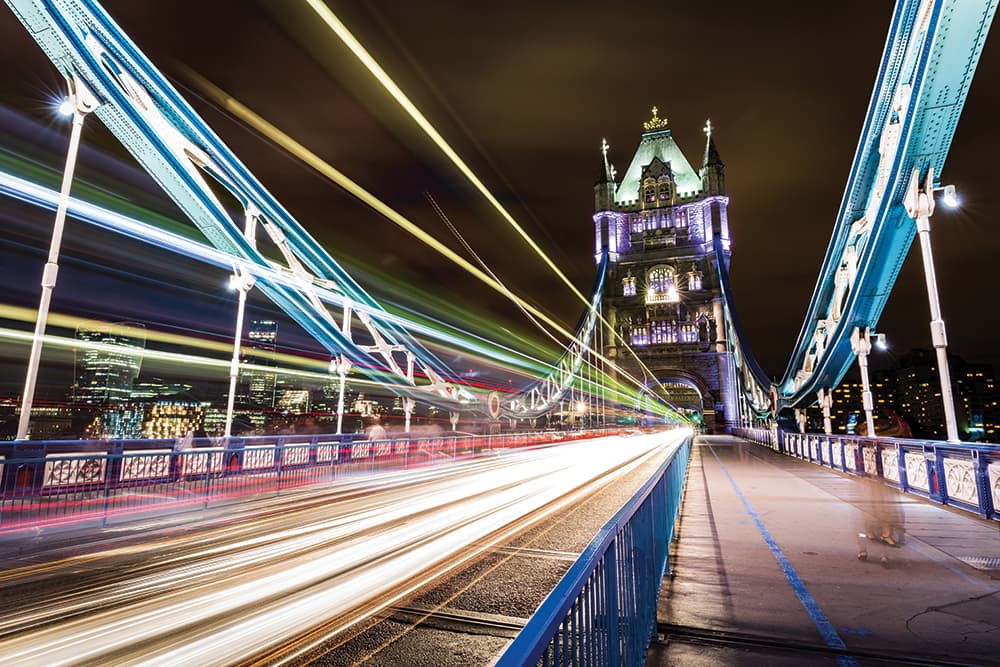 We are blessed with many fantastic and interesting cities in the UK that attract visitors from all over the world. They often provide a more accessible way to practise techniques such as long exposures before you head off on your city break.
4. Use the city as a gateway
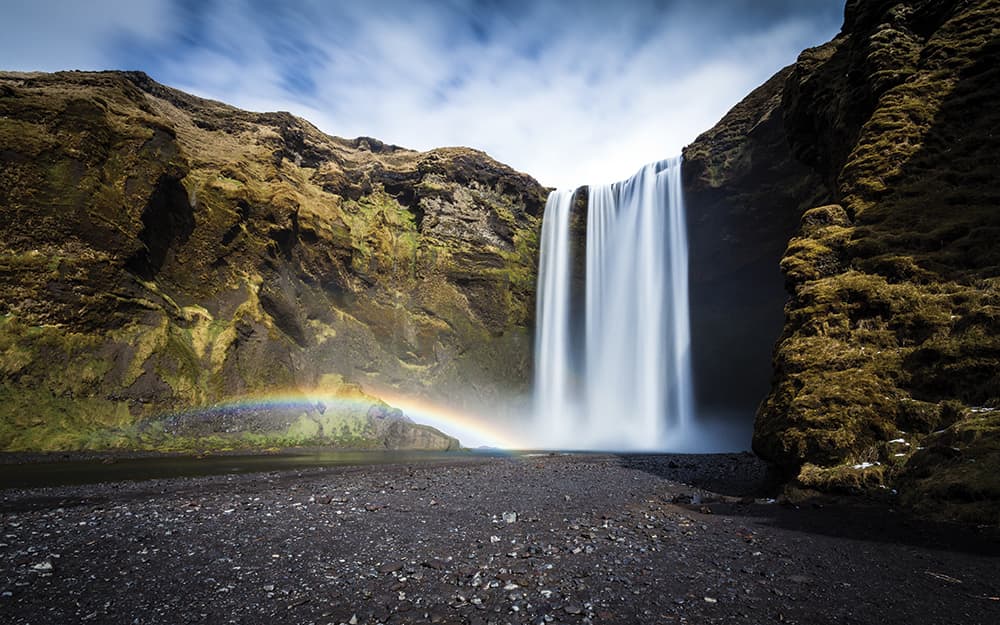 Many European cities act as an entry point to photogenic villages, landscapes or coastlines. For example, the stunning natural wonders of Iceland are easily accessible from Reykjavik, while Sintra, a small town in Portugal, is full of architectural treasures.
5. Enjoy getting lost
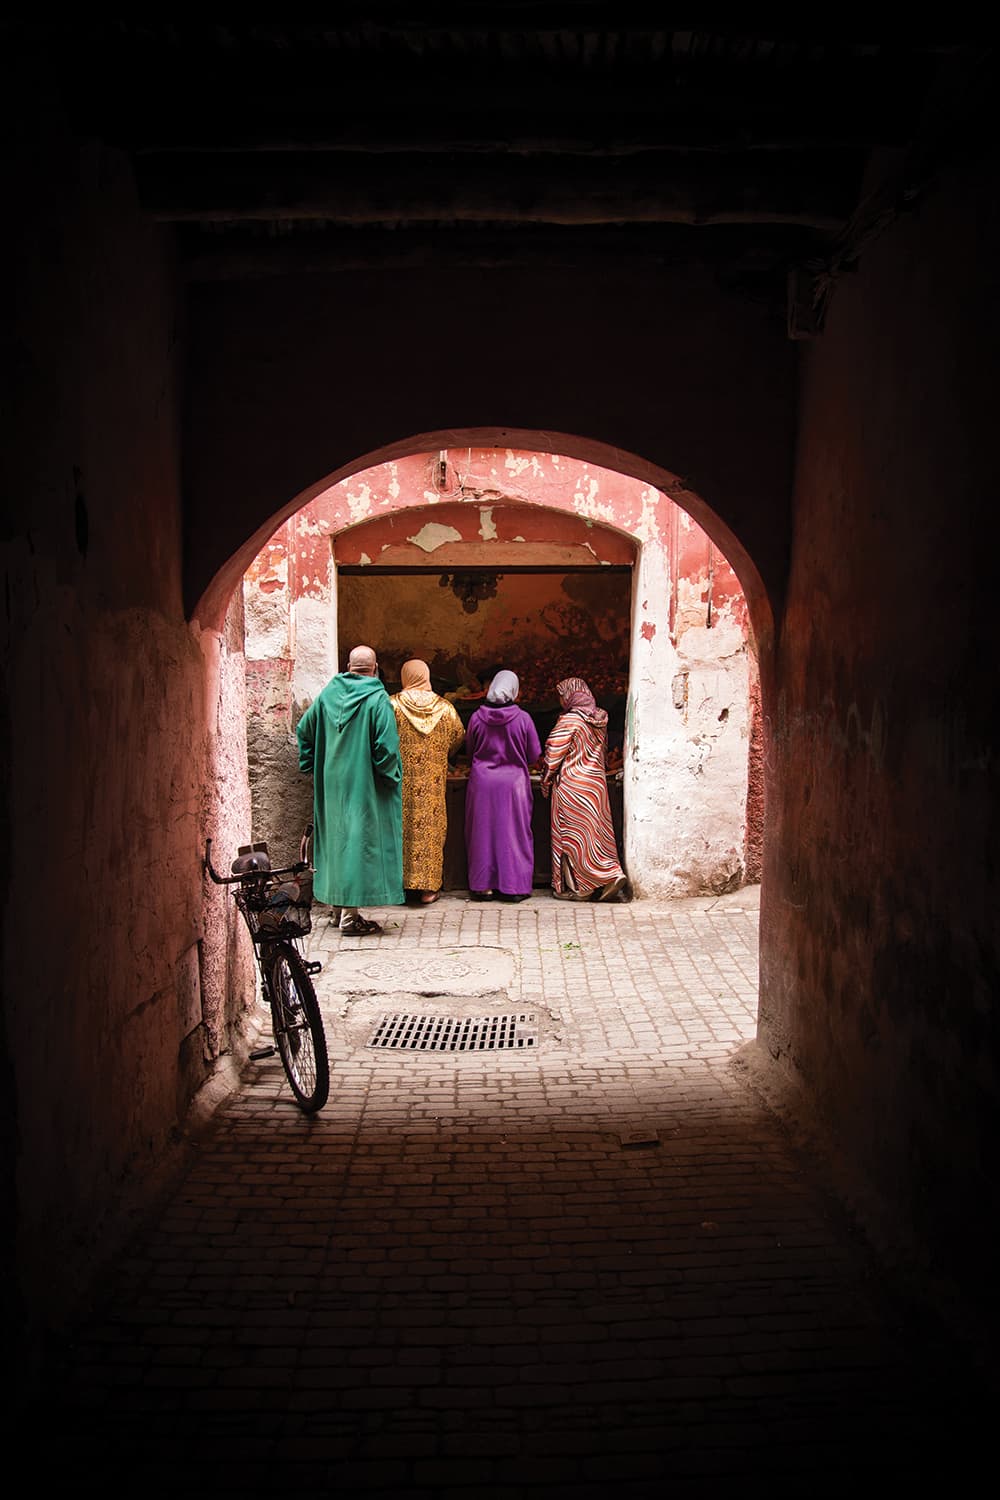 The most rewarding shots are often found when you get lost, so put the map away and just wander. You might stumble across a hidden gem of quirky architecture that the guidebooks overlooked, or a market with locals going about their day-to-day lives.
6. Set yourself goals
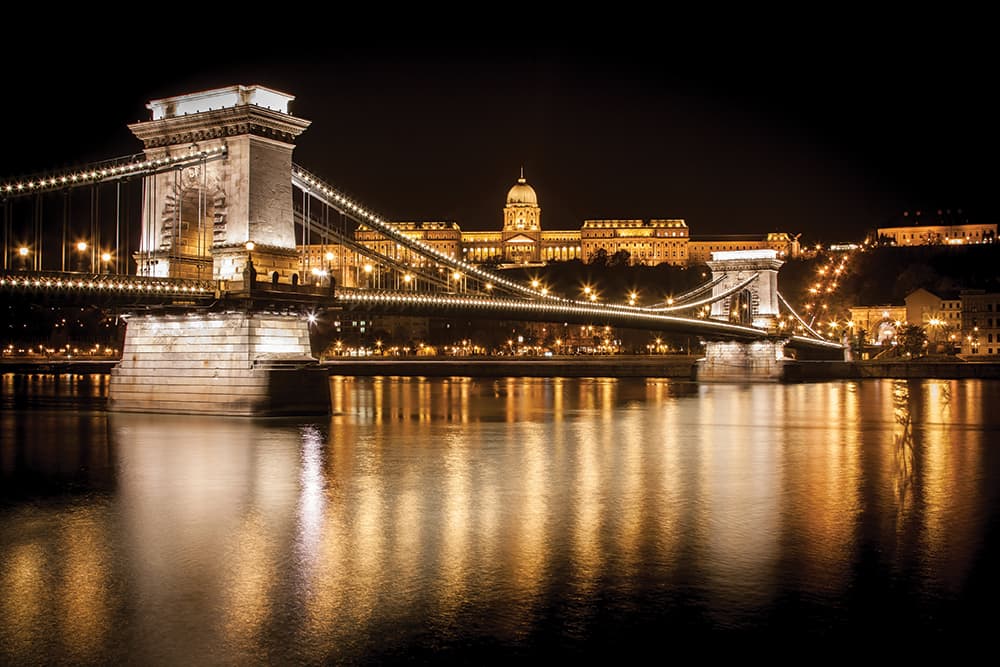 Set yourself some photographic goals for your city break. Experiment with different genres to see what you enjoy shooting. By setting goals for your trip, you can also see how much you have progressed, as well as maximise your time there.
Kit list
Main kit
My normal city-break gear is a Canon EOS 5D Mark III DSLR, a Canon EF 16-35mm f/4L IS USM wideangle, a Canon EF 24-105mm f/4L IS USM standard zoom and a Canon EF 50mm f/1.4 USM fast prime.
Optional lenses
I sometimes take a telephoto (Canon EF 70-200mm f/4L USM) or a fast wideangle (Samyang 14mm f/2.8), depending
on what I will be shooting, but one or both of these may be sacrificed.
Tripod
I always take a tripod (Giottos Vitruvian VGRN9255 aluminium) for shooting longer exposures. This adds considerable weight to my kit but is essential for the type of shots I like, particularly around the golden hours of sunrise and sunset leading into blue hour and night time.
Other accessories
I also carry a Canon RC-1 wireless remote release and a combination of Lee and Hoya ND and ND Grad filters.
Camera bag
Your bag should be light, comfortable and weather resistant. I carry my equipment in a Kata Pro-Light PL-3N1-25 Sling backpack but use a simple Lowepro Toploader Zoom 50 AW II for when I’m shooting with just a single body and lens.
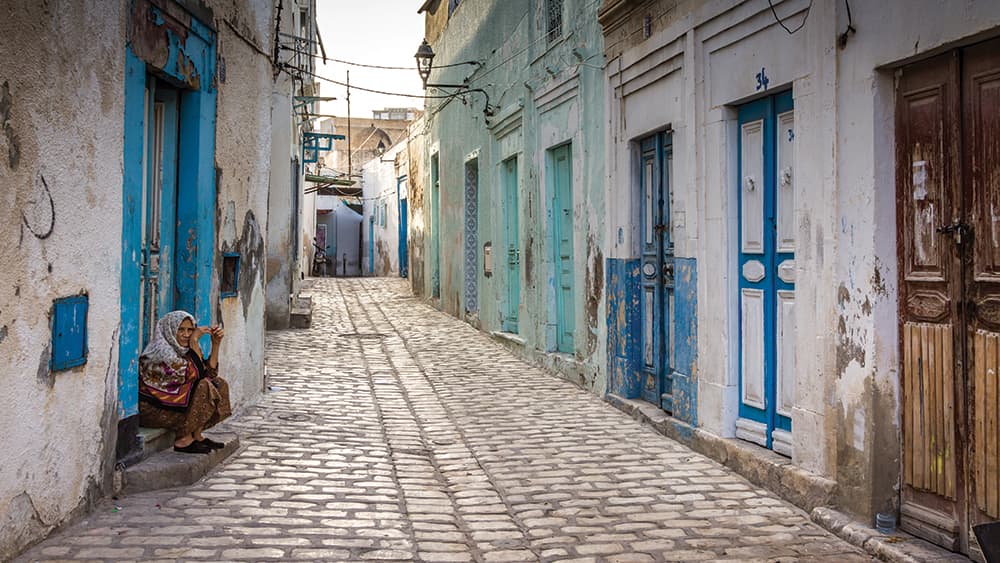
To capture the character of an area, avoid tourist hotspots
About Matt Parry:
Matt Parry is an award-winning amateur travel photographer. Having visited more than 50 countries across six continents, his passion for photography has evolved from being a way of showcasing his trips to becoming the driving force behind where and why he travels. www.mattparryphotography.com

