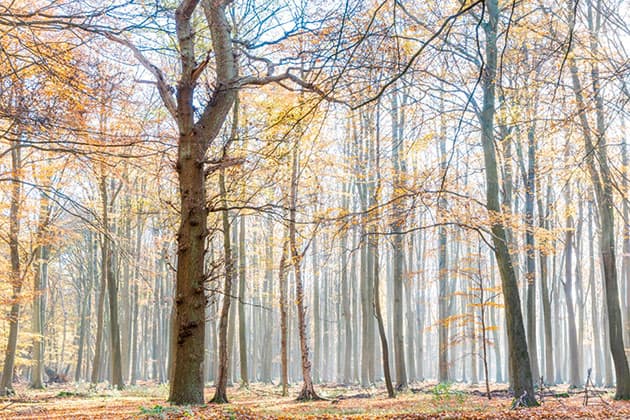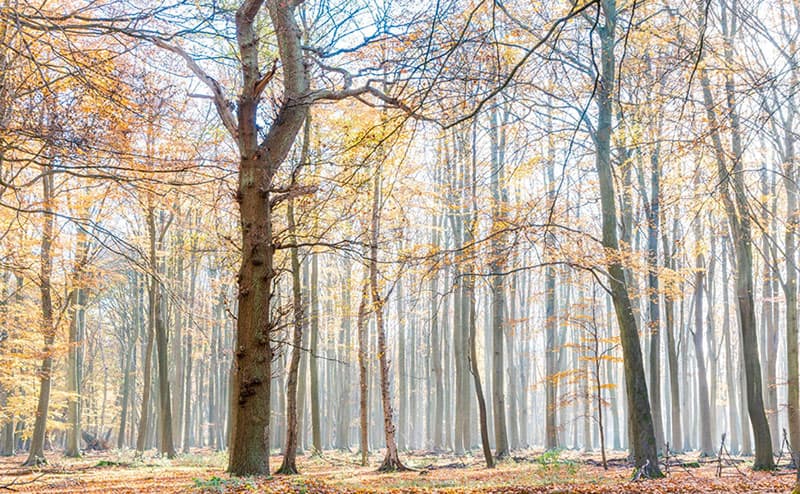
Harding’s Rockery. A Beech tree forest next to the Ashridge College house, Ashridge Forest. Sony Alpha 7R II, 24-70mm, 1/5sec at f/9, ISO 100. Credit: Martin Evening
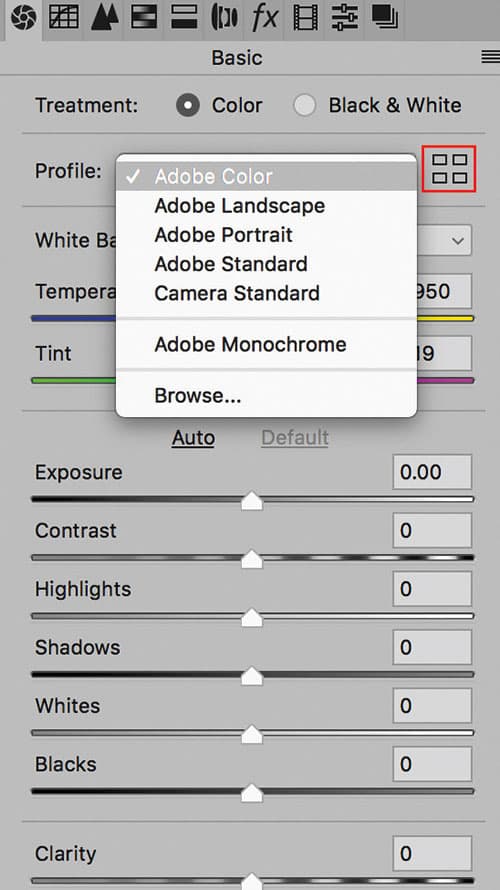
Camera Profiles have long been hidden away in the Camera Calibration panel. However, the latest releases of Camera Raw and Lightroom sees the Profiles menu repositioned up front at the top of the Basic panel. This now makes profiles more obvious and encourages you to explore the available profile options first before you start adjusting the tone and colour settings. In the past, Camera Raw profiles were for adjusting raw photos only. But the new creative profiles can now be applied to any image. To access the Profile Browser, click Browse from the Basic panel Profile menu, or click on the Browser icon highlighted in red.
Adobe raw profiles
The top section of the Profile Browser contains all the profiles you would want to apply prior to making any adjustments. Starting with the Adobe raw profiles, these aim to apply a standardised profile look regardless of the raw camera file type. Therefore, if you were to photograph an event using say, both Canon and Fujifilm cameras, whenever you apply an Adobe raw profile such as Adobe Color, Adobe Landscape or Adobe Neutral, these should result in similar looks, despite being shot on different cameras. At the same time these Adobe profile looks have all been updated to provide improved tone and colour rendering. To explain in more detail how such consistency is achieved, behind the scenes Camera Raw applies first an Adobe Standard tone and colour profile correction (according to the camera file type) and then adds a further profile correction on top (such as Adobe Color or Adobe Vivid).
The biggest change to note here is that the new Adobe Color profile is now applied by default in place of Adobe Standard. The difference between the two is fairly subtle, but Adobe Color applies a slightly stronger tone contrast and adds more warmth to the reds. Crucially, applying Adobe Color to newly opened raw images affects the sharpening settings too (see Default sharpening). Advanced users may happen to have custom profiles they created using the free Adobe DNG Profile Editor program. These will appear listed in a separate ‘Profies’ category and, below that you’ll see a Legacy profiles group to maintain backward compatibility with older versions of the Adobe raw profiles.
Creative profiles
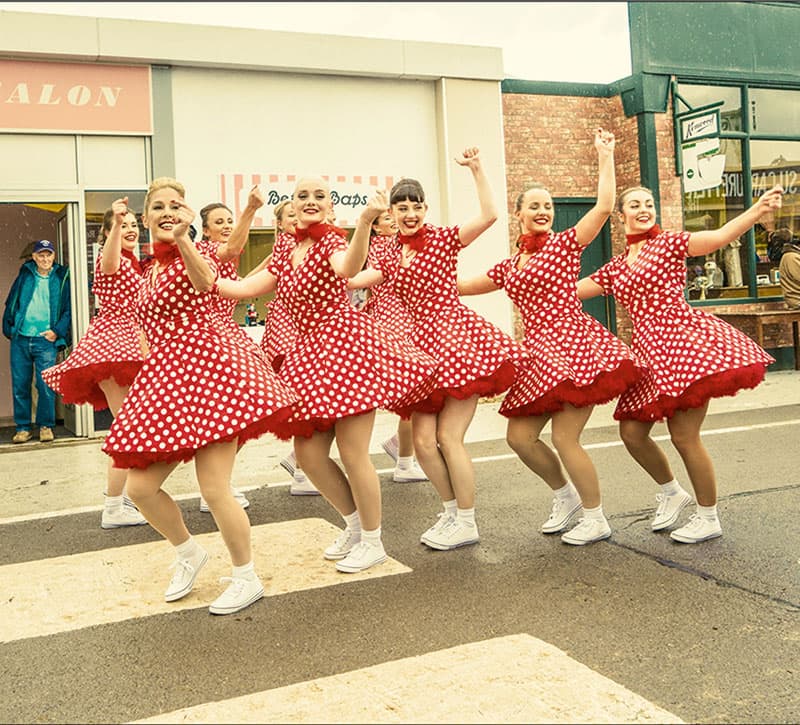
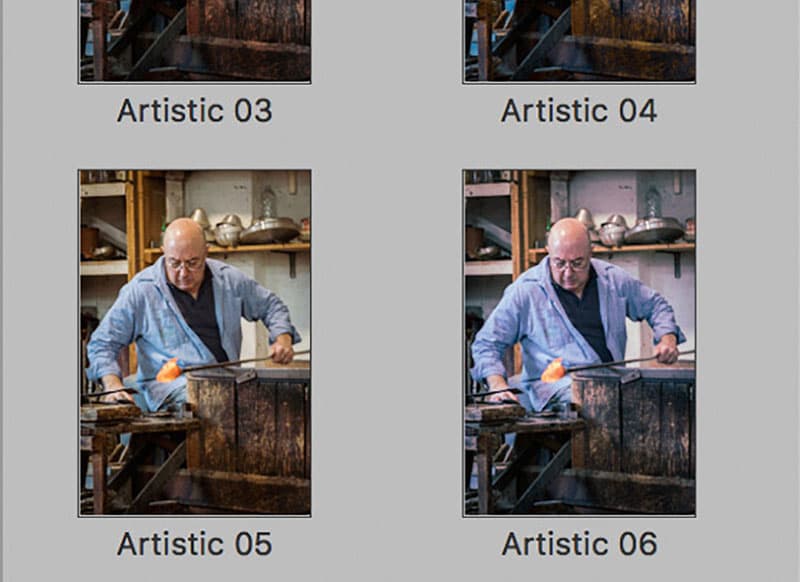
The bottom section contains creative profiles. You will most likely want to apply these after having first optimised the tone and colour. Essentially, these profiles can be used to add special effects. These are organised into the following groups: Artistic, Modern and Vintage – plus there is a B&W collection of profiles with different black and white conversions.
In a way selecting one of these profiles is a bit like choosing a preset, that is, you select an option and the image changes. However, under the hood, creative profiles now take advantage of 3D Look Up Tables (LUTs) and can also apply nearly any of the effects that are possible within Camera Raw or Lightroom. You can always use presets to include a specific profile so that selecting a preset applies a profile rather than alters the Develop settings (or, you can have it do both). Unlike presets though, profiles apply relative rather than absolute adjustments. You see, the problem when using some Camera Raw presets is that the preset settings apply fixed settings. These may work well with some images, but can’t be guaranteed to work for all. The creative profiles, on the other hand, effectively apply a filter adjustment on top of the settings you have applied already rather than substituting existing settings with new values, which might ruin the image. Selecting a creative profile, however, does not affect any slider values. Plus, you can use the Amount slider to vary the effect intensity.
Default sharpening
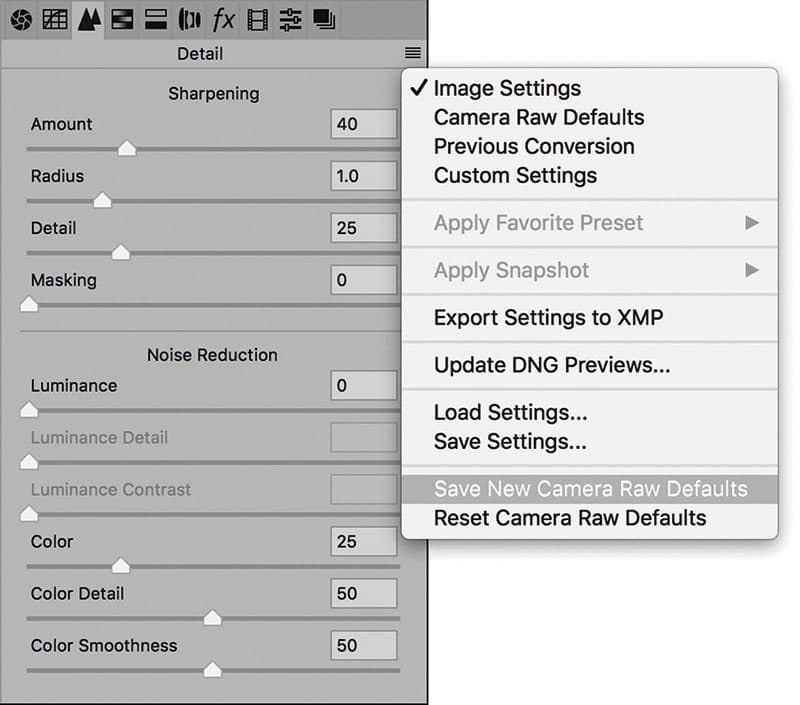
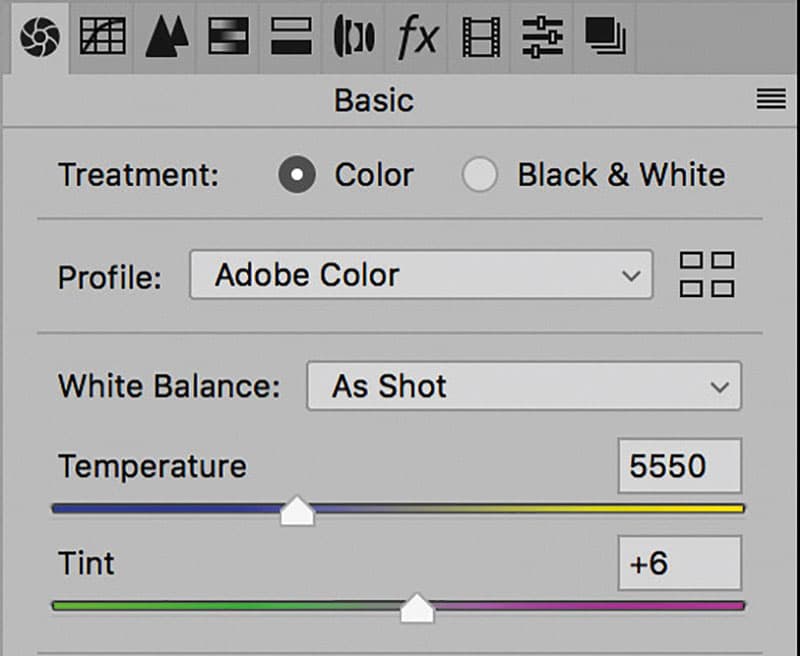
Apply the chosen profile selection and sharpening settings by default to all new images
From now on, whenever you open new raw photos in Camera Raw (or import to Lightroom) the Adobe Color profile is applied by default. At the same time any of the new profiles also apply a sharpening amount of 40 in the Detail panel instead of 25. This is to address assertions that Capture One raw processing is sharper than Camera Raw. While Capture One can produce nice sharp results, the perception that it is sharper than Camera Raw is mainly down to the fact that the default settings in Capture One happen to apply a more aggressive sharpening. Adobe has traditionally tended to apply standardised settings for the tone, colour and sharpness and therefore been more conservative. The new Adobe Color profile now applies slightly more tone contrast, enhanced colour and stronger default sharpening.
These are default settings so if you prefer to use the previous Adobe Standard profile you can do so. If you wish to keep the original defaults, open an image in Camera Raw that has had no other adjustments applied to it. Select the Adobe Standard profile and reset the Detail panel Amount sharpening to 25. Then go to the Camera Raw dialogue fly-out menu and select ‘Save new Camera Raw Defaults’. This will apply the chosen profile selection and sharpening settings by default to all new images (which can be refined via the Camera Raw preferences). Similarly, if you are opening new images expecting to see the Adobe Color profile applied, but aren’t, it is most likely because you have existing Camera Raw defaults applied. To restore, select ‘Reset Camera Raw Defaults’.
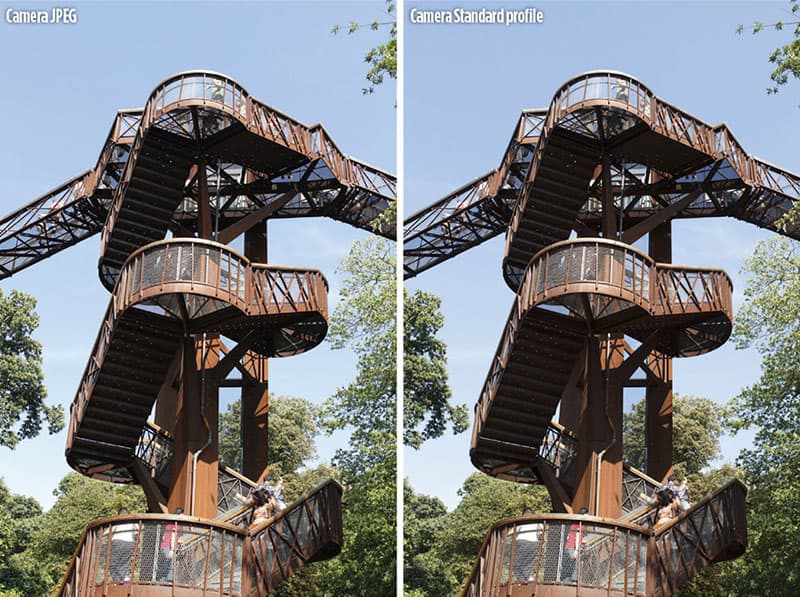
A JPEG (left) and a raw capture (right) using the Camera Standard profile. The raw processed image appears near enough the same as the JPEG when the Camera Standard profile is applied. Credit: Martin Evening
How to match your camera ‘looks’
The Camera Matching profiles apply a profile that aims to match the colour look settings in your camera and this will vary depending on the type of raw file you have opened in Camera Raw. For example, if you select the Standard profile, this applies a profile correction that matches the standard camera look (as opposed to what Adobe believes the best standard look should be). This can also be referred to as the ‘JPEG look’. For example, if you capture both raw and JPEG and review the raw and JPEG photos alongside each other in Bridge, the initial (camera embedded) raw preview will appear identical to the JPEG, but after a few seconds change appearance as the Camera Raw rendering kicks in behind the scenes and applies the default Camera Raw profile. This used to be Adobe Standard, but is now Adobe Color. However, if you choose to apply the Camera Matching Standard profile, the raw look should near enough match the JPEG. And, if you happened to shoot with the camera in say, Velvia/ Vivid mode on a Fujifilm X camera, then applying the same Camera Matching profile to the raw file will give you a close match.
Camera raw profile tips

Credit: Martin Evening
1. Black & white profiles
The black & white profiles can be a useful place to start when converting a photo to black & white. You can roll the mouse over the B&W profile options to see which you like best. Having done that, the Black & White Mix panel sliders remain active, which means you can continue to adjust the sliders to refine the adjustment and achieve the desired look.
Credit: Martin Evening
2. Adjust the profile intensity
Whenever you have one of the creative profiles selected, the Amount slider, which appears at the top of the Profile Browser, becomes active. You can drag this slider to adjust the intensity of a particular profile effect. For example, if you have a black & white profile selected you can use this to subdue or intensify the strength of the black & white adjustment.
Credit: Martin Evening
3. Profile Browser management
With the Profile Browser open you can simply hover the cursor over a profile in order to preview the effect. Then you can double-click to apply a profile and dismiss the browser. The profiles can be displayed in either a Grid view or List view and you can use the radio button filters to show the colour or black & white profiles only.
Credit: Martin Evening
4. Marking favourites
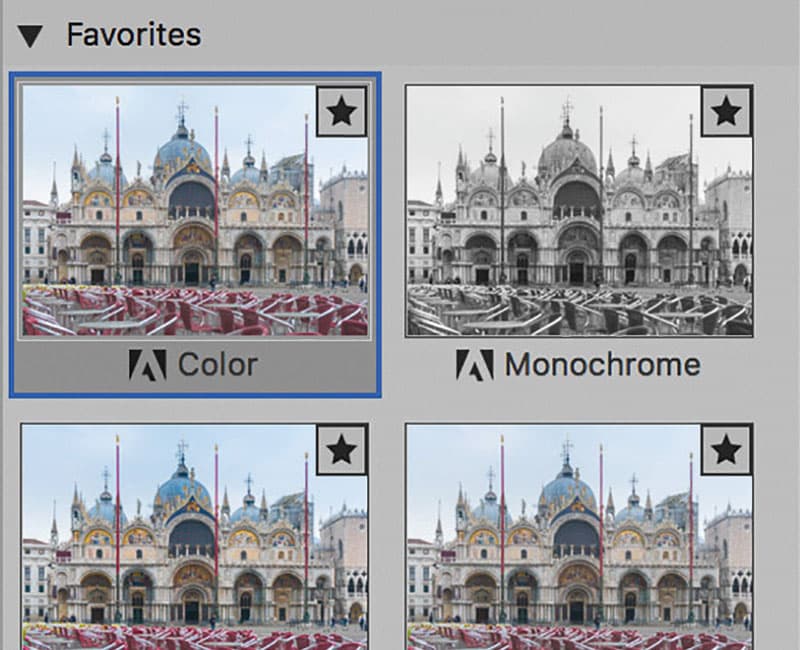
With so many profiles to choose from now it can be hard to know which to choose. To make things easier you can click in the top left corner of a Profile Browser thumbnail to toggle on or off as a favourite. Profiles that have been marked as favourites will then appear listed in the Favorites profiles section.

Credit: Martin Evening
5. Adobe Portrait profile
The previous Camera Portrait profile tended to apply too warm a colour to skin tones. The new Adobe Portrait profile has been designed to improve the appearance of portrait images. This new version of the profi le expands the colour resolution for skin tones and helps to ensure better colour and tonality of portraits of people for all types of skin tones.
Credit: Martin Evening
6. Profiles in Lightroom CC and mobile apps
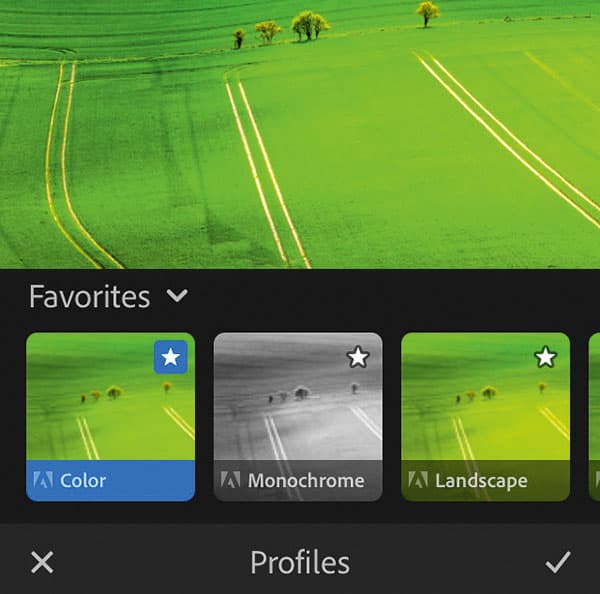
To coincide with the launch of Camera Raw 10.3 and Lightroom 7.3, the Lightroom CC for desktop program as well as all the Lightroom CC apps now also let you select profiles. If editing in, say, Lightroom CC for iPhone, you can select a profile in the Edit mode before applying or after applying other edits.

