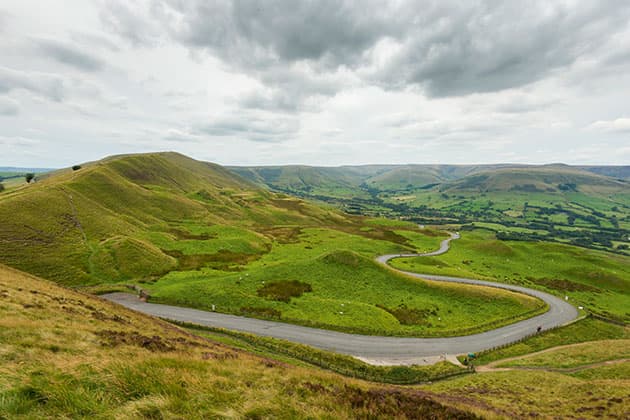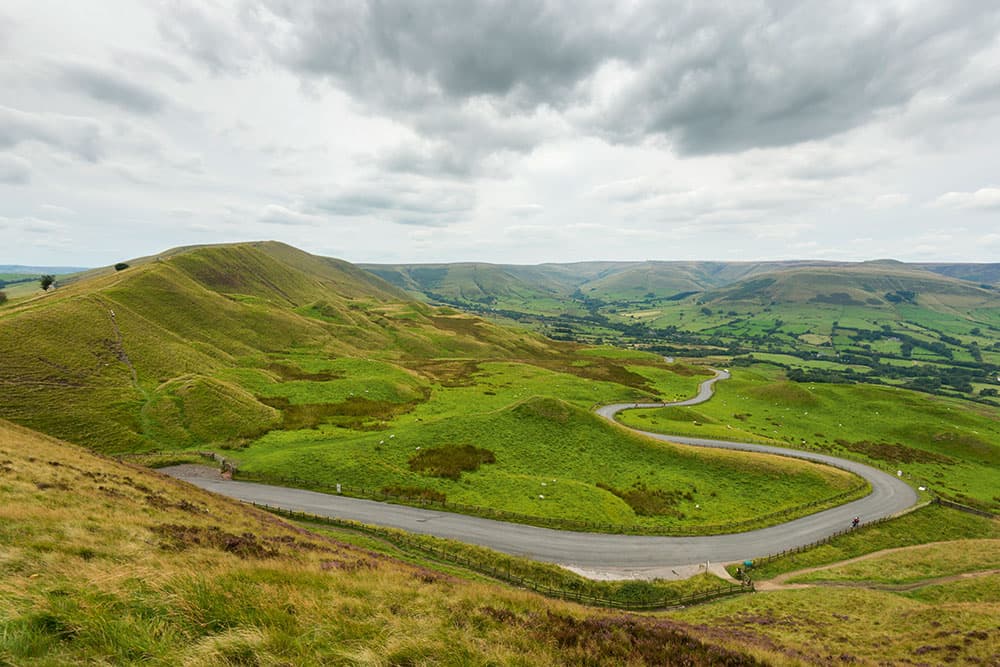
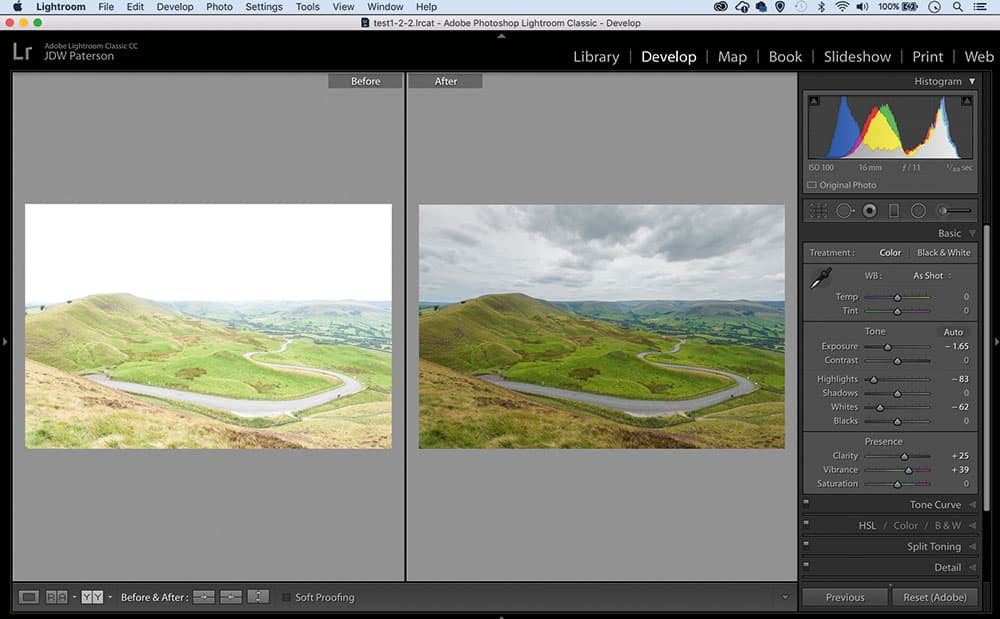
Use the Exposure, Highlights slider to pull back overexposed detail
1. Fix overexposed photos
Lightroom offers a range of tonal tools for correcting overexposure, but which should you use? Begin in the Develop Module’s Basic panel and tweak exposure to darken the image. Next move on to the Highlights slider, which lets you pull back detail. Finally, adjust the Whites slider to rein in the very brightest parts.

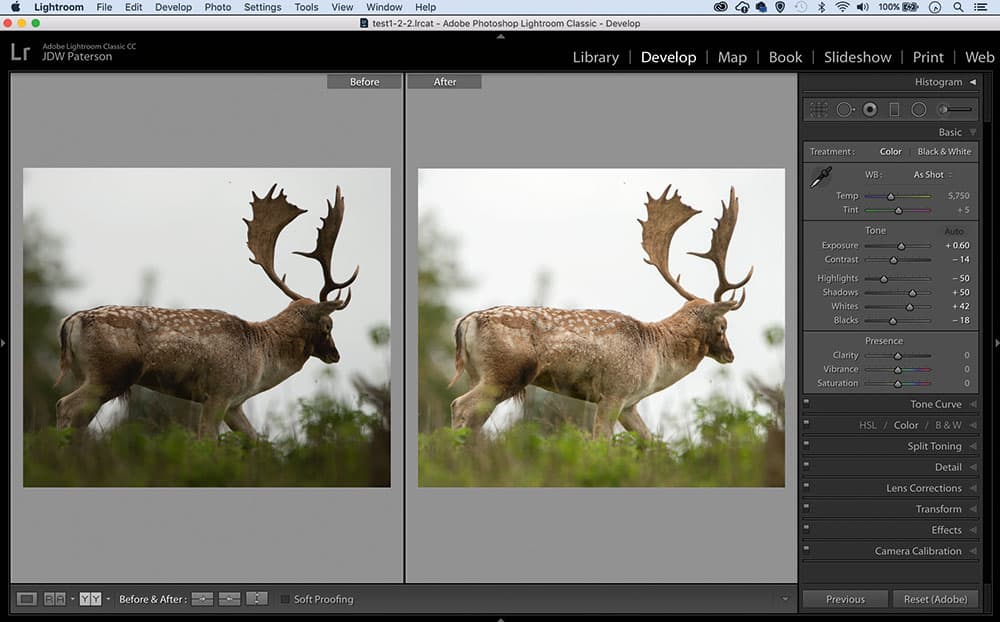
Reveal lost detail in the shadows to brighten a scene
2. Save underexposed images
This is where shooting in raw really helps, as raws retain greater detail in the shadows. We can pull out the detail using a combination of the Exposure, Shadows and Blacks sliders in the Basic panel. Correcting underexposure will inevitably emphasise noise, so head to the Details panel and use the Noise Luminance slider to combat this.
3. Correct an unbalanced exposure
Sometimes an image is neither here nor there – the shadows are too dark, the highlights blown out. Here’s where local adjustments can fix things. Use the Exposure slider to pull detail out of the shadows, switch to the Adjustment Brush or Graduated Filter and selectively darken the highlights for a balanced frame.
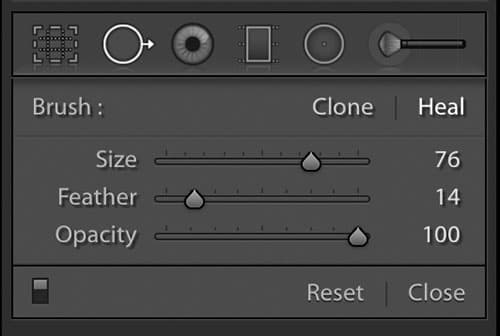
4. Hide distractions
While Lightroom can’t match Photoshop CC in the retouching department, it does offer one excellent tool – the Spot Removal tool. Set it to Heal, then paint over distracting details and sensor marks to remove them. It works best on small marks against detailless surroundings, like a spot in a sky.
5. Check for clipping
When pixels are ‘clipped’ to black & white it means they are entirely lacking in detail, which is usually to be avoided. You can check for clipped pixels by holding Alt while dragging either the Whites or Blacks sliders. Use the sliders to claw back a small amount of clipping.
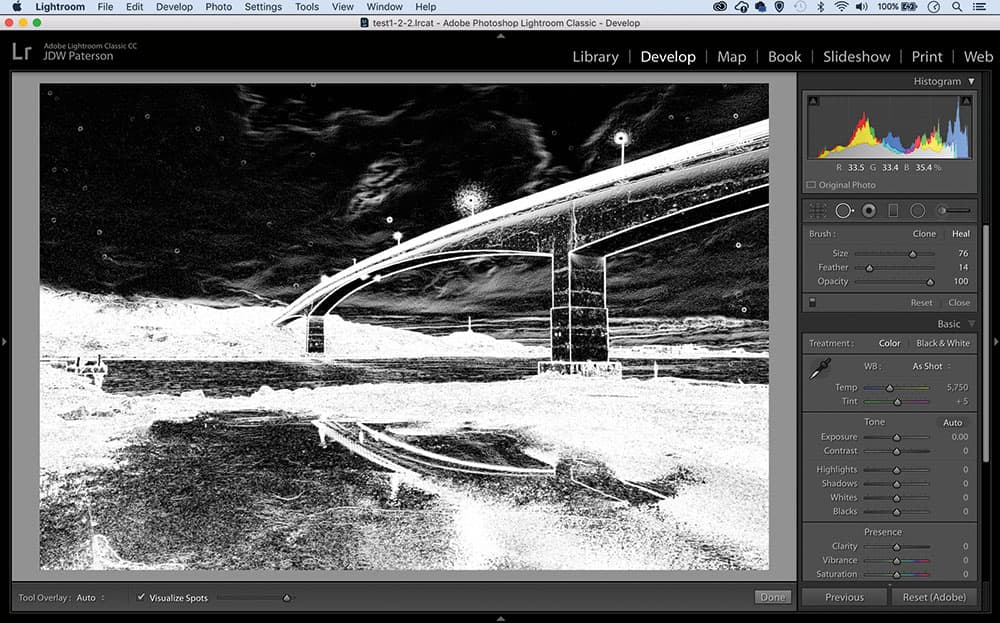
Use Visualise Spots to reveal sensor marks
6. Oust sensor marks
When assessing an image for sensor marks, there’s a useful feature within the Spot Removal tool called ‘Visualise Spots’. You’ll find it at the bottom of the screen when the tool is selected. A slider lets you set a threshold, so you can fine-tune it to show any sensor marks, then heal with the Spot Removal tool.
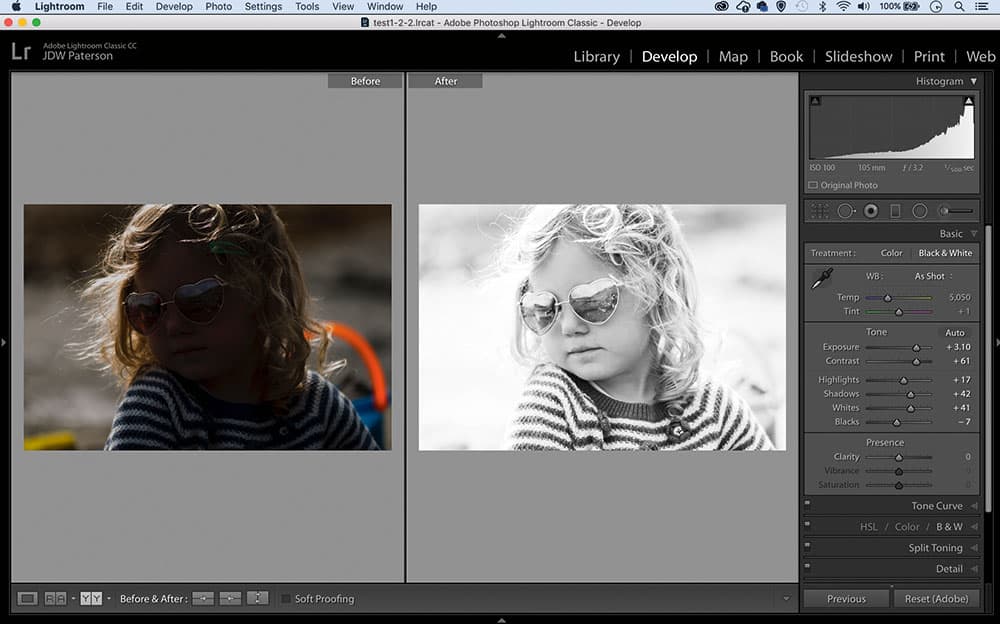
7. If all else fails…
In extreme cases of underexposure, when all else fails try converting your image to black & white. Without colour, you’ll find you can pull out more detail in areas that are underexposed. Of course, this will lead to increased image noise, but you can get away with calling it ‘arty grain’ in mono.
8. Quickly remove wires
It’s sometimes hard to avoid including telegraph wires in your landscapes, but they are easily removed in Lightroom with the Spot Removal tool. Use the ] and [ keys to resize the tip so that it’s slightly wider than the wire, then click at one end, hold Shift and click along the line to heal in a straight line. Keep shift-clicking to remove the entire wire.
9. Heal multiple marks
If you have an entire set of photos that are plagued by a recurring sensor mark then it’s easily removed if the mark is in the same spot throughout. First paint over it with the Spot Removal tool in one image. Next highlight all the others, click the Sync button, check Spot Removal and hit Sync.
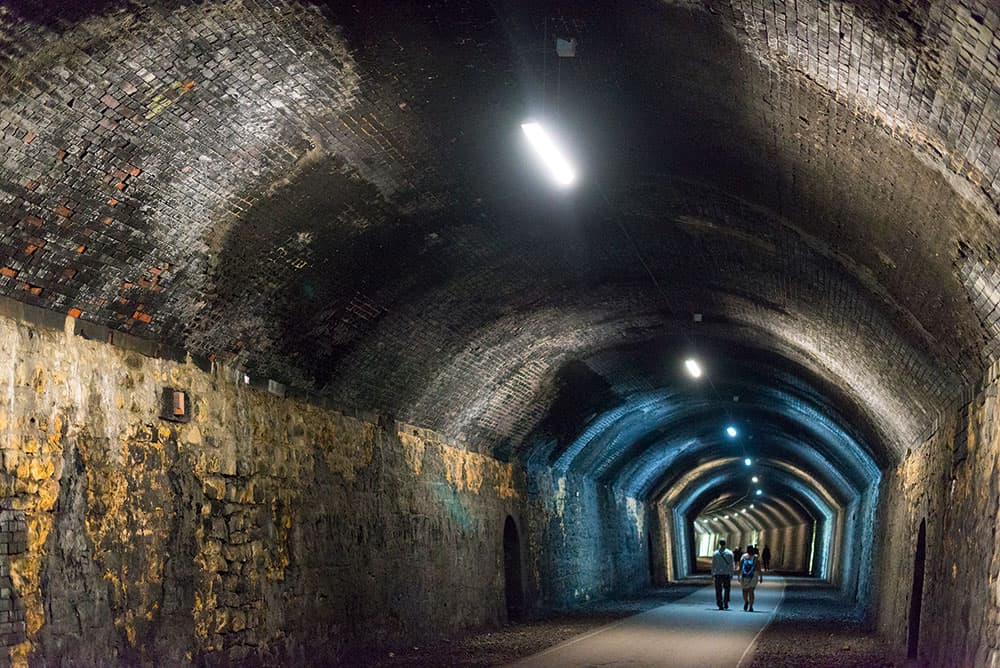
You can easily alter white balance when you shoot in raw
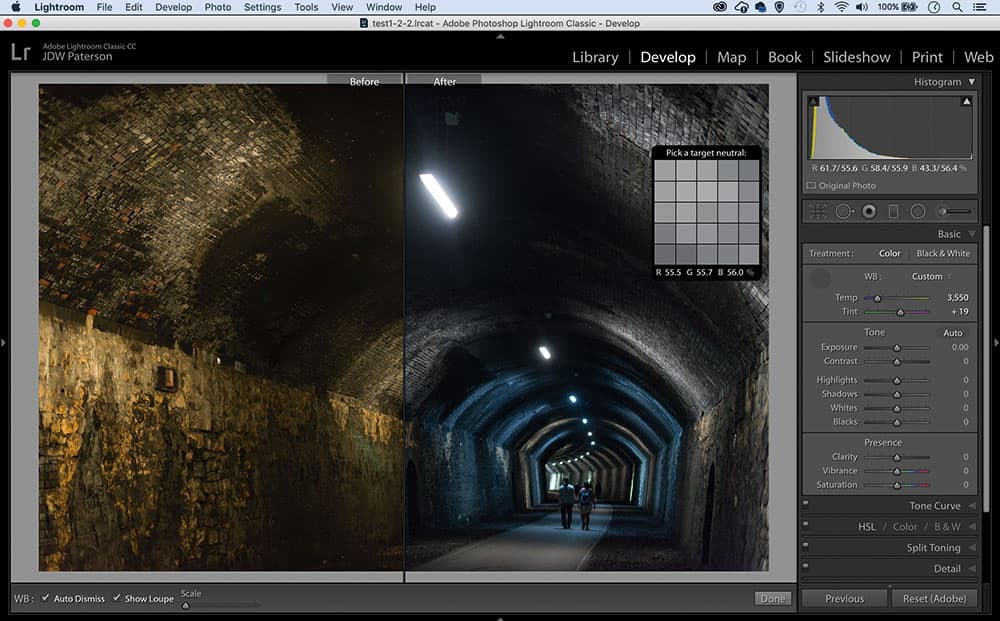
10. Correct colour casts
Sometimes your camera’s white balance will go awry, but the resulting colour casts are easily fixed in Lightroom (especially if you shoot in raw, as you can alter the white balance afterwards just as if you’d done so beforehand). Simply grab the White Balance tool from beside the Temp and Tint sliders, and click over a neutral grey point in the image.
11. Match panorama frames
When shooting a panorama it’s best to lock your exposure or use manual exposure so that it stays consistent across the set. However, if there are inconsistencies then a Lightroom feature can help you out. Cmd/Ctrl+click to select multiple frames, then go to Settings>Match total exposures.
12. Try intelligent Auto
The latest Lightroom Classic update includes a dramatically improved Auto button (found in the Develop Module’s Basic panel). Auto now employs Sensei – Adobe’s machine-learning technology – to analyse image content when applying a fix. It’s much better than before, and a good way to begin correcting lifeless tones or exposure mishaps.

Lightroom can detect wonky horizons and correct them
 13. Level wonky horizons
Go to the Transform panel and click on Level or Auto and Lightroom will detect and correct it. To use auto-level while cropping, use the Auto button in the crop tool settings. Or hit A for the level tool and drag a line through the image manually.

Use the Dehaze command to crisp up images

14. Cut through haze
If landscapes are hazy and lack contrast, the Dehaze command can help cut through the atmospheric haze and crisp up details. It’s found within the Effects panel. After applying Dehaze the shadow tones may darken too much. If this happens try lifting the Shadows slider in the Basic panel.
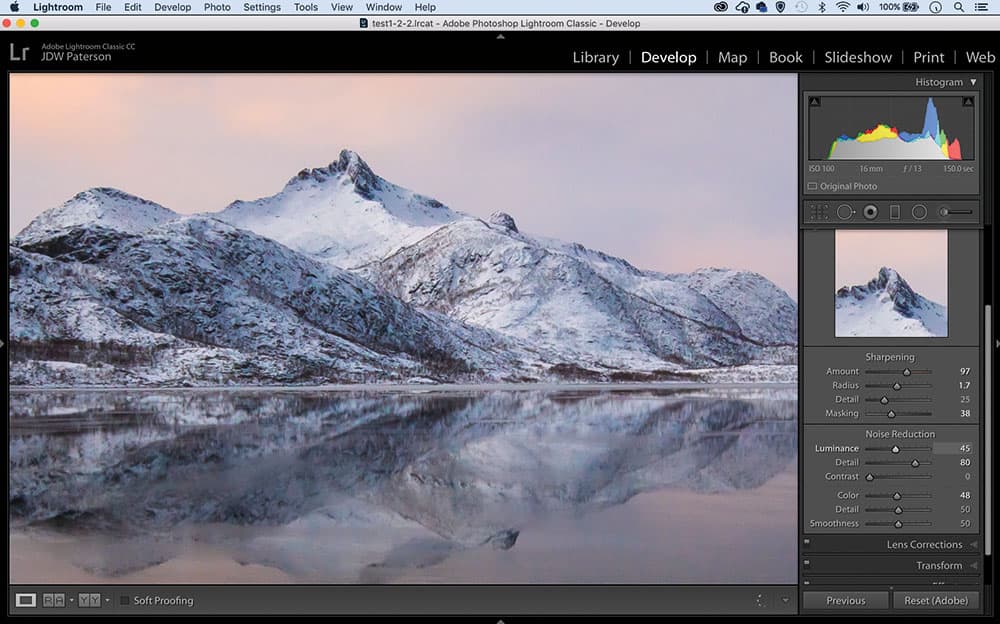
Control noise using the sliders in the Detail panel
15. Fix noisy photos
If your image is plagued by noise then the best x is Lightroom’s Detail panel. Use the Noise Luminance slider to reduce grainy noise, then use the Detail slider to fine-tune how the noise reduction softens details and contrast. Finally, if necessary use the Color noise sliders to remove blotchy colour noise.
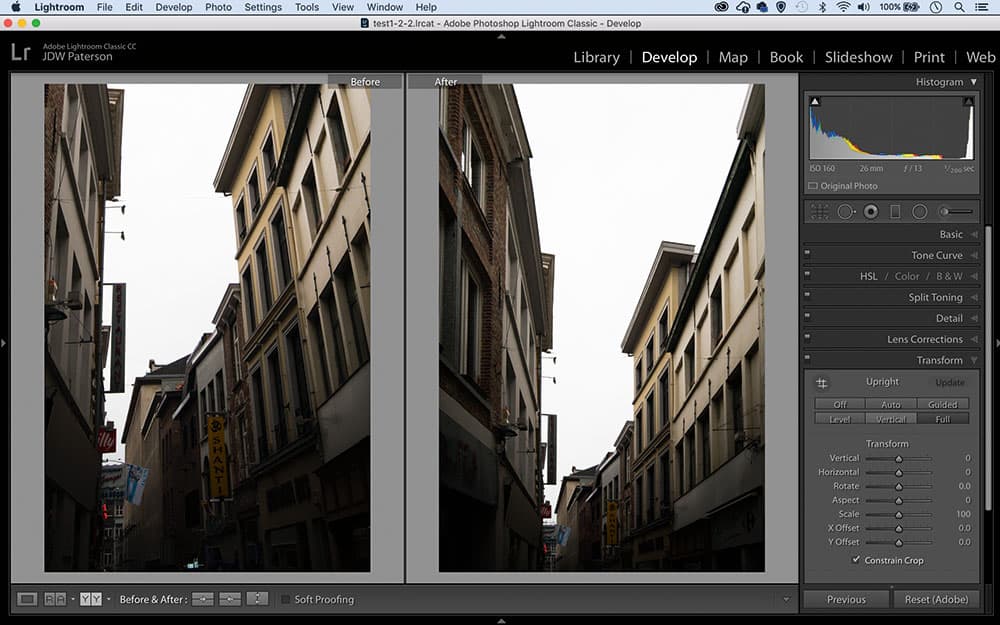
16. Correct converging verticals
If you shoot with the camera angled upwards then vertical lines may appear to converge towards the centre, especially with wideangle lenses. You can counteract this with Lightroom’s Transform panel. Click the Auto, Vertical and Full buttons. If these fail, try the Guided Upright tool (see tip 19).
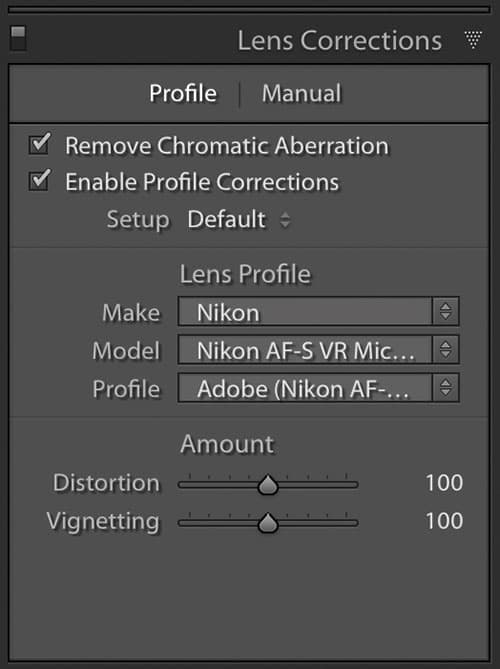
17. Fix distortion and fringing
All lenses suffer from distortion and chromatic aberration to some extent, but these are an easy x. Go to the Lens Correction panel and check both ‘Remove Chromatic Aberration’ and ‘Enable Lens Corrections’. You can have these turned on by default – check both boxes then hold Alt and click the ‘Set Default’ button.
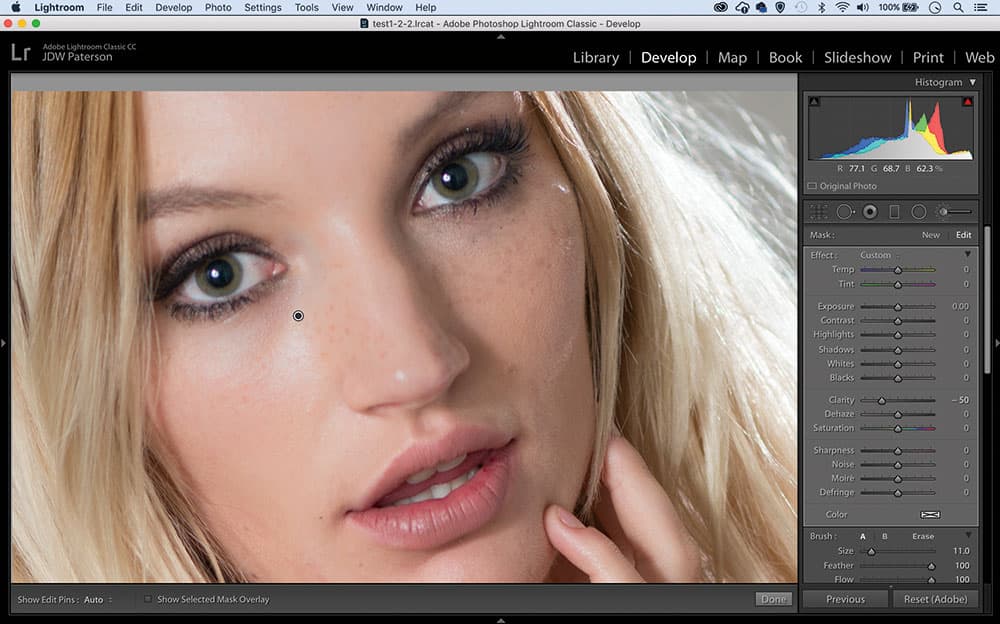
18. Sort hot spots
Sometimes portrait subjects can have unflattering bright hot spots on the skin that make the face look sweaty. This is easy to tone down with Lightroom’s Adjustment Brush. Grab the tool from the Develop Module toolbar then set Clarity to -50 in the tool settings to the right. Paint over the skin to soften the hot spots.
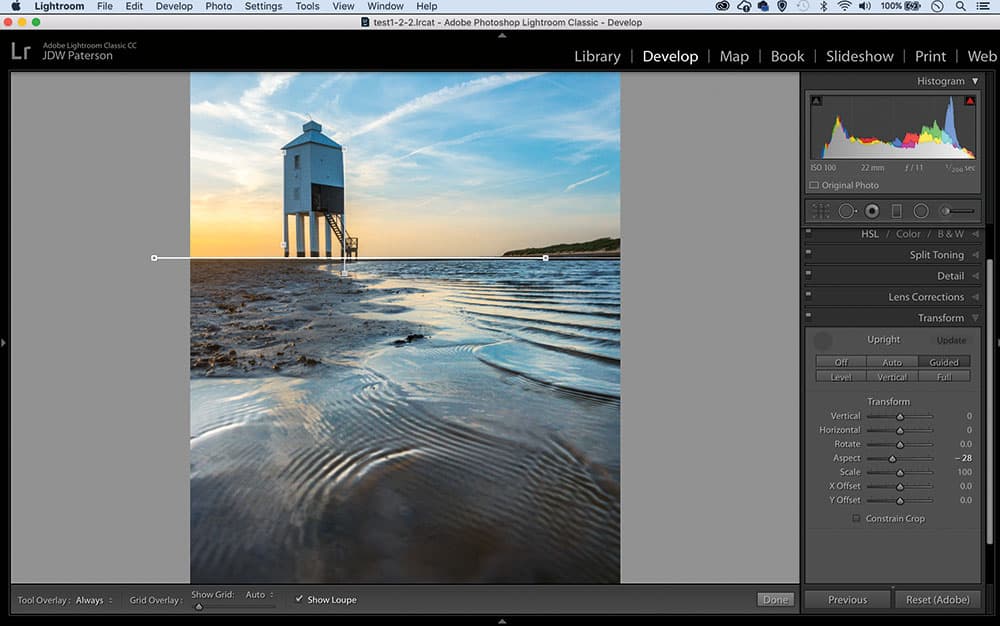
Use the Guided Upright tool for manual control
19. Guided Upright
If the other Upright tools are unable to automatically correct distortion and converging verticals in your image, then the Guided Upright tool will let you do so manually. You can pick up the tool at the top left of the Transform panel. Then drag through the image to make lines along objects in the scene that you know to be either perfectly horizontal or vertical.
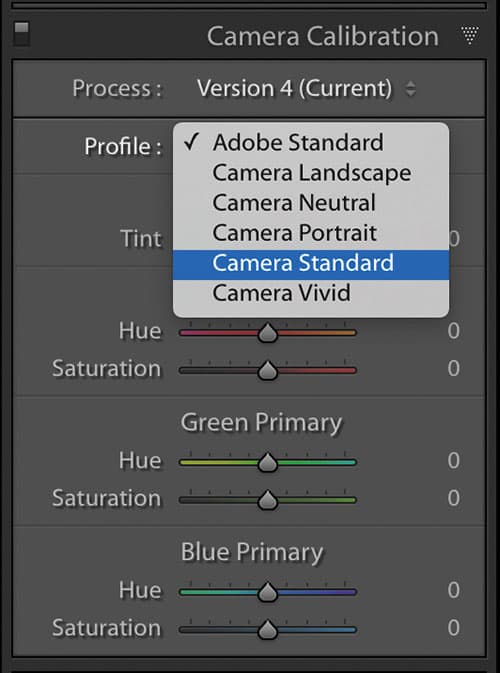
20. Boost dull colours
If your photos look dull upon importing them into Lightroom, try a different camera profile. You can choose a profile in the Camera Calibration panel. The profiles on offer match your camera’s picture styles. If you like you can set a default profile for all imported photos – hold Alt and the ‘Set Default’ button appears below.

