Amateur Photographer verdict
This build-it-yourself pinhole camera for Instax instant film is fun to build and can, with a bit of luck, deliver some nice prints. It would make a great gift for photographers.- Inexpensive
- Fun to build
- Exposure calculator is unreliable
- Camera isn’t very rigid
I’ve been reviewing cameras and photo equipment for almost two decades, so thought I’d seen everything there is to see. But it turns out that’s not quite true. And when I heard about the JollyLook Instant Film Camera from our friends at Park Cameras, I just had to give it a try.
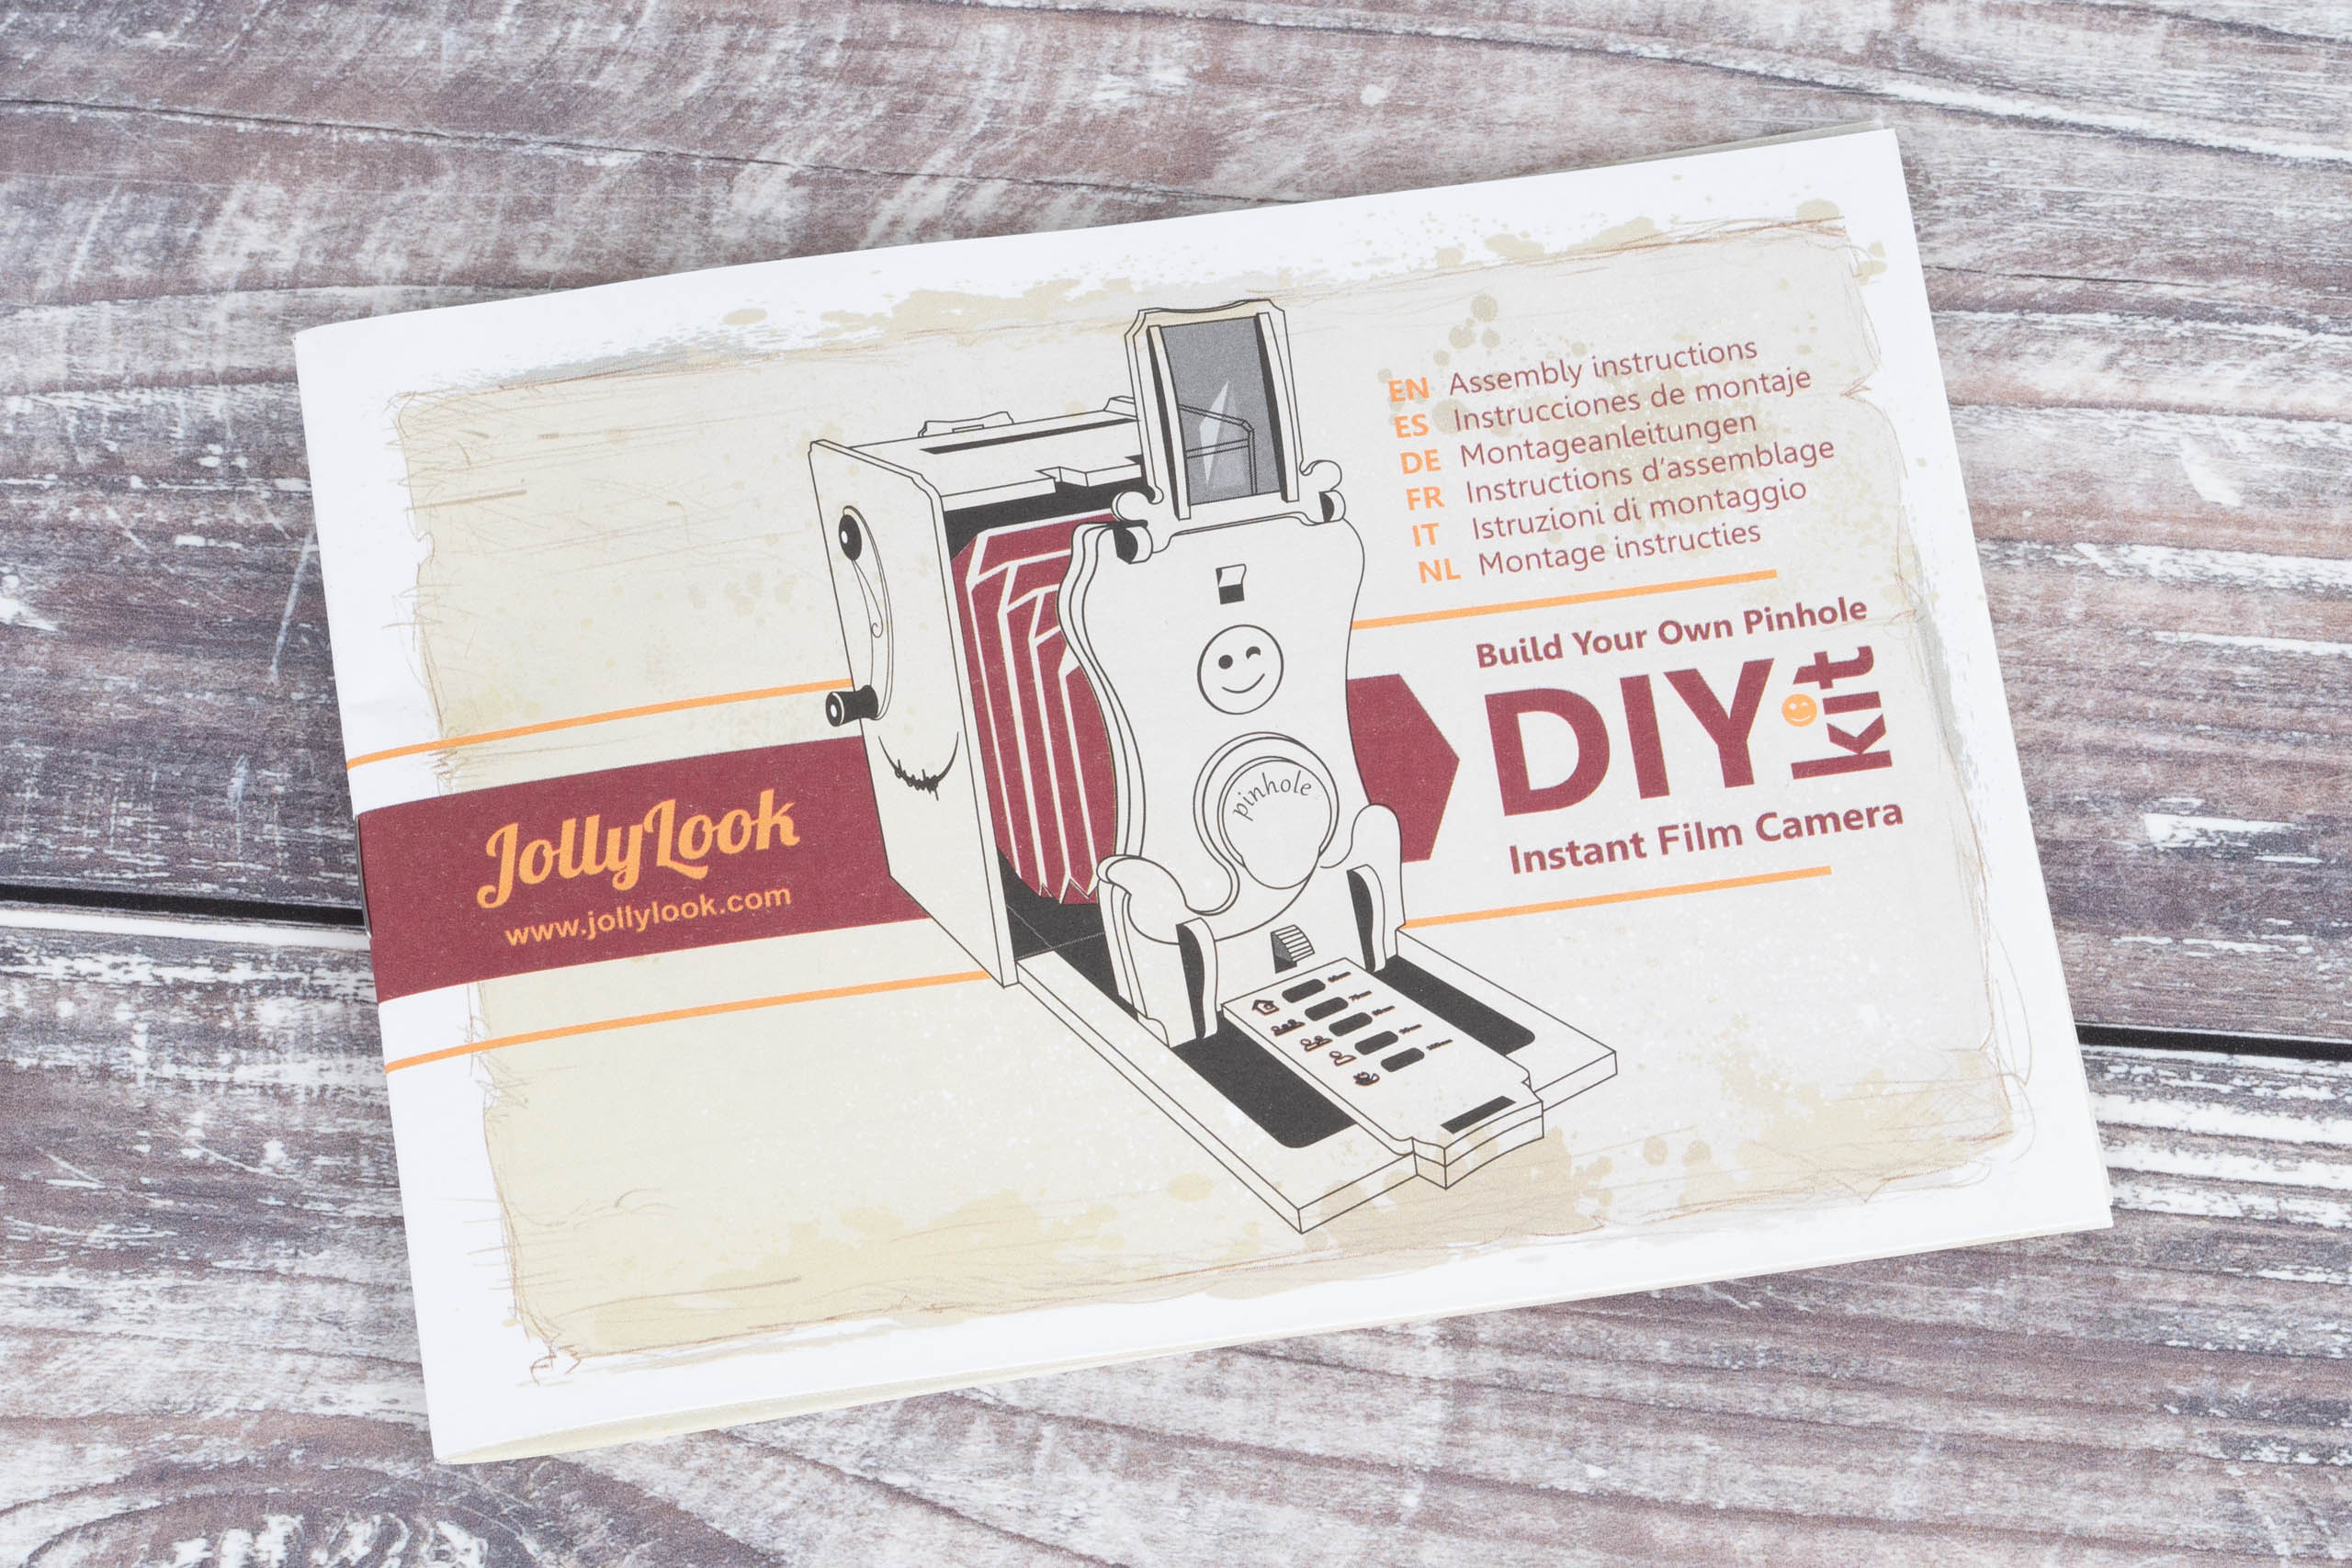
JollyLook Instant Film Camera at a glance:
- £79 (assembled camera), £65 (DIY kit)
- Pinhole camera
- Folding bellows design
- Variable focal length
- Uses Instax film (Mini and Square versions available)
- Available assembled or as a DIY kit
- jollylook.com
So what, exactly, is different here? Let me put it like this: it’s a zoom pinhole folding instant camera that’s mostly made of plywood. What’s more, while you can buy it fully assembled, it also comes as a DIY kit to build yourself. That’s just gloriously insane. And it’s not even very expensive.
JollyLook Instant Film Camera key features:
- Film: The camera uses Instax film, with versions available for Mini and Square formats. Colour film costs £16.99 for 20 prints, in two 10-shot packs. Monochrome film is also available in 10-shot packs, but it’s more expensive.
- Calculator: A complex-looking device on the back suggests exposure times based on the focal length and lighting conditions
- Folding: The camera folds up into a box that measures 9 x 14 x 8cm for the Instax Mini version
- Shutter: Exposures are made using a simple shutter that you flip open and closed manually
Building the camera
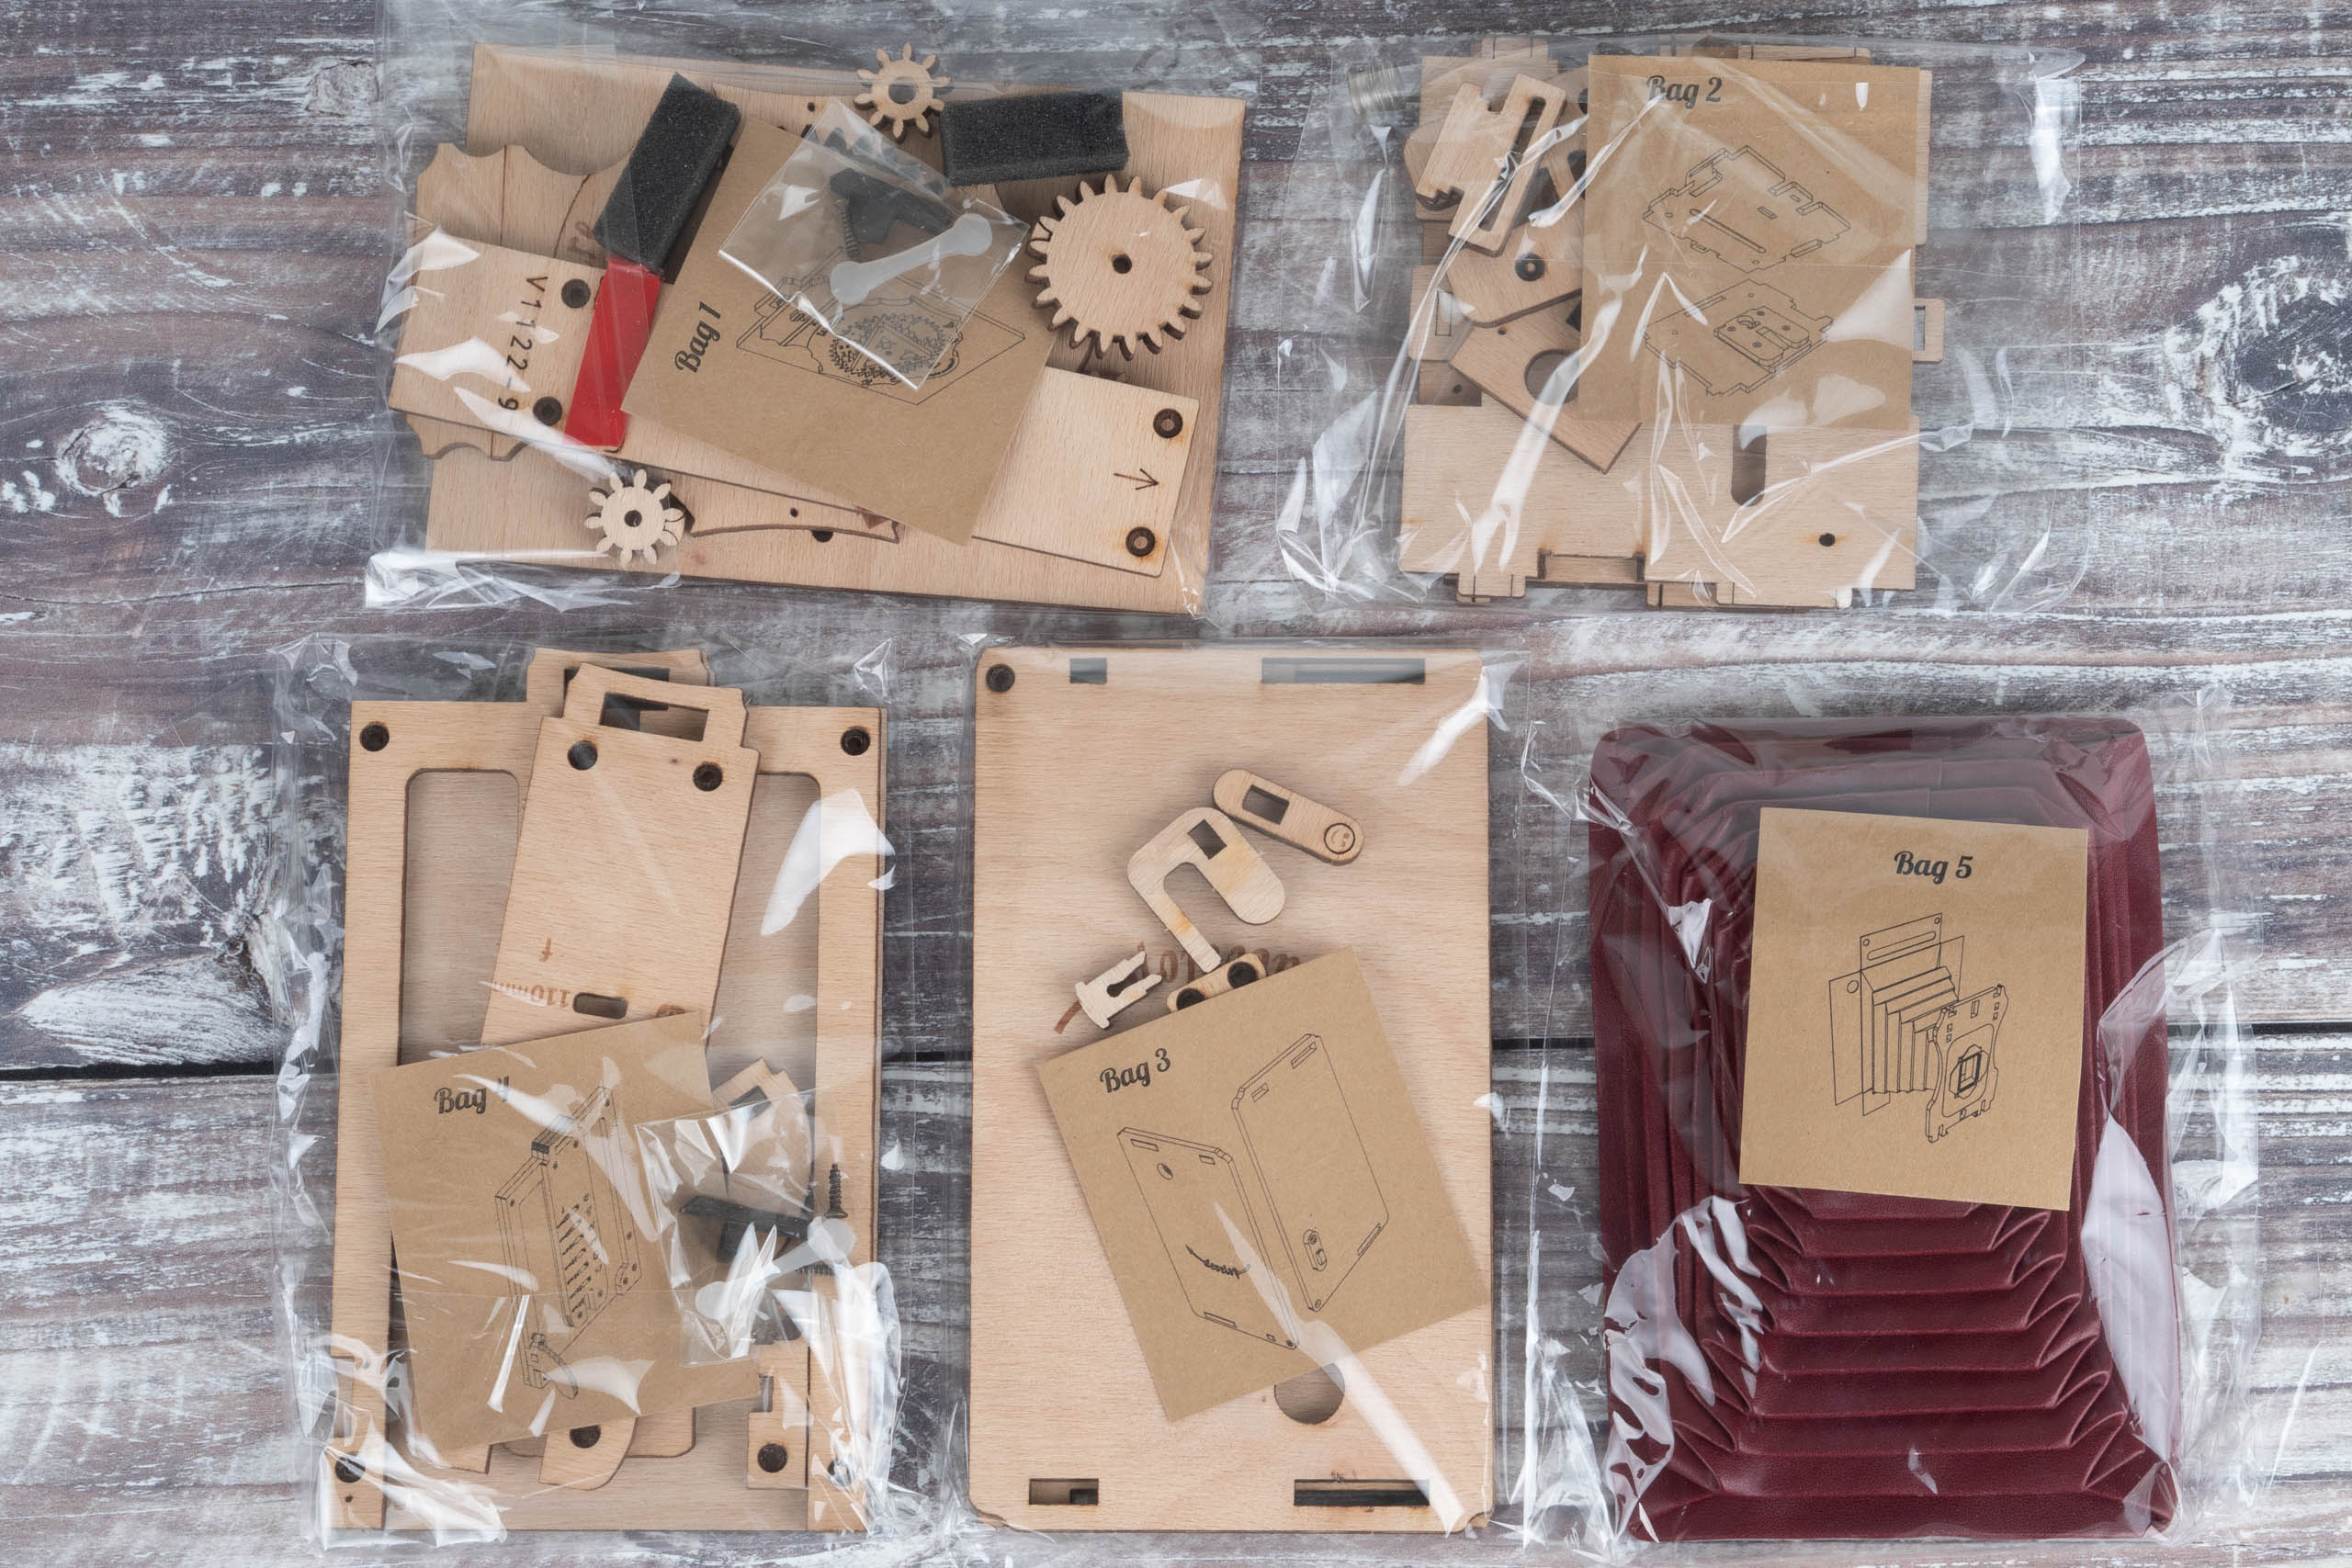
The kit is made up of 65 pieces, with a suggested assembly time of 120 minutes. That seems about right to me, although of course some people might be quicker or slower. Almost everything you need is in the box – the only thing you’ll need to supply yourself is a small crosshead screwdriver.


Parts are divided up into seven bags, with each representing distinct sections of the camera: the back, top and base, left and right sides, fold-down front, bellows, pinhole/shutter assembly, and the Instax film back. So you can easily pause in the middle of the build if you want.
To build the camera, I used the printed instructions in the box, but there’s a video available too. Initially the parts mostly screw together via pre-formed holes, with some moving parts requiring waxing for smooth operation. Towards the end, the main components push together via tongues that fit into slots, which can require a fair bit of force.
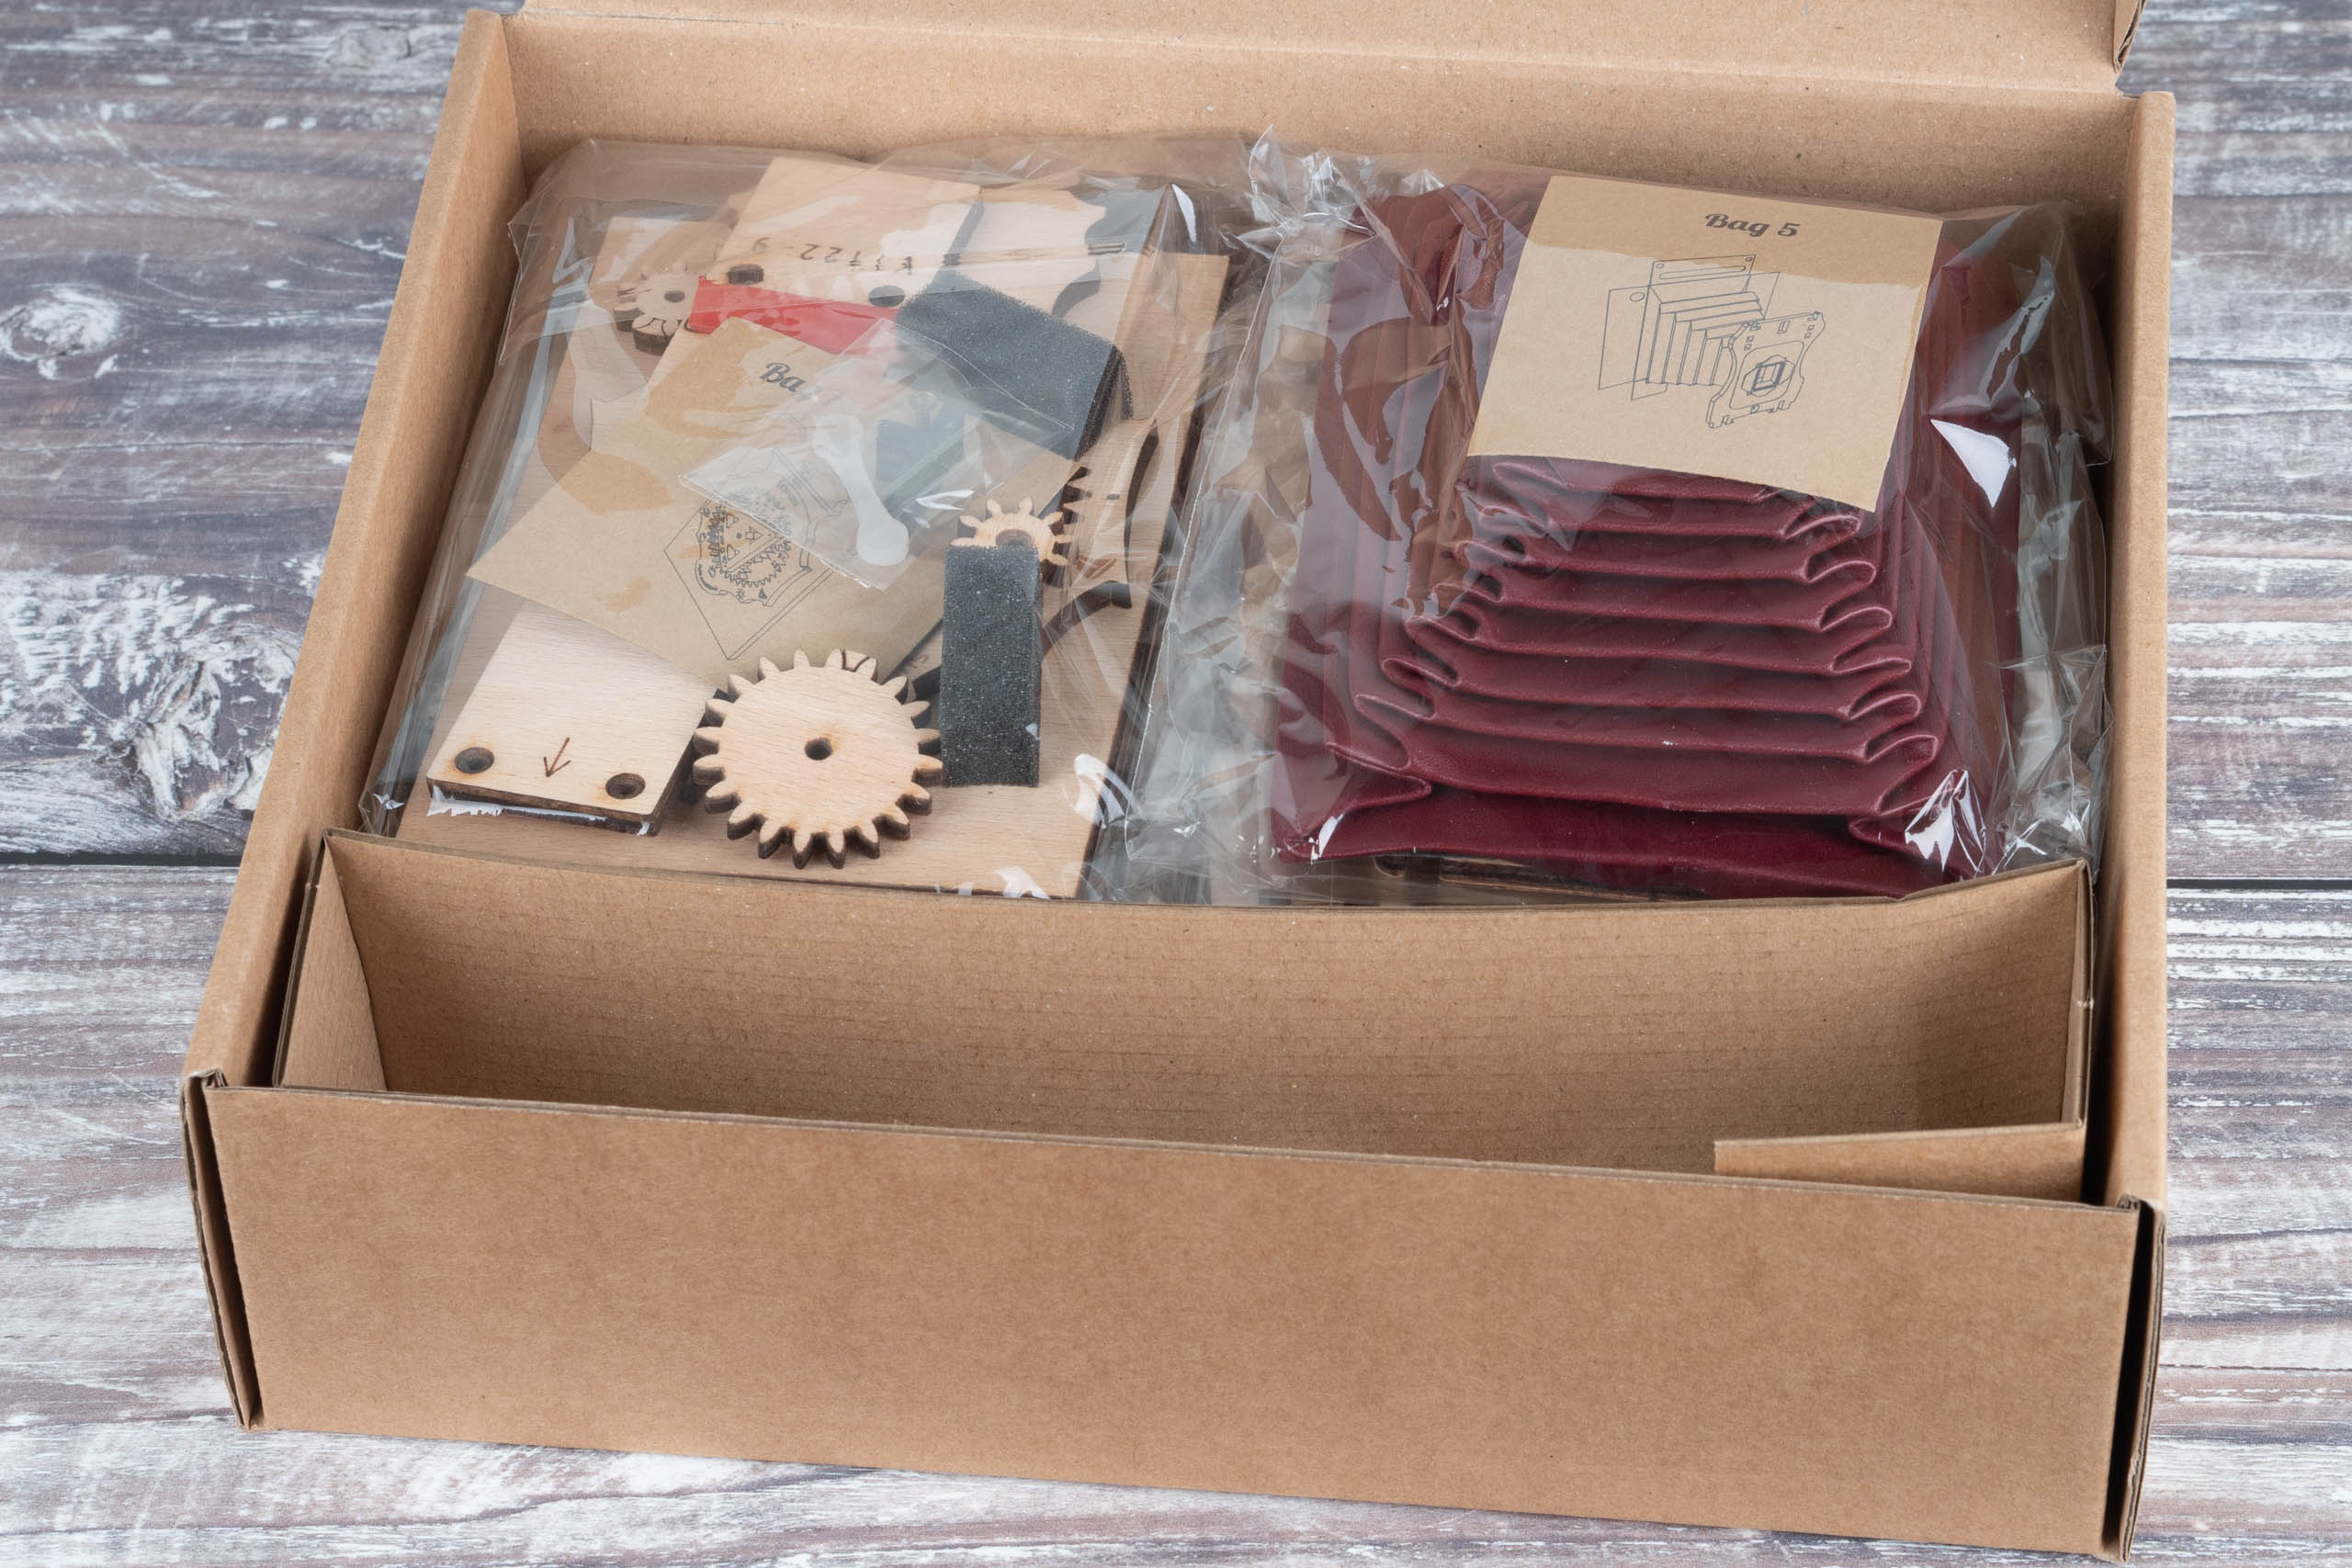
I found the build to be fairly straightforward; just make sure you study the instructions carefully before each step. One part was missing from my kit, but luckily it turned out to be unimportant. I also managed to break one of the four wooden brackets that hold together the pinhole/shutter assembly, but thankfully the other three still seem to do the trick.
Using the camera
So how does the camera work? It turns out that the design is rather clever. Everything folds up into a rectangular box that’s much the same size as a roll-film TLR camera. If you don’t have a Rolleiflex lying around as a point of reference, that’s about 9 x 14 x 8 cm, or 3.6 x 5.5 x 3.2in.


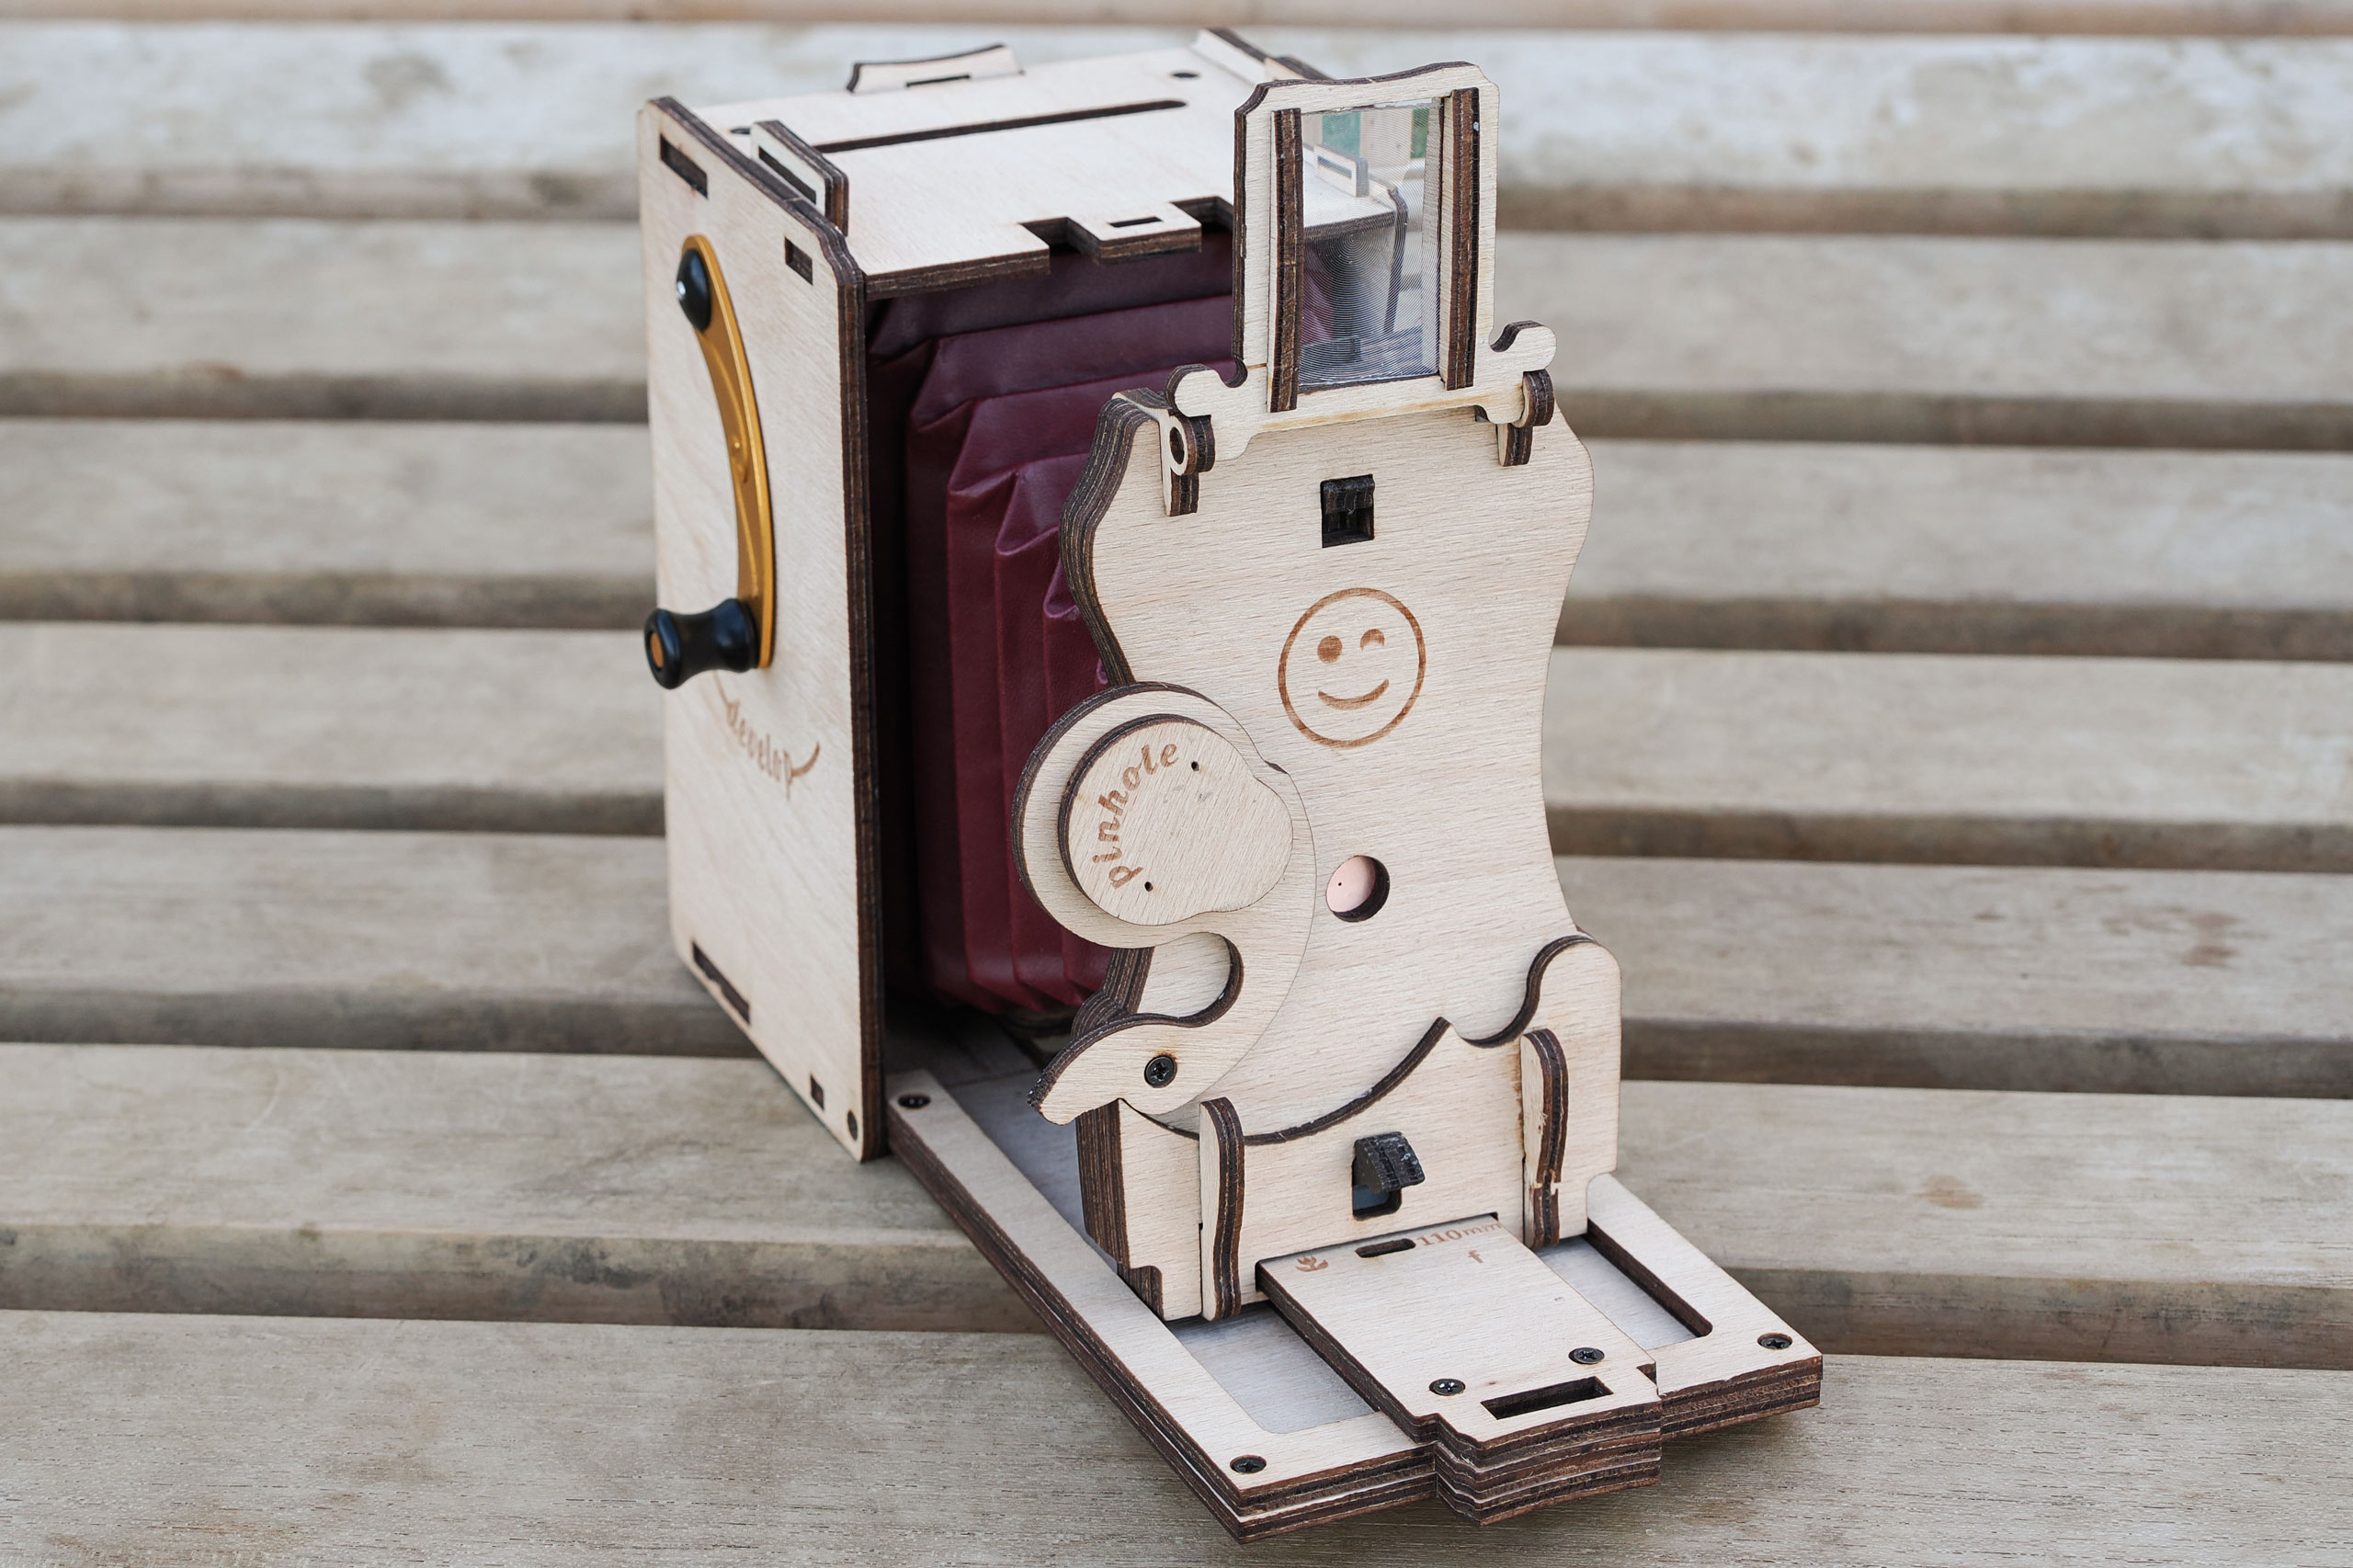

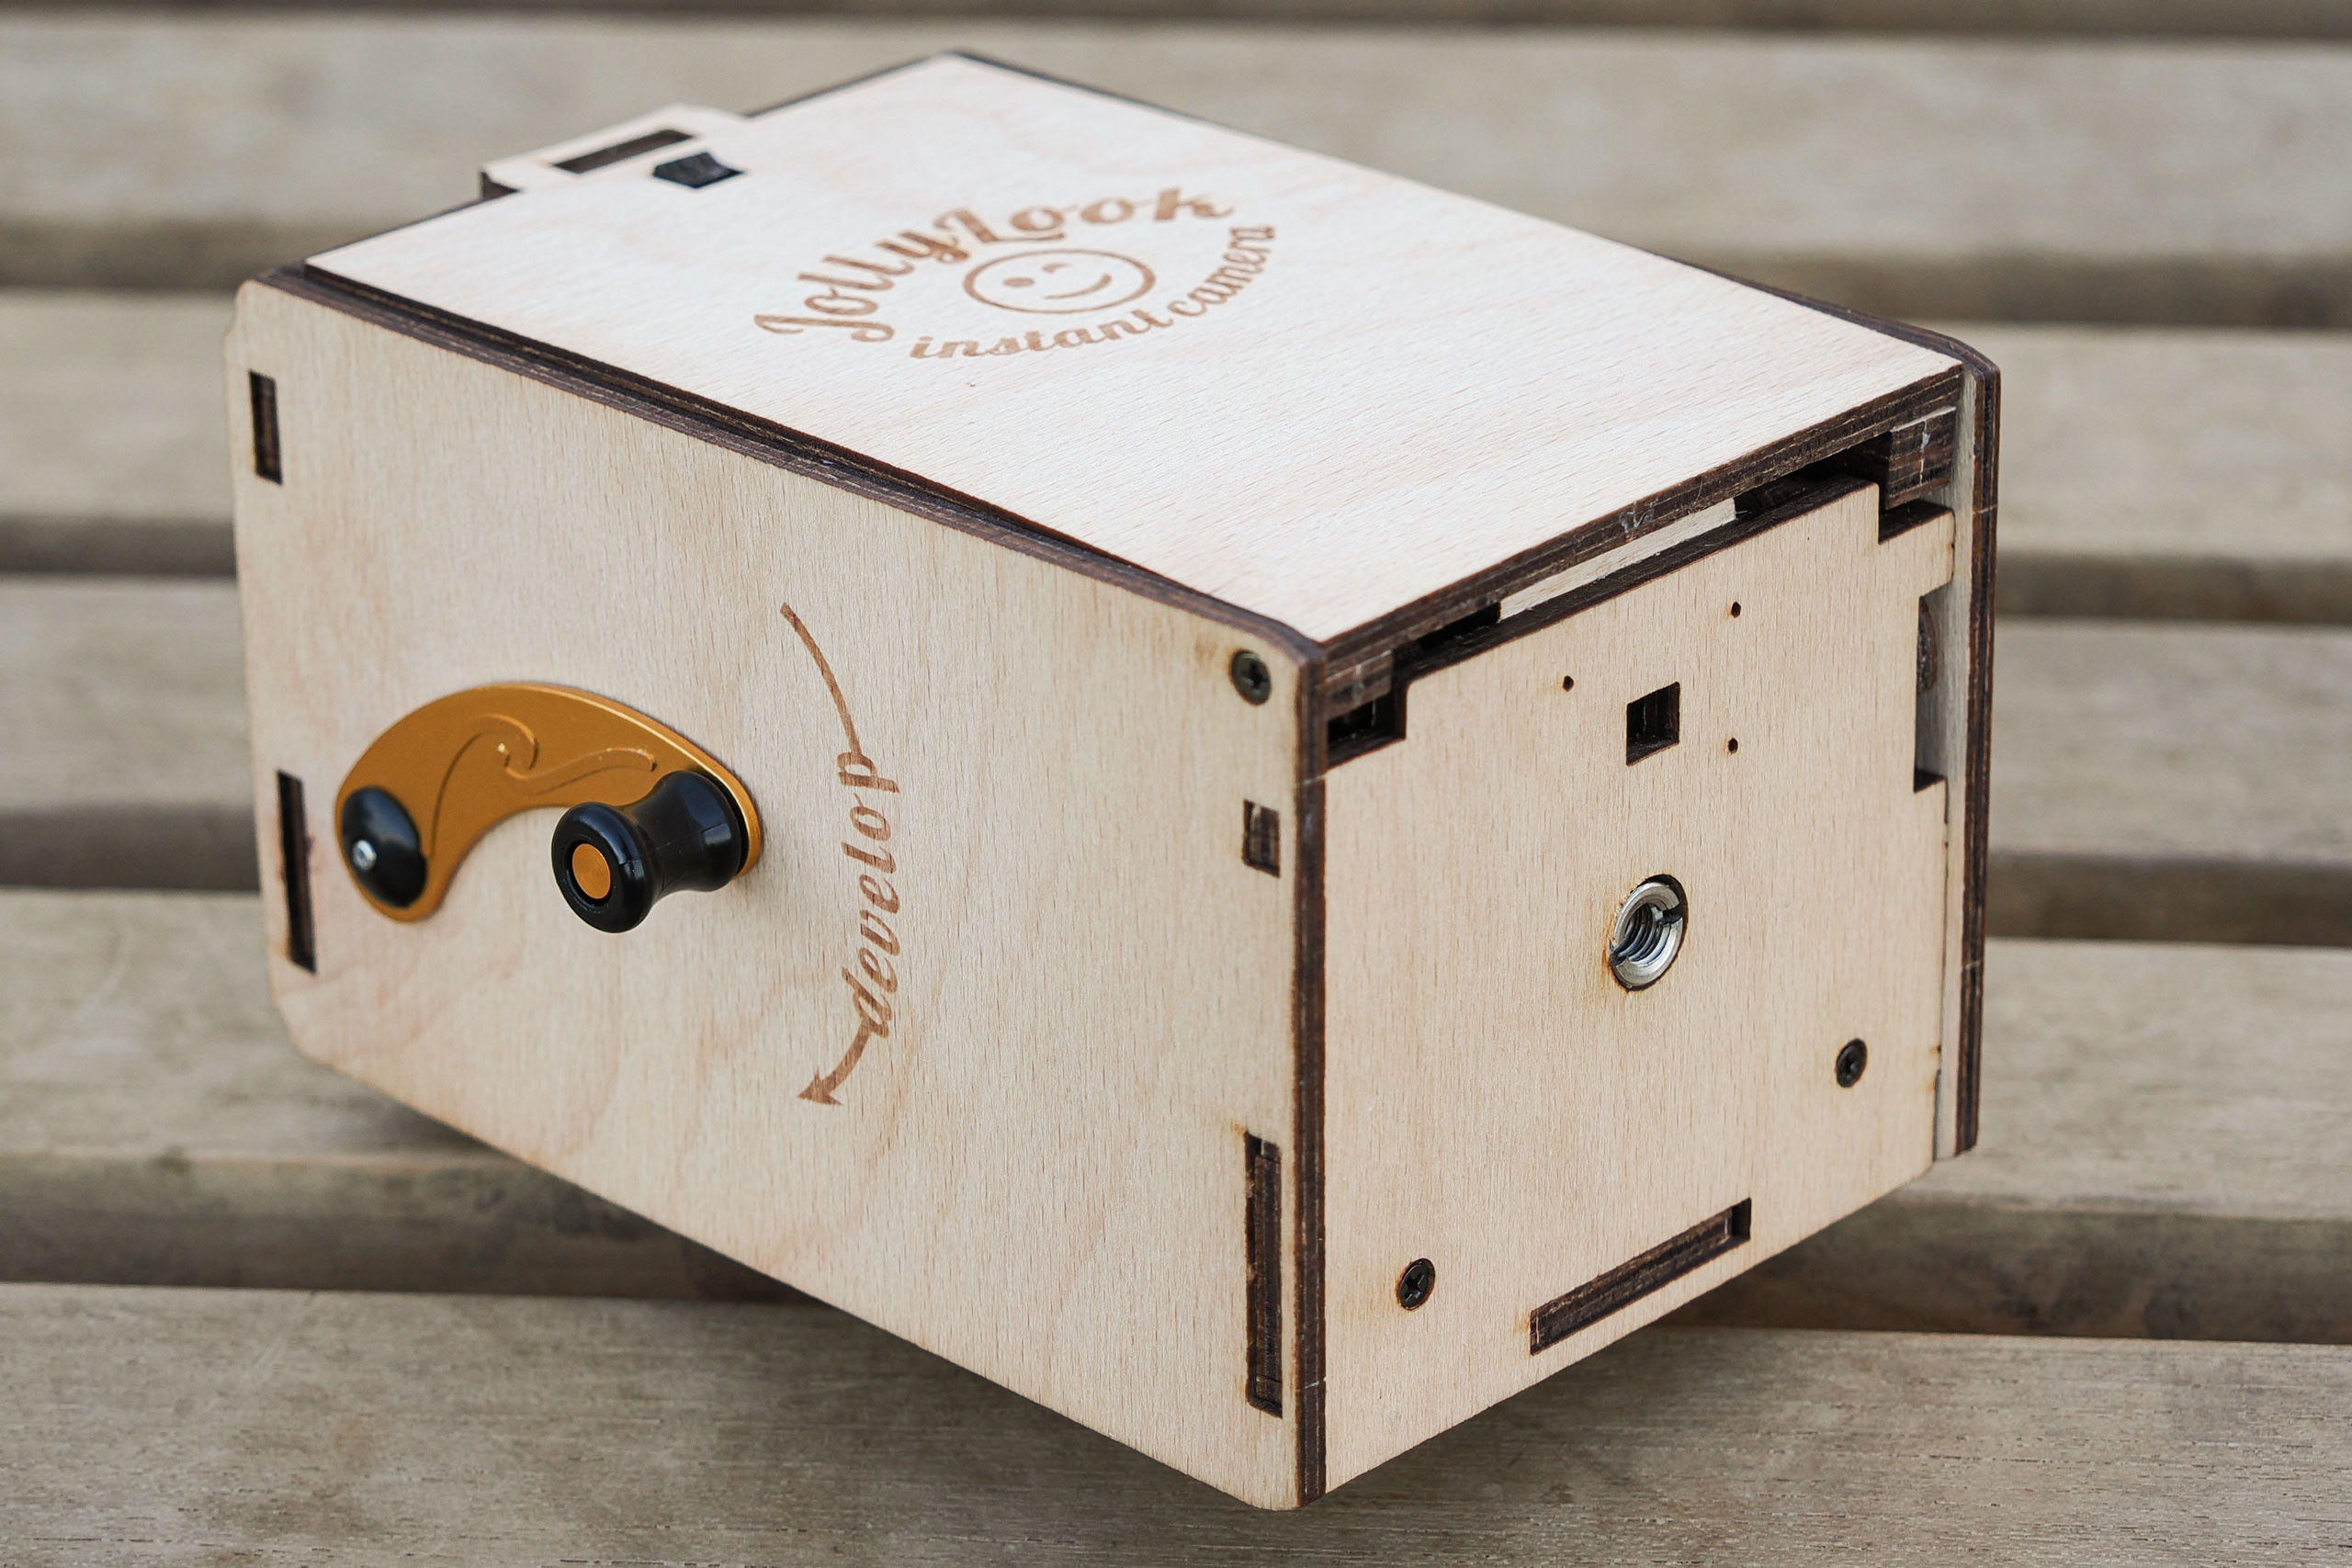
To take a picture, you fold down the front to form a flat bed, and then slide the pinhole/shutter assembly along it, with everything kept light tight by the extending bellows. Open and close the shutter to make an exposure, and then wind a handle on the side to eject a print. A small Fresnel-lens viewfinder aids with aiming the camera.
In effect, pulling the pinhole forwards zooms in, with a lever mechanism locking in positions marked 50 to 110mm. Checking with a ruler, though, shows that these are inaccurate and really, you’re getting focal lengths closer to 80-140mm (the focal length of a pinhole camera is simply the distance from the pinhole to the film). That corresponds to roughly 45-80mm in full-frame terms.

But how long should your exposures be? Unfortunately, this is where things start to unravel. A calculator on the back suggests times based on the focal length and light conditions. But these are often far too long, especially at longer focal lengths, resulting in bleached-out prints. (Unlike with colour negatives, there’s very little margin for error with Instax film.)
Eventually, I determined that in bright sunlight, suitable exposures range from about half a second at wideangle, to two seconds with the front fully extended. Unfortunately, these times aren’t exactly easy to hit with much accuracy using the simple manual shutter.

That’s not helped by the fact that my home-built camera is anything but rigid, and opening the shutter can cause both the fold-down base and the extending front to wobble alarmingly. In the end, I got the best results by keeping the front extension to a minimum and placing the camera on a beanbag.
I also found that shooting in cloudier, lower contrast conditions better suited the tonal range of the Monochrome film I was using, as well as giving more controllable exposure times. In the end, after plenty of trial and error, I managed to get some reasonable images using exposures of five or six seconds on an overcast day.

JollyLook Instant Film Camera: Our Verdict
The JollyLook Instant Film Camera is fun to build and play with, and I got a real sense of accomplishment from making a working camera, however primitive. It’s an entertaining toy, and would make a great gift for photographers. But at the risk of stating the obvious, just don’t expect it to be a particularly practical camera.
Follow AP on Facebook, X, Instagram, YouTube and TikTok.
I’d like to thank Park Cameras for generously supplying the JollyLook Instax Mini DIY kit and a pack of Instax Mini Monochrome film.