
Plustek OpticFilm 8200 SE at a glance:
- Website: www.plustek.com/uk
- 7200 x 7200 dpi resolution
- Infrared dust and scratch removal
- SilverFast SE Plus 8 software included
- Works with Windows and Mac
Like a fair few of our readers, I suspect, my first forays into digital imaging came via scanning film. Before high-resolution digital cameras became commonplace, this enabled me to make decent quality A4 colour prints of my photos. Specialist film scanners were available from the main camera makers – Canon, Nikon and Minolta – and with a bit of care and patience could give pretty good results.
In 2017 things have changed a lot, and now most of the 35mm ‘scanners’ left on the market are essentially little cameras that digitise film using small CMOS sensors. However, Plustek still makes conventional film scanners. Its OpticFilm 8200i SE is designed to scan 35mm slides and negatives at resolutions up to 7200×7200 dots per inch (dpi), which in principle could give a file of nearly 70 million pixels, equating to a print size of 34x27in at 300ppi. It has a specified Dmax (the maximum density through which it can record details) of 3.6, which is usually considered ample for negatives and sufficient for most slides. With the bundled SilverFast software it also offers multi-exposure scanning to extract cleaner shadow detail from slides. This all sounds very impressive, but does it deliver?
Design
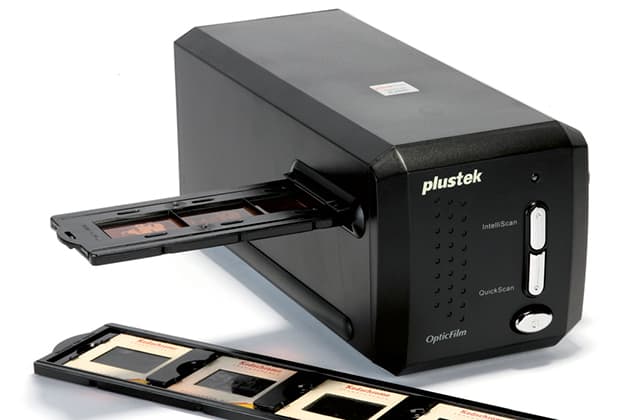
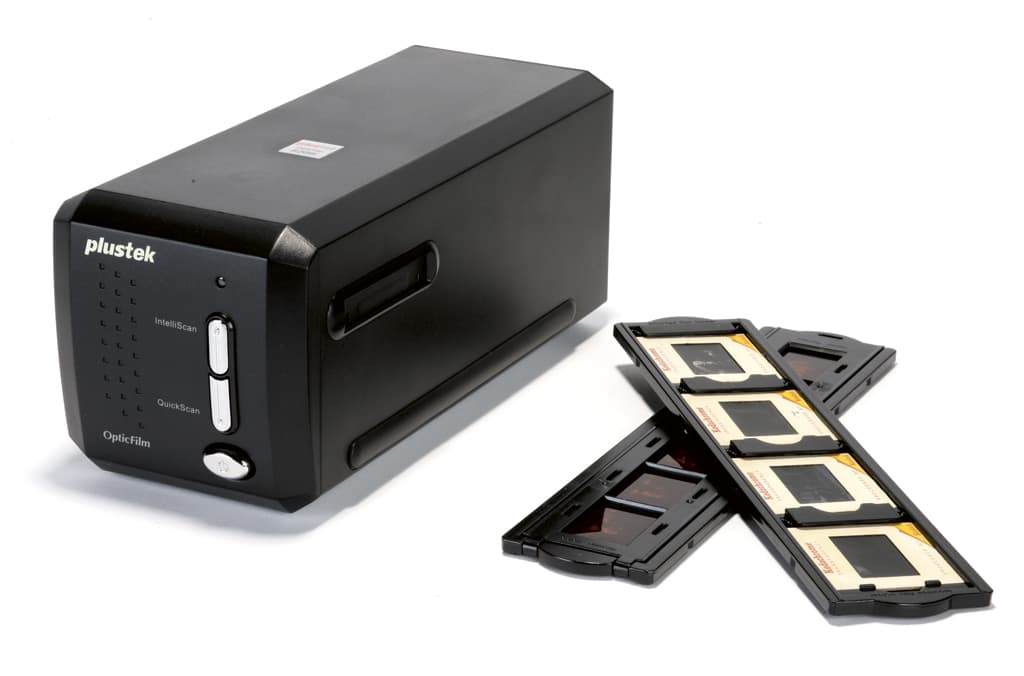
With a footprint of around 26.5×8.5cm, the OpticFilm 8200Si won’t take up too much space on your desk. It comes supplied with everything you need, including holders for 35mm negatives and slides and a USB cable to connect to your computer. One nice touch is the fitted carry case to pack the scanner away if you don’t want to leave it on your desk gathering dust – the bane of film scanning.
In terms of design it’s a very simple unit. On the front is an oval power button, with two others above it labelled QuickScan and IntelliScan, plus a green power LED. At the back you’ll find the USB port and the connector for the AC power adapter. The film holders load from either side, which means ideally you’ll need to leave around 20cm clear space on both sides of the unit. Both holders are sturdily made from black plastic and are easy to load; mounted slides push into place on one, while the other hinges open to take a strip of up to six negatives. Once loaded they’re also particularly easy to align in the scanner, as they simply click into place for each frame.
Installation
Connecting the unit to your computer is simple: just plug the USB cable between them. But before you start work, you need to install the SilverFast software and scanner drivers. CDs are supplied, but Plustek offers no suggestion for what you might do if your machine doesn’t have a built-in drive. Buy an external one, I suppose. The manual instructs you to install the drivers first before SilverFast, but on my Windows 10 machine this returned an error. However re-installing the drivers after SilverFast got the scanner up and running.
SilverFast SE software

Here the NegaFix function has done a good job with the subtle colours from this Kodak Gold negative
If you just want a quick-and-easy copy of a colour negative, then pressing the QuickScan button will do this for you with the minimum of fuss. However it quickly becomes clear that if you want to get the best out of the device, you’re going to have to get to grips with its LaserSoft SilverFast SE Plus scanning software, which can be launched from the Intelliscan button. Like all specialised programs, this looks pretty intimidating at first, so it’s helpful to sit down with the manual to learn the basics.
LaserSoft wants you to use its step-by-step guided approach to running the software, which it calls WorkflowPilot. Like most such features this can be helpful at first, just to get to know how the process works, but I always prefer to take more control over the scanner’s output. This means first running a pre-scan of each frame, then adjusting SilverFast’s settings before scanning.
I found that the key to getting the best results is by judicious use of certain SilverFast features. If you’re scanning negatives, the most important is the NegaFix tool. This has a huge database of film types, not just from the big brands such as Kodak, Fuji and Ilford, but also some more obscure types. I found that it consistently delivered good-looking colour, regardless of whether I was scanning 25-year-old Kodak Gold negatives or the Fujicolor Reala I used more recently. This might sound trivial, but every negative film has a different colour response and orange masking tint, and without this kind of calibration you can end up with some very odd-looking colours that are difficult to fix later. With slides, I found the best approach to correcting colour was to work with the individual red, green and blue channels using the histogram tool.
LaserSoft includes an array of additional tools for adjusting the image, well beyond the expected control over brightness, contrast and saturation. Alongside a global colour correction setting, it’s also possible to tweak individual colours – desaturate reds, for example. Add in adaptive contrast correction (similar to shadows adjustment in Photoshop), sharpening and grain reduction, and you can go a long way towards getting the image right at the scanning stage. This is useful, as SilverFast SE outputs image files at 8 bits per channel as standard, so they’ll quickly break up if you try to make major changes to the contrast or colour balance later. It can output 48-bit ‘HDR’ files intended for post-processing, but these are essentially ‘raw’ scan data with no colour or brightness adjustments, so require a lot more work to get the image looking right.
Scanning speed
Scan time is highly dependent upon the optical resolution you choose. I found it took 42 seconds at 2400dpi, 90 seconds at 3600dpi, and over 4 minutes at 7200dpi. Because of this, it doesn’t make sense to use the highest possible resolution. Indeed, scanning at 2400dpi gives plenty of pixels for a nice A4 print, and with many negatives all you really get at higher settings is more grain, rather than detail (I suspect the scanner’s practical resolution is limited by the film never being perfectly flat). Using the infrared dust detection doubles the scan time, and can add considerable processing time on top too. But while this might sound bad, you’ll probably save all that time in retouching defects.
It’s also important to note that the scan time is only part of the whole process; you also have to factor in the initial prescan, then tweaking settings for each frame. This takes at least a couple of minutes per frame, so don’t expect to do quick batch scanning – especially as there’s no motorised film transport.
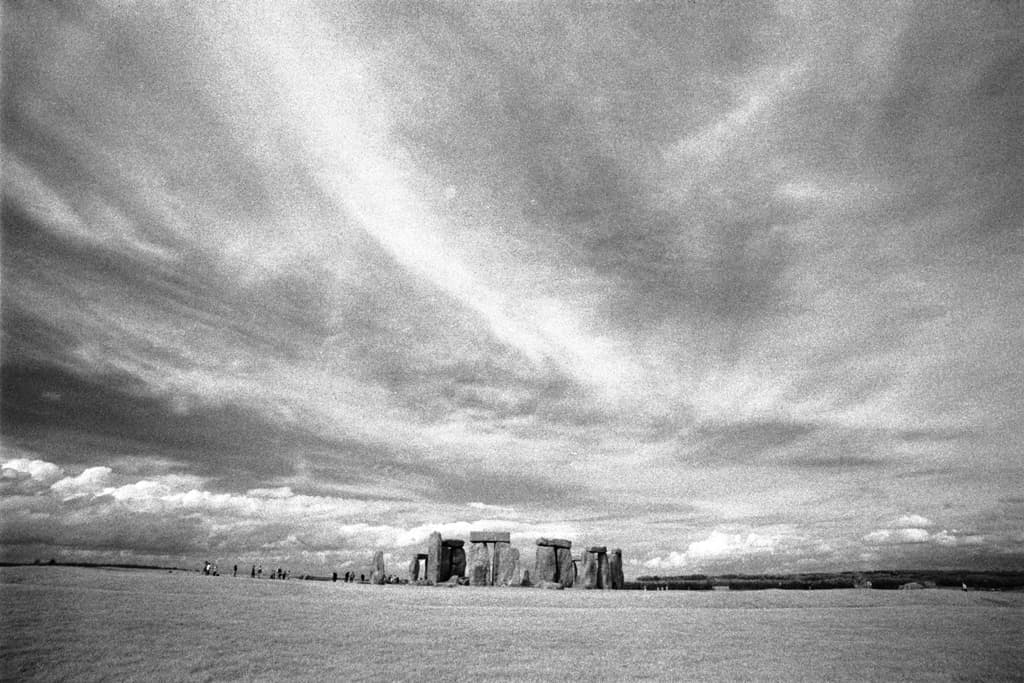
The scanner can produce very good results with black & white film, but as infrared cleaning won’t work with most emulsions, manual retouching is required
Scan quality
With both colour or black & white negatives, the 8200 SE generally gives very decent results. Once you’ve got the hang of SilverFast and its various tools, it produces good-looking colours and easily enough detail for a very nice A4 print (A3s should look just fine too, unless you stare too closely). The image files still don’t have anywhere near the colour gradation, detail and malleability we now take for granted from modern digital cameras, however.
With transparencies, though, things aren’t so simple. With a well-exposed, low-contrast slide it’ll still do a good job, but I found rather more manual intervention was required to get the colours and brightness right. But with films that have particularly deep blacks such as Fujichrome Velvia, it simply can’t pull out all the shadow detail that you can see on a lightbox, no matter what approach you try – be it multi-exposure scanning, adaptive contrast optimisation, or 16-bit output.
Indeed it seems that if you’re serious about getting the most from scanning slides, you should probably be looking at the next model up in the range: the PlusTek OpticFilm 8200i Ai. This appears to be the same hardware, but with an upgraded version of SilverFast (Ai Studio 8) that gives increased control in the form of an ‘expert mode’ for each tool. You also get an IT8 colour calibration target in the box, so can run a fully colour-managed workflow. However, the package costs around £100 more than the SE version.
Infrared dust removal
As already mentioned, dust wreaks havoc on film scanning, and you can never, ever be clean enough to eliminate it entirely from your work environment, no matter how hard you try. Fortunately the Plustek 8200 has an infrared scanning channel, which can be used to map dust and debris on the film. SilverFast’s iSRD feature then takes over to fix the defects, in a process that requires no user intervention at all. If you look closely you’ll see that it fills in the dust spots with a solid colour, rather than a grain-like pattern, and with particularly large defects this can look a little odd. Of course it can be touched up in Photoshop if necessary, using either the clone tool or healing brush.
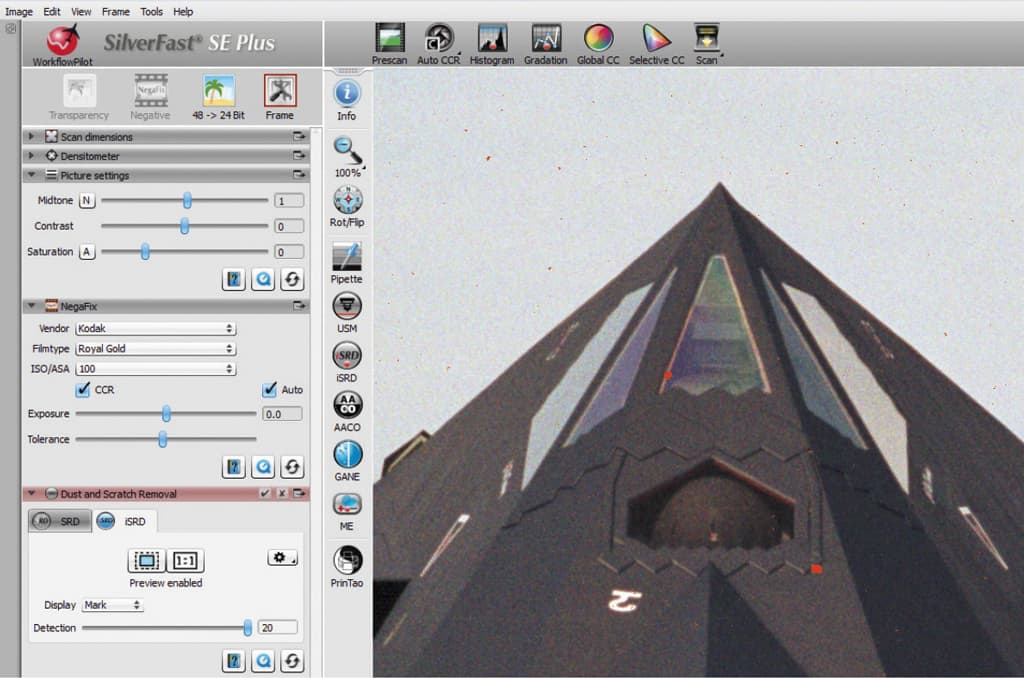
The scanner’s infrared channel detects defects for software correction – here marked as red spots
When it comes to black & white negatives, infrared cleaning only works if you’re scanning chromogenic film such as Ilford XP2 Super or Kodak T400CN, as the silver in conventional emulsions blocks the infrared scanning. Likewise, Kodachrome slides don’t take kindly to the process, although conventional E-6 transparencies work just fine. In such cases you’ll just have to be prepared to clean your scans up manually, for example using the spot healing brush in Photoshop.
Plustek OpticFilm 8200i SE – our verdict
If you have some photos on 35mm film that you’d like to digitise, the Plustek 8200i SE will do a pretty creditable job, just as long as you’re prepared to spend a bit of time learning how to get the most out of SilverFast. It works best with colour negatives thanks to the NegaFix database and iSRD cleaning, but also produces good files from black & white negatives. However, slides are rather harder work, and give less satisfactory results. Then again, you’ll probably need to spend considerably more money to get anything that’s obviously better.

Plustek OpticFilm 8200i SE data file:
- Image Sensor CCD
- Light Source LED
- Hardware Resolution 7200 dpi
- Colour Depth 48-bit input, 24/48-bit output
- Dynamic Range 3.6
- Infrared Built-in
- Scanning Area (W x L) 36.8 mm x 25.4 mm
- Power Supply 15Vdc/1.0A
- Interface USB 2.0
- Net Weight 1.6 kg
- Dimensions 120x272x119mm
- OS Windows XP and above; Mac OS X 10.5.x and above


