Photographs of reflections in water can, like sunsets, be something of a visual cliché, except when they are shot with an interesting twist.
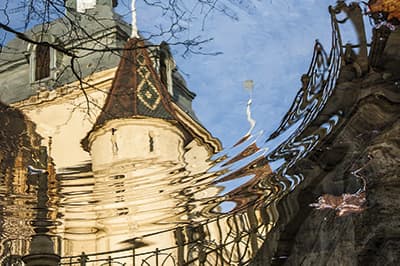
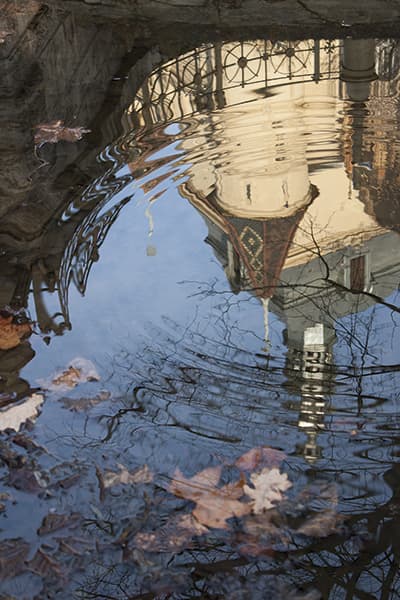
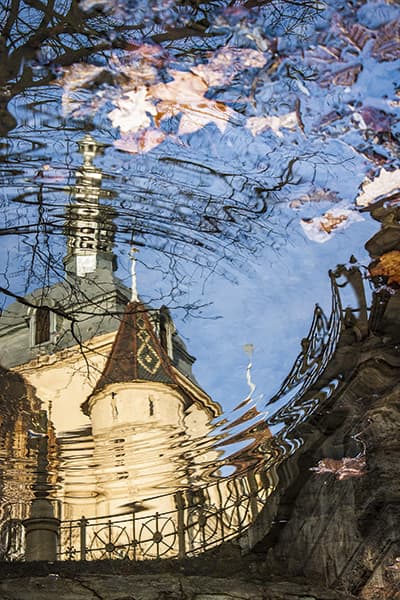
In this instance, Janos Balda has captured a water reflection with circular ripples on the water. Now, I don’t know if this just occurred at the moment the photograph was taken, or if the photographer actually threw something into the water to make this happen, but it does make the reflections look more interesting.
Rotating the photograph 180° also helped to give the final image more appeal. The only thing I would say is that I think the original crop in-camera was a bit too tight. I would have preferred to see more of the château. But even so, the image, whether it is rotated or not, has a nice compositional balance.
1. Rotate the image
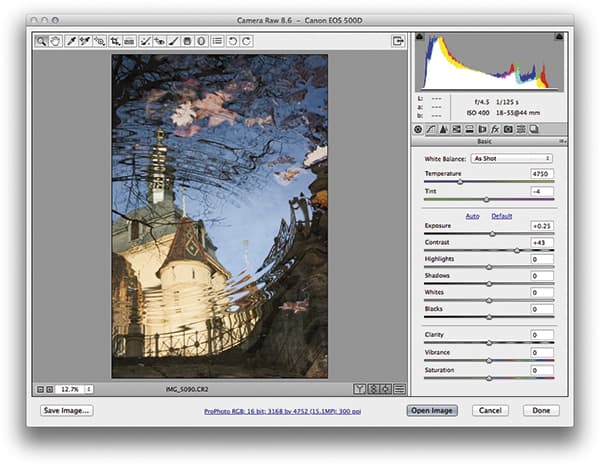 The first step was to rotate the image. This could be done by clicking on either of the rotate buttons in the toolbar, or by using Cmd/Ctrl + ] to rotate clockwise and Cmd/Ctrl + [ to rotate anticlockwise. At the same time, I also lightened the Exposure and boosted the overall Contrast.
2. Apply tone adjustments
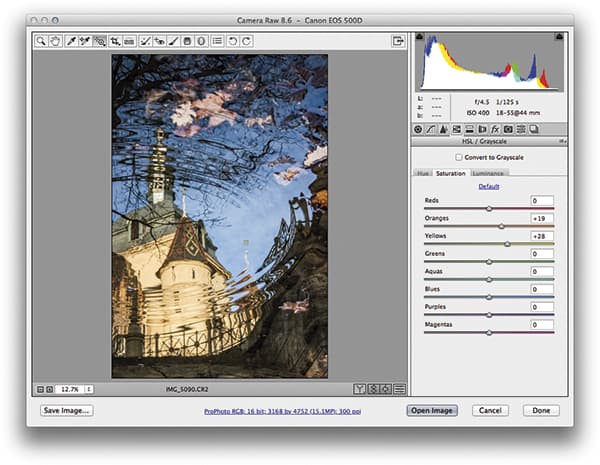 I then applied some further tone adjustments via the Camera Raw Basic panel to further increase the tone contrast. Meanwhile, I went to the HSL/Grayscale panel and adjusted the Luminance and Saturation sliders to boost and darken the colours for the château walls and blue sky.
3. Select Graduated Filter
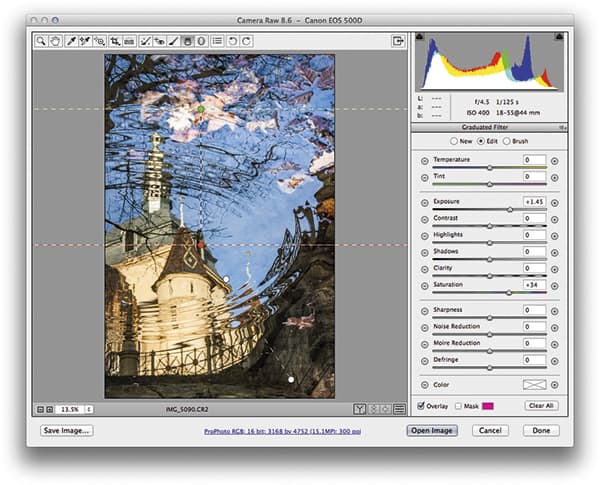 Finally, I selected the Graduated Filter tool and applied a couple of graduated filter adjustments to lighten the top section as well as the bottom-right portion of the photograph. For example, here you can see that I applied a +1.45 Exposure increase and a +34 Saturation boost.

