Impossible Instant Lab at a glance
- Compatible with iPhone 4/4S/5/5S/5C and iPod Touch 4th and 5th generation
- Free iOS app for photo exposure (download from iTunes App Store)
- Rechargable Li-Ion battery: 7.4V / 2.33VAh(Wh), 300 mAh
- USB Power Adapter
- Optical System: 4 element coated glass lens, wide-angle
- Focal length 35.6mm
- Micro-processor-controlled film processing unit
- Uses Impossible Instant Color and Black and White Film
While many photographers will tell you film is dead in the water and there are very few people using it, there’s been a resurrection in popularity of the type of instant film that made Polaroid so successful in its heyday. For those unaware, instant film is still being produced today in the same Polaroid factory, albeit on a smaller scale and by a team who setup their own company named The Impossible Project.
As the company name suggests, The Impossible Project setout to take on the challenge of making instant film and instant-style cameras popular again in the 21st century while continuing to produce film for a die-hard group of analogue lovers. As well as refurbishing and reselling vintage Polaroid cameras for use with the instant film the company produces, The Impossible Project has also looked to embrace the way many of us take an instant image with our smartphones.
The answer has been to create an Instant Lab whereby a photographer can create an instant Polaroid-style print from an image taken on a smartphone in seconds.
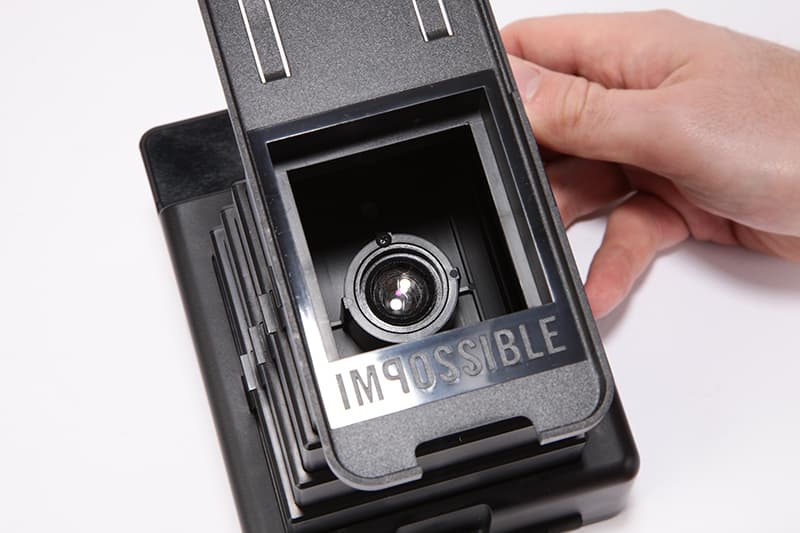
Instant Lab lens
Impossible Instant Lab review – How it works
The Instant Lab is beautifully presented in a box laden with everything you need to get started, including a manual and excellent quick start guide.
The first step involves charging the Instant Lab for a couple of hours using the supplied USB charger until the red LED switched off. Next, and in order to use the device with a smartphone, the free Impossible Project app has to be downloaded, which I did from the App Store onto my iPhone 5.
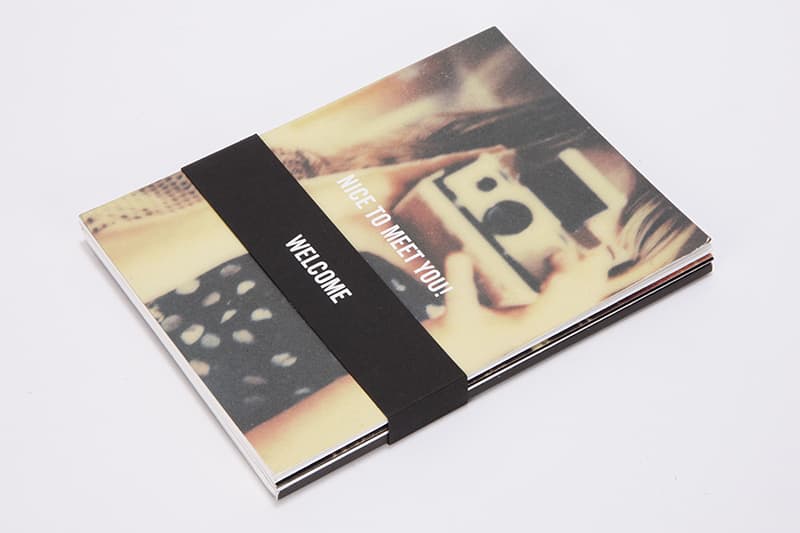
Instant Lab user guide
After deciding on the instant film you’d like to use (I opted for the colour pack as supplied) the film door is opened using the latch at the front before sliding the film cassette all the way in, ensuring the darkslide is pointed up.
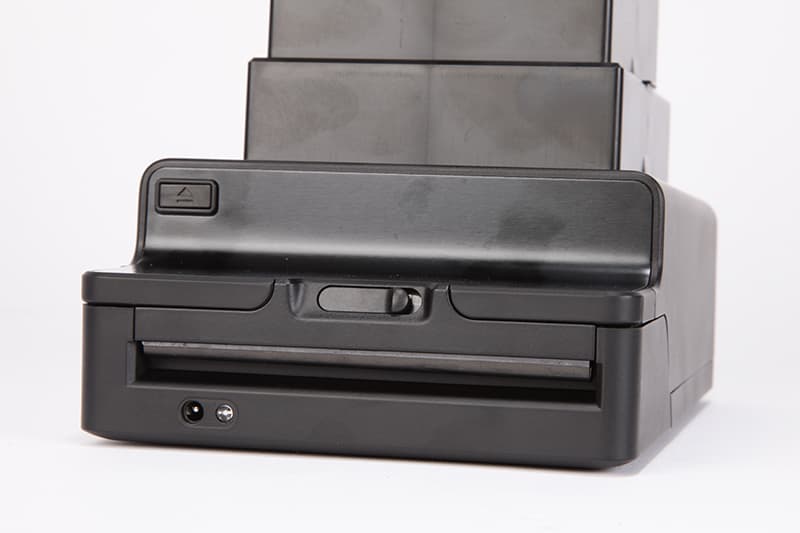
Instant Lab side view
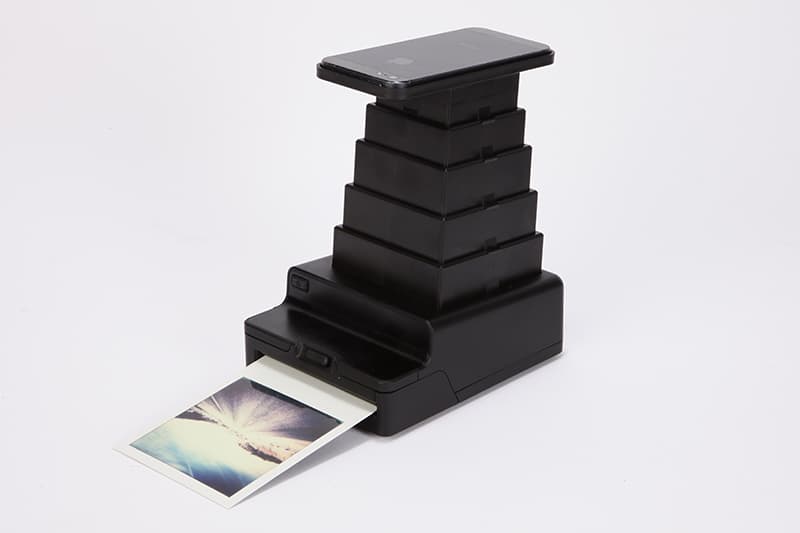
Film loaded, users are then required to hold the eject button for a second to remove the darkslide before pulling the tower up to extend all five sections, which reassuringly click into place. What’s surprising is the Instant Lab’s relatively compact size when it’s retracted compared to when it’s extended.
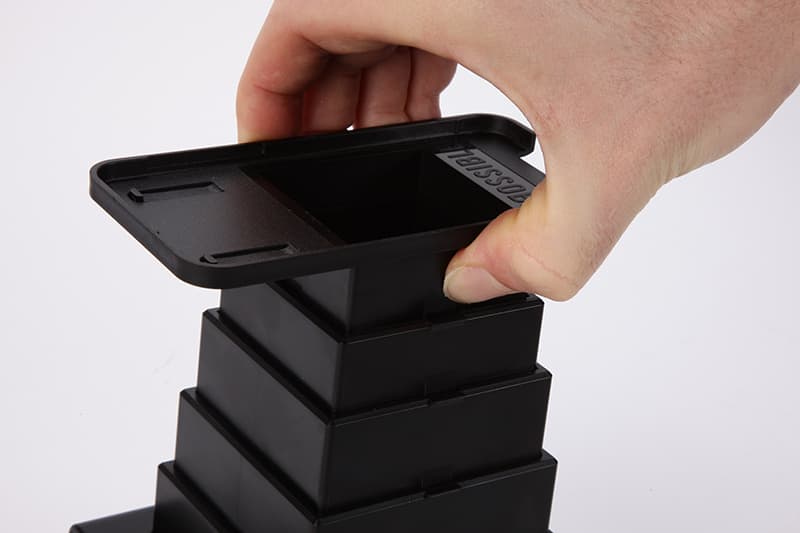
To protect the optical system that’s comprised of a four element coated glass lens, the rubber cradle cover then has to be removed. This pulls off easily yet remains a snug fit when reattached for storage purposes. Next comes the fun part I’d been waiting for – exposing the image I’d been waiting to create a print of.
Launching the Impossible Project App and selecting Instant Lab loads an intuitive interface that allows users to choose an image that’s already been saved to the camera roll or fire up the camera to take an image there and then. Image captured or image chosen, the app then asks to crop the image into the 1:1 square aspect just like Instagram users are used to doing.
Once the film had been selected from the list, the iPhone is placed on the cradle, but here comes the clever bit – by turning the phone face down the app recognizes you’re ready to expose the film and then switches the iPhone flash on, which signifies it’s time to pull out the shutter slide at the back on the Instant Lab.
Slide pulled out, a second later the iPhone flash goes off revealing the image has been exposed to the film and it’s safe to push the shutter slide back in before removing the phone from the cradle. All that’s left to do to get the instant print in your hand is to hold down the eject button and then shield it from the light during its development.
Instant Lab extending
While the process might sound like an arduous task, it’s actually incredibly quick and easy to do after it has been carried out a couple of times, plus there’s an excellent tutorial on the app that helps to guide you.
Against the stopwatch and from start to finish, the fastest time I managed to create an instant print with a film pre-installed and ready to use was 44 seconds. Users should add an extra 30 seconds to this time to remove and install a new film cassette when a pack runs out.
Impossible Instant Lab review – The Results
The great thing about the Instant Lab is the way it allows the user to control the type of results that can be achieved through the use of the various films available. Some of our favorites were the prints we created using the Black and White instant film, which created some very high contrast results.
Though detail is lost in some areas – more noticeable in the highlights than the shadows – the overall effect of being able to create an instant print straight from an iPhone is immensely satisfying. Users should accept the fact that some types of images lend themselves to instant film better than others, but as a general rule of thumb, we found those with a wide dynamic range, strong clarity, and plenty of detail in the highlights printed the best.
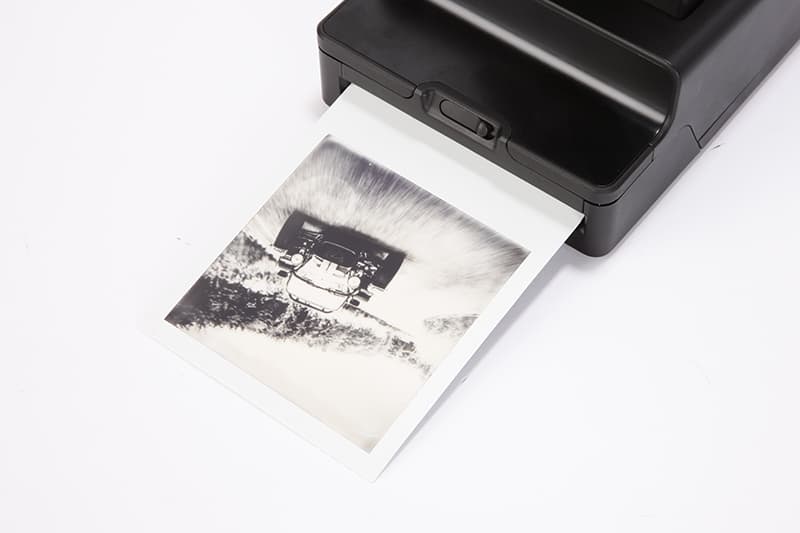
Instant Lab print
There’s nothing to stop you running an image through an app such as Instagram or VSCOcam first before it’s printed, however as we discovered any additional contrast that’s applied can result in more detail being lost in the highlights of the final print.
Whereas those using the Instant Lab with Black and White film can expect their results to develop in just under 10 minutes, those wishing to print using colour film have to be patient as processing times take 40 minutes. That said, the speed at which a colour image is developed is reportedly going to change in the future, with the Impossible Project hoping for a 30 minute development time before aiming to push it down to as little as ten minutes.
Impossible Instant Lab review – Verdict
Although there are many printers and print labs out there that enable you to produce a digital print from a smartphone in a few seconds at a fraction of the cost, the Instant Lab differs in the way you expose your image to film and get to experience the true magic of watching a print come to life. It’s about as close as it could possibly get to the feeling of producing a traditional handprint in the darkroom from a photo on your smartphone.
Impossible Instant Lab
There’s much more to the Instant Lab than simply plugging it in and press a button, yet it’s this hands-on experience that really gives you a feeling that you’re more involved in the final result and have produced a print that’s both unique and something special. They way the tower pulls up and shrinks down again with a gentle squeeze of the side of each section makes it a portable unit and though it is made from plastic it feels strong and comes with rubber feet on the underside to prevent it sliding around if it gets mounted on a desk.
For those who’d like a fun, creative and instant way of creating arty prints from an iPhone 4/4S/5/5S/5C or iPod Touch (4th and 5th generation), it’s a great product that produces results to be proud of.
Users of other popular smartphones (including iPhone 6 users) will be disappointed by the lack of support for their device at present, plus when you consider the high price of film, which works out on average at £2.12 per sheet of film, it’s certainly not cheap and won’t fit everyone’s budget.
For photographers that feel they’ve got everything and want a new means of rejuvenating some fun back into their photography, the Instant Lab is a good buy. To give credit where credit’s due, it’s supported by an intuitive to use app and a strong selection of black and white and colour films, just might see limited use what with the cost to run it.