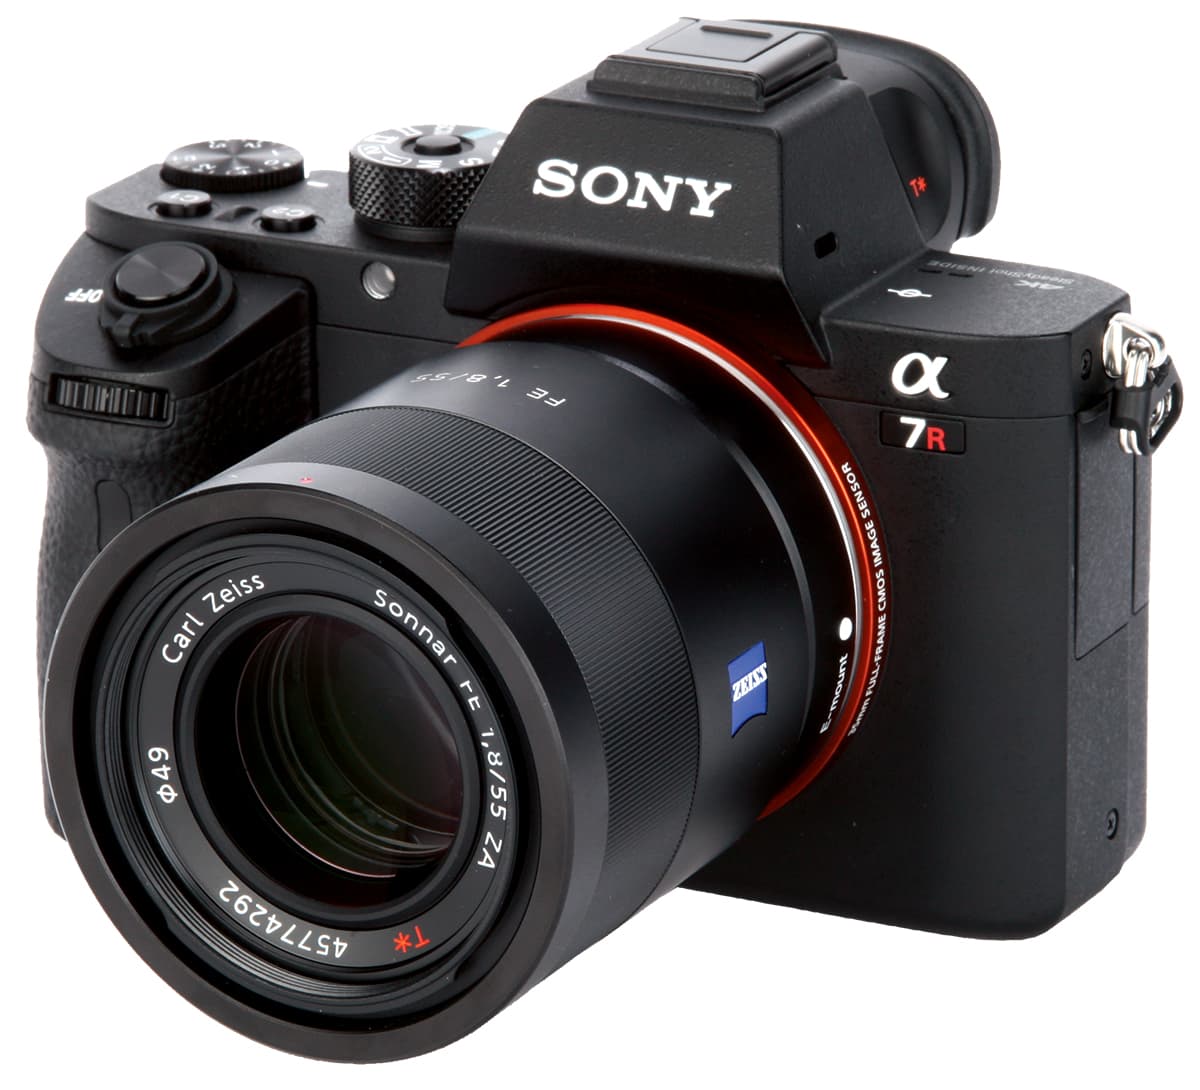
Like Panasonic, Sony didn’t get off to the strongest start with its JPEG processing, with overly destructive noise reduction tending to smear fine detail. However, it has upped its game recently, and its current cameras are much better at making use of the firm’s high-resolution sensors. Here we’ll show you how to get the best Sony JPEGs from your camera.
While its noise reduction and sharpening algorithms have improved tremendously, Sony’s cameras can still be prone to auto-white-balance errors giving undesirable colour tints at times. The good news is that even simple editing software can often remove these with a single click.
Both of Sony’s most important JPEG processing settings – Creative Styles and Dynamic Range Optimisation (DRO) – are easily accessible from the on-screen Fn menu, alongside white balance.
Creative Styles
Sony’s basic colour modes are called Creative Styles, and this gives a clue to the firm’s approach.
Alongside the usual Standard, Vivid and Neutral settings, it throws in plenty more options for different subjects and situations.
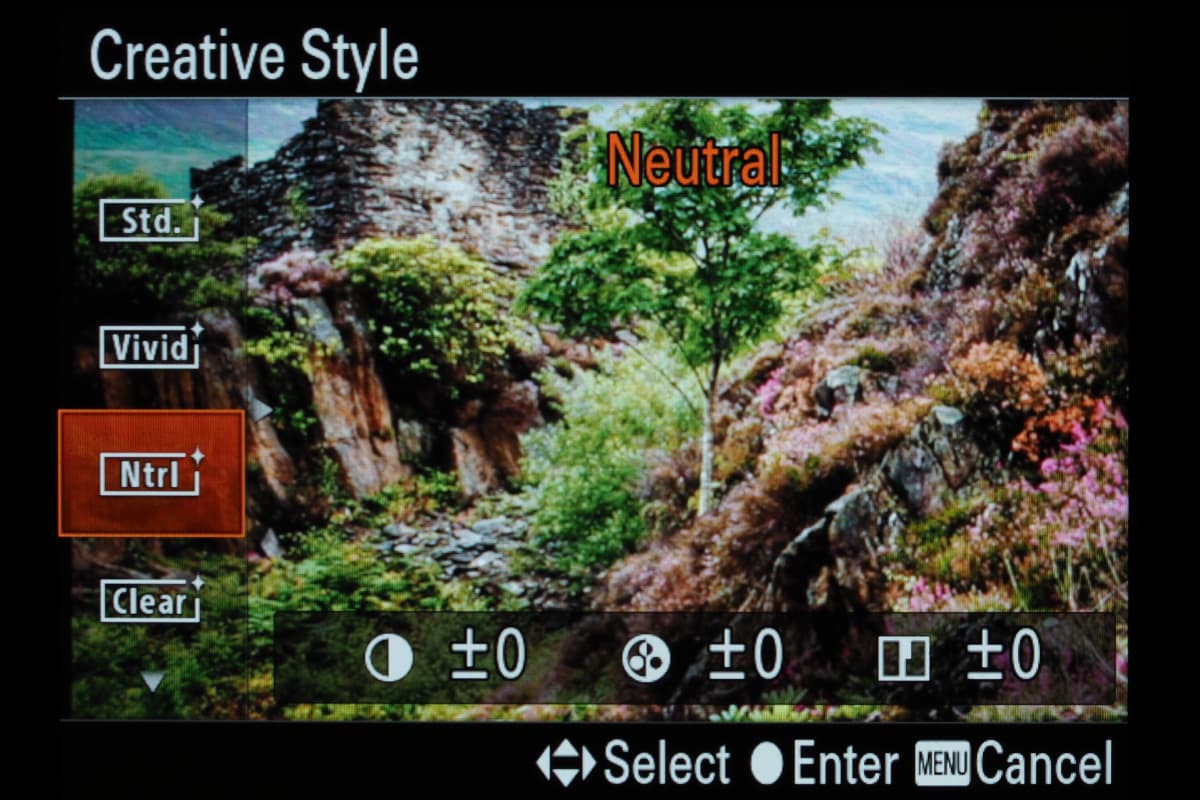
Some of these are subject-specific, and named in a pretty self-explanatory fashion – Portrait, Landscape, Sunset, Night Scene and Autumn – while others come across as more obscure.
Deep offers a low-key look, while Light is high key, and Clear essentially behaves like a dehaze filter, giving higher-contrast results on long-distance shots. Sepia and Monochrome modes are also on offer.
Each Creative Style can be individually adjusted for contrast, saturation and sharpness in seven steps, and as all current Sony cameras use fully electronic viewing, everything is previewed live in the viewfinder or on-screen.
Sony Picture Effects
Picture Effects are Sony’s take on creative image-processing filters.
They include some familiar-sounding options, including Toy Camera, Miniature and Partial Colour modes, but also several that are unique to Sony, such as Soft Focus and HDR Painting.
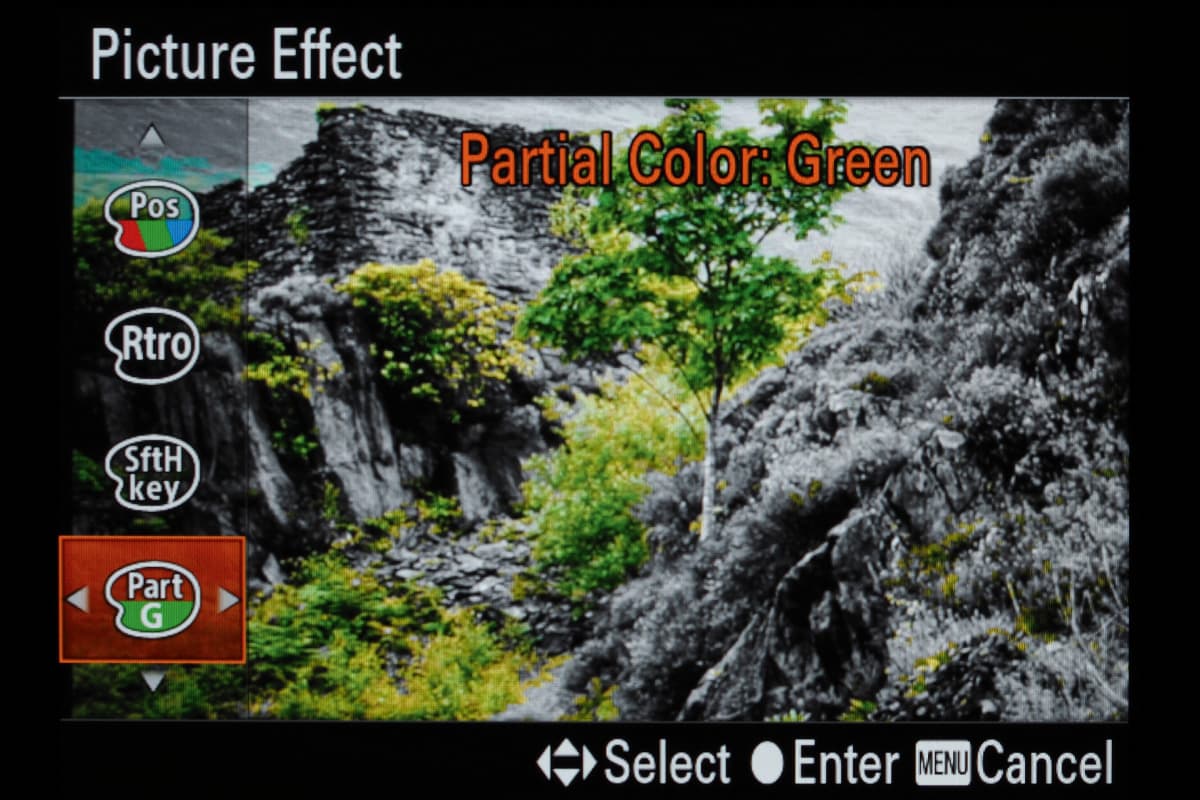
However, these Picture Effects are only available when raw recording is disabled, and you can’t save an unfiltered JPEG at the same time.
On Sony’s higher-end models they also tend to be buried in the menu where you can’t easily get to them, which isn’t necessarily a bad thing.
Dynamic Range Optimisation
Sony’s DRO mode is an adaptive dynamic range adjustment tool, using similar technology to Nikon’s Active D-Lighting.
In effect, it divides the scene into different regions and applies separate tone curves to each, so it can balance the highlights, midtones and shadows better without losing local contrast in any given area.
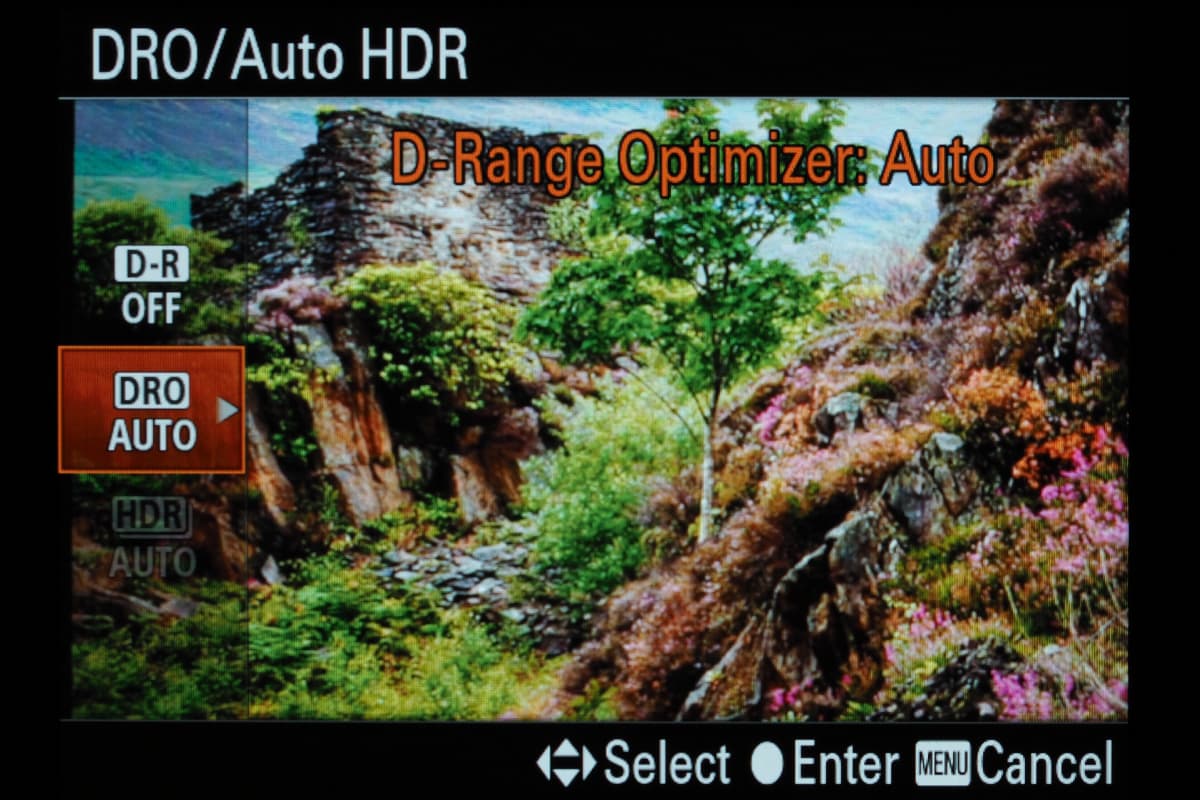
It’s available in five steps, with an Auto option also on hand. It’s important to match the setting to the scene, as if DRO is set too low it will be ineffective, but if it’s set too high it can give strange-looking, flat results.
Sony also includes an Auto High Dynamic Range mode in the same menu as DRO.
This is only selectable when you’re not shooting raw, and combines three exposures shot in quick succession to give expanded overall dynamic range.
Again, it’s available in different strengths and can work surprisingly well, given the right conditions. But on the whole, it’s normally better to use DRO instead.
Sony Picture Profiles
One potentially useful tool for JPEG shooters is Sony’s Picture Profiles control found on its higher-end, more video-focused models.
This allows the user to define manually the key characteristics of the camera’s colour and tonal output, and while it’s primarily designed for movie shooters, it can also be useful for JPEGs.
The terminology and sheer level of control can both look pretty daunting at first, with unfamiliar-looking settings such as ‘black gamma’ and ‘knee’. But once understood, it can allow you to create minimally processed JPEGs that retain the maximum possible dynamic range and therefore highlight and shadow detail for further post-processing.
Alternatively, you can define ready-to-use JPEGs to your personal preferences.
This kind of approach may seem at odds with the whole idea of using JPEGs to get finished images out of the camera with the minimum of fuss, and it’s probably not going to appeal to the majority of users. But there’s nothing wrong with having this kind of tool available.
Other camera manufacturers:
How to get the best JPEG images from your Olympus camera
Our guide to the best JPEG image settings for Pentax cameras
Our guide on how to get the best JPEG images from your Fujifilm
How to get the best JPEG images from your Canon camera
How to get the best JPEG images from your Nikon camera
How to get the best JPEG images from your Panasonic camera

