The basics
As ever, preparation can really pay when photographing outside. This is particularly important during autumnal months where you will be faced with many more overcast or rainy days, as these may not be the kinds of conditions in which you want to capture your images.
Of course, some scenes may actually work better when captured in the diffused light from overcast conditions rather than on a sunny day where there is more contrast.
The shorter days should also make you think carefully about what kind of equipment you need as you may find that after mid-afternoon you don’t have enough light to work with.
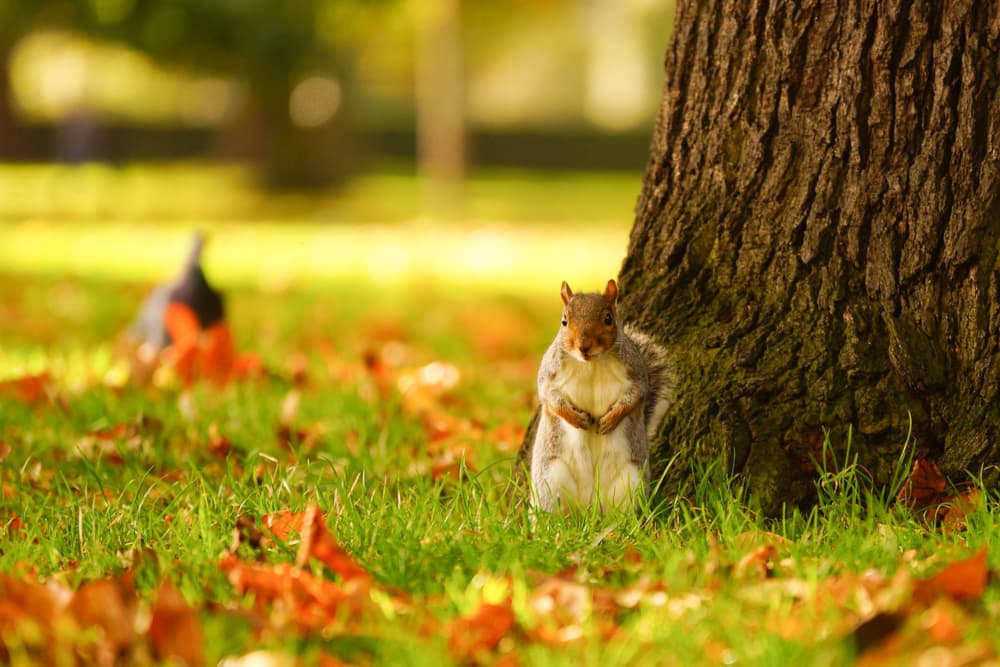
A tripod will help you to use lower sensitivities, although bear in mind that trees and leaves are subject to slight movement from wind, so longer exposures here may not be appropriate.
On a sunny day a lens hood is also a good idea, as this will help you to keep contrast and saturation high, and extraneous light out of the way.
So, before you head out, check the weather forecast, make sure that your camera and lens are suitably protected should it start raining, and consider taking a small lens cloth should you get any raindrops on the front element.
Colour and white balance
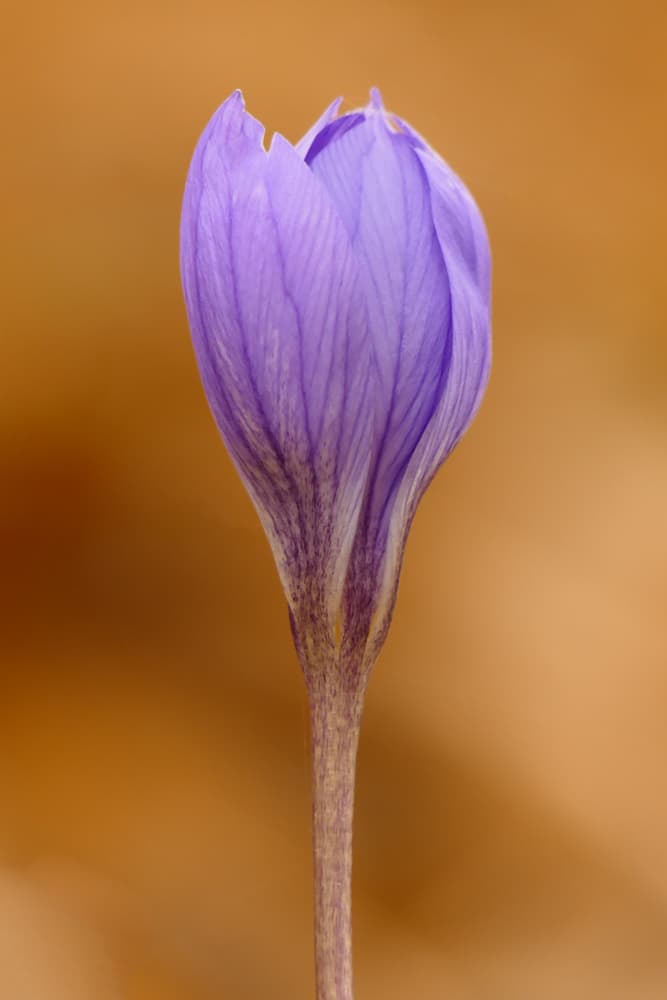
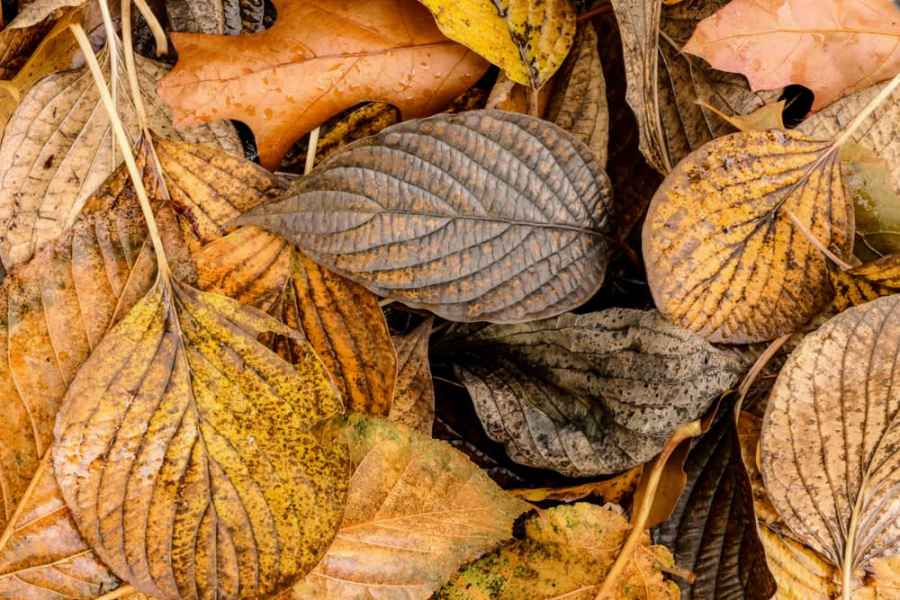
The main draw of autumnal photography is the changing colour of the landscape around us, and what we typically want is for colours to be as vibrant as they are varied.
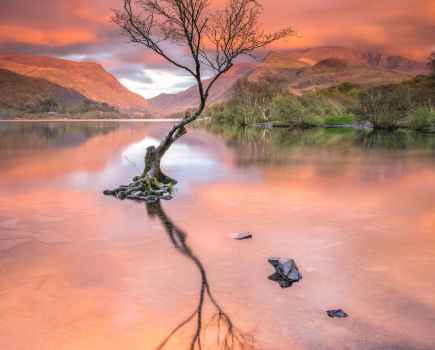
A clear and deep blue from the sky often desirable, not only to show fine weather but because such a hue rarely appears in nature, so it gives autumnal colours a strong background for contrast.
Switching your camera to a Vivid colour setting, or making an equivalent adjustment in post production, will help to intensify the colours in the scene and make them pop. When processing Raw images you may have more success adjusting the Vibrance slider rather than the saturation slider, as this can often produce more natural looking images – experiment to see what works best.
The white balance you use is also something worth thinking about. While there’s no reason why you can’t leave it to an Auto setting and simply adjust this in post production, using a more appropriate setting as you shoot will give you a better idea of what scenes are likely to work out in the way you expect.
Switching to a Cloudy or Shade option can often lend images a pleasing warmth and help to intensify colours, particularly on very overcast days where an Auto setting may leave images feeling cold. This can, however, sometimes make images appear unnatural; if you camera has a colour temperature scale, you may want to adjust this as this will give you much more precise control than the various presets.
Thinking outside the box
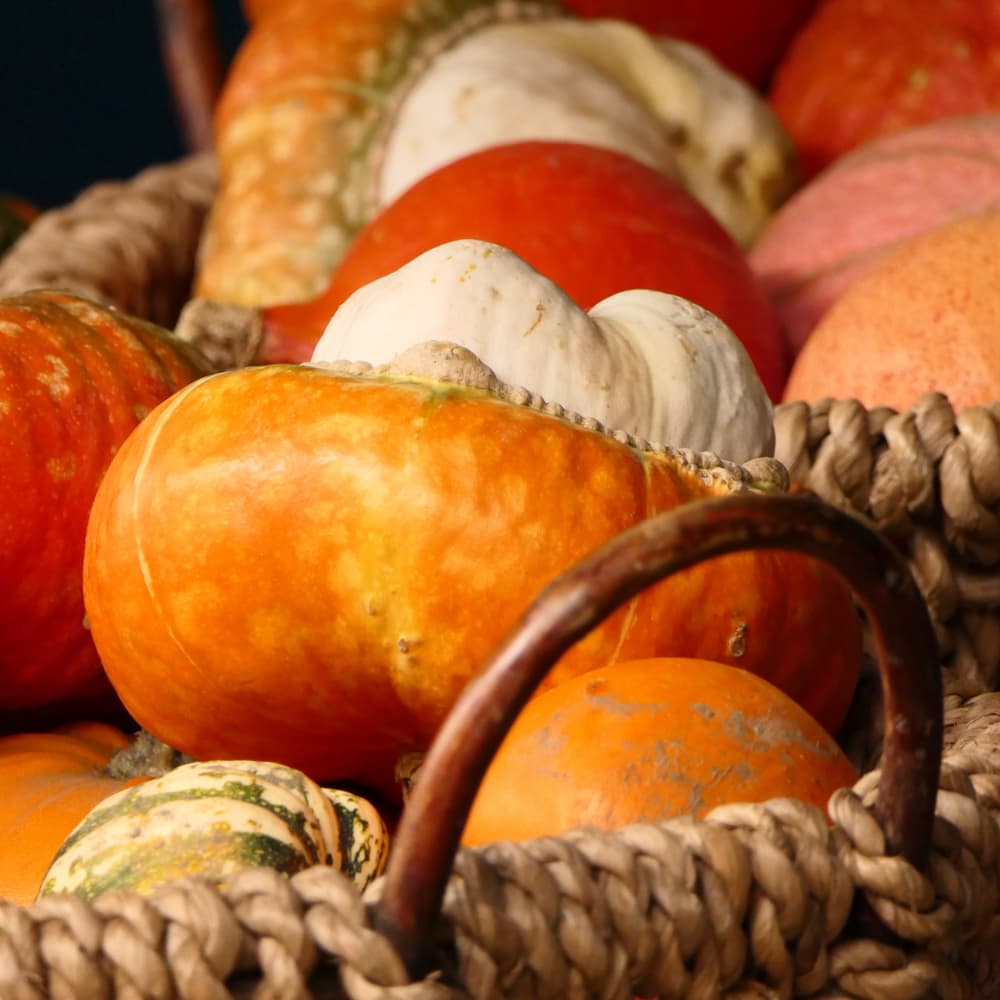
If you want to create something different to the norm, try thinking outside the box about what else can represent autumn. After all, autumnal images don’t have to be wide-angle captures of trees and leaves –
Even if these are in your image, they can form the backdrop to another subject rather than be the main one. A brown background, for example, can work very well when colourful flowers are the main point of focus.
You could try photographing a building framed by foliage, or capture a long exposure of flowing water with autumnal surroundings. People, appropriately dressed for the season in autumnal surroundings or foods associated with autumn such as squash, pumpkins and toffee apples can also make interesting subjects.
You could also experiment with macro photography here, capturing a leaf with interesting details or with additional elements such as conkers. The variety of colours also makes autumn a good time to experiment with more abstract photography, or perhaps Intentional Camera Movement (ICM) photography.
You could also experiment with aspect ratio to develop more interesting shots. An image of many different trees may suit a more panoramic aspect ratio to show the diversity of colour, while a square aspect ratio may suit a close-up capture of a details subject. If your camera has an LCD screen that can be pulled away from its body and tilted in some way, you may also wish to use this to try different perspectives.
Post-processing
Many autumnal scenes show tress to be captured at a range of distances, and the visibility of these may be affected by haze, fog or other environmental conditions. If you use Adobe Lightroom or Camera Raw, one quick way you can make your images pop is to use the Dehaze feature.
This option was introduced into both programs last year, and a quick boost here will improve contrast and make details more define. It can sometimes be handy when you’ve been capturing in good conditions too.
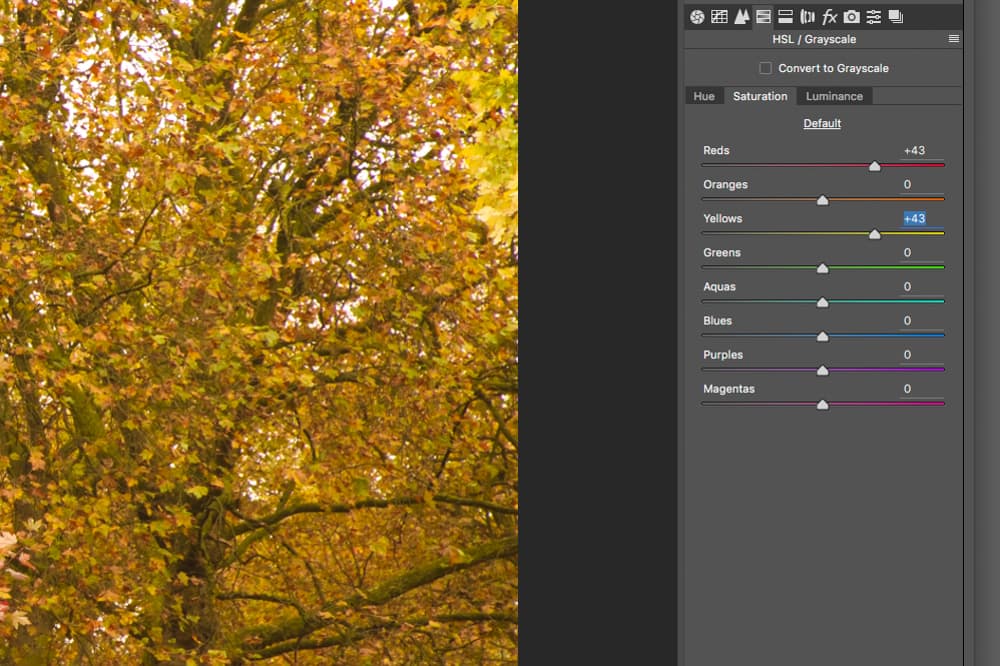
Another trick is to intensify selected colours, such as blues, yellows and reds, rather than the image as a whole. You can do this quite easily using the colour sliders that allow hue, saturation and luminance to be adjusted. So, if your sky is nice and blue but you want to intensify the reds, browns and yellows in leaves, you can adjust each hue one by one until you achieve the desired result.

