On one hand, smartphones have sounded the death knell for compact cameras: on the other, they can advance the creativity and quality of ‘proper’ photography when used in conjunction with a real camera. Here are 10 ways smartphones can help your photography, including our recommendations for photo apps.
The following are handy ways to use photo apps to aid your picture taking; many of which help plan shots, as well as improve technique. Of course, there are tons of these apps, and many features occur across titles – particularly the case of the excellent PhotoPills. Take a look and see what works for you.
Two notes of caution before you do: if you’re relying on apps on location, invest in a battery charger for your phone so you don’t lose access to the information or features you need. They’re cheap and invaluable. Second, don’t let apps rule your life. Mistakes and improvisation are part of photography, so take what’s good but don’t let perfectionism hold you back, just because you have all the tools.
- For extra support, especially for long exposures, have a look at our guide to the best phone tripods.
10 ways smartphones can help your photography
1. Go long and calculate exposure time
There is more to shooting long exposures than hit and hope. This goes for composition – where the technique needs to imbue the the scene or subject with the right mood – and for exposure, too. Over or underexposed shots simply won’t have the same quality, often losing fidelity through editing and showing unsightly noise.
Cameras also struggle to accurately meter through powerful filters, so it’s up to you to do the sums. There are lots of apps that offer a simple exposure calculator, and all modern phones have a timer in their clock settings, including the ubiquitous PhotoPills.
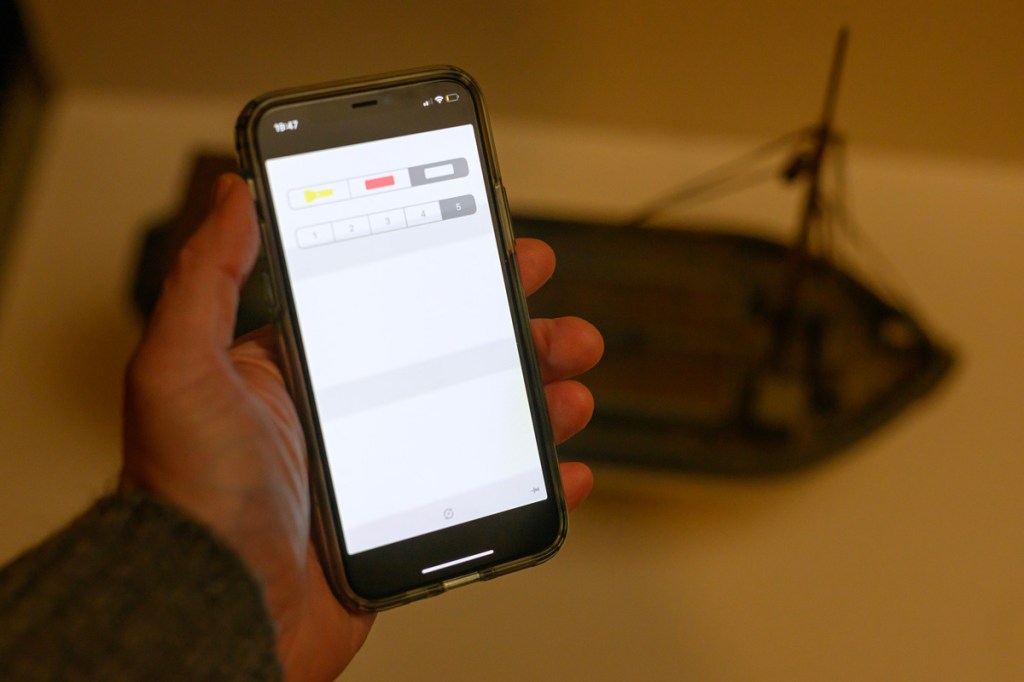
But the Lee Filters’ free dedicated app (Lee Filters Stopper Exposure) is a really pleasing solution for Android and iOS. With selectable 6, 10 and 15-stop settings, and graphical shutter speed dials you can convert the unfiltered setting into the time you need. If you want options other than 6, 10 and 15 stops, you can try the LECalculator app.
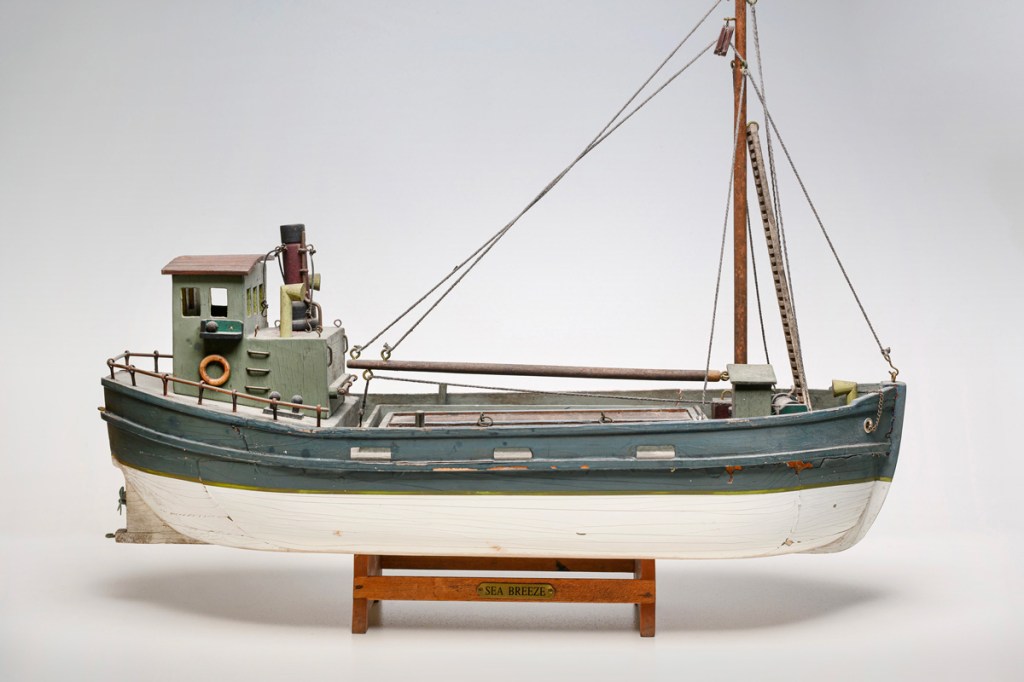
Both apps have timers, which can be paused, and that’s really useful when working in Bulb mode. Say you’re shooting water and a boat enters the frame, you can pause the timer, cover the lens with a black card, then start up again to get a better image. Shame it doesn’t remind you to close the eyepiece on your DSLR!
You can get the app on the Apple Store or Google Play.
2. Long exposures on your phone
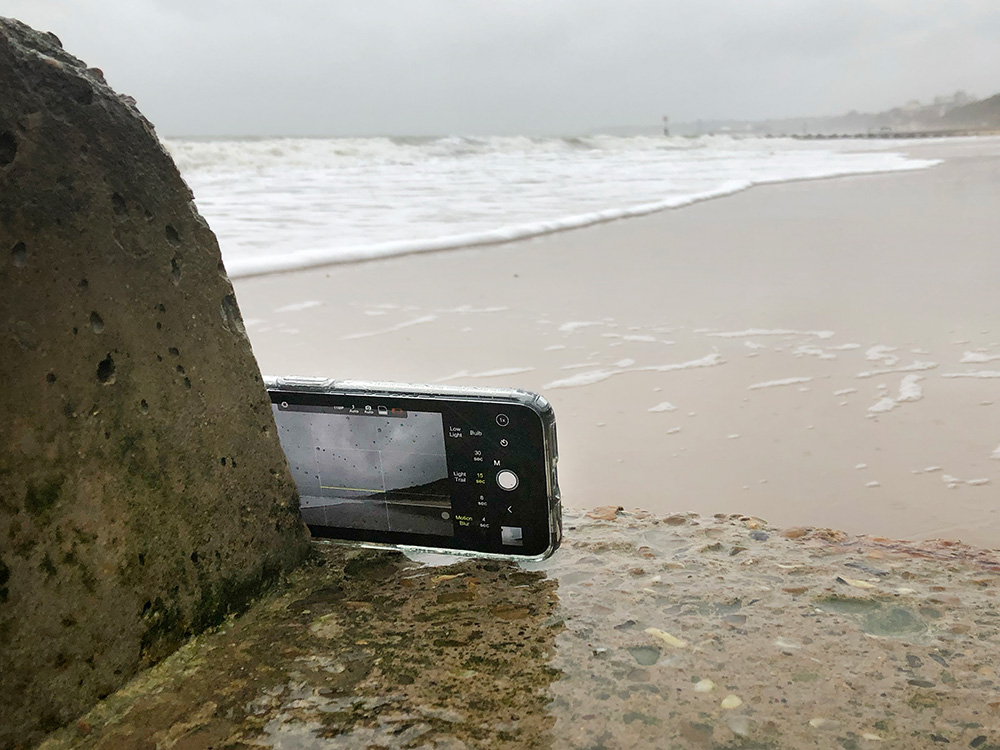
Away from calculating long exposure times for your DSLR or mirrorless camera, there are plenty of apps that let you shoot slow shutter speed images on your phone. My personal favourite is ProCam, which is superb fun. Aside from a wealth of other features, it has dedicated modes for motion blur, light trails, and low light, with selectable shutter speeds; and it’s smart enough to seldom overexpose. With a timer and anti-shake mode, you can avoid camera shake, too. It also shoots Raws, so there are loads to enjoy, while maintaining high quality.
You can get the app on the Apple Store.
3. Get a better view
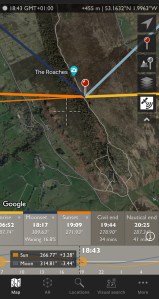
Great landscapes are often the product of precise planning. Apps like The Photographer’s Ephemeris can take this almost to extreme, in my opinion at least, but their topographical and sunrise/sunset information will avert your risk of ending up in the wrong valley at sunset. It detects your location via GPS, and lets you place navigational pins on a map to plan your shoot in advance. TPE also lets you read how the light and shadow will fall depending on your position and, with secondary pins, your subject, too.
Celestial information about the height of the sun and moon in the sky is also useful, especially if you want to place them in context with an earthly subject. TPE also has an optional add-on in the form of Skyfire, a subscription service that rates the likelihood and intensity of a good sunrise or sunset at around £29.99 a year.
However, one thing I’ve found about using apps like this is not to let them rule your life. It’s easy to think that a shot you have in mind might not be perfect, because the sun isn’t in exactly the right spot, but the joy of landscaping is just as much about being out there and discovering new places.
You can get the app on the Apple Store.
4. Aide memoirs with location information

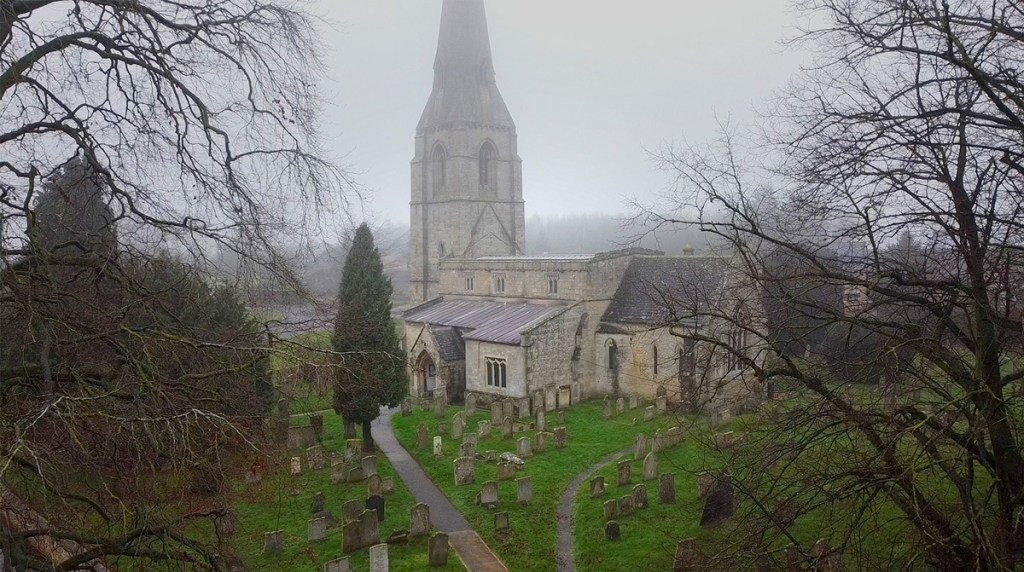
Sadly, when an opportunity arises, you might not always have your camera with you. When it happens, if you’re like me you’ll often be found cursing the gods of photography. But interesting views, subjects or a great background for a portrait, don’t always disappear. All you need to do is log them and find them again. Though with mushrooms, you might need to be quick.
Pins can be added in lots of mapping apps, or screenshots taken, but I also like using the What3Words app combined with a phone shot and an audio or text note, logging why I was moved to stop in the first place.
What3Words divides the world into 3m squares, giving each a unique three-word combination, so it’s highly accurate – and especially useful for shooting positions in rural spaces with few other markers. It’s also endorsed by lots of emergency services, so a handy one if you get into trouble!
For general notetaking, apps like One Note (free), are also great for logging ideas, and settings will sync with your camera to send images right there.
You can get the app on the Apple Store or Google Play.
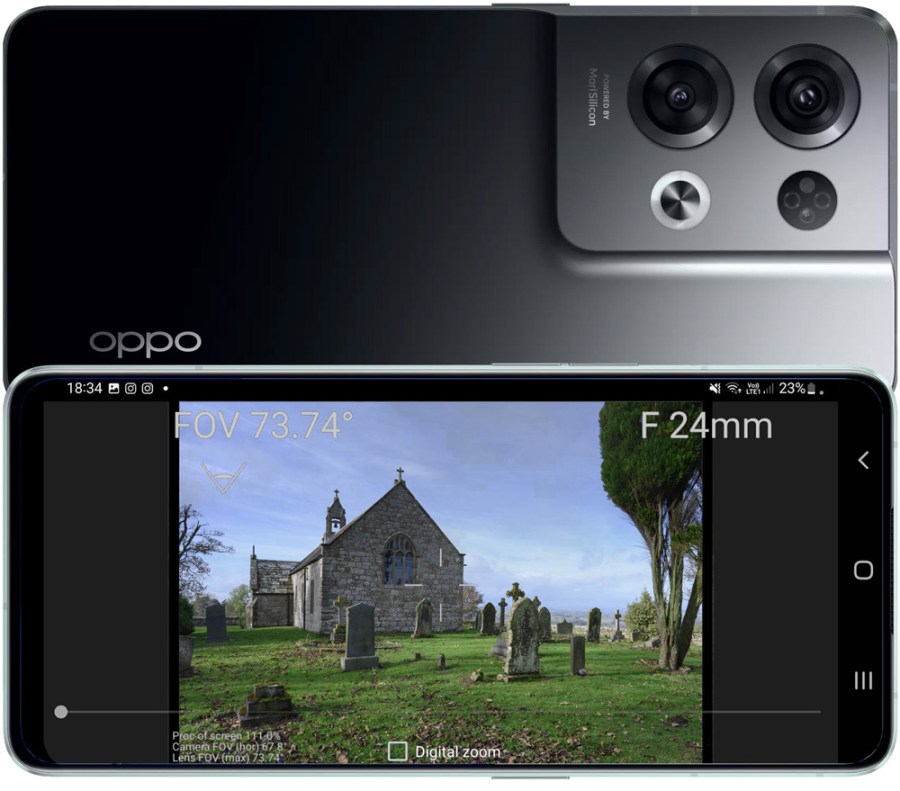
5. Pick the best lens
Similar to planning depth-of-field, apps like Camera Lens Simulator on Android let you plan the best lenses for a project without swinging your camera around. So if, like me, you’re often surprised by how wide 14mm actually is, or stop at a view, get your camera out, only to find it wasn’t worth it, then take a look. Obviously, this is also an advantage if using primes on location, and when working in situations where water and dust are around as in both cases it avoids unnecessary changes.
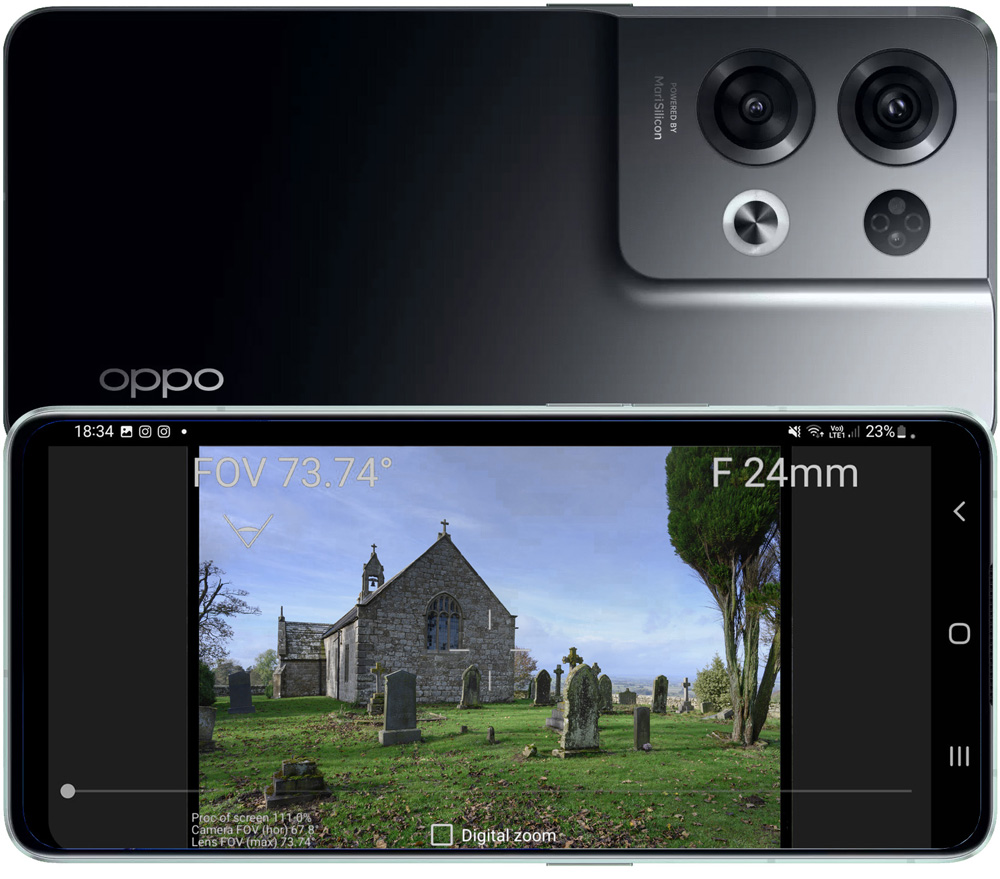
Pick sensor size and focal length parameters, and the phone’s camera will be cropped to mimic the look, which you can swipe to change if you want to go a little wider or longer. It’s not always perfectly accurate, but it gives a decent guide. You can also compare two lenses side by side, and it comes with a DoF calculator, too.
You can get the app on the Apple Store or Google Play.
6. Get better flash
With camera screens providing immediate feedback on exposure, and Raw files plenty of latitude to correct mistakes, some would say the age of the flash metre is over. Not so, in my opinion. Accurate metering is vital for flash, especially when trying to balance it with natural light or get ultra-consistent results in the studio.
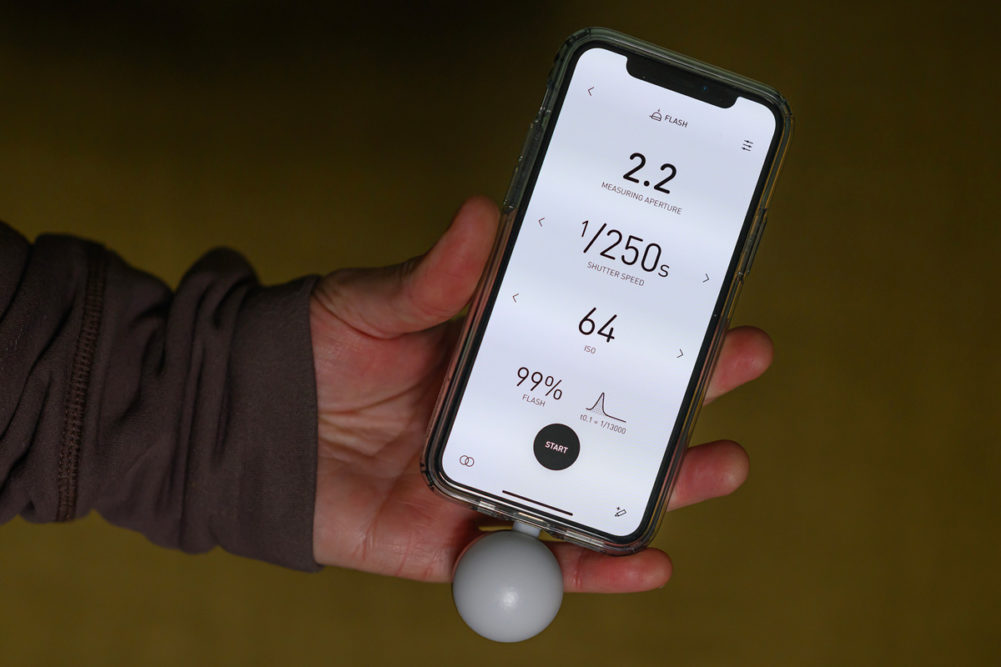
A traditional flash meter is great if you have one, but Lumu with its dedicated app and dongle is pretty affordable at around £200, convenient, and a good backup. The globe accessory plugs into your iPhone’s Lightning port, and measures not only flash but available light and colour temperature too – the latter being really useful when shooting portraits in tricky illumination.
You can get the app on the Apple Store.
7. Use a smartphone to Measure light and temperature
If, like many photographers, you suffer the anachronistic desire to occasionally shoot film you’ll be thankful for a general light meter app – especially if a built-in model is missing from your camera, inaccurate, or broken (like my haunted 1960s-era Zenith).
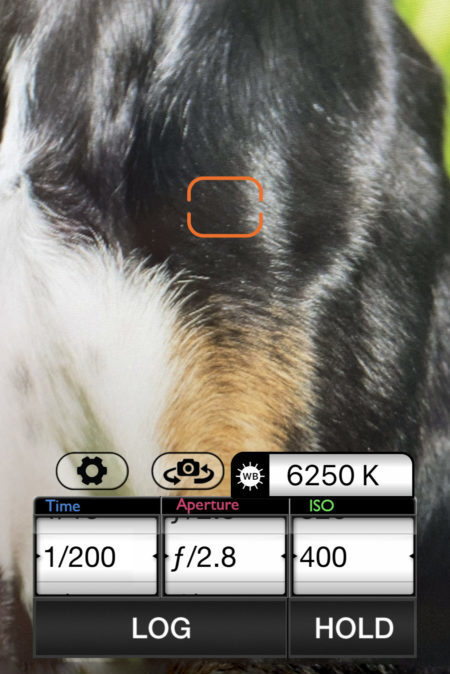
There are lots of apps out there offering light meter functions, and one of my favourites is the Pocket Light Meter, which reads reflected light using the phone’s camera. Nicely designed and simple to use, it can work in a wide or spot fashion, giving you the missing third of your ideal exposure triangle. It measures colour temperature, too, and again is very useful in challenging conditions like woods or areas with mixed artificial lighting, if you don’t want to or can’t make a manual reading with the camera.
You can get the app on the Apple Store and on Google Play.
8. The sky’s the limits
If you want to start shooting landscapes with a drone, then one of the best apps is good old Google Earth, letting you recon potential subjects with ease – and discover interesting shapes and patterns that you hadn’t realised were there.

But with ever-increasing vigilance and drone regulations to hurdle, perhaps the most vital app is Drone Assist, which provides a tremendous amount of detail in terms of where you can and can’t fly. As well as the obvious examples of airports and government facilities, risky spots like power lines, schools and other areas of concern are clearly identified. It’s also a vital aspect of pre-flight check if your aerial insurer comes calling.
You can get the app on the Apple Store and on Google Play.
9. Light up your life
Though your phone’s built-in torch is dead useful for all sorts of things, photographic lighting included, as a small emitter its output is harsh. Sometimes better is your phone’s screen, which with modern models’ ever-increasing size, means ever softer light thanks to their relative spread versus the subject.
If I’m making a still life, lighting a product, or I need a little extra glow for a close up low-light portrait, albeit at high ISO, I’ll often open a simple app like jLight, which lets you set the colour and intensity of the screen. It’s a bit like having a 6in light panel with a diffuser on it. For the former, combined with a long exposure, passing the phone over the subject can give a nice wraparound, softbox-style lighting. Of course, there’s nothing to stop you from using the screen in-shot for light trail effects, too. For Android, Color Flashlight is a great option too.
You can get the app on the Apple Store and on Google Play.
10. Find your depth
Unless you’re a Nobel Prize winning mathematician, you may not be able to immediately work out the depth-of-field created by a certain lens on a certain camera format, at a certain aperture, with the subject at a certain distance… That’s where a simple depth-of-field calculator comes in. PhotoPills has one, but there are lots of others out there, including the free Digital DoF, which I use often in planning and on location.
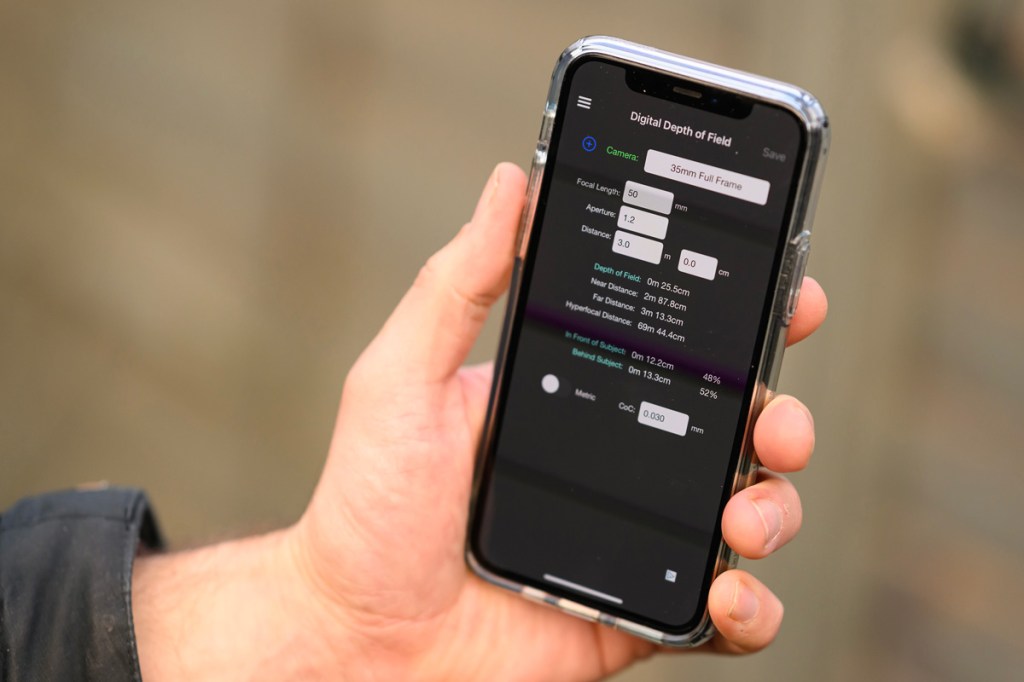
Knowing the zone of focus is especially useful for product photography and getting maximum sharpness in landscapes, but most of all working out if you have the required sharpness in a group shot while still getting a nice, blurred backdrop. Note to self, you can’t use your 50mm f/1.2 wide open for groups unless you’re about 3m away!

You can get the app on the Apple Store and on Google Play.
Whether you’re planning to go out and shoot or looking to improve your technique, using any or all of these tips will definitely upgrade your smartphone photography without breaking the bank.
Related articles:
- Best photo apps for your smartphone
- Best phone tripods for extra support
- Best camera phones for photography
- How to edit black and white photos in Snapseed
- Best Compact Camera – Get better quality than your smartphone
Follow AP on Facebook, Twitter, Instagram, YouTube and TikTok.