In this guide to check if a film camera works, we aim to make things straightforward. Film cameras are often superbly well-built, and with the right maintenance can keep shooting for decades. But like any device, they can develop faults. Here we help you to find the most common of those faults before you waste any film.
Whether you’ve bought a film camera online, or found one in a box in the garage, there are some basic steps you can take to ensure it’s in working order and ready to be loaded up with film.
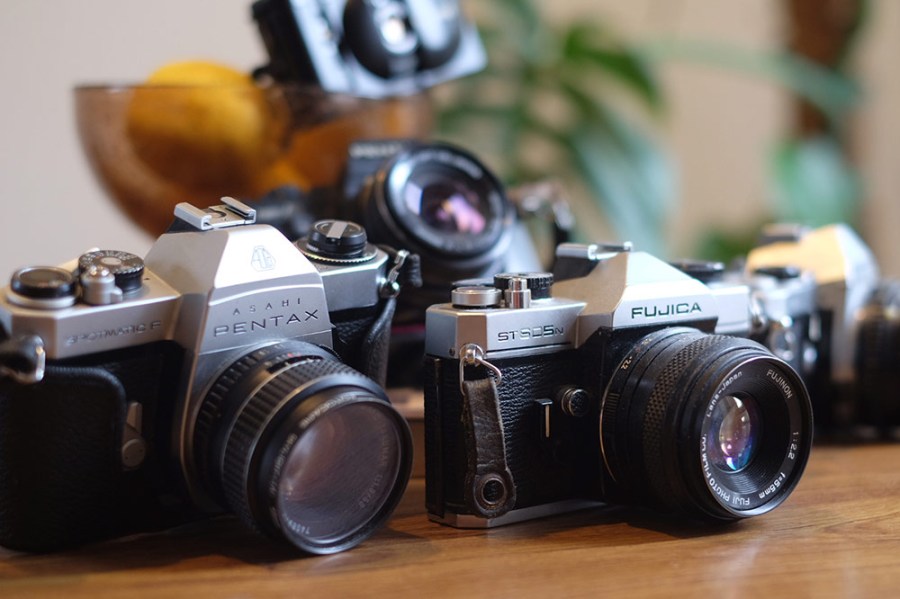
There are loads of different types of film cameras out there. For simplicity, I’ve kept this guide mostly focused on 35mm manually-winding SLRs; the kind that were popular in the 1970s. But plenty of the points here apply to other types of film cameras, too.
Read the manual
I know it’s not exciting, but the first and best thing you can do with a new film camera is find its instruction manual. This will save much time in understanding how the camera is supposed to work where things are not so obvious.
Generally, film camera instruction manuals are widely available online. Google the name of your camera and ‘manual’ and you’ll probably find someone has scanned and uploaded the original manual.
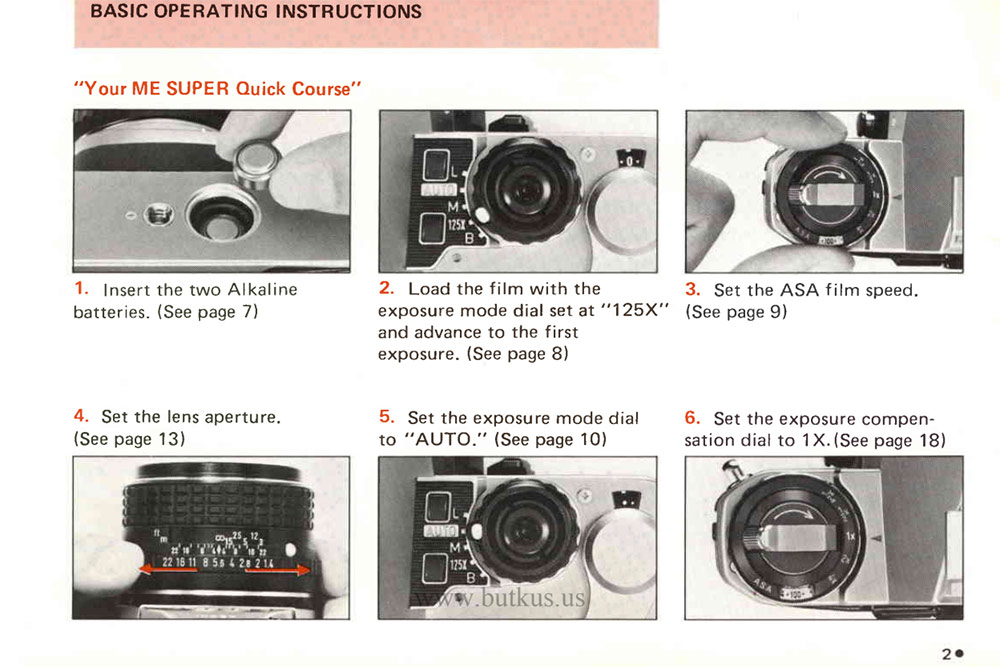
A resource I frequently use is butkus.org. Don’t be put off by the fact that the homepage looks like it single-handedly caused the dot-com crash – this website is a godsend. There are more than 6,500 film camera manuals scanned and transcribed there.
Wind and shoot
It may sound obvious, but the most frequent actions you’ll perform are those to check first and foremost – wind the film advance mechanism and fire the shutter. Don’t worry about loading the camera with film – at this stage, you simply want to ascertain that the mechanics are working.

[Note that this kind of basic check can on ly be performed on cameras with a manual film advance system. More recent SLRs and point-and-shoots that use an electronic advance mechanism generally won’t advance and fire unless film is detected in the chamber. The good news here though is that these cameras will generally have an LCD readout that can detect whether film is loaded, how many frames have been fired, etc. This can give a sense of whether the camera is working correctly.]
If the system is in good working order, the fire/advance action should be consistent; meaning it feels the same every time. On an SLR camera with a film advance lever, you should only have to wind it once to be able to fire the shutter; on a point-and-shoot with a film-advance dial, it’ll take two or three winds.
Open up the back of the camera and repeat the process – wind and fire. You should see the take-up spool and film sprockets advance smoothly when you wind, and see the shutter blades or curtains open and close rapidly when you shoot.
Check for viewfinder blackout
Take a few shots while looking through the viewfinder, as this will tell you if the camera suffers from a common issue that affects old SLRs – viewfinder blackout. This fault develops in the shutter mechanism, causing the mirror to lock in the ‘up’ position.
If you fire a few frames and then suddenly find the viewfinder goes completely black, it means there’s a problem. I often find it takes a few frames to become apparent – generally just when I’m satisfied the camera works, and have loaded it with something expensive!
The good news is that in well-made SLRs, this can be easily fixed – it is often due to some grime or obstruction in the metal gears. If you’re not confident opening up the camera to fix it yourself – and since you’re reading this, I’m guessing you aren’t – then the best thing to do is get the camera professionally serviced.
This is one of many reasons why it’s best to buy second-hand from reputable dealers. The first SLR I ever bought turned out to have a fault where the lever would need to be advanced two to three times before the shutter would fire, resulting in multiple skipped frames. I lacked the experience to know this was a problem (go ahead, laugh at me all you like. The guy at the dev lab certainly did).
Fortunately, I had bought the camera from Camera World, and their six-month warranty on used gear meant I got it repaired for free. You don’t get that on eBay.
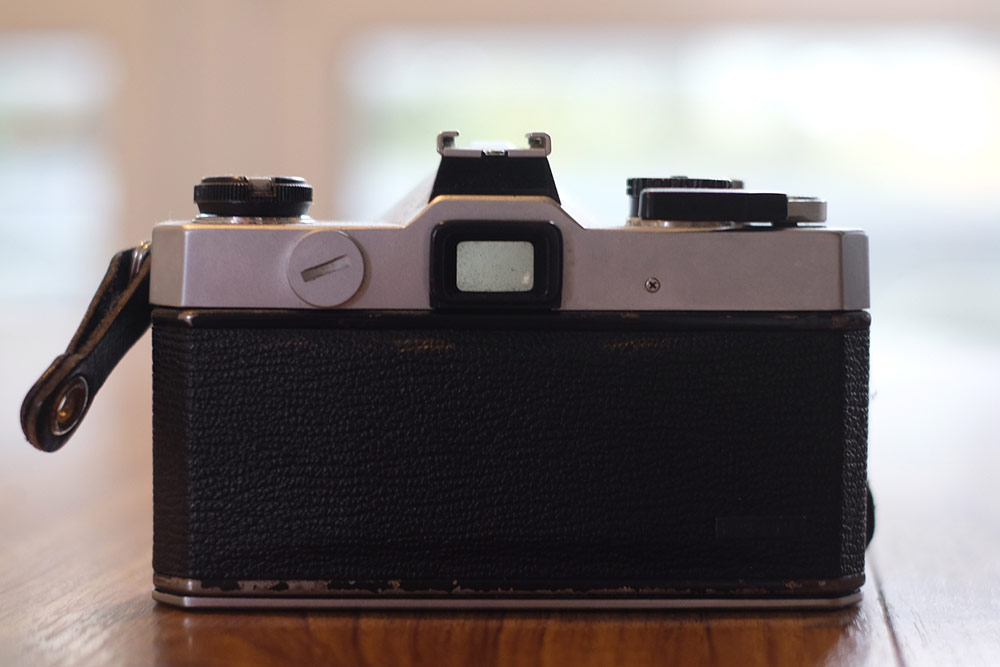
Check the dials
Film SLRs will commonly have several dials on the top plate that control exposure settings. Turn them through every setting to make sure they can move smoothly through the entire range. It’s quite common to see dials that control two functions in one – for example, on the Pentax Spotmatic F, you set the ASA (ISO) by lifting and twisting the dial that controls shutter speed.
Check a dial turns in every way it’s supposed to. Also, some camera dials have a lock button to keep them in place – if a dial won’t turn, check that this isn’t engaged.
Generally, you won’t know if the dials function as they should until you test the metering (which we’ll get to in a moment), but there’s one dial you can check manually, and that’s shutter speed. Set it to 1/1000sec and fire a few frames – you should get a consistent sound every time.
Try it at something slow like 1/8sec, and it should be noticeably different. If there’s a 1sec option, try it out and see whether you’re getting exposures roughly the length of a ‘one-thousand’ count. Is there a bulb mode that lets you leave the shutter open for extended periods? If so, try it!
Check the lens
Testing lenses is a whole article unto itself, but in brief, here’s a quick run-down of things to look for.
First, you can inspect the lens on its own:
- Check the front element for scratches and smears. A little scuffing here and there isn’t the end of the world, but too much will compromise image quality.
- Inspect the lens for any signs of fungus. Hold it up to the light and see if you spot anything that shouldn’t be there. Does it look hazy? If so, the lens may be fogged, and won’t produce clear images.
- See if the focus ring turns smoothly, and the zoom ring if there is one.
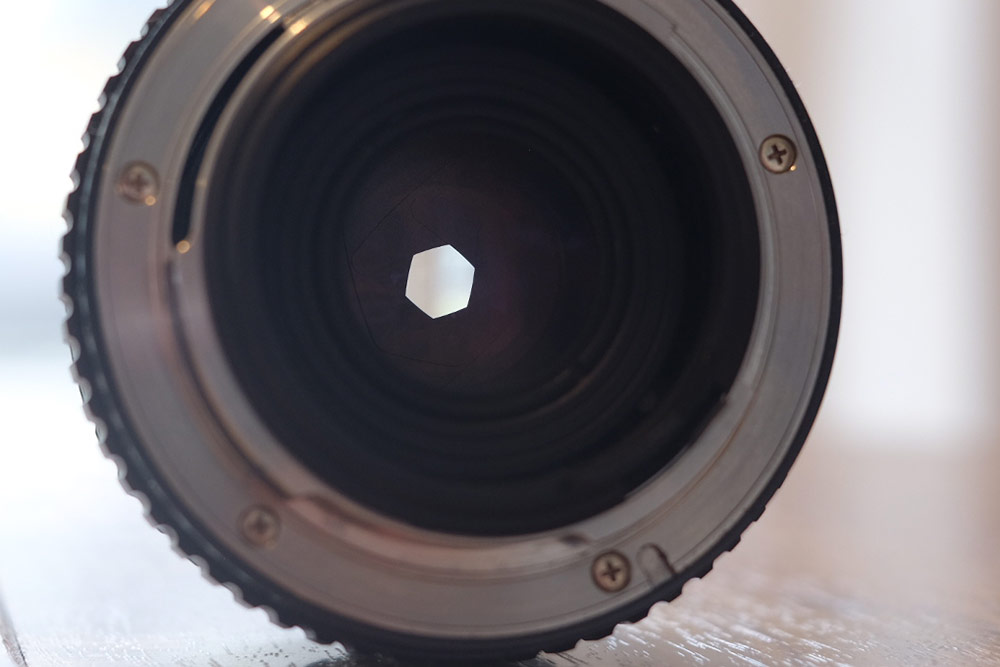
- Turn the aperture ring through the range, making sure it doesn’t stick. Look at the front of the lens as you do so – you should be able to see the diaphragm change in size, being very small at f/22, and very large at the lens’s maximum aperture.
- Next, mount the lens to the camera (this should be smooth and easy to do).
Now there are a few more things you can check:
- Your camera may have an aperture preview button – if so, press it with the lens attached and see if you can see the aperture close down.
- Try out the focusing action. With the viewfinder pressed to your eye, you should be able to turn the focusing ring until the image you can see is tack-sharp and perfectly clear.
- If there are focusing aids like a focus distance scale, you can check these are working by attempting to focus on an object a set distance away (use a tape measure).
Replace and check the batteries
Film cameras will generally have an electronic metering system that runs off battery power, and any old film camera you buy will likely contain either no batteries or dead ones. Open the battery cover (this often requires a pound coin) as soon as you get the camera. If there are old batteries in there, take them out straight away. Old batteries can leak, which can cause serious damage.

Check the battery compartment and contacts for any corrosion. This will often take the form of green or white deposits. You can try and wipe these away with a damp cloth, or scrape them away with a screwdriver. Be gentle.
You’ll need new batteries. The types used in film cameras are less commonly used these days, but you should be able to find them online. Double-check which type your camera takes before buying anything (believe me, there is a lot of variance). Insert them in the correct orientation – refer to the manual – and check they’re working. The most common way to do this is half-depress the shutter button and see if the metering system kicks in.
Test the light meter
Different film cameras have all kinds of different metering systems. Some use coloured LED bulbs, some use an in-viewfinder needle, more recent ones will have P, S and Av modes that do it all automatically. Whatever the case, it’s important to check it’s working.
The best way to do this is to have something else to compare the camera’s reading to. A digital camera, if you have one, is a great choice. Point both the digital and the film cameras at the same spot on a wall, and see if they recommend the same settings. If you don’t have a digital camera, a handheld light meter will work great; alternatively, a smartphone light meter app is better than nothing.
In my experience, if any part of a film camera is going to fail, it’s likely to be the light meter. Fortunately, this is also the component that isn’t absolutely essential, as you can get by with a handheld meter.
Check the light seals
This is an easy one. Open up the back of the camera and check that the seals around the edges of the door are all in good condition. Improper storage or just simple age can cause them to decay, disintegrate or come loose, meaning your camera is no longer light-tight. Happily, this is one of the easiest fixes out there, and any camera specialist worth their salt will help for a reasonable price.
Finally… run a roll of film through it
You can check all the moving parts as much as you want, but ultimately there’s only one way to be one hundred per cent sure a film camera works – run a roll of film through it. Be sensible about this, and don’t put a fresh roll of expensive Kodak Ektar or Cinestill 800T into a camera you haven’t tested.
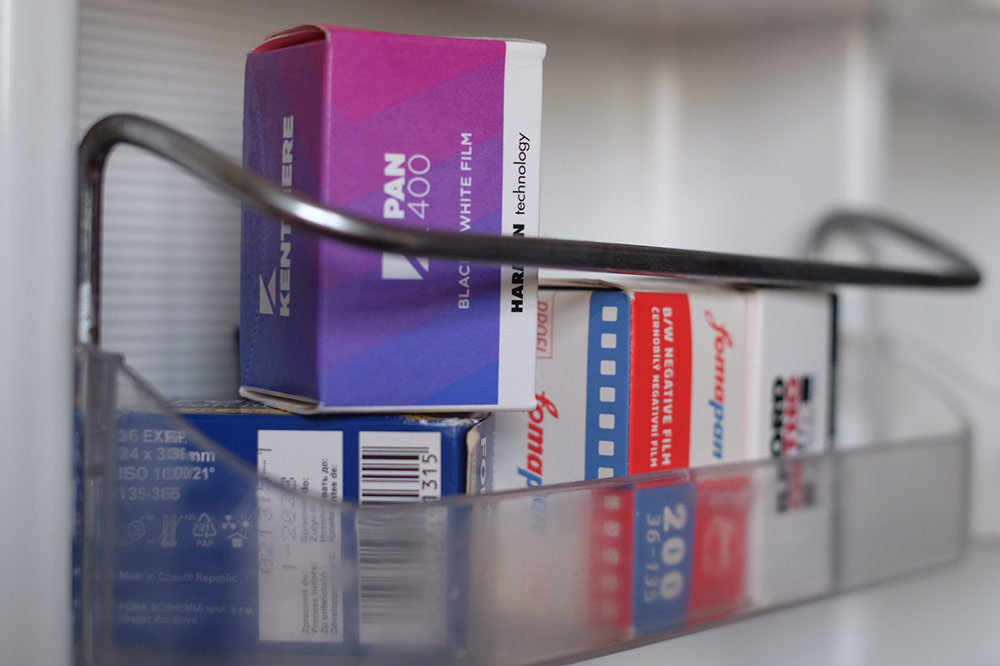
Black and white film is cheapest, and I keep a stock of the most basic, affordable monochrome films at home for precisely this purpose. A roll of Kentmere 400 will set you back around £5 / $5 or less, and a roll of the perennially popular Ilford HP5 Plus not much more than that. See our guide on how to do film photography on a budget for more suggestions.
Get it new, and from somewhere reputable like Analogue Wonderland, or B&H Photo Video if you’re in the US, rather than from a random eBay seller. This is important because it eliminates a variable in your testing – if the shots don’t come out right, you’ll know it’s due to the camera, and not because the film was improperly stored or transported.
If your roll comes back and the images are clear, sharp and correctly exposed, then congratulations – you’ve got yourself a working film camera.
Further reading:
How to maintain your film camera
Different film camera types
How to check a lens for faults